Retropie vs Recalbox: What’s the difference?
The Raspberry Pi is the perfect device for playing retro games. There are a lot of software options to choose from, with Retropie and Recalbox being the two of the top contenders. Which one should you use? Let’s find out.
Overall, Retropie is the older of the two, has been around for a while, and therefore has a larger community, with more support and advanced features. Recalbox, on the other hand, has a more user-friendly interface and is converting more and more users to its system.
The goal of this article is to give you a thorough comparison of the two solutions so that you can better understand the differences between Retropie and Recablox, and thus choose the right option for you.
If you’re looking to quickly progress on Raspberry Pi, you can check out my e-book here. It’s a 30-day challenge where you learn one new thing every day until you become a Raspberry Pi expert. The first third of the book teaches you the basics, but the following chapters include projects you can try on your own.
Retropie
Retropie story
Retropie has been around since the beginning of the Raspberry Pi (2012). It was a side project of the petRockBlock community before it moved to a new website and organization at Retropie.org.uk.
The goal of the project was to turn the Raspberry Pi into a retro-gaming console. It’s now a big project with a huge community around the world.
I have to say that they don’t seem to be a very active project in the retro gaming world. It took them a while to release official support for the Raspberry Pi 4, the Pi 5 is not supported yet, and it seems they can’t keep up with the release speed of new Raspberry Pi OS versions (which is not that fast).
However, they are still regularly adding new commits to their GitHub project, so it’s by no means a dead project.
Retropie installation
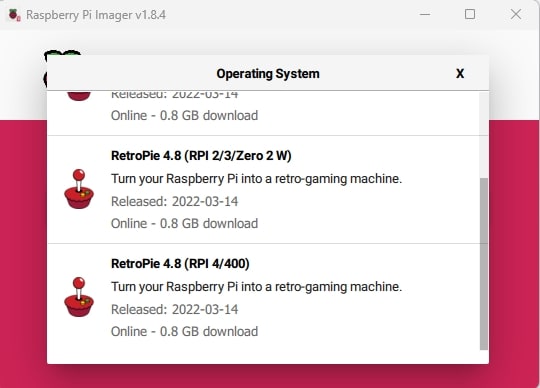
Installing Retropie on a Raspberry Pi is straightforward: You can either download the Retropie image from the official website or even use Raspberry Pi Imager directly, as Retropie is included in the OS list.
Once the system has been flashed to your microSD card, you can insert it into the Raspberry Pi and it will immediately boot up.

Join Our Community!
Connect, learn, and grow with other Raspberry Pi enthusiasts. Support RaspberryTips and enjoy an ad-free reading experience. Get exclusive monthly video tutorials and many other benefits.
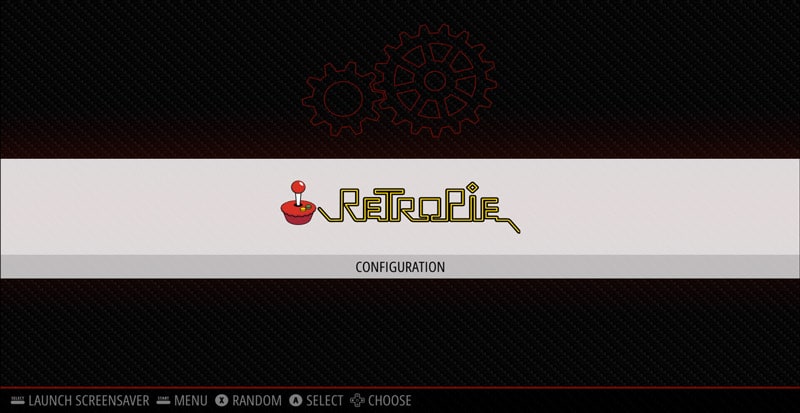
Learn moreYou’ll be greeted with a welcome menu that asks you to configure your first game controller. Once that’s done, you’ll have direct access to the main interface and can start using Retropie.
If you need more help with this, you can check out my Retropie installation guide here.
Get a list of my 24 favorites games (with links) to play on Retropie, Recalbox or Lakka
Download now
As a side note, it’s also possible to start with an existing OS and install Retropie on top of the existing system, more like a traditional application. Click on the link to learn more about this process.
Retropie interface
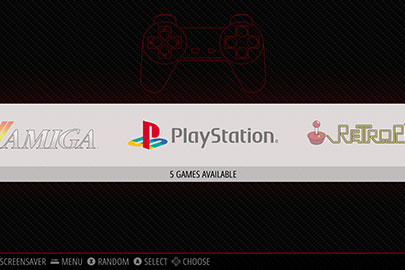
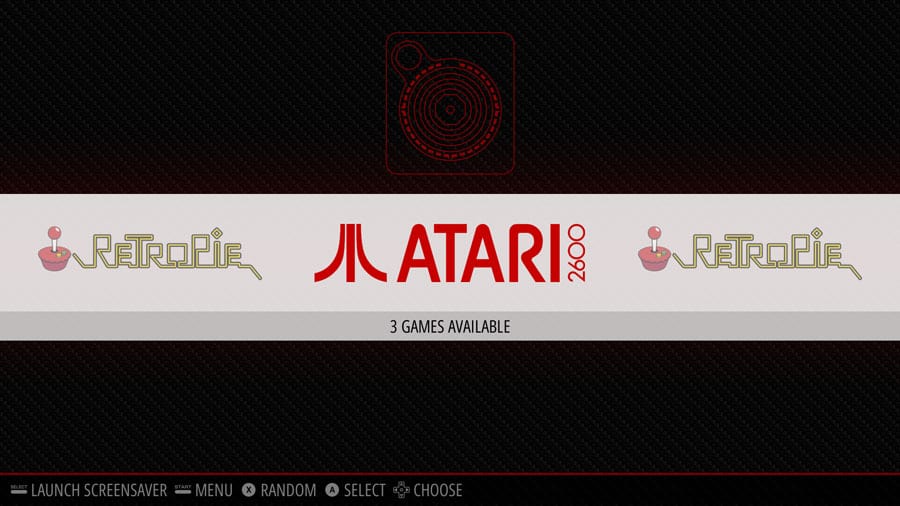
The Retropie front end is powered by Emulation Station. In the beginning, you’ll only have access to the configuration menu (see previous screenshot). But after installing new ROMs, you’ll see a new entry in the menu for each platform:
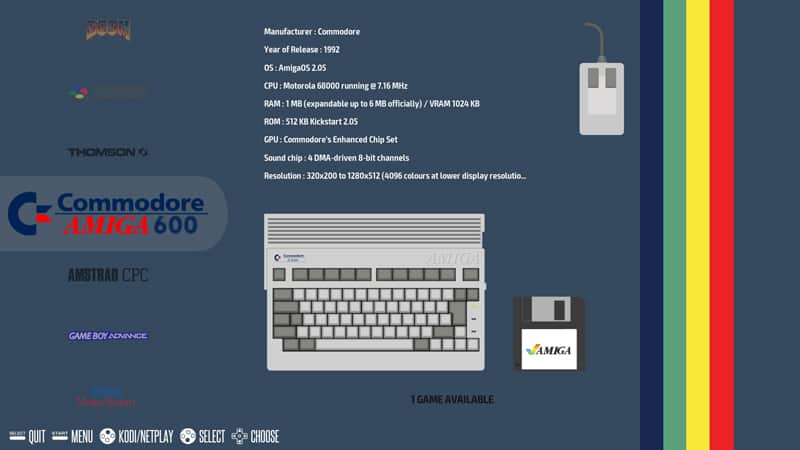
It’s easy to use, and you can find your games pretty quickly. Just use your controller to scroll through the various platforms, and when you click on it, you’ll see the list of games available for this platform:

You can then start any game from this menu.
Retropie compatibility and support
As mentioned before, Retropie can not only be installed on a Raspberry Pi as a dedicated retro gaming setup, but it can also be installed on other operating systems (Ubuntu, Debian), or even on other single-board computers (like ODroid) or desktop computers.
Retropie is also available with BerryBoot if you want to use dual boot on your Raspberry Pi.
In terms of compatibility and support, I must also say that RetroPie includes different emulators for most game systems (such as SNES, N64, PlayStation, Wii, Dreamcast). I’ll leave you to check the full list in the Retropie documentation, as it is updated regularly.
Retropie customization options
While it’s possible to start using Retropie right away (after downloading game ROMs to it), you’ll probably need to edit the default configuration to suit your needs. This is easily done in the configuration menu.
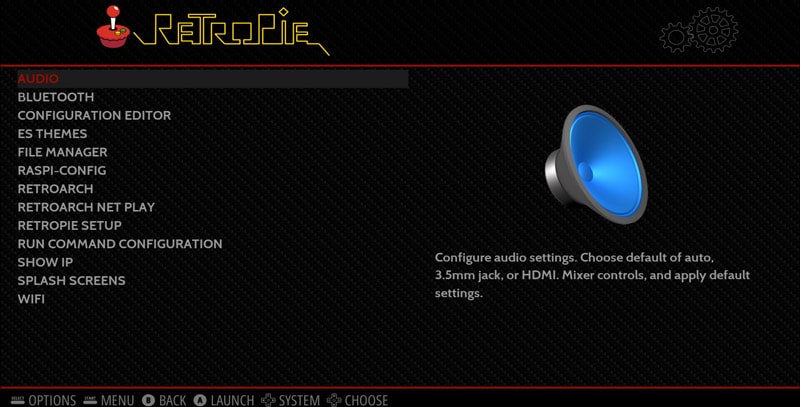
Some basic configuration options are available directly from the main interface, but you can select “Retropie Setup” to switch to a terminal and access a configuration wizard with many more options.
It’s also possible to run raspi-config from there.
That’s where Retropie can become a bit intimidating. It looks like everything is possible, which is great, but it’s probably too much for most users. Or there should be different levels, like an “expert mode” where all advanced options are hidden for beginners.
Anyway, I’m here to help if needed, just know that you can change everything from there. Let’s take a look at Recalbox now.
Recalbox
Recalbox story
I think Recalbox started in 2013 (at least there are files from this period in the source code on their GitHub). So it was only a few months after the first Raspberry Pi model was released, but it really took off around 2015.
The idea was to make it easy for people to play old games from consoles like Nintendo, Sega and others, directly on their own devices.
Recalbox installation
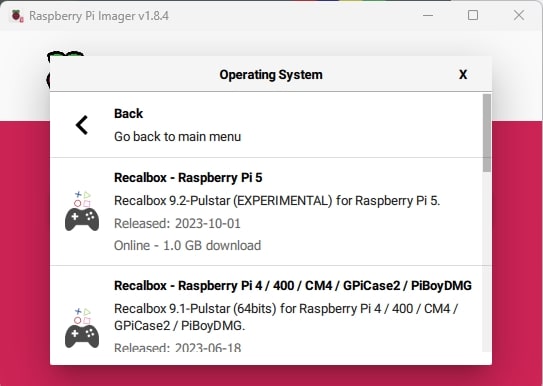
You can download an image file for Recalbox from the official website, flash it on an SD card and boot the Raspberry Pi. But the easiest way to install Recalbox is to use Raspberry Pi Imager, as it’s available in the OS list, for all supported models.

With Recalbox, the main menu shows up directly, and in most cases, game controllers are automatically detected and configured on the first boot.
I won’t explain all the installation steps here, but if you need to, you can check my Recalbox installation guide where I explain everything.
Recalbox interface
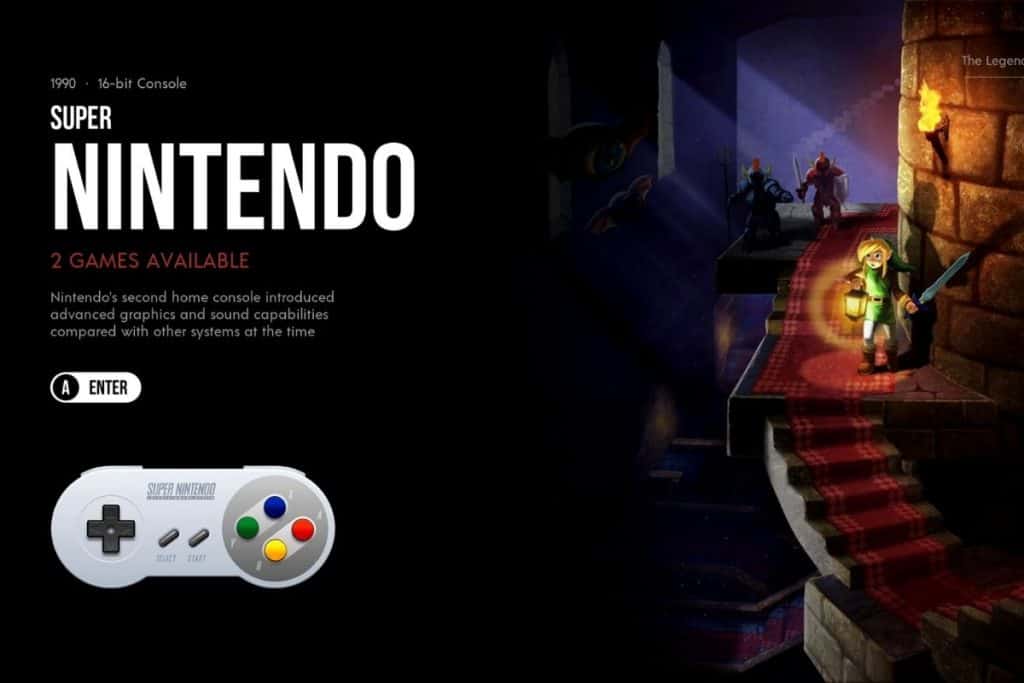
Recalbox is also based on Emulation Station for the front-end interface.
Rather than describing it for you, check this video to have a better idea of the user interface:
Get a list of my 24 favorites games (with links) to play on Retropie, Recalbox or Lakka
Download now
What I really like is that Kodi is directly available from the interface. So you can plug your Raspberry Pi into your TV and use it as a retro gaming console and media center solution.
Recalbox compatibility and support
Recalbox is available for most Raspberry Pi models, PCs and other single boards like ODroid and Pine64 models. They are very active and are generally quick to follow the latest Raspberry Pi releases (like the Pi 5 had a beta available, just a few months after it was announced).
Recalbox includes over 80 emulators to play your favorite games from any platform. You can check the official website for the up-to-date list and more details.
Recalbox customization
To go further after the default Recalbox installation, there are many things you can configure. The good news is that everything is integrated in EmulationStation menus, there is no need to edit configuration files manually or use a non-intuitive menu.
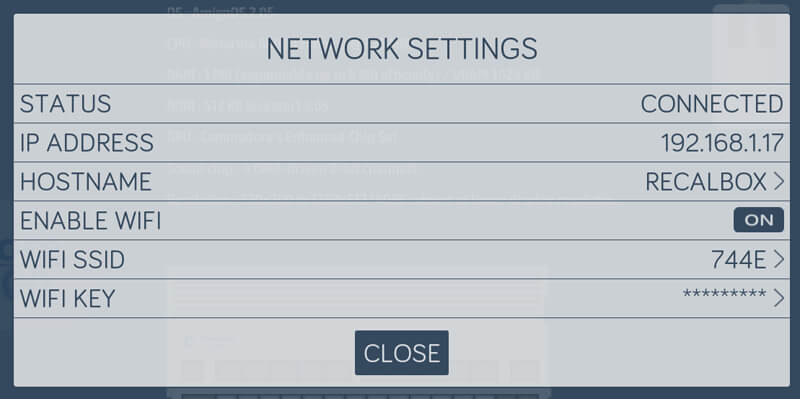
Everything is done from the main interface, so it’s pretty easy to find everything. It may seem more limited for advanced users, but at least beginners can quickly find the main options.
Differences between Retropie and Recalbox
Let’s summarize the main differences between Retropie and Recalbox.
History and goals
Retropie and Recalbox come from different backgrounds, but they share the same goal: to build the best open-source retro gaming solution for Raspberry Pi.
So while the results may differ, the end goal is the same: to let you play classic games on your Raspberry Pi.
Community
Keep in mind that Retropie was the first solution available to Raspberry Pi owners, with many early adopters, and therefore still has a larger community in the retro gaming world.
This means that it may be easier to find answers, documentation and tutorials for Retropie than for Recalbox.
To be honest, the gap between the two has narrowed over the past few years, especially since Retropie didn’t release an update for the Raspberry Pi 4 fast enough, and has the same problem with the Raspberry Pi 5.
If you look at the trends, the difference is not that big anymore:

And with both projects reaching 10+ years of existence, it shouldn’t be that difficult to find help for both platforms.
Installation
Both systems are now available in the Raspberry Pi Imager (or via manual download), so there are no major differences between them during the installation process.
Bonus points for Recalbox, which automatically detects common controllers and does the controller mapping for you. But it’s a one-time process in most cases, so don’t base your decision solely on that.
Configuration
On the one hand, you have Retropie, which is great for advanced users. It has tons of features and configuration options. Most are hidden in a nasty setup script or even configuration files, but at least they are there.
On the other hand, you have Recalbox, which does its best to keep everything simple (like the controller detection). Everything is in the same interface, but it’s a bit more limited if you’re used to Retropie’s extensive configuration files.
Personally, I prefer Recalbox as I rarely need advanced stuff, the default options are fine for me. But it’s a personal choice.
Interface
All in all, if configuration is out of the question, using the Retropie or Recalbox interface doesn’t make much of a difference. Both are based on Emulation Station, with a slightly different look and feel, but it’s nothing major.
You can even add themes to customize it if you don’t like the default one. So, it’s not as if you were stuck with this interface forever.
Emulators
Historically, Retropie had a big advantage in the list of systems supported in their solution. But step by step, Recalbox is growing its emulator list to compete with Retropie now.
If you want to play games from a specific console on Raspberry Pi, check both emulator lists, but the main ones will be supported.
ROMs
Both Retropie and Recalbox use the same ROM files when it comes to playing games, so whatever games you want to play, both will be able to run the same ones (as long as the emulator is available).
If you don’t know where to download Retropie and Recalbox ROMs, follow the link.
It's a free PDF guide containing every Raspberry Pi Linux command you should know!
Download now
Related questions
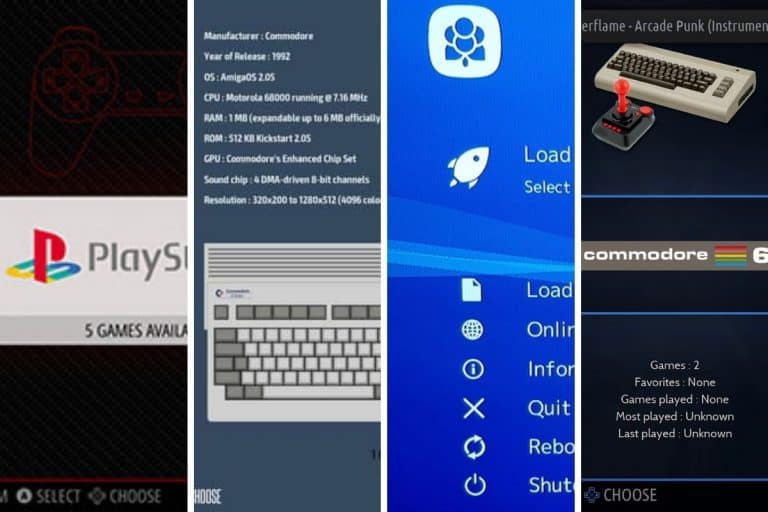
Is there another competitor? Yes! To be complete in your choice, you also need to check the Lakka project. It’s a great competitor with a completely different interface (looks like the PS4 menu), and uses different software programs. Check my guide linked in the conclusion to know more about Lakka
It's a free PDF guide containing every Raspberry Pi Linux command you should know!
Download now
Reminder: Remember that all the members of my community get access to this website without ads, exclusive courses and much more. You can become part of this community for as little as $5 per month & get all the benefits immediately.
Conclusion
That’s it, you now know exactly what you’ll find on Retropie and Recalbox. You also now have some comparison points to help you decide between the two.
Basically, Recalbox is mainly aimed at beginners, with an easy-to-use interface but probably fewer features. And Retropie allows you to go further with your retro gaming solution.
Recalbox is my favorite because it’s easy to use out of the box, but Retropie is a great software, so it’s a tough choice. Try both and let me know your favorite.
If you need further information, you can check my other topics on this subject:
- Recalbox beginner guide
- Retropie installation guide
- Lakka installation guide
- Use PS4 controller on Retropie
- Downloads ROMs for retro gaming systems
- My 12 favorites games on Retropie
Whenever you’re ready, here are other ways I can help you:
The RaspberryTips Community: If you want to hang out with me and other Raspberry Pi fans, you can join the community. I share exclusive tutorials and behind-the-scenes content there. Premium members can also visit the website without ads.
Master your Raspberry Pi in 30 days: If you are looking for the best tips to become an expert on Raspberry Pi, this book is for you. Learn useful Linux skills and practice multiple projects with step-by-step guides.
The Raspberry Pi Bootcamp: Understand everything about the Raspberry Pi, stop searching for help all the time, and finally enjoy completing your projects.
Master Python on Raspberry Pi: Create, understand, and improve any Python script for your Raspberry Pi. Learn the essentials step-by-step without losing time understanding useless concepts.
You can also find all my recommendations for tools and hardware on this page.