How to install GitLab on your Raspberry Pi?
GitLab allows you to create a private GitHub-like server at home on your Raspberry Pi.
Since the acquisition of GitHub by Microsoft, many worry about data privacy. Many companies moved to other platforms, and the cheapest solution for individuals is to use a private Git server (on Raspberry Pi for example).
To install GitLab on a Raspberry Pi, there is an official repository to register in the APT configuration.
Then it can be installed with the command line: apt install gitlab-ce.
In this post, I’ll begin with an introduction about Git and GitLab and why you need to use them.
Then, I’ll show you how to install GitLab and how to use the basic functions of this software.
If you’re looking to quickly progress on Raspberry Pi, you can check out my e-book here. It’s a 30-day challenge where you learn one new thing every day until you become a Raspberry Pi expert. The first third of the book teaches you the basics, but the following chapters include projects you can try on your own.
GitLab introduction
Git reminder
Git is a code manager used to share sources between all developers from the same project.
It allows concurrent editing of the same files, and even if you are alone, it’s a good tool to back up your code and note the changes you make.
If you know them, the goal is the same as with SVN (Subversion) or CVS (concurrent version system).
The main difference is that Git doesn’t require a main server to keep files. Git uses the developers’ computers to store files instead.
However, you should install Git on a server to make sure your code is safe if you are the only developer.
GitLab presentation
GitLab is precisely the missing server in the default Git architecture.
It provides you a backup host with a web interface to manage your project.
In the beginning, GitLab was just a tool to see your source code on a web interface.
But since then, GitLab continued adding new features in order to make it an essential tool in any Git project.
GitLab is a free and open-source software.
But you can use it in the cloud if you prefer, for a price between 0 and $99.
In this tutorial, I’ll show you how to install it for free on your Raspberry Pi.
Why not use GitHub instead?
GitHub is a fantastic service to manage your Git repositories.
But as I already said, you can’t control what they do with your source code and your information.
If like me, you always mix the languages syntax, download my cheat sheet for Python here!
Download now
For small projects, GitHub is fine, you can get quickly get free hosting for your source code.
For bigger projects or for companies, I don’t know if it’s the best option.
You can’t be sure that your data is safe, especially since Microsoft is in charge.
GitLab also provides more and more tools to manage your project.
For example, permissions management is more accurate on GitLab. This allows you to add not only developers on GitLab but all kinds of people that need to work on the project.
GitLab installation
Prepare your system
To follow this tutorial, your Raspberry Pi needs to use Raspberry Pi OS.
Any version will be fine, Raspberry Pi OS Lite is enough as we don’t need an interface to install GitLab.
If you need help on how to install Raspberry Pi OS on Raspberry Pi, follow my step-by-step installation guide for beginners.

Join Our Community!
Connect, learn, and grow with other Raspberry Pi enthusiasts. Support RaspberryTips and enjoy an ad-free reading experience. Get exclusive monthly video tutorials and many other benefits.
Learn moreOnce the Raspberry Pi OS installation is complete, follow these last steps to achieve the system preparation:
- Enable SSH if not already done:
sudo raspi-config - Then go to “Interfacing options” > “SSH” and choose “Yes”.
I have a full guide about SSH here if you need a more step-by-step explanation. - Update your system:
sudo apt updatesudo apt upgradesudo reboot
- After the reboot, you will be ready to move to the next step.
Are you a bit lost in the Linux command line? Check this article first for the most important commands to remember and a free downloadable cheat sheet so you can have the commands at your fingertips.
Note: If you use Ubuntu instead of Raspberry Pi OS, you can check this tutorial that is more generic.
Install dependencies
GitLab needs some dependencies before the repository installation.
Most of them are already pre-installed on Raspberry Pi OS, but you will probably need to install at least Postfix (for email notifications).
Here is the command to install all of them:sudo apt install apt-transport-https postfix
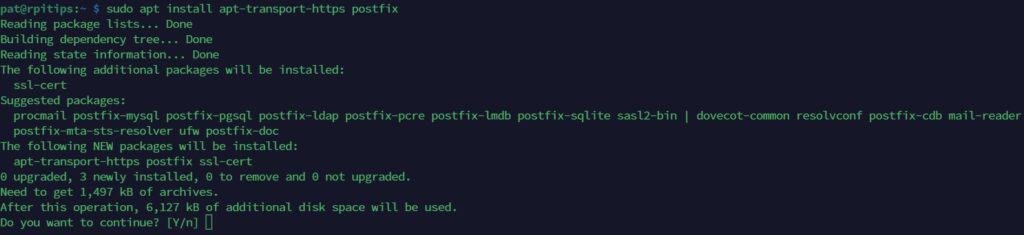
Type “Y” to continue.
In the Postfix configuration, choose “Internet site” and enter your DNS name if you have one.
You can change this later if you want email notifications, not a big deal, continue the installation.
Add the GitLab repository
- Start by adding the apt key for the repository:
curl https://packages.gitlab.com/gpg.key | sudo apt-key add -
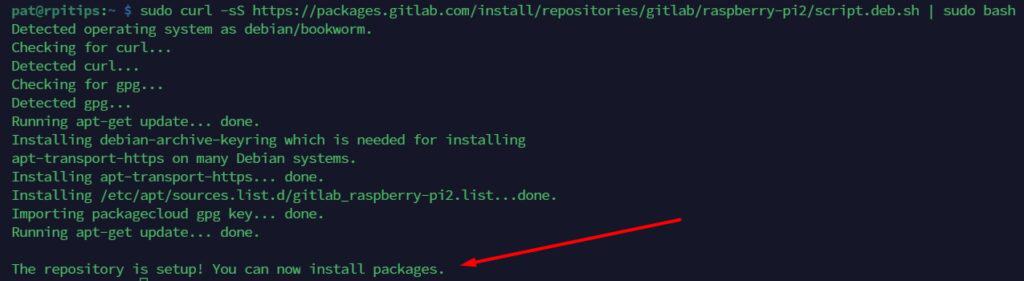
- Then run the script to add the repository automatically:
sudo curl -sS https://packages.gitlab.com/install/repositories/gitlab/raspberry-pi2/script.deb.sh | sudo bash
If everything goes fine, you will get the success message “The repository is setup! You can now install packages.”.
Install the GitLab package
Start by updating the packages list with:sudo apt update
We can finally install the GitLab package with:sudo EXTERNAL_URL="http://192.168.1.15" apt install gitlab-ce
If like me, you always mix the languages syntax, download my cheat sheet for Python here!
Download now
Replace the EXTERNAL_URL value with your IP address or the DNS name you want to use (don’t set an HTTPS URL for the moment).
The package weighs almost 1GB, so it can take a few minutes to download it with low connection speed. The installation takes a long time to unpack and install GitLab.
Note: If you get the error “E: Unable to locate package gitlab-ce”, it’s probably because the package is not yet available for your distribution version.
When I updated this article, it was only available for Bookworm as a manual download here.
In this case, download the latest package with something like:wget --content-disposition https://packages.gitlab.com/gitlab/gitlab-ce/packages/debian/bookworm/gitlab-ce_16.5.7-ce.0_arm64.deb/download.debAnd install it manually with:sudo dpkg -i gitlab-ce_16.5.7-ce.0_arm64.debObviously, you need to change the version number according to the latest version available.
The external URL is then set into the /etc/gitlab/gitlab.rb file:sudo nano /etc/gitlab/gitlab.rbAnd then you can finally complete the initial configuration with:sudo gitlab-ctl reconfigure
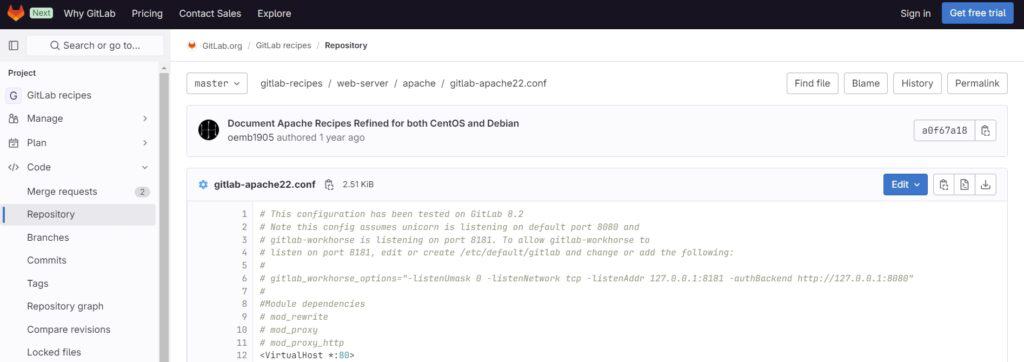
Login to the GitLab interface
Once the installation is done, you can access the web interface on http://<EXTERNAL_URL>.
Use the same URL as defined in the installation process.
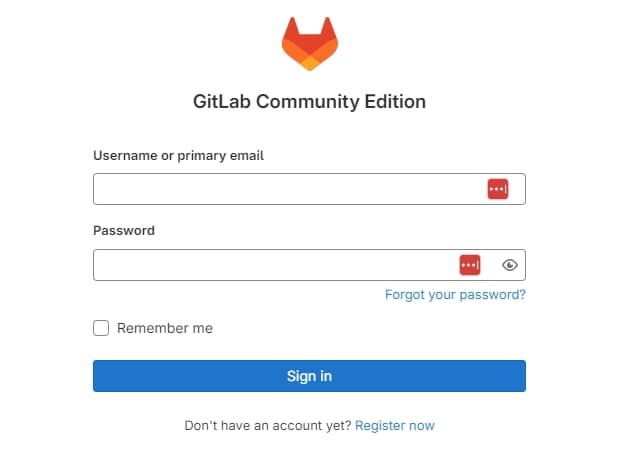
Log into the interface with:
- Login: root
- Password: It’s generated during the installation. You can find it in /etc/gitlab/initial_root_password:
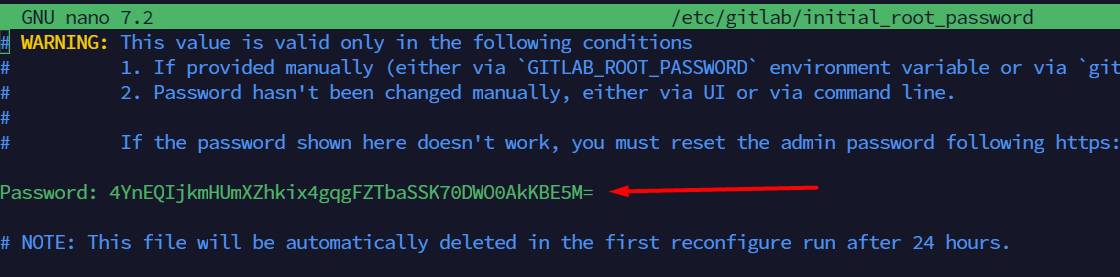
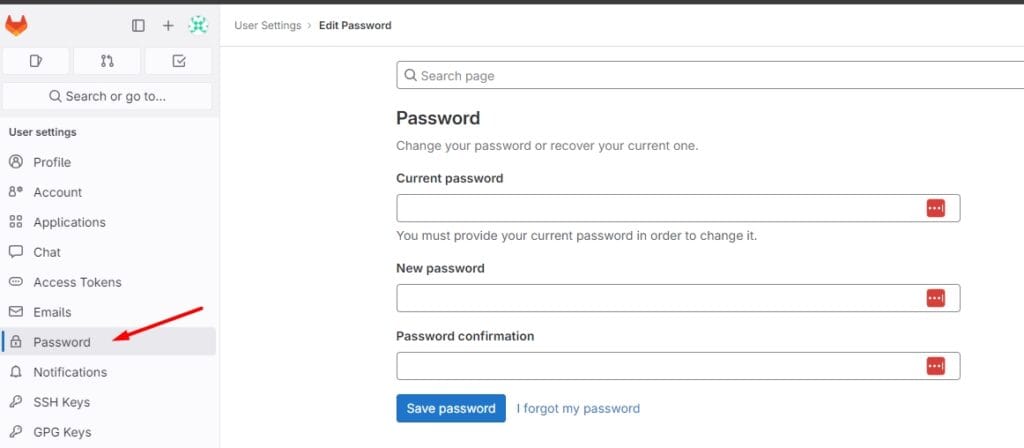
Once logged it, please change your password right away, as it’s stored in plain text in this file, it’s highly recommended to reset it quickly. You can do this easily by clicking on “Password” in the User settings:
If you need more information about the GitLab configuration, you can find all the answers in the GitLab docs.
GitLab usage
Fix error 502
If you aren’t able to access the web interface because of a high load average, I had the same issue.
I had something like 40 of load average, just to display one page and a lot of timeouts.
I cross my fingers because I’m not sure it’s definitive.
But once I increased my swap size, it seemed to work better.
To increase your swap size you need to follow these steps:
- Disable the swap usage:
sudo dphys-swapfile swapoff - Edit this file:
sudo nano /etc/dphys-swapfile - Change the value of the swap size:
CONF_SWAPSIZE=2048 - Confirm the change (creation of the new file):
sudo dphys-swapfile setup - Then enable the swap again:
sudo dphys-swapfile swapon
You might need a reboot to apply changes in the GitLab apps.
Create your first project
Once logged in the GitLab interface, you will get a home page like this:
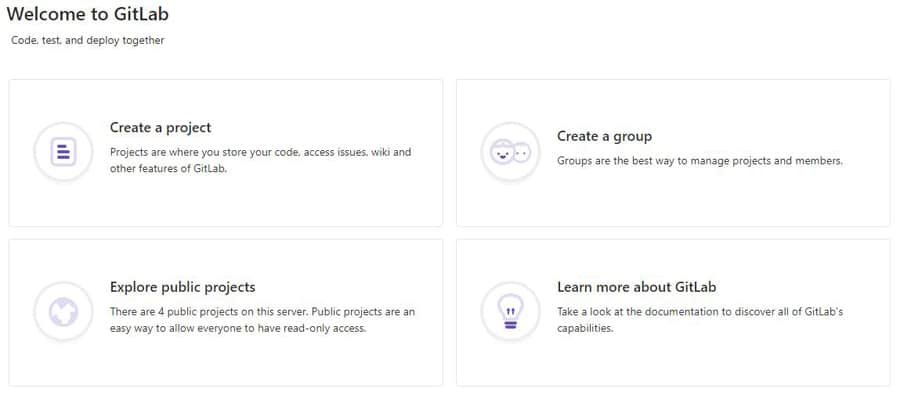
Click on “Create a project” and fill the form:
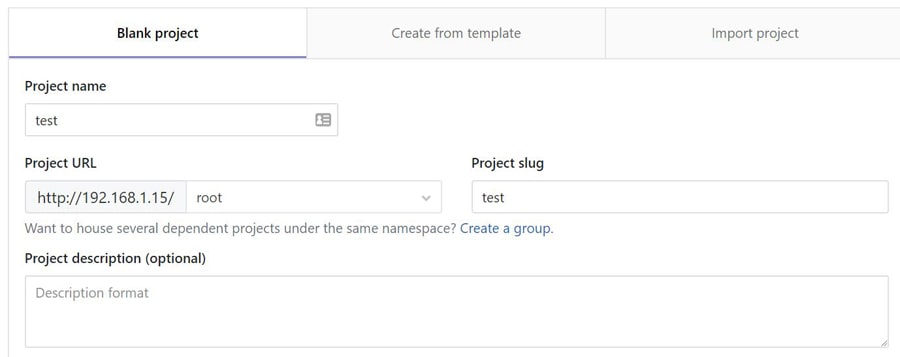
Choose the options that fit the best to what you want to do and click on “Create project”.
You can also use a template or import an existing Git project.
Once the project is created (I got another laggy moment here, but it works), you can use it as usual with the Git command:
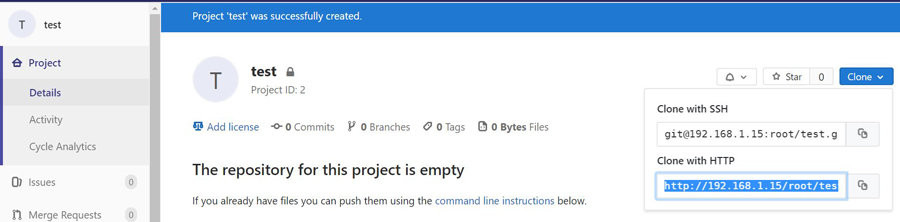
The project interface is really close from what you get on GitHub.
For example, to clone my test project on my other Raspberry Pi:git clone http://192.168.1.15/root/test.git

It's a free PDF guide containing every Raspberry Pi Linux command you should know!
Download now
Related questions
Is it a good idea to use GitLab on a Raspberry Pi? It seems to work fine once the optimization issues were fixed. But I’m not sure it’s the best idea. It’s good to try in order to make sure you can do what you want with it. But for the long term, you need to find a more powerful device, and with less corruption risk (SD card is not the safer storage)
Where is the GitLab configuration file? From what I found, everything seems to be in the /etc/gitlab/gitlab.rb file. Options are not always intuitive, but you should find help on the GitLab website and forum.
It's a free PDF guide containing every Raspberry Pi Linux command you should know!
Download now
Want to chat with other Raspberry Pi enthusiasts? Join the community, share your current projects and ask for help directly in the forums.
Conclusion
That’s it, you know how to install GitLab on your Raspberry Pi and how to use it.
It’s a cool alternative to GitHub if you worry about data privacy and want to keep control.
But don’t forget to make backups if you don’t want to take the risk of losing everything.
Check my guide on how to back up your Raspberry Pi if you need more information about that.
Whenever you’re ready, here are other ways I can help you:
The RaspberryTips Community: If you want to hang out with me and other Raspberry Pi fans, you can join the community. I share exclusive tutorials and behind-the-scenes content there. Premium members can also visit the website without ads.
Master your Raspberry Pi in 30 days: If you are looking for the best tips to become an expert on Raspberry Pi, this book is for you. Learn useful Linux skills and practice multiple projects with step-by-step guides.
The Raspberry Pi Bootcamp: Understand everything about the Raspberry Pi, stop searching for help all the time, and finally enjoy completing your projects.
Master Python on Raspberry Pi: Create, understand, and improve any Python script for your Raspberry Pi. Learn the essentials step-by-step without losing time understanding useless concepts.
You can also find all my recommendations for tools and hardware on this page.