
How to Power a Raspberry Pi: Pro Tips for Every Use
Finding a power supply compatible with your Raspberry Pi can be a mess, as each model has specific requirements in terms of power and connectors. But don’t worry, I have gathered all the information you need and will explain everything in this article.
A Raspberry Pi must be powered with a compatible power supply. All models run on 5.1V power, but Raspberry Pi 4 and 400 require 3A while other models can work fine on 2.5A. It’s not recommended to use a phone charger or USB cable to power a Raspberry Pi.
This article will show you what can be used to power the Raspberry Pi computer and what you should pay attention to.
If you need help getting started on Raspberry Pi, I have an entire course to guide you through your first steps. I’ll help you use the perfect hardware, plug everything in and install your first system. You’ll also do your first projects with me, just to make sure you are ready for the next level. Get all the information on this page if you are interested.
How do you power a Raspberry Pi?
What are the requirements for powering a Raspberry Pi computer?
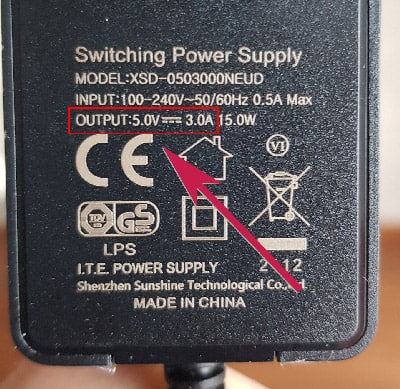
As a general rule, Raspberry Pi models can be powered with a 5.1V power supply. However, recent models (4B and 400) require 3A to work efficiently.
Here is a table with all the information you need to choose your power supply:
If you are lost in all these new words and abbreviations, request my free Raspberry Pi glossary here (PDF format)!
Download now
| Model | Voltage | Recommended Capacity |
| Zero | 5.1V | 1.2A |
| Pi 1 A / A+ | 5.1V | 700mA |
| Pi 1 B+ / 2 B | 5.1V | 1.8A |
| Pi 3 A+ / B / B+ | 5.1V | 2.5A |
| Pi 4 B / 400 | 5.1V | 3.0A |
| Pico | 1.8–5.5V DC | – |
Also, some models have different connectors, so make sure to get a power supply that fits your Raspberry Pi.
Raspberry Pi 4B and 400 use USB-C, while other models are powered via Micro USB.
| Model | Connector |
| Zero / 1 / 2 / 3 | Micro USB |
| 4 B / 400 | USB C |
| Pico | Micro USB |
The easiest way to avoid any issue with your power supply is to grab the official one for your specific model. For example, on Raspberry 4 and 400 it will be this one on Amazon. This way you are sure it respects this requirement and that it will work like a charm with your Raspberry Pi.
For Raspberry Pi 3 and older, you can use this one from CanaKit, which is specifically made for Raspberry Pi.

Join Our Community!
Connect, learn, and grow with other Raspberry Pi enthusiasts. Support RaspberryTips and enjoy an ad-free reading experience. Get exclusive monthly video tutorials and many other benefits.
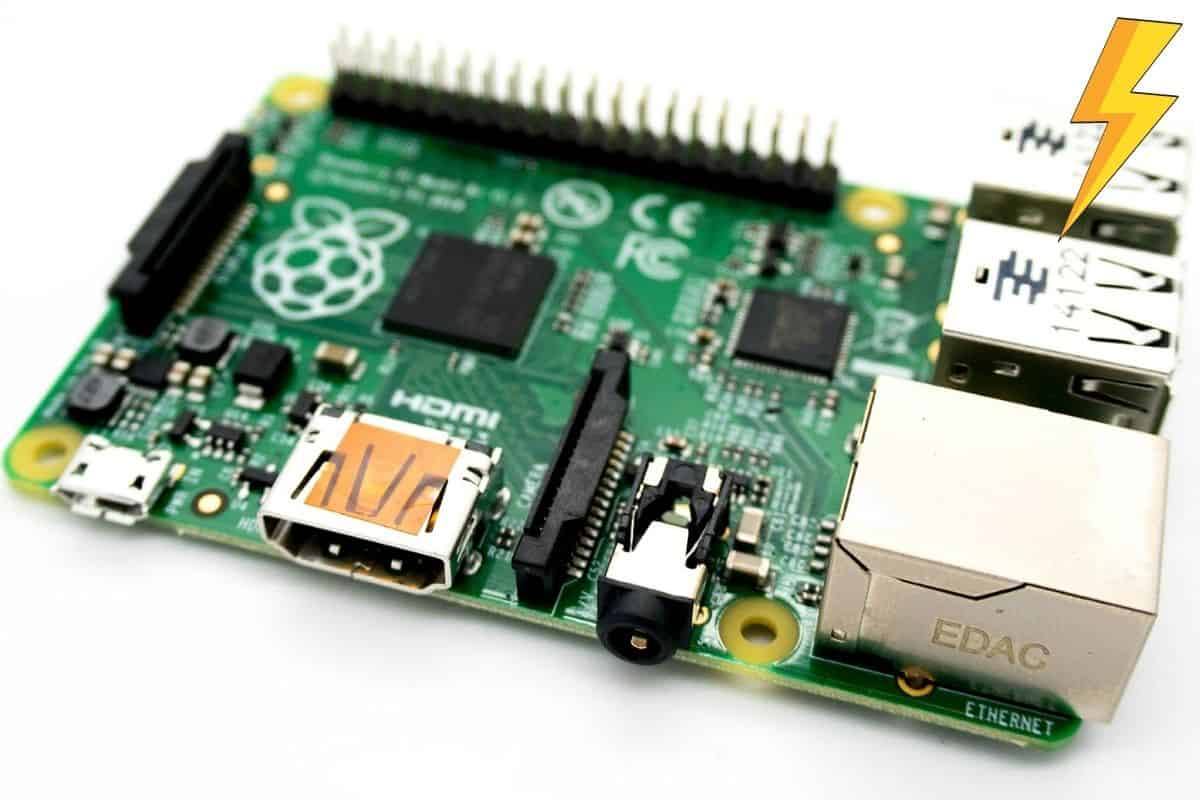
Learn moreLightning Bolt
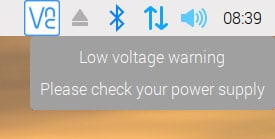
If a lightning bolt icon appears at the top right of the screen on Raspberry Pi OS, it means that your power supply is not providing enough power to the Raspberry Pi.
You should purchase a PSU that meets the requirements listed in the above table as the under power could cause damage to the micro-SD memory card or the Raspberry Pi.
Power requirements for additional devices
Additional devices may increase the power requirements for your Raspberry Pi, but there are a few tips that can help avoid the most common issues.
If you use a wireless keyboard and mouse, the dongle required to connect to these devices can be plugged directly to a USB connector on the Raspberry Pi computer. If you choose this option, try to purchase a keyboard and mouse that use the same dongle, otherwise you will need to use 2 USB ports, which is the same as using the wired version of these devices. Personally, I use this one from Riitek, only one adapter.
USB memory sticks used for additional storage or boot media can also be connected directly to the Raspberry Pi computer. This shouldn’t cause any problems.
If you are lost in all these new words and abbreviations, request my free Raspberry Pi glossary here (PDF format)!
Download now
However, if you want to add additional storage devices, such a Solid-State Drive (SSD, very useful to make your Raspberry Pi runs faster) or Hard Disk Drive (HDD), it is recommended to use a powered USB hub instead of attaching it directly to the Raspberry Pi. The reason for this is that the device will get its power from the main electrical source and not from the Raspberry Pi computer, which won’t be able to provide enough power to the device.
This is not expensive at all. You can find some great options on Amazon (like this one).
Using a USB Cable to Power a Raspberry Pi
It’s possible to use a USB cable to power a Raspberry Pi by plugging it into a free USB port on your computer. This isn’t the best way, as the computer won’t deliver enough current to power all of your accessories. However, it’s a convenient way to start it if you have nothing else available. You’ll probably get the lightening symbol with a few USB accessories or if you ask too much to your Pi.
To do this, you’ll need a USB cable that has either a Micro USB connector or a USB-C connector, depending on the Raspberry Pi model you’re using, and a standard USB connector to connect to the main computer.
Check the above table for the type of connectors to use with each model.
For example, you’ll need that kind of cable with a Raspberry Pi 4 or 400.
It's a free PDF guide containing every Raspberry Pi Linux command you should know!
Download now
Using a Phone Charger to Power a Raspberry Pi
It is NOT recommended to use a phone charger to power the Raspberry Pi computer. In general, these chargers don’t produce the exact voltage and amperage written on the label.
Also, the newer model 4 requires more amperage than the older models and most phone chargers do not provide the required amount.
Therefore, it is recommended to purchase a power supply unit (PSU) that is designed for the Raspberry Pi from an authorized merchant such as where the Raspberry Pi was purchased.
It's a free PDF guide containing every Raspberry Pi Linux command you should know!
Download now
Want to chat with other Raspberry Pi enthusiasts? Join the community, share your current projects and ask for help directly in the forums.
Powering the Raspberry using a battery and solar panel charger
This is the option I am planning to use in my current project, which is a solar-powered weather station. After reading several articles I selected the following hardware for my station:
- A 12 Watt Solar Panel.
- A portable Power Platform which attaches to any Raspberry Pi computer. This controls the charging of the battery and shutting down the computer if the battery gets too low.
- A 3.7 V 5000mah battery.
- A BME280 sensor that measures Humidity, Pressure and Temperature and is only 1” x 1.5” in size.
- A Raspberry Pi Zero – WH computer: The WH means it has Wi-Fi/Bluetooth and a 40-pin header attached.
The BME280 and devices for measuring wind speed and rainfall amount will be attached to the Raspberry Pi Zero, which will transmit the data via Wi-Fi to a Raspberry Pi model 4 running PostgreSQL database for data storage and report generation.
You can find more details about this project in this video if you are interested:
By the way, you can also use a device like the RasPad 3 which includes a battery inside the case. It will work for a few hours, so it might be enough in many cases. You can find my review of the RasPad 3 here with more details about this.
What if your Raspberry Pi still doesn’t boot?
If you followed all the recommendations listed above and your Raspberry Pi still doesn’t boot, it’s probably an issue not related to the power supply.
Many reasons can cause a Raspberry Pi to not boot correctly.
In fact, I have an entire article about it that you can find here. Please don’t hesitate to read it if you experience any issue with your Pi.
Whenever you’re ready, here are other ways I can help you:
The RaspberryTips Community: If you want to hang out with me and other Raspberry Pi fans, you can join the community. I share exclusive tutorials and behind-the-scenes content there. Premium members can also visit the website without ads.
Master your Raspberry Pi in 30 days: If you are looking for the best tips to become an expert on Raspberry Pi, this book is for you. Learn useful Linux skills and practice multiple projects with step-by-step guides.
The Raspberry Pi Bootcamp: Understand everything about the Raspberry Pi, stop searching for help all the time, and finally enjoy completing your projects.
Master Python on Raspberry Pi: Create, understand, and improve any Python script for your Raspberry Pi. Learn the essentials step-by-step without losing time understanding useless concepts.
You can also find all my recommendations for tools and hardware on this page.


People forget (or don’t know) that even if your Power Supply shows 5.1V it does not mean you will get it on Raspberry – problem being: cable (thickness, length) as well as cheap (low quality) connectors. Also switches on the cables. When your Pi is asking for 2-3A, you might lose 0.5V on these cables/connectors and in fact you will get only 4.5V on Pi.
So either better cabling or higher voltage. Pi can easily work with 5.6V: when idle, RPi 4 takes around 0.8A with SSD connected to USB3 directly – when under full stress (i.e. CPU 100% – all cores and full write to SDD) it will very fast get into 2.2A. And I am talking headless (no display) Pi 4B.
The low voltage warning starts around 4.8V on 5V GPIO pins but the critical point is connected SSD – usually disk is becoming read-only or looses the connectivity. With microSD Pi works even at around 4.4V. I spent some time testing these issues while building big power supply with UPS to my 5 pieces of Pi I have in my home.
Pi Zero W is much less hungry – of course Pico is not even computer so this one is usually never hungry 😉