Arduino IDE 2 on Ubuntu: Step-by-step installation guide
The Arduino IDE is the perfect companion for your Arduino board. It is recommended to use it for all your Arduino projects, but installing it on Ubuntu is not necessarily straightforward as there are many obsolete tutorials on this topic. However, don’t worry! I have a step-by-step guide for you here that will answer all your questions.
The new Arduino IDE release (2.X) is like a portable edition, no standard installation is required on Linux. However, it’s good practice to follow a few recommendations to safely set up and use the application.
Let’s see how to get started with Arduino IDE on Ubuntu, and I’ll give you a few tips to get the most out of it. I tested it on Ubuntu 23.04, but it should work the same way on most distributions.
Prerequisites
Arduino IDE doesn’t have any specific requirements for the installation. It’s a lightweight editor that should run on most computers, and no prerequisites are needed in terms of packages and libraries.
I tested it on a brand-new Ubuntu installation, and it worked perfectly fine.
Just make sure your system is up-to-date. You can either use the Software Updater tool in the GUI:

Join Our Community!
Connect, learn, and grow with other Raspberry Pi enthusiasts. Support RaspberryTips and enjoy an ad-free reading experience. Get exclusive monthly video tutorials and many other benefits.
Learn more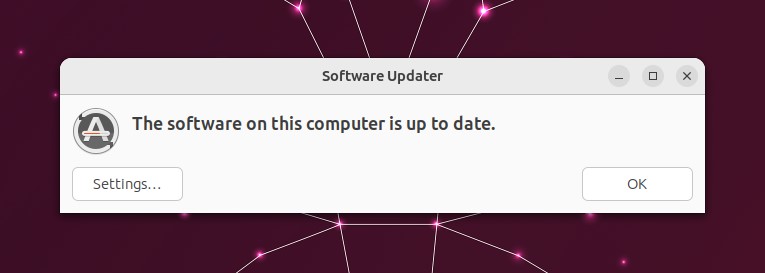
Or type these commands in a terminal:sudo apt update
sudo apt upgrade
Download your exclusive free PDF containing the most useful Linux commands to elevate your skills!
Download now
If any new updates are available, please confirm the installation. A reboot might be a good idea if there are a lot of them, especially for things like kernel updates.
If you’re new to the Linux command line, this article will give you the most important Linux commands to know, plus a free downloadable cheat sheet to keep handy.
Install Arduino IDE on Ubuntu
Here are the main steps to install Arduino IDE on Linux:
- Download the ZIP file from the official website.
- Extract the archive in the installation folder.
- Double-click on the “arduino-ide” file to start the application.
Let’s see how to do this in detail.
Download Arduino IDE from the official website
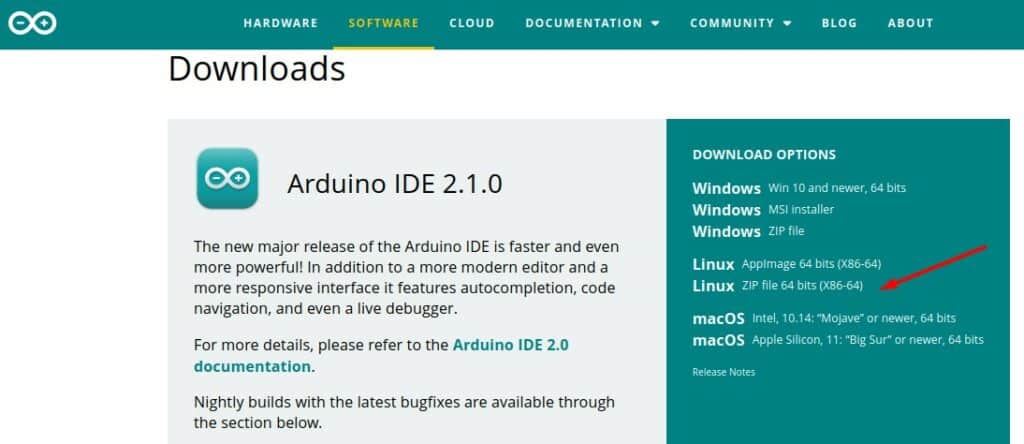
Arduino IDE is free and available for all platforms on the official website. Here is the link to the download page.
Several versions are available on this page, make sure to download the latest one (top of the page). There are also two files for Linux. I’m using the ZIP file for this tutorial.
Extract the archive
Once you have the file on your computer, you can use the graphic interface to extract the files: right-click on the file in your Downloads folder and choose “Extract” in the menu.
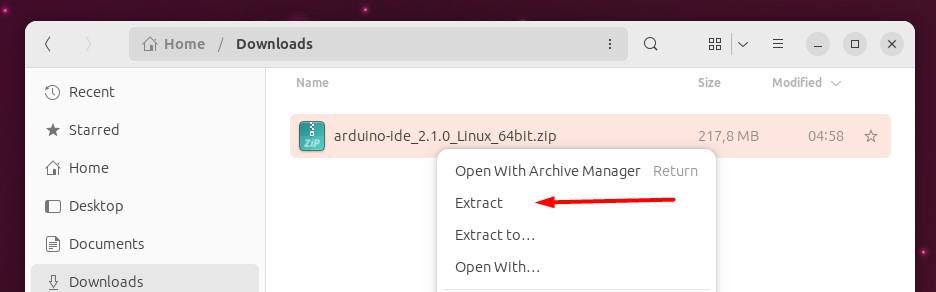
It will create a new folder named “arduino-ide_VERSION” with all the application files inside it.
Run the application for the first time
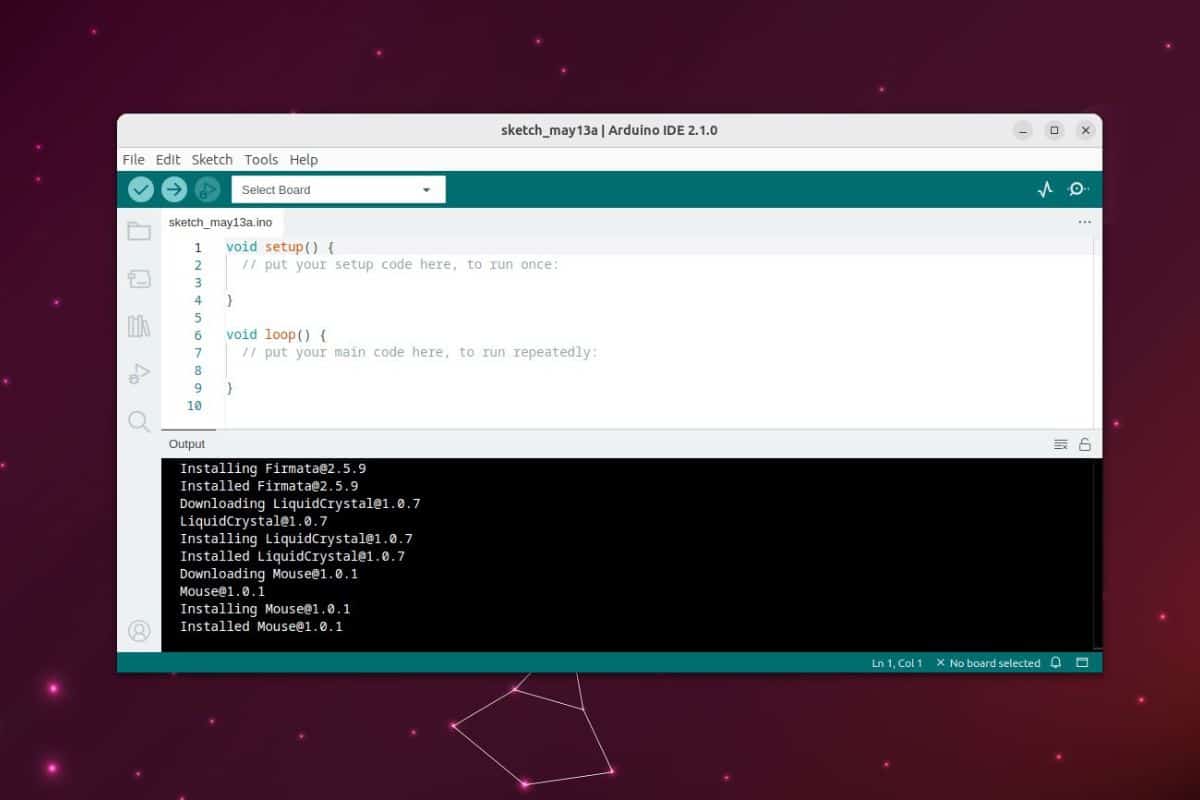
From there, you can directly start the application by double-clicking on the file named “arduino-ide”.
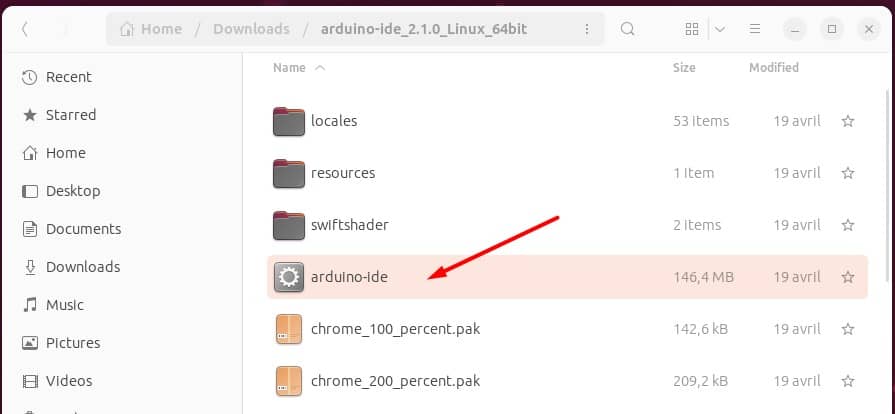
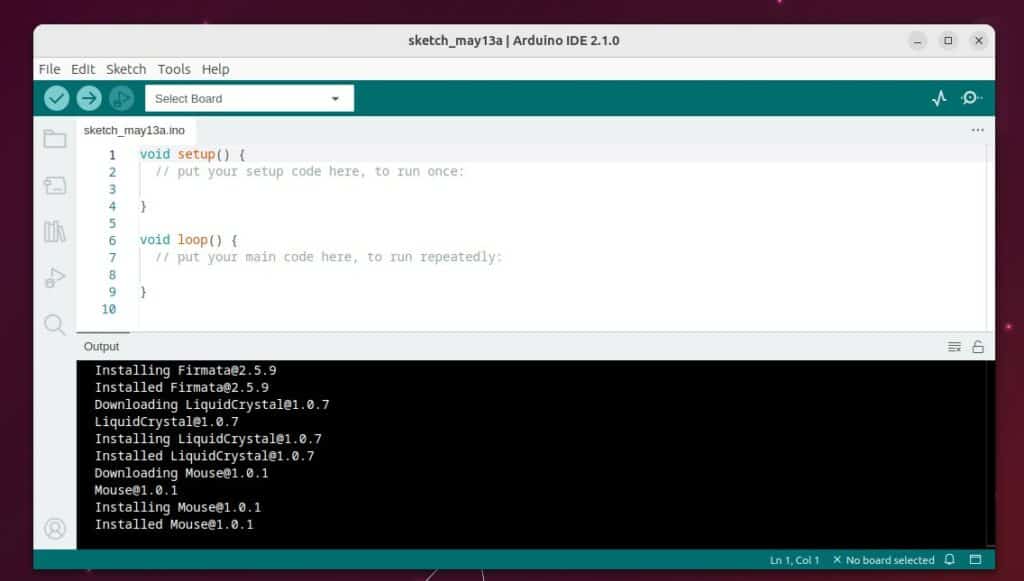
It should start the application with the default settings and a file example:
Download your exclusive free PDF containing the most useful Linux commands to elevate your skills!
Download now
So, as mentioned in the introduction, there is no real installation process for Arduino IDE, which is great for quickly using it a few times but not perfect if you plan to use it long term.
Currently, there is no way to start the application from the Ubuntu launcher (no shortcut), and the application will run from your Downloads folder, which is not really the safest place on your computer.
Download your exclusive free PDF containing the most useful Linux commands to elevate your skills!
Download now
Getting started with Arduino IDE on Ubuntu
After running Arduino IDE for the first time, there are two things I recommend doing if you plan to use it in the long term:
- Move the application files to another location.
- Add a shortcut for Arduino IDE in your main menu.
Let’s see how to do this.
Move the files to a safer location
I don’t know about you, but in my case, I consider the Downloads folder a temporary folder. You rarely need the files in it more than once.
As soon as I have too many files in it, I delete everything or at least move the files into an archive subfolder to make sure I don’t need them.
Anyway, it isn’t a good practice to keep your applications in the Downloads folder. If there’s no installation wizard, it’s recommended to move them to another folder (/opt for example).
This is exactly what we’ll do now:
- Close Arduino IDE if it’s still running.
- Open a terminal.
- If you have a folder for this in your home directory, you can use the graphical interface to move the files to it (the whole arduino folder).
If not, you can, for example, use the “/opt” directory for this (but you’ll need administrative privileges).
For example, you can run the following command:sudo mv /home/$USER/Downloads/arduino-ide_XXX /opt/arduino_ide
Don’t forget to replace XXX with the version you’ve downloaded.
We have to use a terminal because the default user can’t write in the /opt folder.
You can now start Arduino IDE from the /opt folder instead of /home/$USER/Downloads.
But that’s still not very convenient, which is why I’ll show you how to create a shortcut in the main menu.
Create a shortcut for Arduino IDE in the main menu
There is no installation wizard for Arduino IDE, we get the files already compiled and ready to use. That’s fine, but it doesn’t add it to the main launcher on Ubuntu.
Here’s how to create a shortcut for your system (should work with most distributions and environments):
- Open a terminal.
- Go to ~/.local/share/applications/ :
cd ~/.local/share/applications/ - Create a new file for Arduino IDE:
nano arduino.desktop - Paste the following lines:
[Desktop Entry]
Encoding=UTF-8
Name=Arduino IDE
Exec=/opt/arduino_ide/arduino-ide
Icon=/opt/arduino_ide/resources/app/lib/e1f37bb1fd5c02b876f8..png
Type=Application
Obviously, you need to change the file path to fit your installation.
The app logo has a weird name (that seems random), you might need to change it too.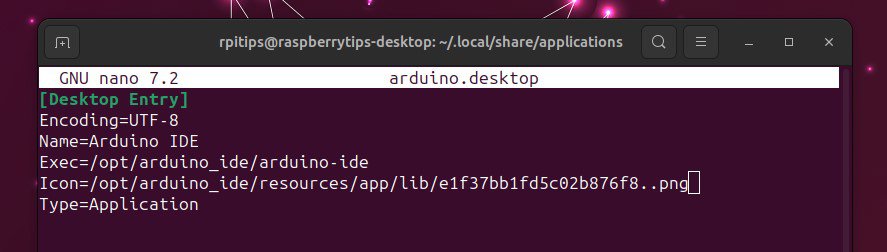
I did a search for “png” in the Arduino folder to find it. - Save and exit (CTRL+X).
A few seconds later, you should find the Arduino IDE icon in the GNOME apps launcher:
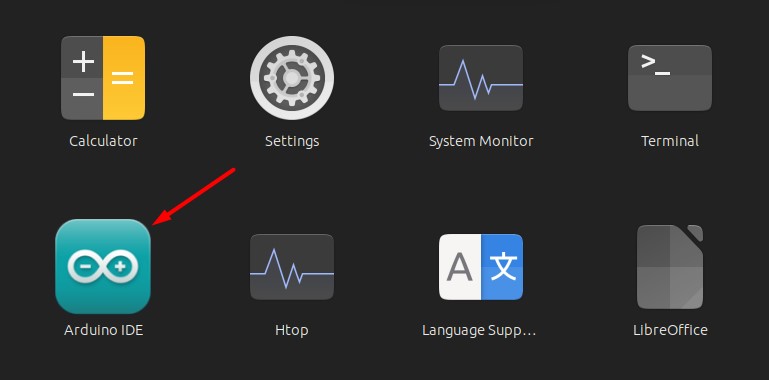
That’s it, your app files are in a safe location, and you can run your favorite text editor as if it has been installed via APT or the Software app. Enjoy!
And if you liked this tutorial, here are a few other ones you might be interested in:
- Getting Started with C++ (Guide & examples)
- The 7 Best Text Editors for Developers on Linux
- Ubuntu Backup Essentials: Tips and Tricks from a sysadmin
Download your exclusive free PDF containing the most useful Linux commands to elevate your skills!
Download now
Reminder: Remember that all the members of my community get access to this website without ads, exclusive courses and much more. You can become part of this community for as little as $5 per month & get all the benefits immediately.
Additional Resources
Overwhelmed with Linux commands?
My e-book, “Master Linux Commands”, is your essential guide to mastering the terminal. Get practical tips, real-world examples, and a bonus cheat sheet to keep by your side.
Grab your copy now.
VIP Community
If you just want to hang out with me and other Linux fans, you can also join the community. I share exclusive tutorials and behind-the-scenes content there. Premium members can also visit the website without ads.
More details here.
Need help building something with Python?
Python is a great language to get started with programming on any Linux computer.
Learn the essentials, step-by-step, without losing time understanding useless concepts.
Get the e-book now.