Install HOOBS on Your Raspberry Pi in 10 Minutes or Less
Home automation projects are the perfect fit for a Raspberry Pi home server, as it doesn’t require a lot of resources to run all the time. HOOBS is one software you can use for this, it’s compatible with a Raspberry Pi and provides a nice interface. Let’s learn how to install it on your device.
HOOBS provides repositories for most Debian-based Linux distributions, including Raspberry Pi OS. Once the repository is added, HOOBS can be installed easily by using the Debian package manager: APT. A web interface is then available for the software configuration.
Don’t worry, it’s not complicated, even if you are not used to the command line. And, in this article, I’ll explain all of the steps in detail. Let’s start with a brief introduction about HOOBS to make sure everything is clear.
If you’re looking to quickly progress on Raspberry Pi, you can check out my e-book here. It’s a 30-day challenge where you learn one new thing every day until you become a Raspberry Pi expert. The first third of the book teaches you the basics, but the following chapters include projects you can try on your own.
What is HOOBS?
HOOBS stands for “Homebridge Out of the Box”. It’s software that enables users to easily set up and use Homebridge, an open-source home automation platform that allows users to control a variety of smart home devices using a single interface.
If you’re familiar with Homebridge, it’s the same thing but with a better interface that is easier to use for beginners. The installation is slightly easier, but the main changes are within the interface, as you can set up everything from there using plugins and filling forms from your web browser.
HOOBS can then be used to integrate a wide range of smart home devices and services, including those from Apple HomeKit, Amazon Alexa, Google Assistant, and many others. As plugins from the community are available, almost any smart device can be linked to your HOOBS interface.
I have an article about Home Assistant on this website that you can check and HOOBS basically does the same thing.

Join Our Community!
Connect, learn, and grow with other Raspberry Pi enthusiasts. Support RaspberryTips and enjoy an ad-free reading experience. Get exclusive monthly video tutorials and many other benefits.
Learn moreIt's a free PDF guide containing every Raspberry Pi Linux command you should know!
Download now
How To Install HOOBS On Raspberry Pi
Here are the required steps to install HOOBS on a Raspberry Pi:
- Install Raspberry Pi OS and complete the initial configuration.
- Download the HOOBS installation script and run it to add the official repository.
- Use APT to install HOOBS.
- Open the web interface to link your devices.
Let’s learn how to do all of these steps in detail.
It's a free PDF guide containing every Raspberry Pi Linux command you should know!
Download now
Add repository
HOOBS can run on most Debian-based Linux distributions. It has a script you can use to add the repository corresponding to your system distribution and version. I recommend using it, as it’s really simple.
I’m testing this on Raspberry Pi OS Bullseye, the 64-bit edition, but it should work on any version.
If you need some guidance to install Raspberry Pi OS on your Raspberry Pi, follow this link to read my step-by-step tutorial.
Once the system is installed and configured, follow these steps to add the HOOBS repository:
- Open a terminal, or connect via SSH if you use a Lite version.
Check this tutorial to know how to use SSH on Raspberry Pi. - Copy/paste this command into the terminal:
wget -qO- https://dl.hoobs.org/stable | sudo bash -It will download the script from the HOOBS server and run it on your Raspberry Pi. - It will automatically add the repository corresponding to your system, automatically add the corresponding keys and run apt update to add it to your sources list.
There is nothing else to do at this step, we are now ready to use apt to install the HOOBS packages.
Install the packages
We can now install the HOOBS main packages, with this command:sudo apt install hoobsd hoobs-cli hoobs-gui
It will automatically find the latest version available on the repository we just added and install any missing dependencies. After a few minutes, everything is ready to use. However, there is just one last step to install HOOBS as a service (so it starts automatically on boot).
Run this command:sudo hbs install
You have the choice of the port you want to use. If you don’t have any other service with a web interface and don’t plan to add a web server on your Raspberry Pi, you can use port 80:

That’s the port you’ll use to access the web interface, so feel free to use another one to avoid conflicts with other applications (8080 for example, or anything else).
Are you a bit lost in the Linux command line? Check this article first for the most important commands to remember and a free downloadable cheat sheet so you can have the commands at your fingertips.
It's a free PDF guide containing every Raspberry Pi Linux command you should know!
Download now
Want to chat with other Raspberry Pi enthusiasts? Join the community, share your current projects and ask for help directly in the forums.
Getting started with HOOBS on Raspberry Pi
Once HOOBS is installed on the Raspberry Pi, everything can be done from the web interface.
Let me guide you through the first steps.
Access the web interface
Open a web browser on your computer and go to:
http://<IP>:<PORT>
- <IP> is the IP address of the Raspberry Pi.
You already have it if you used SSH, or you can follow my tutorial to learn how to find the Raspberry Pi IP address. - <PORT> is the interface port you defined with the previous command.
In my example, it’s 80, but it can be anything you chose in the previous step.
So, for me, the interface is now available at http://192.168.222.23.
If you used port 80, you don’t need to specify it in the URL, it’s the default for HTTP.
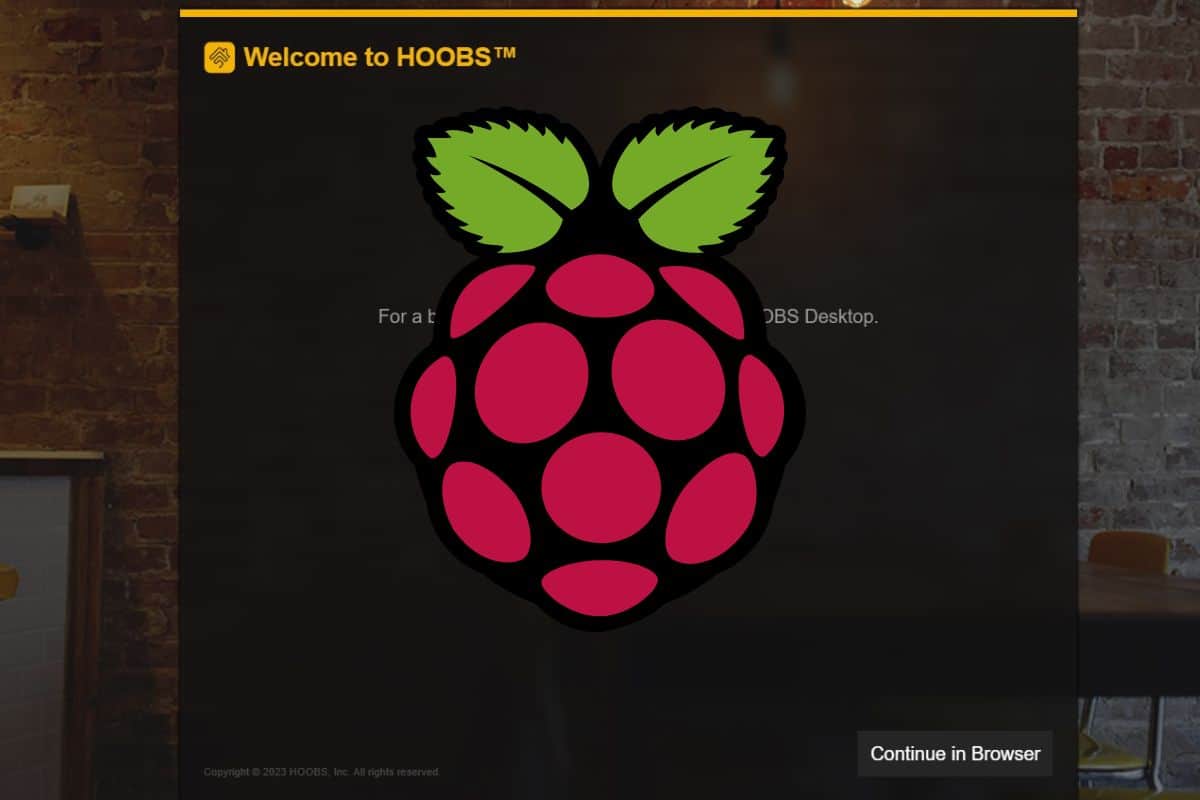
You should get something like the following image the first time you access the interface:
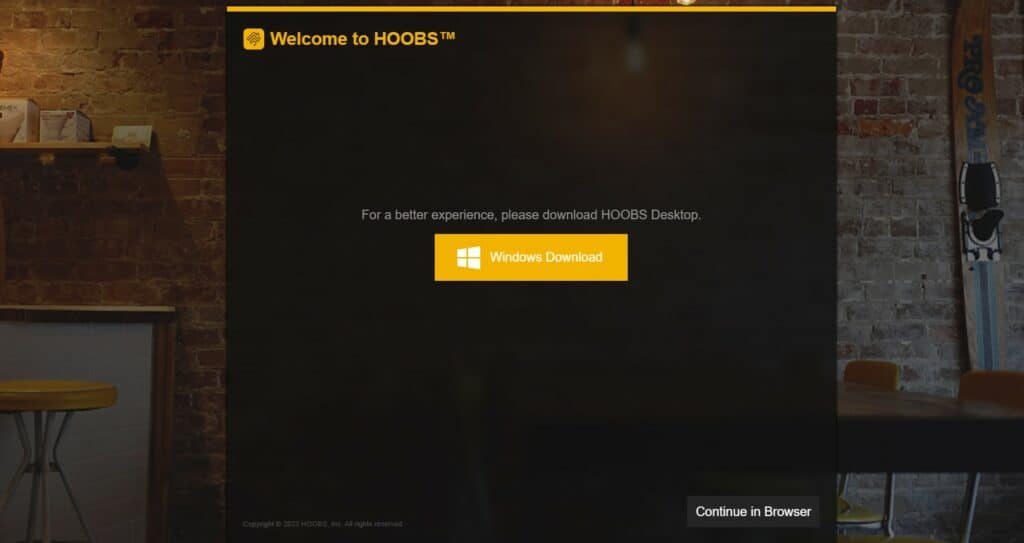
I’ll continue in the browser, so it works on any operating system (by clicking the button in the bottom-right corner), but you can try the Windows app if you like. I didn’t try, but I guess it should be very similar for the first steps.
It's a free PDF guide containing every Raspberry Pi Linux command you should know!
Download now
Create the user account
On the next screen, HOOBS asks you to create an administrator account.
You just need to fill out a form with the username and password:
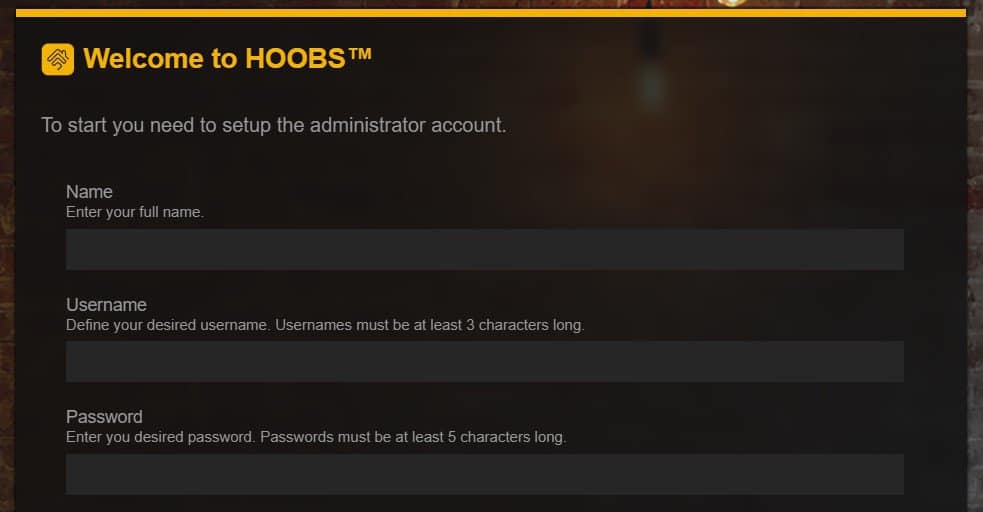
Use whatever you want, just make sure to respect the basic complexity requirements and avoid obvious usernames and passwords if possible.
Once done, you will get access to the interface’s main page, which looks like the following image on the version I tested:
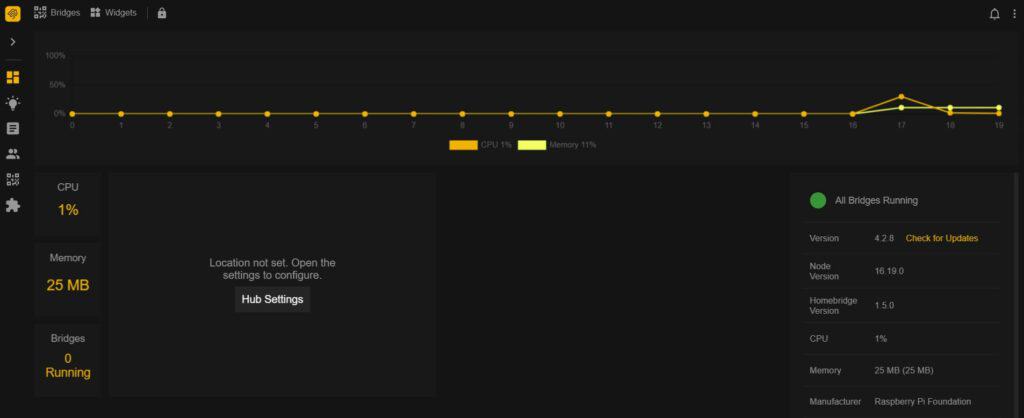
The interface is intuitive, with all the options available in the left menu. You can configure the home page to include your smart devices widgets and other things, but first, let’s do the updates.
Updates
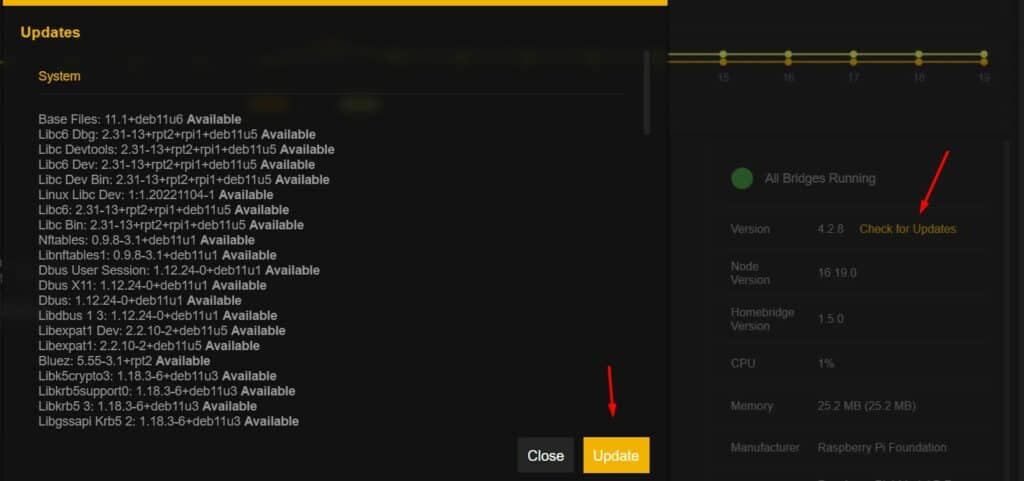
HOOBS has a feature on the home page that allows you to do updates. Even if I just installed the system and the app, there are already many updates available from there. So, I recommend doing them before anything else:
- Click on “Check for updates” on the right-side panel.
- It will give you a list with all the updates available.
I think there are packages related to HOOBS, but also all system updates and security patches.
So you don’t need to use APT in the command line if you do this regularly. - Click on the “Update” button to install all the new package versions available.
You’ll see the progress as if you were using APT from a terminal. After a few minutes, your system is up-to-date, and you can start integrating HOOBS with your smart devices.
Install plugins
The HOOBS interface is almost empty by default. It works with plugins, meaning you need to add a plugin for each device (or brand) you want to connect to your HOOBS dashboard.
The most popular plugins are featured directly in the interface, so you can install them easily:
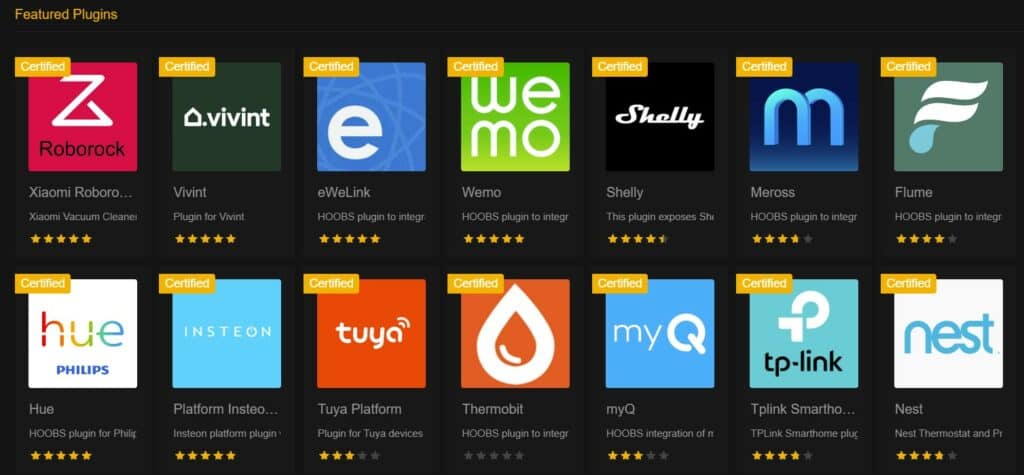
But you can also check the website here for more options. Anyone can upload a plugin on this website, which is great because almost any device will be compatible with HOOBS.
The issue is that not all of them are perfect or will work properly.
At the time I’m writing this, over 3000 plugins are listed on the website. Only half of them have a visual configuration tool, and I guess most of them don’t work, aren’t updated and aren’t compatible with the latest HOOBS or devices versions.
So, even if HOOBS is a good upgrade to HomeBridge, it doesn’t mean everything will be easy to set up. If you are lucky, your devices are supported and the plugin is kept up-to-date, but it wasn’t my experience for all of them.
Anyway, let’s take an example with one of the featured plugins to see the main steps to connect to a smart device.
Bridges
HOOBS creates bridges between the web interface and the smart device. In most cases, a plugin is required to create this connection. Once done, the device will be listed in the “bridges” menu on the left and can be controlled from there.
Install the corresponding plugin
The first step is to find and install the corresponding plugin. I’m trying the Hue plugin for this tutorial.
Philips Hue is a set of smart lights that you can install at home (check the starter kit on Amazon).
It works with a bridge connected to your network, and then the bulbs are connected to it, so you can control them from the smartphone app (or use the API, as explained in my tutorial here).
To control your lights with HOOBS, you first need to install the corresponding plugin.
It’s in the “Featured plugins” list I showed you previously, so you’ll find it easily on the web interface:
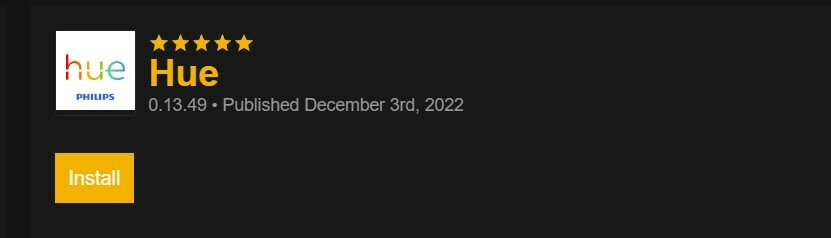
Click on “Install” to add it to HOOBS.
Plugin configuration
For each plugin, there is a presentation page on the HOOBS website.
I find that it often helps to get started, as not all plugins are intuitive enough to understand directly what you should do.
For example, with the Hue plugin, you have to press the button on the Philips bridge, check the HOOBS log file to get the username and add it to the configuration. You won’t guess this procedure without reading the instructions on the plugin’s page here.
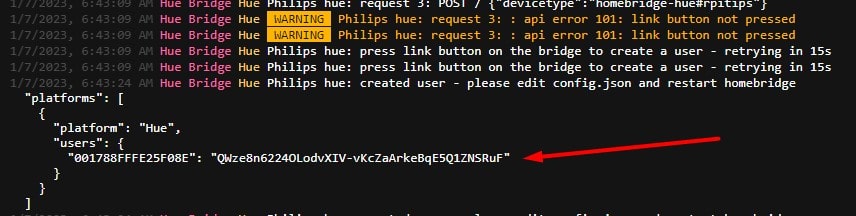
The instructions are not up-to-date for this plugin, but I still understood the procedure, got my user credentials in the log file, and added it to the Hue plugin’s configuration:
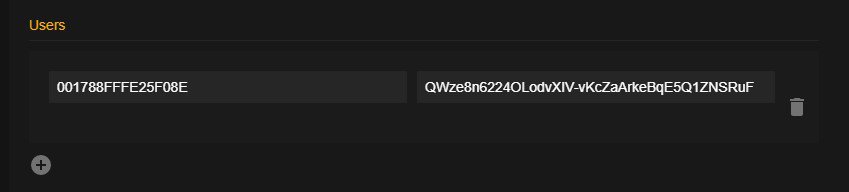
Once done, my Philips Hue lights were connected to HOOBS and could be controlled from there (a restart is required). You can either keep the controls under the bridges page, where you’ll have all your devices connected, or add widgets to your main dashboard, to add the actions you’ll use most of the time.
Overall, I won’t say that HOOBS is perfect, as you still have to figure out some of the steps, and not all plugins work the same way, so each device configuration is different. But overall, it’s easier to use than Homebridge (which is the goal).
I think I still prefer Home Assistant over HOOBS, but it’s not that far. Home Assistant detected all the devices on my network and guided me for the installation, while HOOBS requires more manual configuration.
Check my Home Assistant guide here if you want to give it a try.
Whenever you’re ready, here are other ways I can help you:
The RaspberryTips Community: If you want to hang out with me and other Raspberry Pi fans, you can join the community. I share exclusive tutorials and behind-the-scenes content there. Premium members can also visit the website without ads.
Master your Raspberry Pi in 30 days: If you are looking for the best tips to become an expert on Raspberry Pi, this book is for you. Learn useful Linux skills and practice multiple projects with step-by-step guides.
The Raspberry Pi Bootcamp: Understand everything about the Raspberry Pi, stop searching for help all the time, and finally enjoy completing your projects.
Master Python on Raspberry Pi: Create, understand, and improve any Python script for your Raspberry Pi. Learn the essentials step-by-step without losing time understanding useless concepts.
You can also find all my recommendations for tools and hardware on this page.