How To Install Proxmox On Debian 11 – A Step-By-Step Guide
Proxmox is an interesting virtualization server that can either be installed as a new system on top of an existing distribution, like Debian. I tested it recently on Debian 11 and noticed that the documentation wasn’t necessarily up-to-date, so this article will share the procedure with you just in case you want to give it a try.
To install Proxmox on Debian, a custom repository must be added to the sources.list. Once the sources are updated, the proxmox-ve package is available and can be installed with the Debian package manager.
Don’t worry, I’ll explain all the steps in detail below, but let’s start with a quick introduction about Proxmox.
Introducing Proxmox
If you are reading this, you may already be familiar with Proxmox, but I will still start with a brief introduction for those who randomly came across this article.
What is Proxmox?
Proxmox is an open-source server management and server virtualization platform.
That’s the official definition, but to clarify, it’s a solution you can use to host virtual machines and containers with a simple web interface.
Personally, I’m used to VMware ESXi (I even tried it on a Raspberry Pi) and a bit of Hyper-v that I use on my laptop for testing tutorials. Still, I haven’t used Proxmox on production servers in my system administrator job. It’s a newer solution, but it seems interesting.
Proxmox ISO vs Proxmox package
If you open the Proxmox website, you’ll quickly find an ISO file to install Proxmox on your server. It’s the recommended installation method: starting from scratch and creating a virtualization server that will only run Proxmox.

Join Our Community!
Connect, learn, and grow with other Raspberry Pi enthusiasts. Support RaspberryTips and enjoy an ad-free reading experience. Get exclusive monthly video tutorials and many other benefits.
Learn moreIt’s probably a good idea for a production server, but if you just want to try it quickly, it’s possible to install it on most distributions, including Debian (I’ll show you how in the next section) or Ubuntu (I have an article about this here).
Download your exclusive free PDF containing the most useful Linux commands to elevate your skills!
Download now
The ISO file of Proxmox is based on Debian, so it won’t be that different. Just pick the solution that best fits your needs and your current environment.
How to install Proxmox on Debian
Here are the required steps to install Proxmox on Debian:
- Install Debian, connect to the Internet and do the system updates.
- Add the Proxmox repository to the APT sources.list file.
- Edit the /etc/hosts file and install the Proxmox package.
Let’s learn how to do this step-by-step.
Install Debian
The first step is to install Debian on your server.
Download the latest image available from the official website and install it,
A 64-bit edition is required (amd64) but you can keep a minimal installation.
I tested this tutorial on a virtual machine, without a desktop environment or additional packages, I just added SSH for more comfort.
Proxmox has a web interface, so you don’t need anything on the system itself.
Just follow the traditional installation, connect Debian to the Internet and do the system updates:apt update
apt upgrade
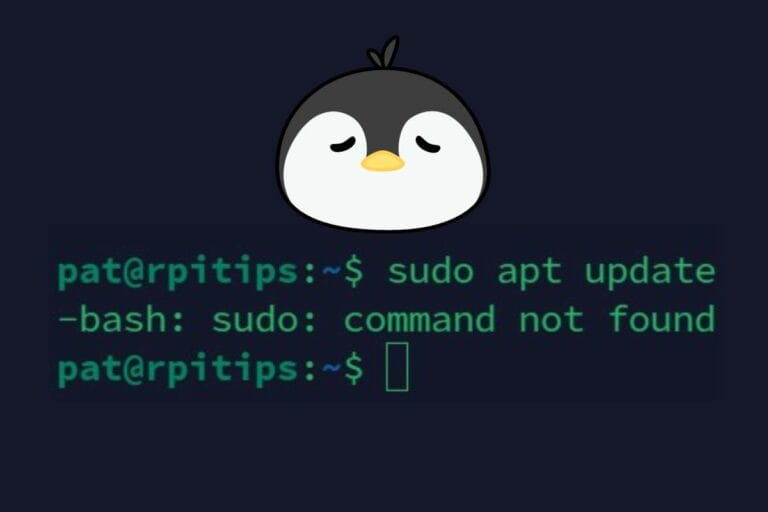
By the way, sudo isn’t available by default on a minimal installation, so you might need to log in as root, or switch to a root terminal with:su
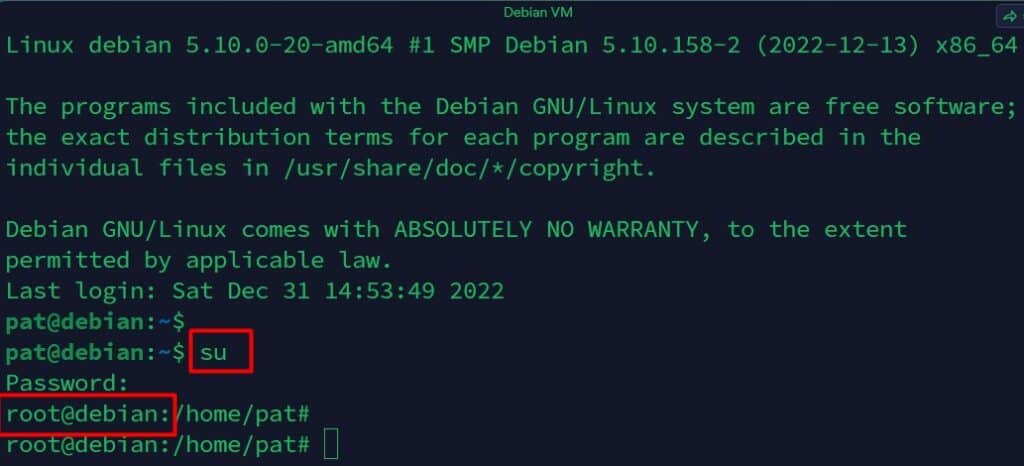
I will assume you are running the following commands as root, add sudo at the beginning of each command if you have it available on your system.
If you’re new to the Linux command line, this article will give you the most important Linux commands to know, plus a free downloadable cheat sheet to keep handy.
Edit the hosts file
Before going any further with the Proxmox installation procedure, you need to update your hosts file with your current IP address.
Setting up a static IP address for your Debian server is also a good idea if your DHCP server is not handling it automatically.
I forgot to edit this file during my tests, and had some issues because of it, so make sure to do it right now:
Download your exclusive free PDF containing the most useful Linux commands to elevate your skills!
Download now
- Get your current IP address with:
ip a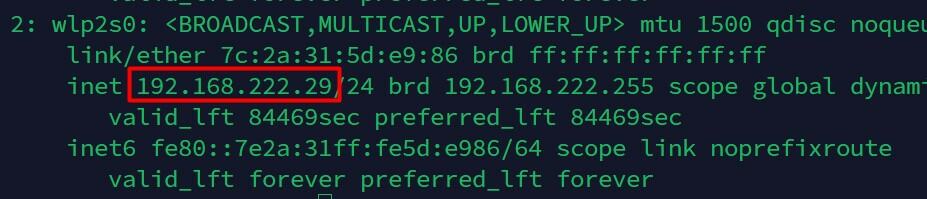
- Open the /etc/hosts file with your favorite editor, for example:
nano /etc/hosts - Replace the IP “127.0.1.1” with the LAN IP address on the second line:
127.0.1.1 <hostname>⇒192.168.X.Y <hostname>
It should look something like:
- Save the file and exit (CTRL+O, CTRL+X).
That’s it, you can now move on and add the Proxmox repository to the package manager.
Add the Proxmox repository
Proxmox can be installed with APT, we just need to add a new repository corresponding to the current Debian version. It’s the easiest way to install it, and it will keep it up-to-date with the system updates later.
I almost followed the official procedure, but it hasn’t been updated for Debian Bullseye, so here are the steps for the latest version:
- Add the Bullseye repository to your sources.list.d folder:
echo "deb [arch=amd64] http://download.proxmox.com/debian/pve bullseye pve-no-subscription" > /etc/apt/sources.list.d/pve-install-repo.list
- Download the corresponding key, and add it to your trusted keys:
wget http://download.proxmox.com/debian/proxmox-release-bullseye.gpg -O /etc/apt/trusted.gpg.d/proxmox-release-bullseye.gpg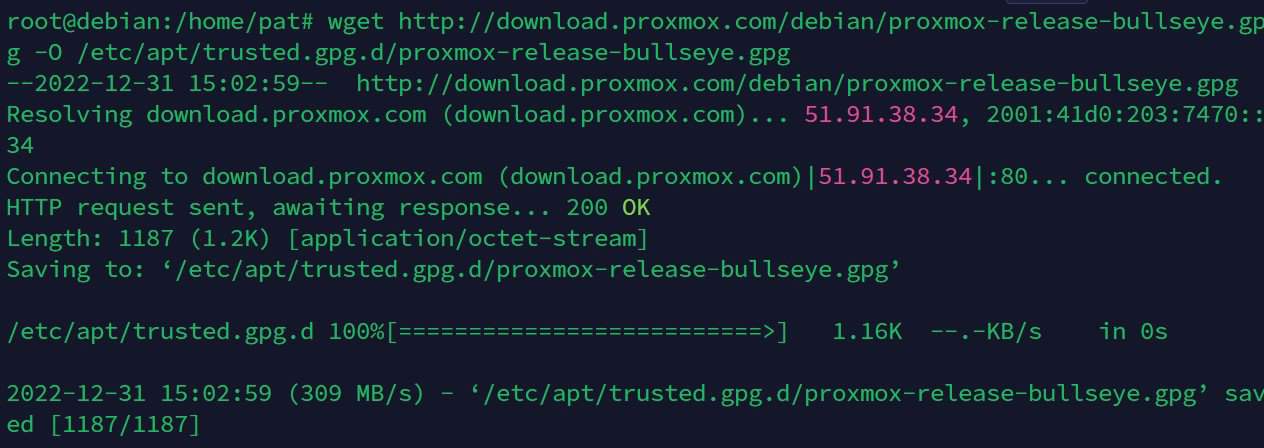
- You can then run apt update to use this new repository:
apt update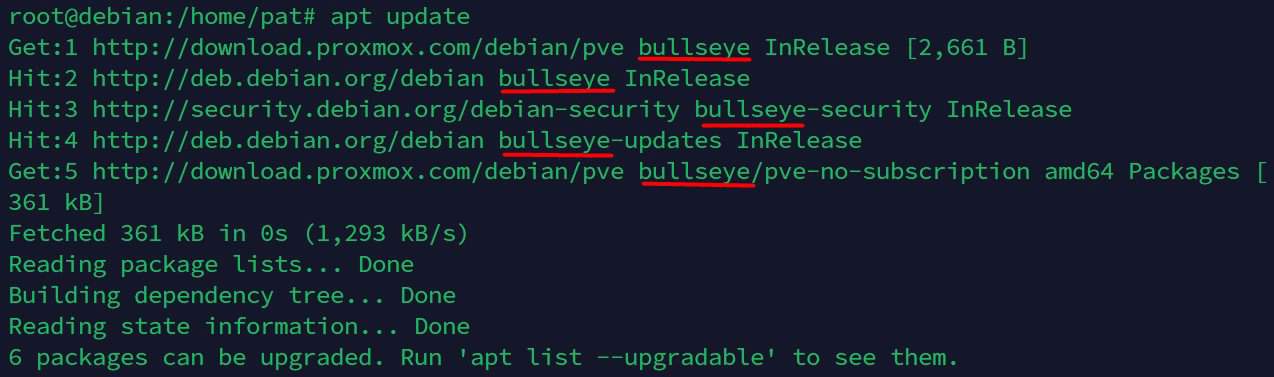
- And run a full upgrade in case some packages need to be updated:
apt full-upgrade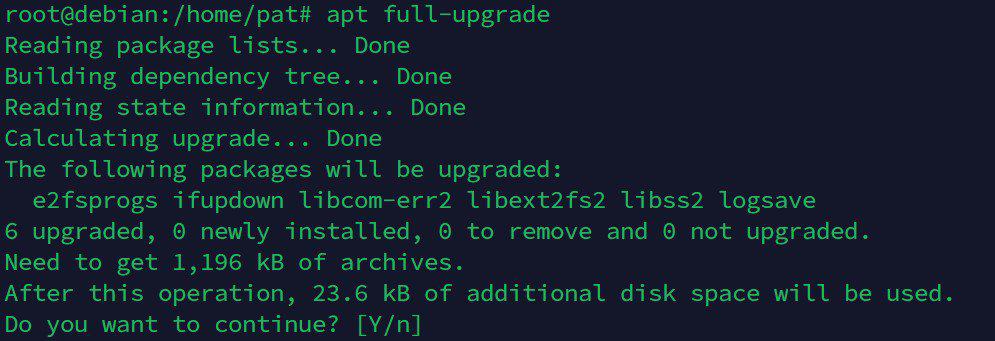
That’s it, now that the repository is properly configured, installing Proxmox will be straightforward.
Install Proxmox
The Proxmox VE package can now be installed with APT directly by using this command:apt install proxmox-ve postfix open-iscsi
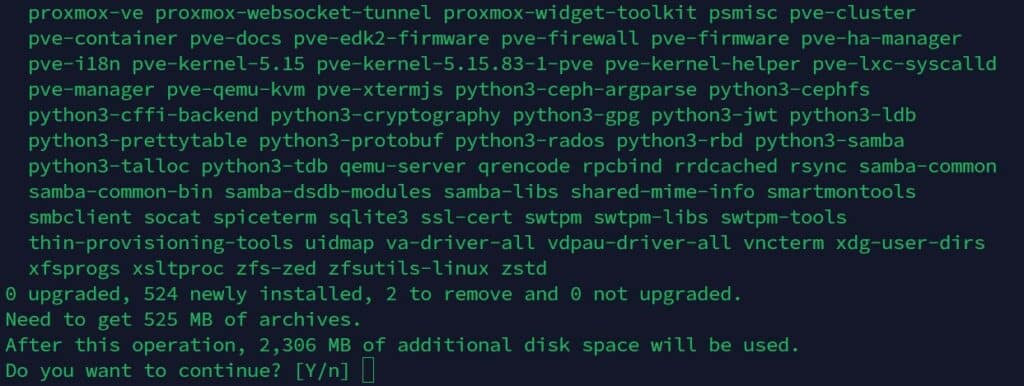
After running this command, all of the dependencies will be installed at the same time. Just press “Y” to confirm the installation.
As you can see on my screenshot, it’s about 500 MB to download and over 2 GB of disk space is required so it might take a while depending on your hardware and Internet connection.
Finally, reboot your system, and should see something like that on the next log-in:
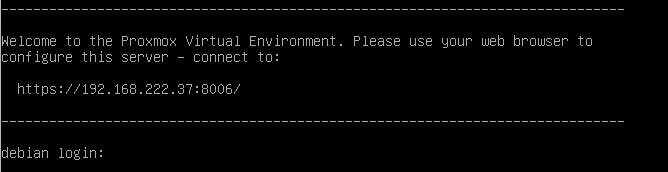
It gives you the Proxmox web interface URL, which you can use from any computer on the same network.
Download your exclusive free PDF containing the most useful Linux commands to elevate your skills!
Download now
Getting started with Proxmox on Debian
Once Proxmox is installed on your Debian server, using it will be the same as you would after a standard installation (with the ISO file).
Is it your first try? Let me guide you to access the web interface and get started with it.
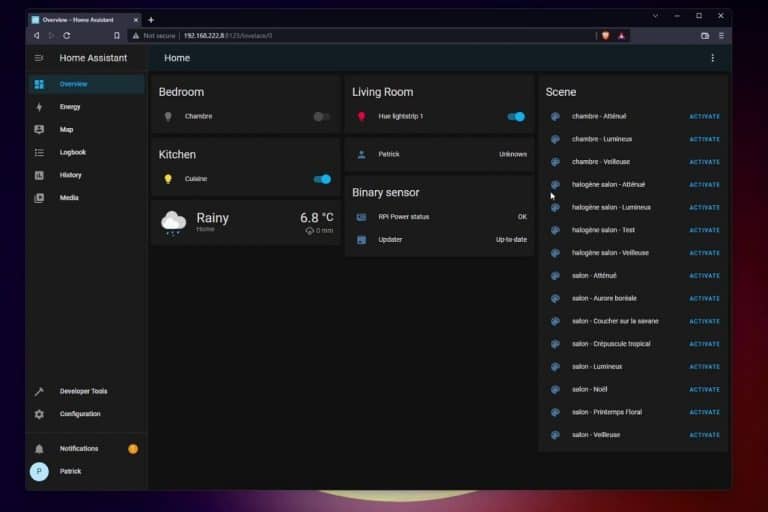
Proxmox web interface
If everything has gone well until now, the Proxmox web interface should be available at https://IP:8006.
The IP address is the one you have above the login prompt, so in my example it’s https://192.168.222.37:8006.
You’ll get an SSL error as we don’t have a certificate yet, but you can skip it (something like “Advanced” > “Proceed anyway” or similar depending on the browser you use).
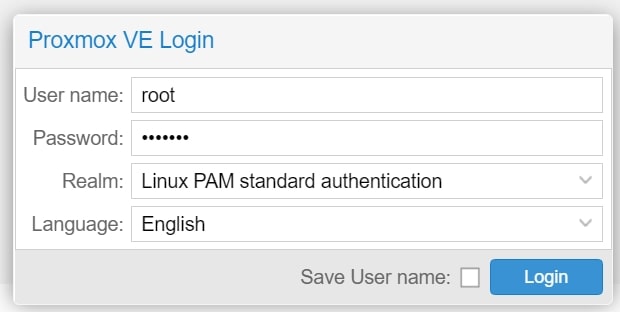
Then you’ll get a login form. The default credentials for Proxmox are:
- Login: root
- Password: the same as for the system user.
Finally, you can access the usual interface of Proxmox. If you are familiar with it, you probably don’t need me anymore!

You’ll get an error message saying you don’t have a valid subscription. Subscriptions are for support only, you don’t need one for a simple test.
Going further
From there, it’s better to follow the official Wiki if you need any guidance to create your virtual storage and your first virtual machines.
Everyone will have a different setup and different goals, so the steps will be different in each case. Remember that Proxmox has a ton of features, but you can start with something simple if you are just trying it for the first time.
Always start with a basic virtual machine before trying to build a cluster with high availability :-).
Download your exclusive free PDF containing the most useful Linux commands to elevate your skills!
Download now
Reminder: Remember that all the members of my community get access to this website without ads, exclusive courses and much more. You can become part of this community for as little as $5 per month & get all the benefits immediately.
Additional Resources
Overwhelmed with Linux commands?
My e-book, “Master Linux Commands”, is your essential guide to mastering the terminal. Get practical tips, real-world examples, and a bonus cheat sheet to keep by your side.
Grab your copy now.
VIP Community
If you just want to hang out with me and other Linux fans, you can also join the community. I share exclusive tutorials and behind-the-scenes content there. Premium members can also visit the website without ads.
More details here.
Need help building something with Python?
Python is a great language to get started with programming on any Linux computer.
Learn the essentials, step-by-step, without losing time understanding useless concepts.
Get the e-book now.