How To Install Proxmox on Ubuntu (The only way…)
Proxmox might not be the most popular solution to create a virtualization server, but it’s a compelling alternative if you aren’t happy with the alternatives. Proxmox is based on Debian, and it’s recommended to create a new server with it, not install it over another distribution. The documentation explains how to install it on Debian, but not on Ubuntu. I created this article to show you how to install it while keeping your Ubuntu system on your server.
Proxmox can’t be installed directly on Ubuntu, it’s only possible to install it directly on the disk or as a package on Debian. The only way to make it work on an Ubuntu server is to run it in a virtual machine.
Yes, I know, hosting a virtual machine to run a system that will host virtual machines. It’s a bit weird, but if you absolutely need to keep your current Ubuntu server and can’t install Proxmox on another one, it’s the only solution I was able to find for you.
Proxmox Installation: The Recommended Method
The Proxmox installation guide recommends installing Proxmox on a bare-metal server, not as a package on an existing operating system. They also offer a solution to install it as a Debian package, as Proxmox is based on Debian, but it doesn’t work on other distributions.
That would be your best option. That kind of server is generally critical, as they may host several virtual machines running important applications for your company or network. Having too many layers will eventually lead you to experience various problems, not directly related to Proxmox, but to your operating system or virtual machine solution.
Think twice before you do something you might regret.
I understand that installing it on an existing Ubuntu server might be your only choice, and I will explain how to do this in the next part, but take the time to think about it seriously first. If you just want to give it a try, it’s ok (even if I would not test it on a production server), but if you will use it on production as a virtual machine on your existing Ubuntu server, please take the time to think about other alternatives.

Join Our Community!
Connect, learn, and grow with other Raspberry Pi enthusiasts. Support RaspberryTips and enjoy an ad-free reading experience. Get exclusive monthly video tutorials and many other benefits.
Download your exclusive free PDF containing the most useful Linux commands to elevate your skills!
Download now
For example, a better move is probably to install Proxmox directly on the server, and then create a new Ubuntu virtual machine to host the current services and applications you have on your Ubuntu server. Ideally, using a second server during the migration if you can afford it. Ultimately, you’ll get a much cleaner solution than the one I will explain ahead.
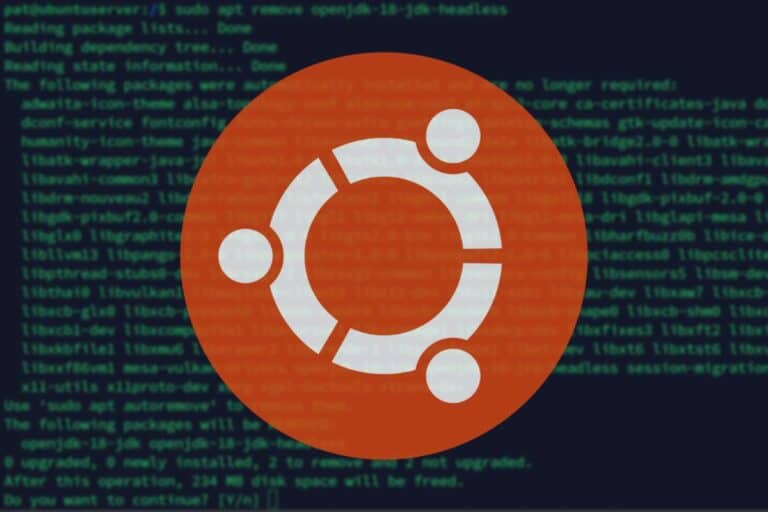
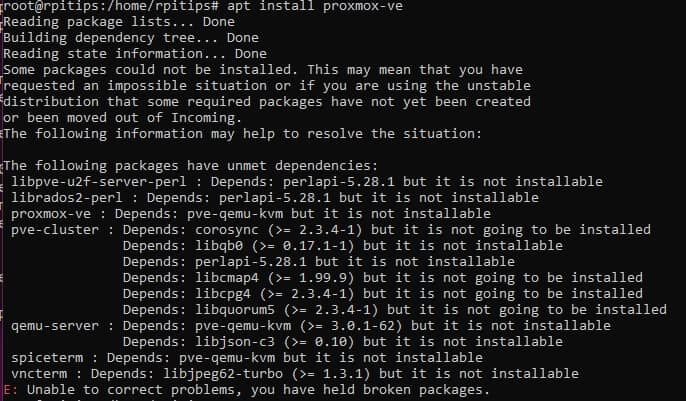
Another option could be to switch from Ubuntu to Debian and install Proxmox as a package on your Debian server. This is a supported installation method, you can find the step-by-step tutorial on the official website. I tried it on Ubuntu, it doesn’t work as there are too many broken dependencies:
By the way, if you want to keep things simple (maybe you just need to run one virtual machine), using an application like QEMU is less complicated. You can just install it on your existing Ubuntu system, check my complete guide here: Getting Started With QEMU On Ubuntu – An Illustrated Guide
Proxmox Installation On An Existing Ubuntu Server
Here are the required steps to install Proxmox on Ubuntu:
- Update your system and check the requirements.
- Install virt-manager to hot your Proxmox virtual machine.
- Create a new virtual machine with Proxmox.
- Use the Proxmox web interface.
I will now explain all these steps in detail. I’m doing this on Ubuntu Desktop.
If you are using an Ubuntu server, you’ll need to find a way to do the same without an interface, but it starts to become really weird to install something like cockpit to manage virtual machines and then install Proxmox on it, so I’m guessing you’re on a desktop version of Ubuntu.
Prepare your Ubuntu system
Note: if you are hosting critical applications or files on your server, make sure to create a full backup first. Even if this tutorial shouldn’t break anything on your system, you might as well be careful.
As with most projects, it’s recommended to update your system first.
Start with the following commands in a terminal:sudo apt update
sudo apt full-upgrade
If some important apps on your server are updated with this command, make sure everything still works correctly before moving to the next step.
Download your exclusive free PDF containing the most useful Linux commands to elevate your skills!
Download now
Install virt-manager on Ubuntu
On Ubuntu with Desktop, using virt-manager is the easiest way to create virtual machines. You can install it easily by typing this command in a terminal:sudo apt install virt-manager
Virt-manager will then be available in your applications list. You need to reboot your system to get everything working correctly, if not, you’ll get this error:unable to connect to libvirt qemu ///system
If you can’t reboot the server, run virt-manager as root with:sudo virt-managerIt will fix everything for you.
Download Proxmox
Once everything is ready on your system, you can visit the Proxmox website and download the latest ISO file. Here is the direct link where you’ll find them.
The latest version should be the first one displayed. Click on the “Download” button and wait a few minutes to get the file on your server.
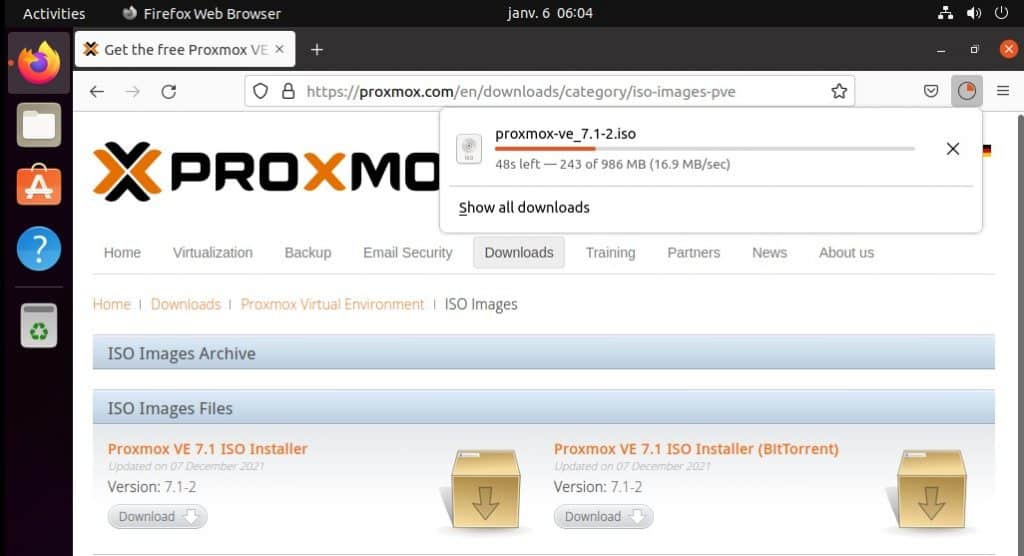
As you can see on my screenshot, the file is about 1 GB, so the download time will depend on your Internet connection speed.
Create a new virtual machine to host Proxmox
You can now open the “Virtual Machine Manager” that we installed in a previous step. You’ll find it in your applications.
Follow these steps to create a virtual machine running Proxmox:
- Click on the first icon, “Create a new virtual machine”.
- Keep the default selection, and continue with a “Local install media”.
- Browse to select the ISO file you just downloaded, and select Debian 10 in the operating system list.
It won’t find it automatically.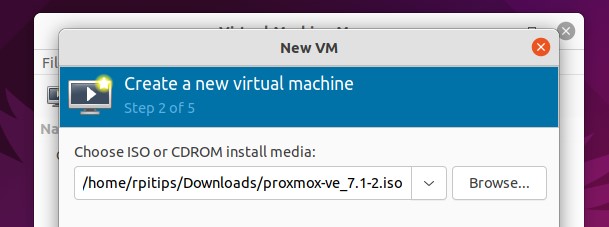
- Adjust the memory and CPU settings.
Proxmox requires 2 GB for the main system. Then add as much memory as your additional virtual machines will need.
For example, if you’ll create a virtual machine with 8 GB, you need to create your VM with at least 10 GB.
Same thing for the CPU, 1 is enough for Proxmox, add more depending on your virtual machines requirements. - Create a disk image for the virtual machine (the default 20 GB is fine for Proxmox).
I recommend adding new disks for your VM, instead of keeping everything on the same one. - Name the virtual machine to complete the wizard.
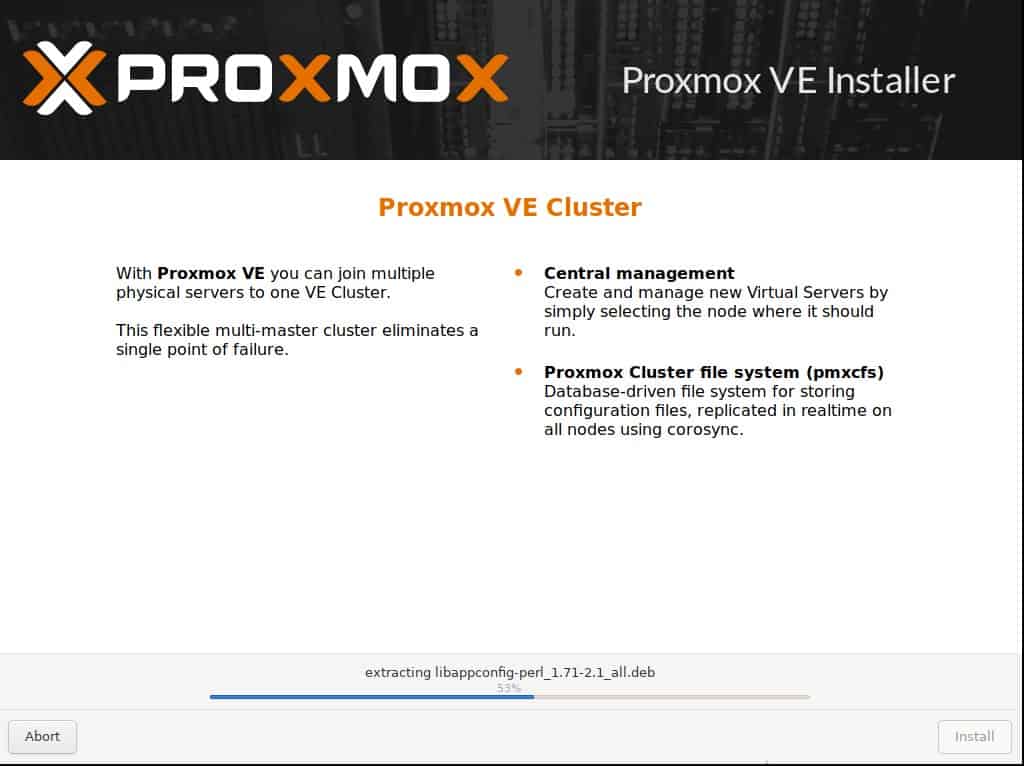
You can now start the virtual machine, and continue the installation like you were doing this directly on your disk.
The following boot menu will show up:
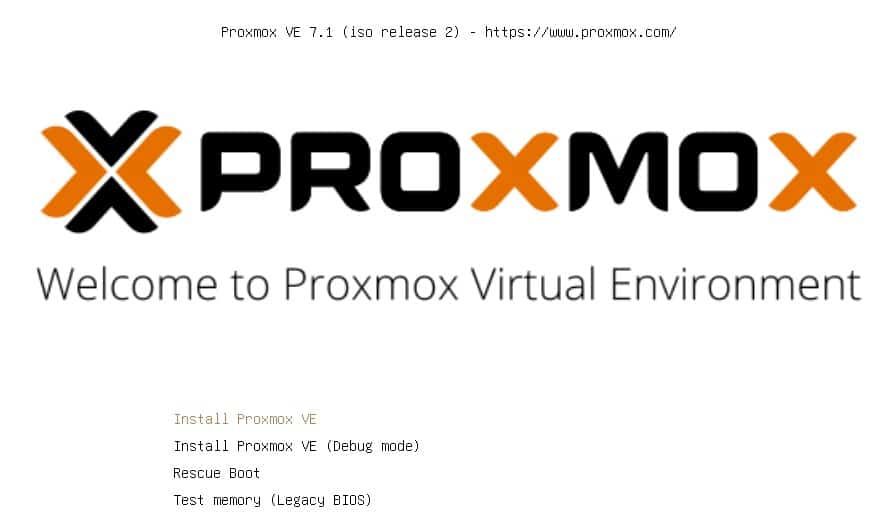
Select “Install Proxmox VE” and follow the wizard to complete the installation. It will ask you to create an account, make sure to remember it as you’ll need it to access the web interface.
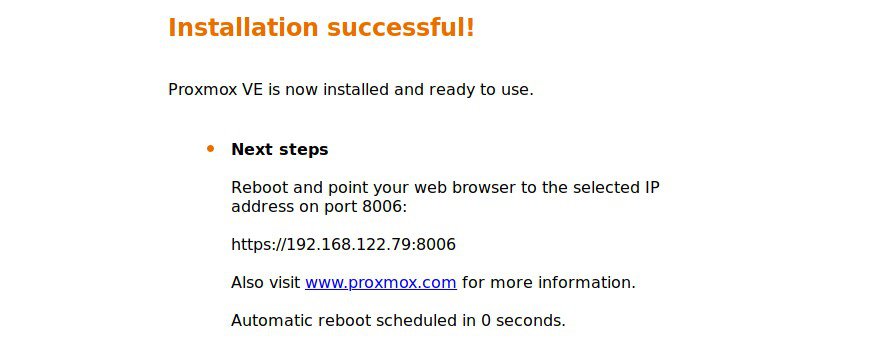
After a few minutes, a success message appears, giving you the web interface URL.
One last reboot is required, so wait a few seconds before trying to access this URL.
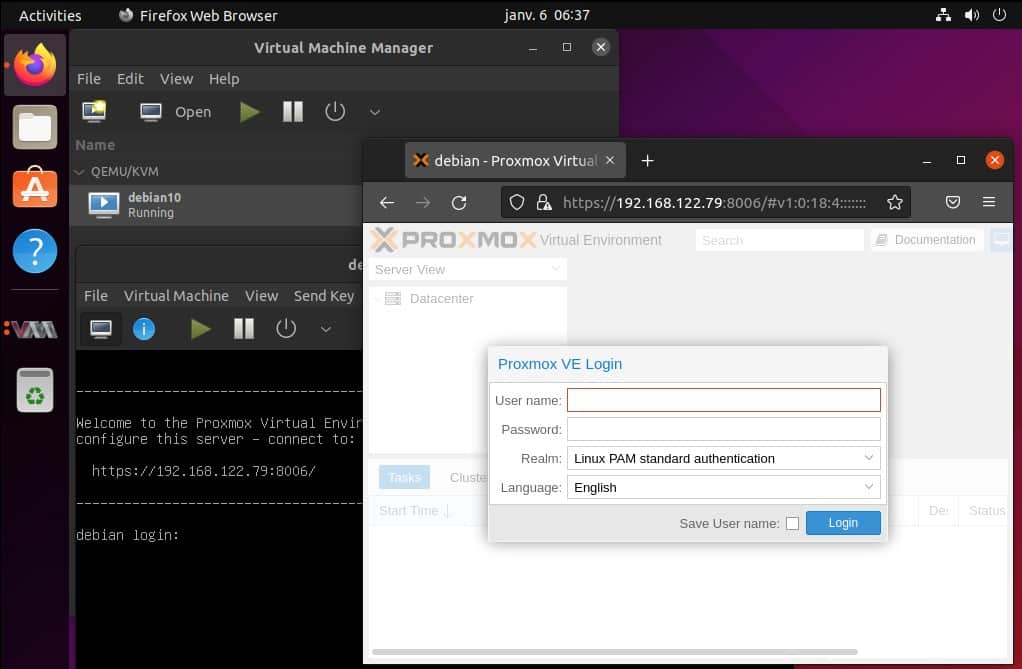
Access the Proxmox web interface
That’s it! You now have Ubuntu running Virtual machine manager. You have a Debian VM on it, running Proxmox, and can do everything from the web interface as if it was a traditional package installed on your Ubuntu server:
If you reboot your server, don’t forget to restart the virtual machine, as it may not start automatically.
Now that Proxmox is installed, you can follow the official documentation to configure it and create new virtual machines. I have a more detailed article here on how to use it, but you can also check this page to read the official documentation.
Download your exclusive free PDF containing the most useful Linux commands to elevate your skills!
Download now
Other tutorials about Ubuntu you might be interested in
- Do You Need an Antivirus on Ubuntu? (And how to install it)
- How to Install Pi-Hole on Ubuntu (Beginner’s Guide)
- What’s the Difference Between SNAP and APT on Linux?
Download your exclusive free PDF containing the most useful Linux commands to elevate your skills!
Download now
Want to chat with other Raspberry Pi enthusiasts? Join the community, share your current projects and ask for help directly in the forums.
Additional Resources
Overwhelmed with Linux commands?
My e-book, “Master Linux Commands”, is your essential guide to mastering the terminal. Get practical tips, real-world examples, and a bonus cheat sheet to keep by your side.
Grab your copy now.
VIP Community
If you just want to hang out with me and other Linux fans, you can also join the community. I share exclusive tutorials and behind-the-scenes content there. Premium members can also visit the website without ads.
More details here.
Need help building something with Python?
Python is a great language to get started with programming on any Linux computer.
Learn the essentials, step-by-step, without losing time understanding useless concepts.
Get the e-book now.