
How to Install Retropie on OSMC? (Raspberry Pi tutorial)
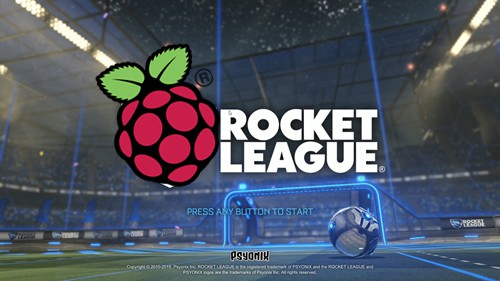
Retro-gaming and media-center are probably the two main usages of the Raspberry Pi
And the good news is that it’s possible to use both on the same Raspberry Pi
How to do this? I’ll show you everything in this tutorial
How to install Retropie and OSMC on the same Raspberry Pi?
OSMC and Retropie are using add-ons to allow us to add new features on these systems. And you can use both on the same system
On OSMC, the Retrosmc script is available to install Retropie on your current system
The opposite is also possible, you can install Kodi on Retropie
So, it depends on your main usage for the Raspberry Pi
But today, I’ll show you how to play Retropie games on OSMC
Introduction
In this first part, I will give you a short introduction about the tools you’ll use and the hardware part
As you probably know the basics if you are here, I will be brief
OSMC
OSMC (Open-Source Media Center) is a Linux distribution, based on Raspbian
Its main goal is to run Kodi, a media center software, to turn your Raspberry Pi into a media player (movies, music, etc …)
Kodi allows you to install thousands of add-ons to add new features, but Retropie is not available directly in it
That’s why you probably need some help to do this

Join Our Community!
Connect, learn, and grow with other Raspberry Pi enthusiasts. Support RaspberryTips and enjoy an ad-free reading experience. Get exclusive monthly video tutorials and many other benefits.
Get a list of my 24 favorites games (with links) to play on Retropie, Recalbox or Lakka
Download now
If you want to learn more about OSMC and Kodi, I have an entire guide on this website, feel free to read it before going further.
RetroPie
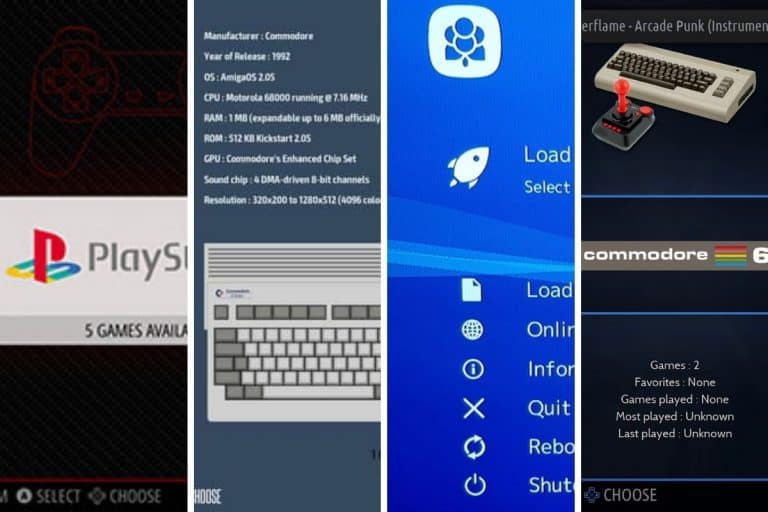
RetroPie is one solution to run retro games on Raspberry Pi (like Recalbox or Lakka)
It distributed as a system image, but you can install it over another system, like Raspbian or OSMC
Once installed, you can upload games ROMs to play almost any games you want, as soon as they are available on the Internet
Most controllers are supported and there are also many add-ons available
As for OSMC, I have several tutorials on this topic
So if you need more information about RetroPie, here are a few useful links:
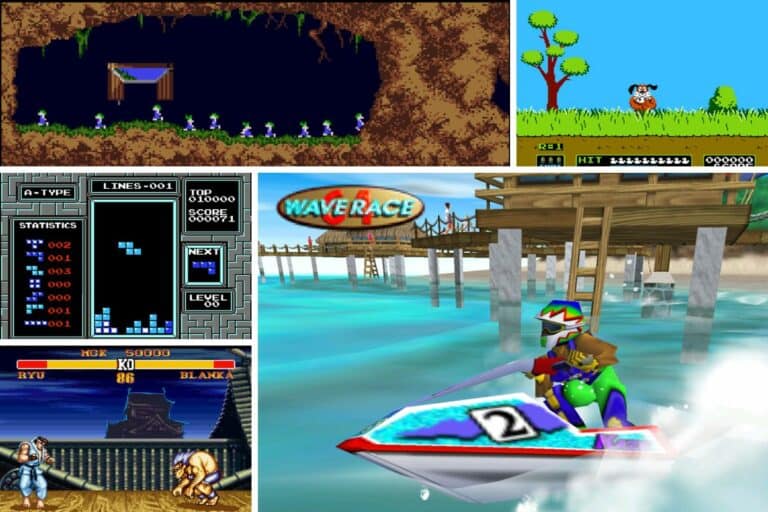
- RetroPie Beginner’s Guide
- 12 games examples you can play on RetroPie
- How to use a PS4 controller on RetroPie
Prerequisites
Now that you know what you’ll use as a software, let’s check the hardware part
Unfortunately, OSMC is not yet available on Raspberry Pi 4
So, you’ll need to install it on a Raspberry Pi 3, 2, 1 or Zero 🙂
Otherwise, no specific hardware is required. A Raspberry Pi, SD card and mouse/keyboard is enough
A game controller is probably a good idea to play games, but it’s not mandatory for now
OSMC
If you already have OSMC installed with an SSH access, you can probably skip this part
Download
The OSMC image is available on the official website
There is a tool that you can use to flash your SD card
But personally, I prefer downloading the image directly (click on “Disk images” at the bottom of the page).
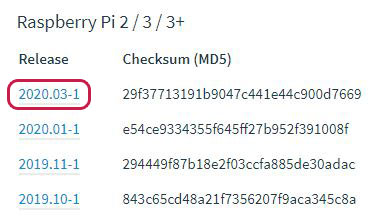
There are two images versions, on for Raspberry Pi 2/3 and another for Raspberry Pi 1/Zero
Pick the latest one corresponding to your Raspberry Pi model
Get a list of my 24 favorites games (with links) to play on Retropie, Recalbox or Lakka
Download now
Installation
Once downloaded, use Etcher to install it on your SD card
Etcher is a free tool that you can use to create your SD cards, it’s available on any operating system
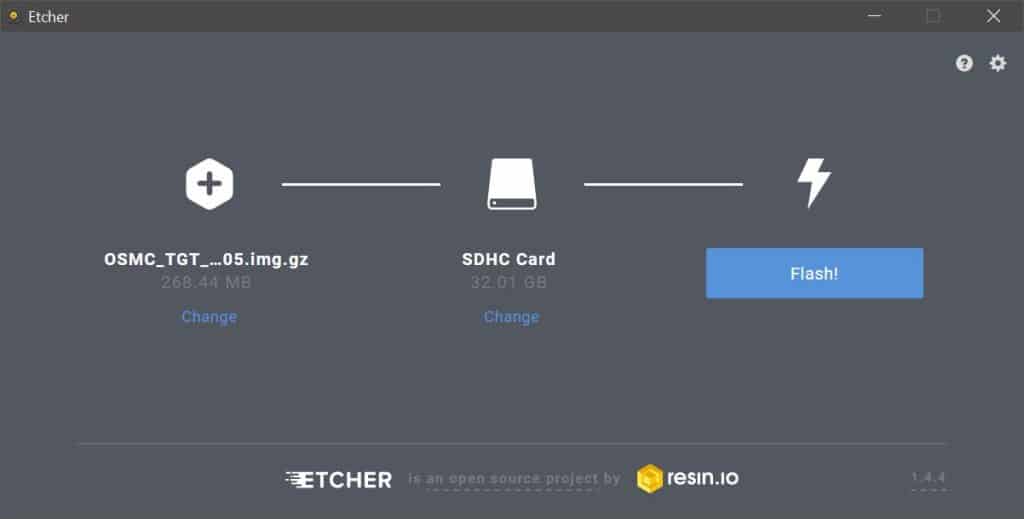
Choose the downloaded file on the left, insert your SD card and flash it!
Once done, you can insert it on your Raspberry Pi and start the installation
OSMC will do everything for you, it takes a few minutes on the first boot
Basic configuration
The first thing you’ll see on OSMC is the configuration wizard
It helps you to set your options as you want : country, time zone, etc.
The only thing important here for our project is to keep SSH enabled
We’ll use it later for the Retropie installation
Network
Obviously, you’ll need a network connection to access the Raspberry Pi through SSH, and also to download the RetroPie files
If you have a DHCP server on your network, it’ll work directly
If you need Wi-Fi or need to change something, you can change the network settings in “My OSMC” > Network
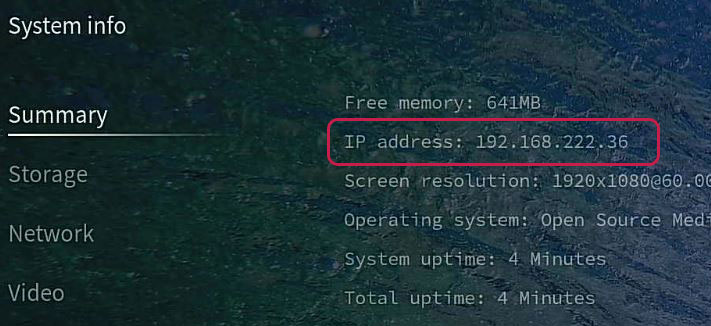
The last step with OSMC is to note the Raspberry Pi IP address
You can find it in Settings > System info
It's a free PDF guide containing every Raspberry Pi Linux command you should know!
Download now
RetroPie installation
As I told you, RetroPie is not available as an official add-on on OSMC
So, we’ll install it “manually” with a script : Retrosmc
Retrosmc
Retrosmc is a script that will help you to install and configure RetroPie on OSMC
You can find the source code on GitHub
Here is how to use it :
- Connect to the Raspberry Pi with SSH
You can use Putty on Windows, or the command “ssh IP” on Linux/Mac
Use the IP address you noted previously - Default login and password are :
- Username : osmc
- Password : osmc
- Download the Retrosmc script with:
wget https://raw.githubusercontent.com/mcobit/retrosmc/master/install-retrosmc.sh - Add the permission to execute it:
chmod +x install-retrosmc.sh - You can now start the script with:
./install-retrosmc.sh - A menu shows up:
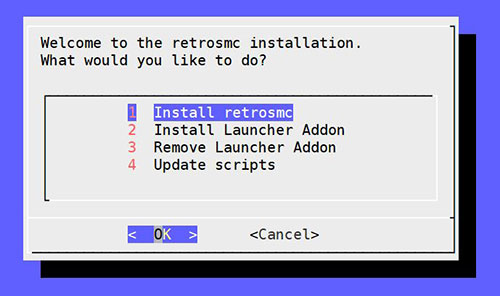
Press Enter to continue the installation - The next window ask you to add the osmc user into the “input” group
Accept this and continue - A few seconds later, you’ll see the Retropie-Setup menu (the same as on RetroPie standard version)
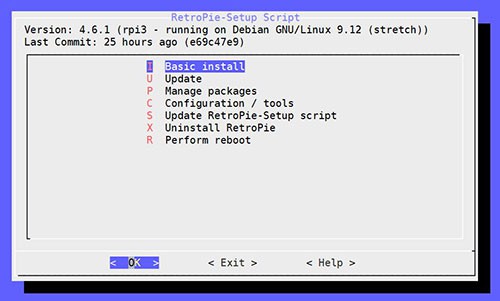
- Choose the first option “Basic Install”
Wait a few minutes while apt download and install all the needed packages - Once done, choose “Perform Reboot” in the same menu to apply all changes completely
At this point, Retropie is almost ready to use, but there is no shortcut to start it from the OSMC menu
We’ll add this right now
Launcher
We’ll start again the Retrosmc tool, but this time the goal is to add the launcher in OSMC :
- Run the script like previously:
./install-retrosmc.sh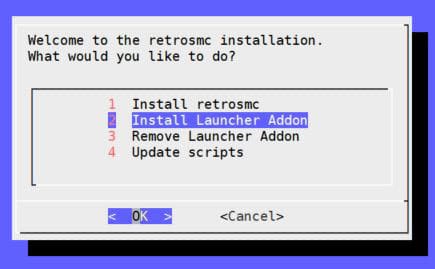
- You can now choose the “Install Launcher Addon” option
- Reboot the Raspberry Pi one last time :
sudo reboot
Retropie
The last step is to run Retropie from the OSMC interface :
- From the main menu, go to Settings > add-ons browser
- Then My Add-ons and finally Program add-ons
- You’ll now see in this menu the Retrosmc add-on:
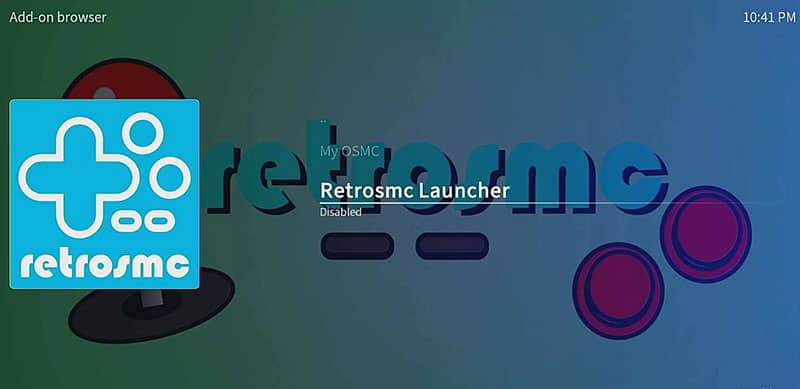
- Click on it and choose “Enable” on the next page
- Once done, you’ll now see it in Program add-ons from the main menu
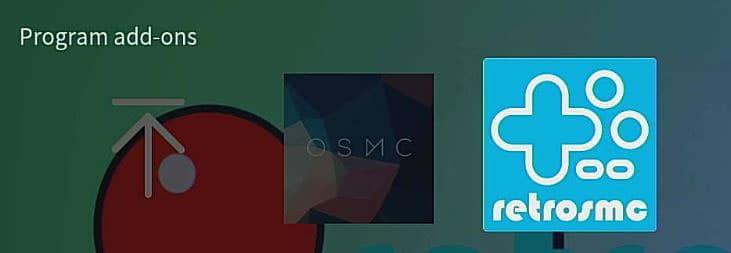
- Click on the Retromsc icon to start Retropie
You can now use Retropie the same way as with the classic installation
Once again, I have an entire guide about Retropie if you need further assistance about this
You need to upload your games into this folder: /home/osmc/Retropie/roms
You can install Retropie manager from Retropie setup to upload your games from a web interface
Or you can use other methods like explained here
To use the network share, you need to enable it on OSMC
It's a free PDF guide containing every Raspberry Pi Linux command you should know!
Download now
Reminder: Remember that all the members of my community get access to this website without ads, exclusive courses and much more. You can become part of this community for as little as $5 per month & get all the benefits immediately.
Conclusion
That’s it! You know how to install Retropie on OSMC
And you can now switch from one to the other directly on the same interface
My game pad is working in Retropie and OSMC, so you can use it as a remote controller if you want

Hi, this is great and all but do you still need roms for the games. i cant seem to get any to work… >:(
Hi,
Yes, you need ROMs to play
Check this post to learn where to find them: https://raspberrytips.com/download-retropie-roms/
I’m getting an error on the install :
Could not install package(s): gcc-6
Is there a way to fix this?