How To Install RetroPie On Ubuntu: A Step-by-step Guide
RetroPie is a free solution to play classic games on a computer. It’s often used to promote Raspberry Pi, but it can also be installed on any computer, such as Ubuntu. This is exactly what I will show you today: a complete guide to installing RetroPie on Ubuntu, from start to finish.
Ubuntu is officially supported by the RetroPie development team, but it isn’t available in the default repository. A script needs to be downloaded from their GitHub page and then ran to install RetroPie on Ubuntu Desktop.
Don’t worry, I’ll explain everything in this tutorial. I’ll start with an introduction to RetroPie and a glossary of the words I’ll use later on, but if you already know all of this, feel free to jump ahead.
Introducing RetroPie
What is RetroPie?
The RetroPie project was created to allow Raspberry Pi users to play retro games on their devices.
A Raspberry Pi is a tiny computer, with limited CPU and RAM, but it’s enough to play old games. It runs on Linux (a custom Debian distribution), so there isn’t any reason RetroPie couldn’t be used on a standard computer too.
RetroPie is now available for Ubuntu, which is why I’m writing this tutorial. The project is divided into four parts:
- The operating system: on Raspberry Pi, they distribute a custom image of Raspberry Pi OS with RetroPie pre-installed, but I’ll show you how to keep your Ubuntu setup instead.
- Emulators: RetroPie includes the most popular emulators for each old console you’d like to play.
- Setup script: they created a script to simplify the installation, which we’ll use later.
- Front-end: RetroPie is using EmulationStation for the graphic interface.
Glossary
Just before getting started, let’s make sure that you understand some words I’ll use a lot in the next sections.

Join Our Community!
Connect, learn, and grow with other Raspberry Pi enthusiasts. Support RaspberryTips and enjoy an ad-free reading experience. Get exclusive monthly video tutorials and many other benefits.
Learn moreEmulator
An emulator is a software that allows you to run games for another computer on your current computer.
An N64 emulator in Retropie allows you to run N64 games on your PC, for example.
Download your exclusive free PDF containing the most useful Linux commands to elevate your skills!
Download now
ROM
ROM stands for “Read-Only Memory”. In gaming, this is an image from the original game.
For example, on N64, you played a game like GoldenEye by inserting the cartridge into the console.
On RetroPie, you can’t use this cartridge. You need to have a file with the cartridge content.
BIOS
A BIOS is the only software part you have on a computer before installing an operating system.
On a PC, you may use it to set options like Boot devices order, date/time, hardware preferences, etc.
On a game station, it tells how the computer should work, so the emulator may need it for launching games.
Prerequisites for RetroPie
Before installing RetroPie on your PC, make sure to follow these prerequisites.
Ubuntu installed and up-to-date
Obviously, you need Ubuntu installed on your computer before going further.
The procedure I give you below should work on any Ubuntu version (Ubuntu Desktop, Xubuntu, Ubuntu MATE, etc.) and even on Debian-like distributions.
Please start by doing the system updates. Open a terminal and do the updates with:sudo apt update
sudo apt upgrade -y
And make sure you have enough disk space to install everything (including RetroPie and a few games). I would say at least 10 GB of free space should be enough, but you might need more if you plan on installing a lot of games (especially recent ones).
Related: 5 Most Effective Ways to Free Disk Space on Ubuntu
Install these packages
Once ready, a few packages are required before starting the installation, you can install all of them in one command line:sudo apt install git dialog unzip xmlstarlet
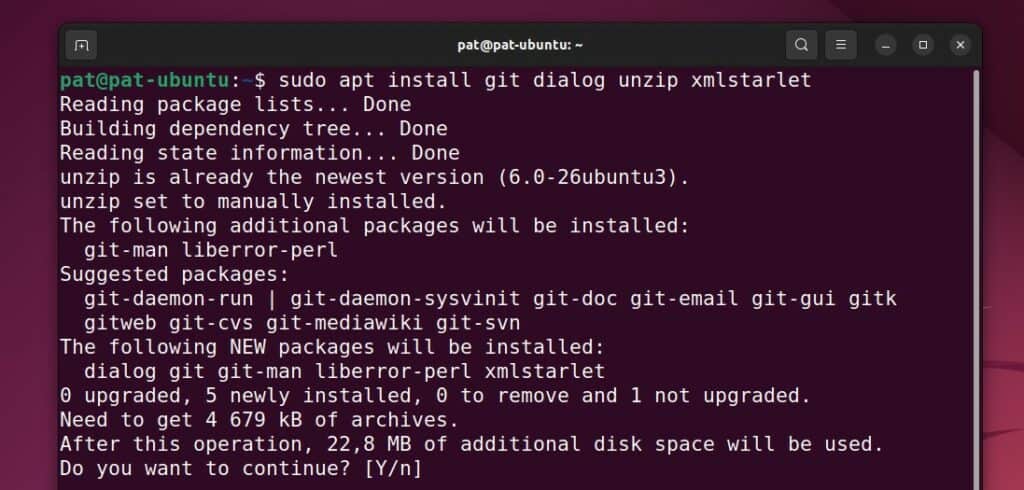
The script we’ll use later will download files and archives from their GitHub project, which is why we need these packages installed on your system.
Are you a bit lost in the Linux command line? Check this article first for the most important commands to remember and a free downloadable cheat sheet so you can have the commands at your fingertips.
Use a game controller
And finally, what is a good retro gaming console without retro controllers?
Even if you could play with your keyboard, it isn’t the same, and the time machine requires the use of an old-fashioned controller.
My favorite, for now, is this one on Amazon, but you can find other alternatives on my resources pages. Playing games like the ones from N64 with a basic controller is not possible, you need at least two sticks to control it. This is why I prefer this controller, or at least an N64 controller clone.
Also, if you are using a Bluetooth controller, you can read this tutorial on how to set it up with RetroPie.
So make sure you have a game controller plugged into your PC, so it will be auto-detected later on.
RetroPie installation on Ubuntu
Here are the required steps to install RetroPie on Ubuntu:
- Clone the Retropie-Setup GitHub project on your computer.
- Run the retropie_setup.sh script.
- Wait for the installation (15-30min).
- Reboot your system.
Let’s learn exactly how to do this.
Clone the GitHub project
The first step is to clone the files from the RetroPie GitHub project. We need the setup script folder.
You can get it on your computer with this command:git clone --depth=1 https://github.com/RetroPie/RetroPie-Setup.git
Download your exclusive free PDF containing the most useful Linux commands to elevate your skills!
Download now
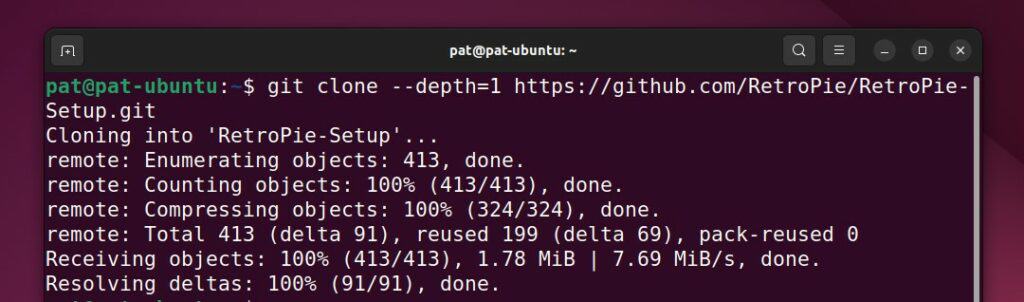
It will take a few seconds, and then you can move to the next step.
Here is the link to the GitHub page if you want to check the code or read more about this script before using it.
Run the RetroPie Setup script
Once the script is on your computer, follow this procedure to start the RetroPie installation:
- Move to the RetroPie-Setup folder you just created:
cd RetroPie-Setup - Run the installation script with:
sudo ./retropie_setup.sh - The script will start to run, installing additional packages if needed.
After a few seconds, a menu will show up: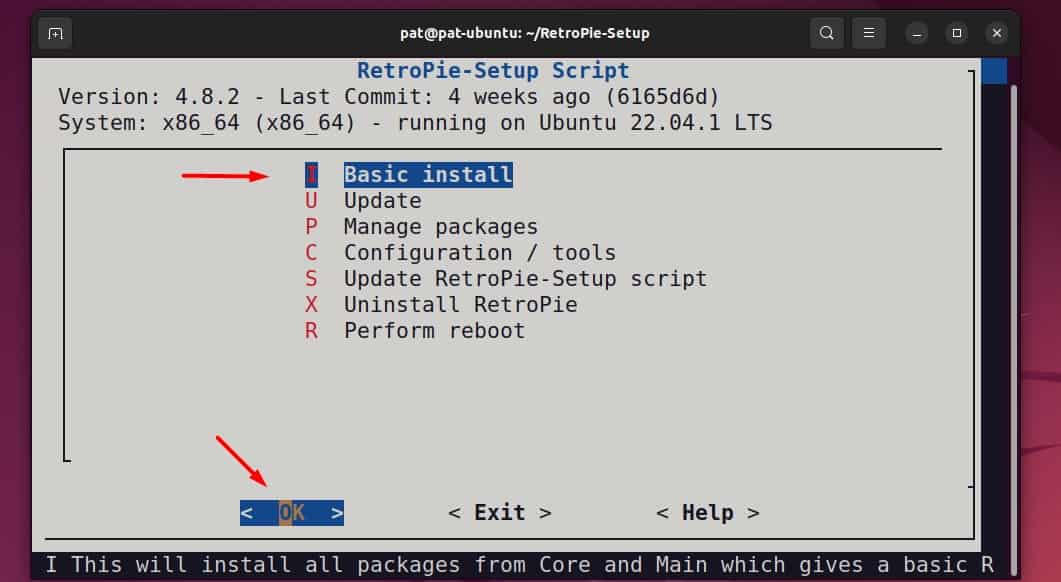
- Choose “Basic Install” (the default option), and press “Enter” to confirm.
You can use the shortcut keys listed on the left, or the up/down arrows to make a selection.
Then use “Tab” to switch between the list and the action menu at the bottom.
But basically, just press “Enter” here, as you don’t need to do anything else.
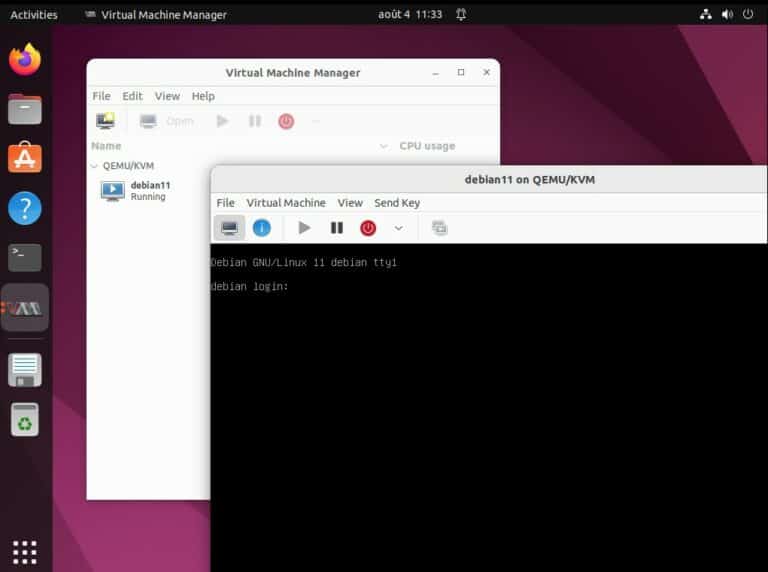
The installation script will now run in the background for a while. It may take more or less time depending on your computer performance and your Internet connection. It took me between 20 and 30 minutes on a virtual machine, so you might have a few minutes to take a break.
Reboot your computer
After a while, you’ll return to the same menu.
This time, choose “Perform Reboot” with the arrows, and press Enter to restart your computer.
That’s it, you are almost done with the RetroPie installation!
Start RetroPie for the first time
After the reboot, you can start RetroPie to make sure everything is working as expected.
Start RetroPie
Once installed, RetroPie is available in your application list, as any other applications installed on your system:
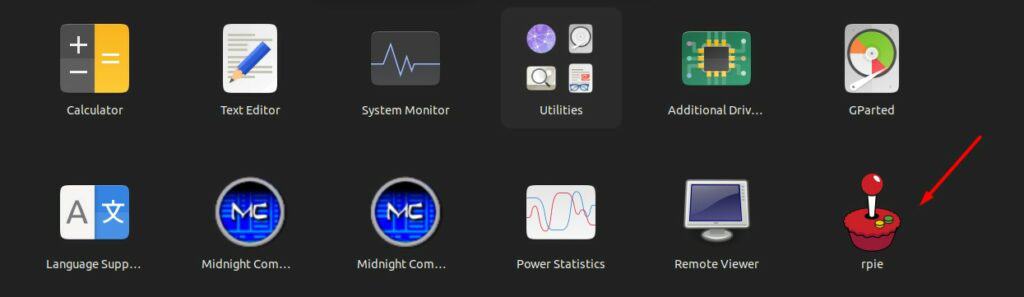
Just click on the icon to start RetroPie for the first time.
Once loaded, it will ask you to configure your game controller first:

This is why I told you to plug in a controller at the beginning. You’ll use it to navigate the main menu, so it’s important to plug it in and configure it as soon as possible.
Just press any button to start the configuration, and follow the instructions to assign each action to a button on the controller.
RetroPie basic configuration
Once done, you get access to the main menu of RetroPie:
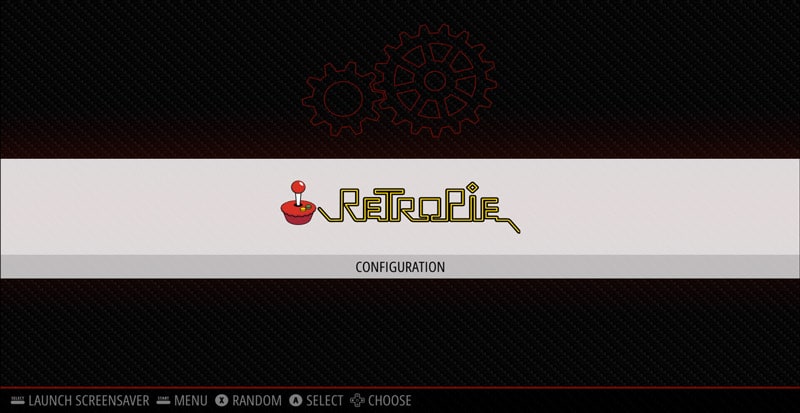
For now, the only thing you can do is enter the configuration menu. It looks like this once inside:
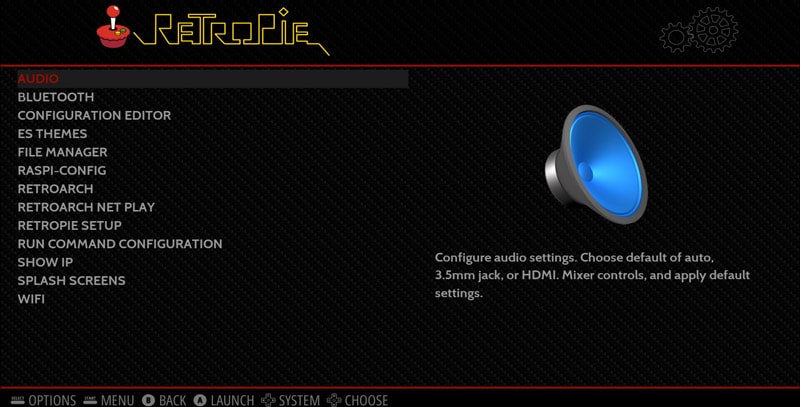
You can configure many things from there, but it’s not essential for now. The audio and network should already work as you are still on your Ubuntu system, and the other options can be used later if needed (to update RetroPie or install a Bluetooth controller, for example).
For now, just quit RetroPie, as the next step will be to install a few games so you can test your installation.
Install new games
There are no games pre-installed with RetroPie, so you need to download and install a few of them before you can play anything on it. Continue reading to learn how to do this.
Download games
Short answer:
You can download ROMs from websites like MAMEDev or ROM Hustler.
You can also check my other post, where I list my favorite games for RetroPie or this one, focusing on the best N64 games for RetroPie.
Install games
There are many ways to install new games on RetroPie. Basically, you need to download the ROM file first following the previous instructions, and then put the file under your main RetroPie folder.
On Ubuntu, I think RetroPie is installed by default under /home/RetroPie.
So, all the ROM files have to be stored under /home/RetroPie/roms.
There is one subfolder for each console, so just put the file in the corresponding folder.
For example, if you have a ROM for Tetris on NES, put the file under /home/RetroPie/roms/nes.
Repeat this for each ROM file you want to install. You can then restart RetroPie and try these games.
Download your exclusive free PDF containing the most useful Linux commands to elevate your skills!
Download now
Play a game on RetroPie
- Once the file is copied under /home/Retropie/roms, go back to the main menu.
- Start RetroPie again.
- The main menu should have been updated.
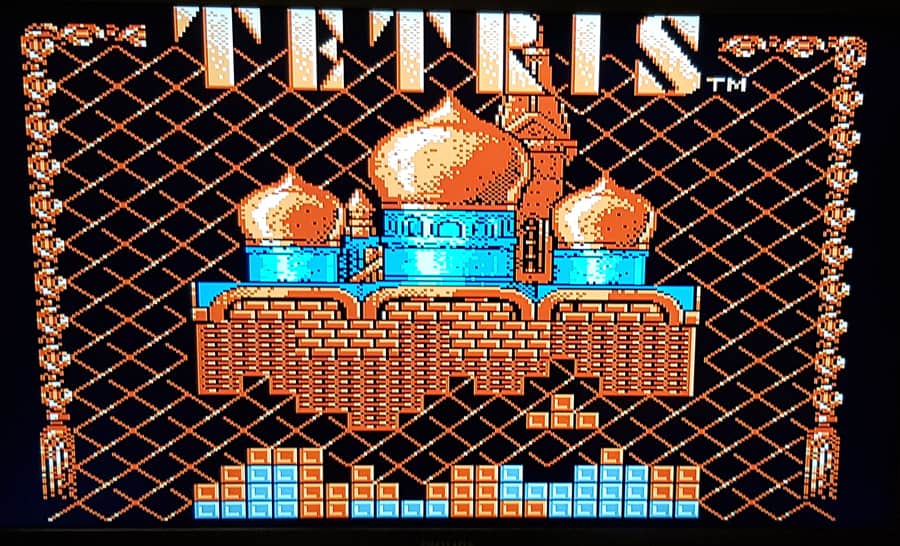
The list should now include each game console you added a ROM for. In my example, I now have the NES listed:
- Select the game system you want to play (in my case, it’s Nintendo).
- Then choose the ROM to start (you may have multiple versions in the ROM archive, find the one you prefer).
- And then it’s done, you can play your favorite game.
Just repeat the steps from this section for each game you want to play.
I hope this post has been useful. The goal was just to get you started with RetroPie on Ubuntu.
From there, you can check my other tutorials on the topic. Even if most of them are done for Raspberry Pi, it should be the same thing with Ubuntu instead of Raspberry Pi OS:
- Best Themes for Retropie – Top 15
- How to Scrape Retropie Games? (Auto & manual)
- How to use a PS4 controller on Retropie? (the easy way)
Download your exclusive free PDF containing the most useful Linux commands to elevate your skills!
Download now
If you are looking for exclusive tutorials, I post a new course each month, available for premium members only. Join the community to get access to all of them right now!
Additional Resources
Overwhelmed with Linux commands?
My e-book, “Master Linux Commands”, is your essential guide to mastering the terminal. Get practical tips, real-world examples, and a bonus cheat sheet to keep by your side.
Grab your copy now.
VIP Community
If you just want to hang out with me and other Linux fans, you can also join the community. I share exclusive tutorials and behind-the-scenes content there. Premium members can also visit the website without ads.
More details here.
Need help building something with Python?
Python is a great language to get started with programming on any Linux computer.
Learn the essentials, step-by-step, without losing time understanding useless concepts.
Get the e-book now.