How to Install Windows 10 on Raspberry Pi? (Illustrated Guide)
Windows and Raspberry Pi is a long story. After having only the IoT version available to play with, Microsoft is now working on an ARM version of the full Windows 10 system. Windows still doesn’t officially support the Raspberry Pi, but with a few tools and a good tutorial, you can find a way to make it work on your device. That’s the goal of this post.
The WoR project (Windows on Raspberry Pi) develops a tool to flash an ARM image of Windows 10 to an SD card (or SSD drive), that can boot on Raspberry Pi. So, it’s now possible to use Windows 10 full version on Raspberry Pi.
In this step-by-step tutorial, I’ll guide you through the installation process. The theory might be simple, but the entire procedure is pretty long.
By the way, there are already plenty of articles on this topic (mostly news type in fact), but when I tried it myself, I struggled to understand the whole process and put it into practice. That’s why I’m writing it here for you.
Note: Windows 11 is now available, the process is even simpler than the one explained in this tutorial. I highly recommend reading this other article if you are interested.
The theory: Windows 10 on ARM
If you are new to this, there is a lot to unpack here before flashing your SD card. We’ll start by looking at the big picture and see why the installation process is not the same as usual.
Microsoft and ARM
All Raspberry Pi models are running on the ARM architecture, so there’s nothing new there. Microsoft had minor projects for us (Windows 10 IoT) but never released a full Windows 10 on this platform.
Recently things have changed. The ARM processor is more and more popular, due to its low-power consumption and decent performances. It makes a solid competitor for many usages, not only the IoT niche.
In 2020, Apple even announced the M1 chip, also based on ARM.
Software editors can’t ignore this trend, and so Microsoft had to make progress on this architecture too.
This is not really a new project for them (the first Windows 10 ARM version is from 2017), but recent builds are beginning to include more and more features.
There is still no way to install it directly on Raspberry Pi, but we are not so far, and another project help us for this.
The WoR project
The goal of the WoR project was to deal with the last missing steps in the Microsoft project to make it work on Raspberry Pi.
We’re talking about complicated things here, like firmware, driver support and the installation process in general.
It's a free PDF guide containing every Raspberry Pi Linux command you should know!
Download now
Basically, they transform a painful process in something we are used to:
- Download the system image.
- Download and install the tool.
- Flash the system on your storage.
Pretty familiar, isn’t it?
I’ll explain the details later, as it’s not as straightforward as it might look.
But basically, this tool is what made the whole experience possible for all of us recently.
Windows 10 images
Just one last detail before moving on to practice:
There is no legal way to download ISO files for Windows 10 ARM. We are not playing with Linux systems here, so there are a bit more rules to follow.
So, if you can’t download the ISO file, how can you install Windows 10?
You’ll download something else: a UUP dump.
UUP stands for “Unified Update Plateform” and is a way for Microsoft to share its latest advancements inside its “Insider Preview” program. It works like Windows Update, by downloading and updating only what is required (or what has been changed in this case).

Join Our Community!
Connect, learn, and grow with other Raspberry Pi enthusiasts. Support RaspberryTips and enjoy an ad-free reading experience. Get exclusive monthly video tutorials and many other benefits.
Learn moreIn short, the process will be to download the UUP file, build a full ISO image from it on your computer and then flash this ISO to boot on Raspberry Pi.
It’ll take much more time than to install another Linux system, but that’s the only way for now.
And I’m sure you are excited to try this :).
Install Windows 10 on your Raspberry Pi
Now that you have all the pieces of the puzzle, let’s put them in order and finally install Windows 10 on your Raspberry Pi. Here is the step-by-step procedure to do this.
Update the Raspberry Pi firmware
Before doing anything else, make sure the Raspberry Pi firmware is up-to-date.
The easiest way to do this is to start it on Raspberry Pi and run the following commands:sudo apt update
sudo apt full-upgrade
Once done, you can stop your device, we don’t need Raspberry Pi OS anymore.
The following will be on your computer.
Prerequisites
In theory, Windows 10 and WoR should work with almost any Raspberry Pi model (2, 3 or 4).
In reality, I would recommend a Raspberry Pi 4 with 4 or 8 GB if possible.
Windows 10 is a fairly heavy system, so more RAM will be helpful.
I tried on my Raspberry Pi 4 with 4 GB and it was nice. I didn’t try on other models.
I also highly recommend using an SSD drive.
It’s not mandatory, so you can try with a fast SD card (this is the best currently). However, the process is very long.
Using an SSD while speeding everything up. Installing the system and booting it for the first time will be a lot faster, as well as normal usage after that.
So, I definitely think using an SSD is worth it (fast external SSD drives are cheap now), but you do have the choice available.
Aside from the SSD drive, you will only need the basic accessories, as with any other operating system, and a bit of time to prepare everything :).
Downloads
As previously explained, you have two things to download before going any further:
It's a free PDF guide containing every Raspberry Pi Linux command you should know!
Download now
- The WoR tool: https://worproject.com/downloads
You’ll get a zip file with everything in it, we’ll use it later. - A UUP file for Windows 10 ARM. There are two websites you can use for this.
Each one works a bit differently, but the interface is pretty intuitive.
In short, you need to choose a Windows version, a build number, the language and the edition (Home / Pro).- https://www.uupdump.net/
I recommend choosing only one edition to keep the files smaller and save some time.
Uncheck the edition you don’t need, then choose the “Download and convert to ISO” method: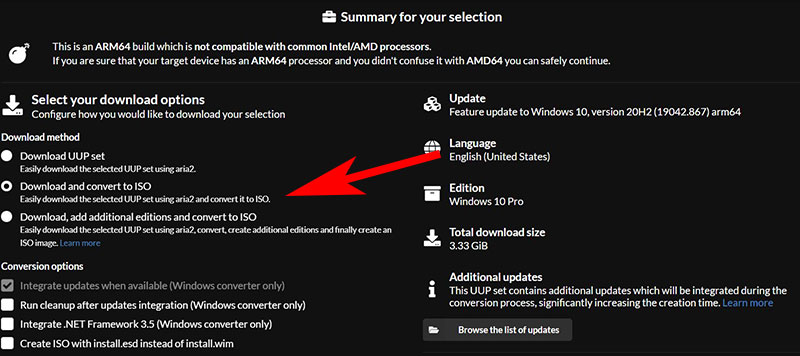
You’ll also get a zip file. I’ll explain what to do with this file in the next step.
If your computer isn’t running on Windows, this is the only solution you have. The website below won’t give you compatible files.
- https://uup.rg-adguard.net/
The interface on this one is a bit more intuitive, so it should be a little easier.
Use the dropdown menus to create your download file (version, language, edition).
Choose “Download ISO compiler in One click!” for the download type.
Then download the cmd file by clicking on the first link on the right: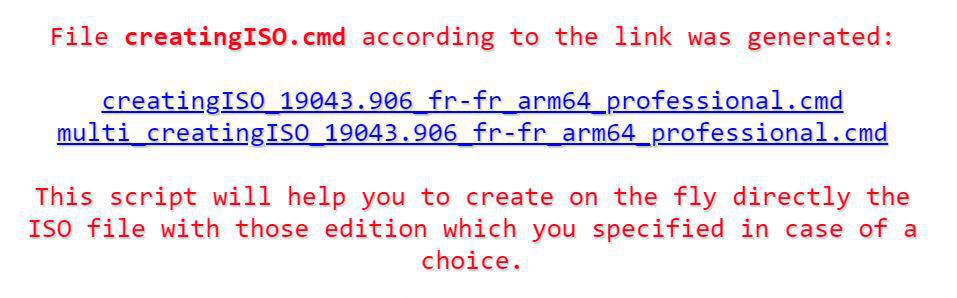
- https://www.uupdump.net/
By the way, I did have to test several versions to find one that works the best for me.
Unfortunately, I don’t know if there is a rule to make sure your download is working well. If you are reading this in two years, it might be useless, but for your information, the version that worked well for me was: 19041.330.
I lost so much time by trying different versions from both websites until finding this one…
Here is the direct link if it helps.
Build the Windows 10 ISO file on your computer
The next step is to use the cmd file we got to download the Windows 10 files to build the ISO image.
If you used the first website (uudump.net), you need to extract the zip files. You’ll find a file in it named “uudp_download_windows.cmd”.
That’s the equivalent of the cmd file you get with the second website.
- Double-click on the cmd file.
If you are on Linux or macOS, a script is available in the zip file from uupdump.net.
I only test on Windows, so I’m not certain if you can do the same on your system. - A terminal window shows up.
It will start downloading many files: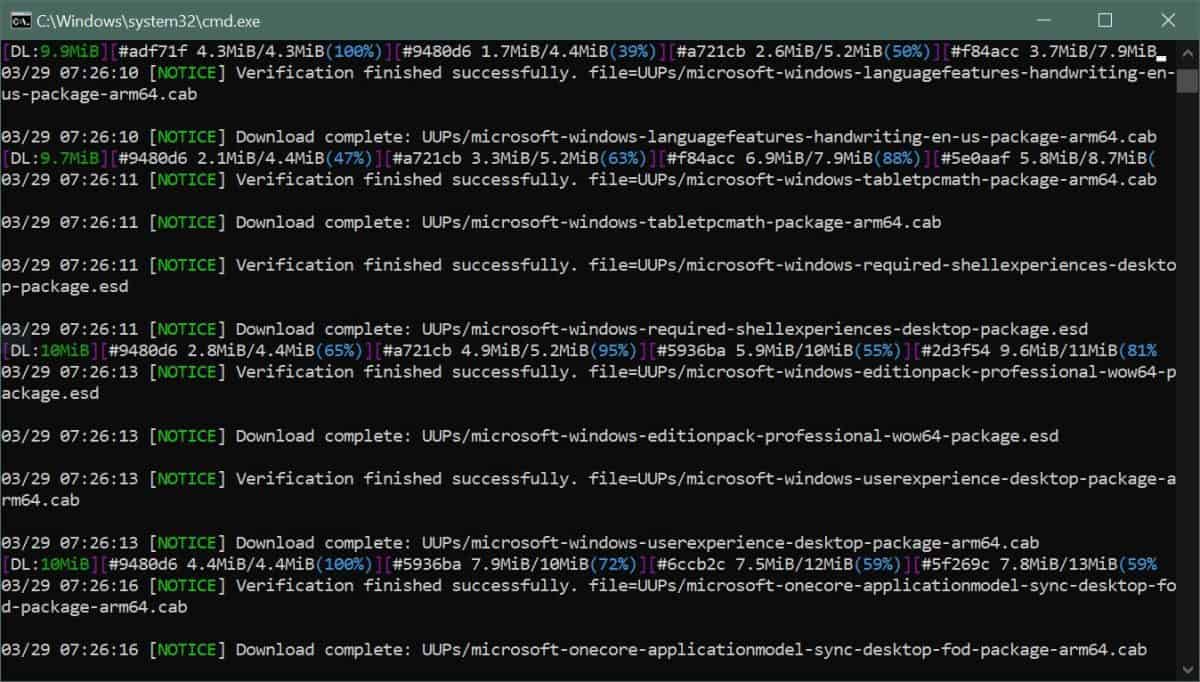
- This process will take a lot of time, especially if your Internet connection is slow.
You have to download several gigabytes from the Microsoft servers. - Once done, the tool will start building the ISO file:
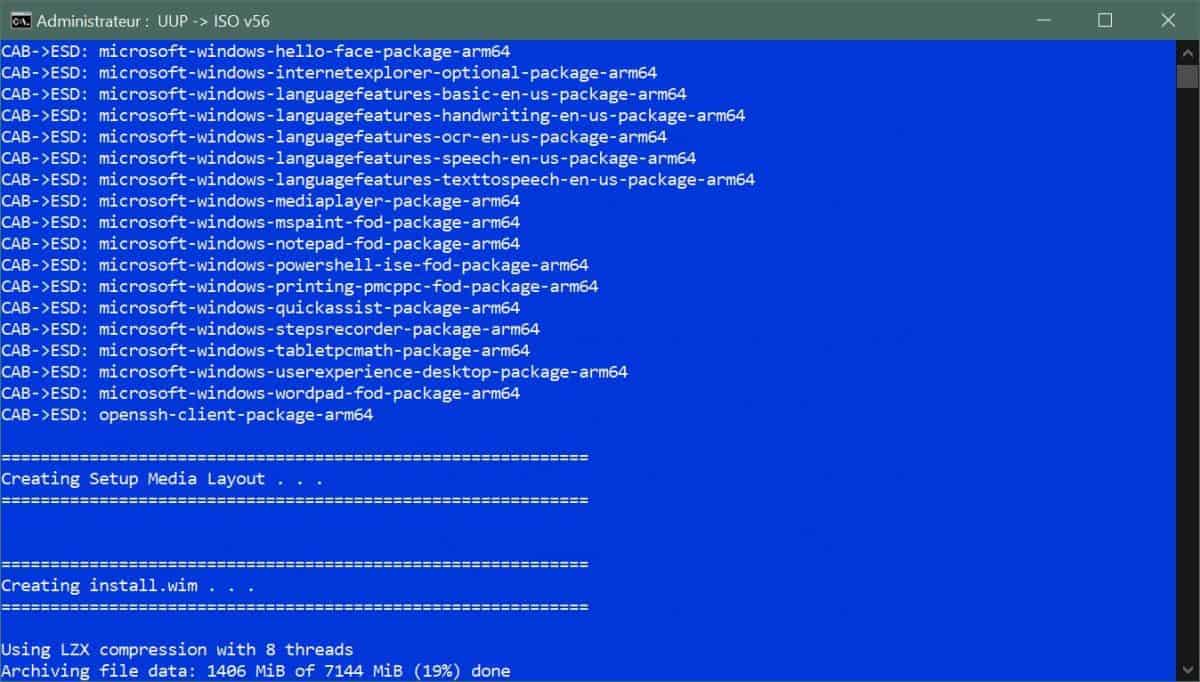
- And a few hours later (depending on your computer performance), the process will be completed:
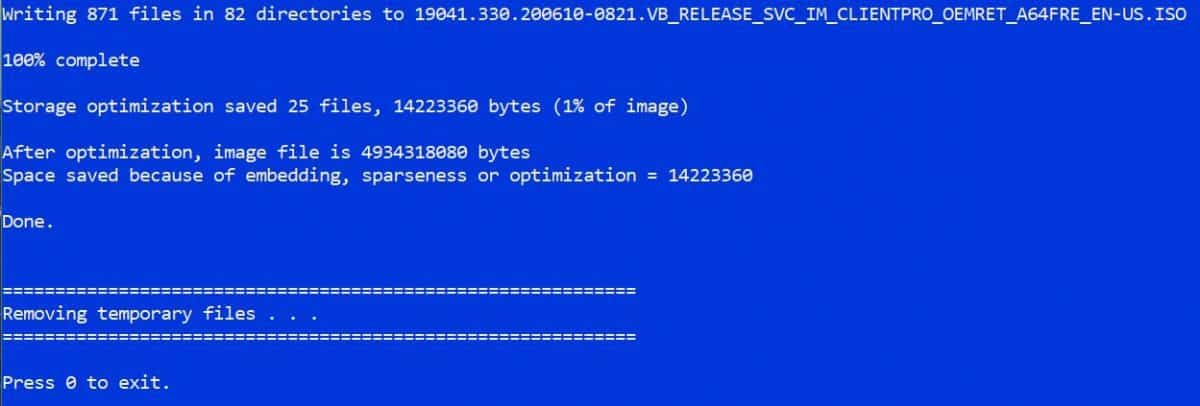
Tip: if it seems to be stuck somewhere, you can try pressing “Enter”. I had this several times. I don’t know if it’s an impression, a freeze in the Windows shell (probably that) or really a question in the background asking for an answer, but it worked for me.
Flash the ISO with WoR
The WoR tool is easy to use. Follow this procedure once downloaded:
- Extract the files from the archives to a new folder
- In this folder, find the WoR.exe file and double-click on it.
- A window like this shows up:
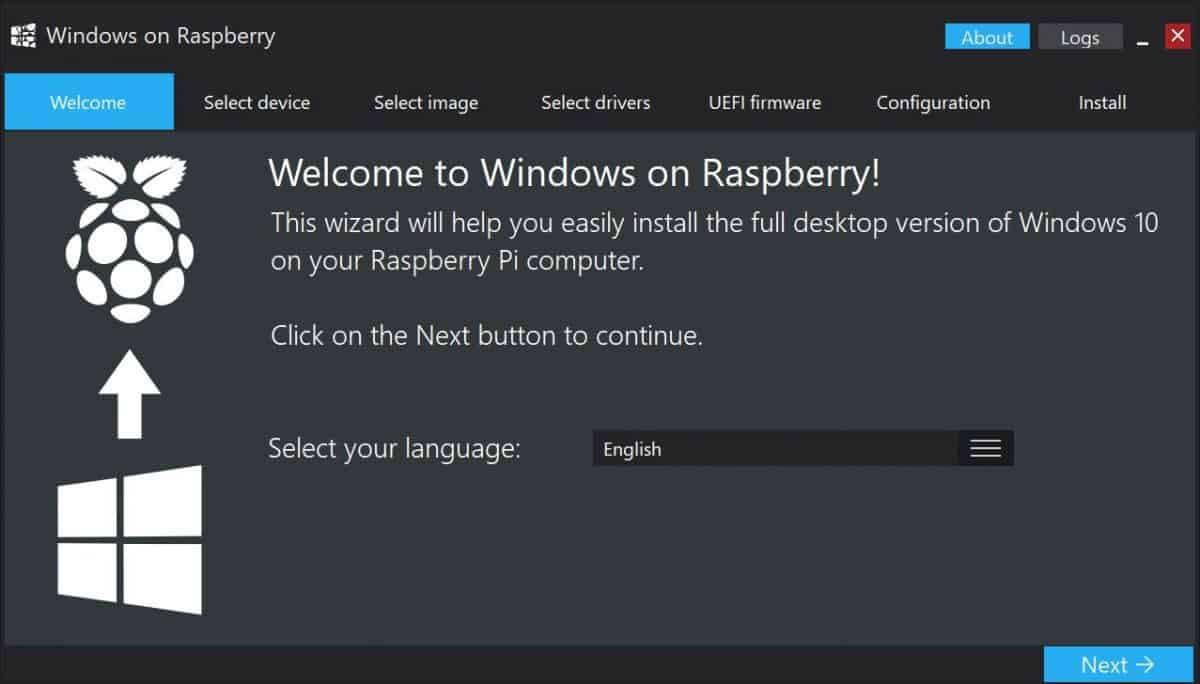
Then follow the wizard to create your drive for Windows 10. - Select the device:
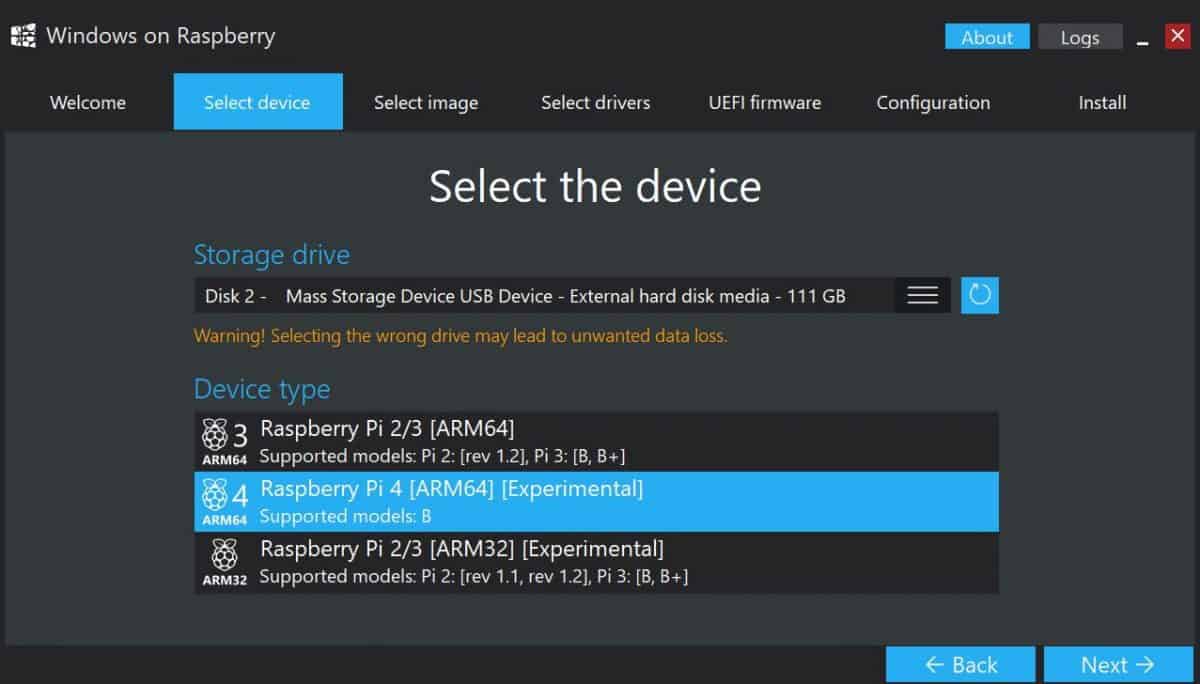
In the first step, you need to choose which storage drive to copy Windows 10 on.
Be careful, as all disks are displayed in the dropdown menu, including your computer disk.
You also need to choose the Raspberry Pi model you’ll use. - Select image.
Now pick the image file where the previous tool built it (probably in your Downloads folder).
Choose the Windows edition to install if required (you probably have only one if you followed my previous recommendation). - Select drivers and UEFI firmware.
For the next two steps, you can simply choose to use the latest versions available. - Configuration.
The only thing I change here is the memory limit in the Advanced tab.
I don’t know if it’s mandatory, but I saw someone recommend this. So, I just put “4096 MB” as the new limit, to be sure Windows will use all the RAM of my Raspberry Pi.
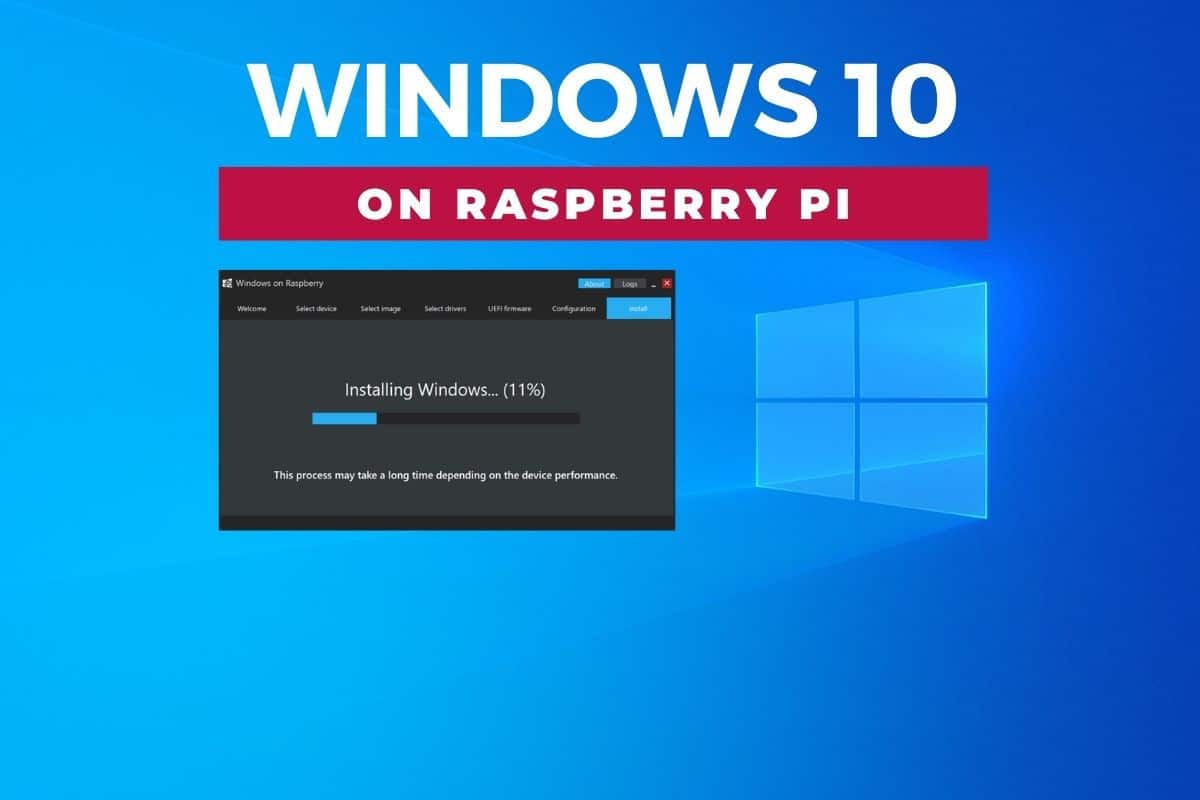
That’s it, check the settings seems fine and click “Install” to start the process.
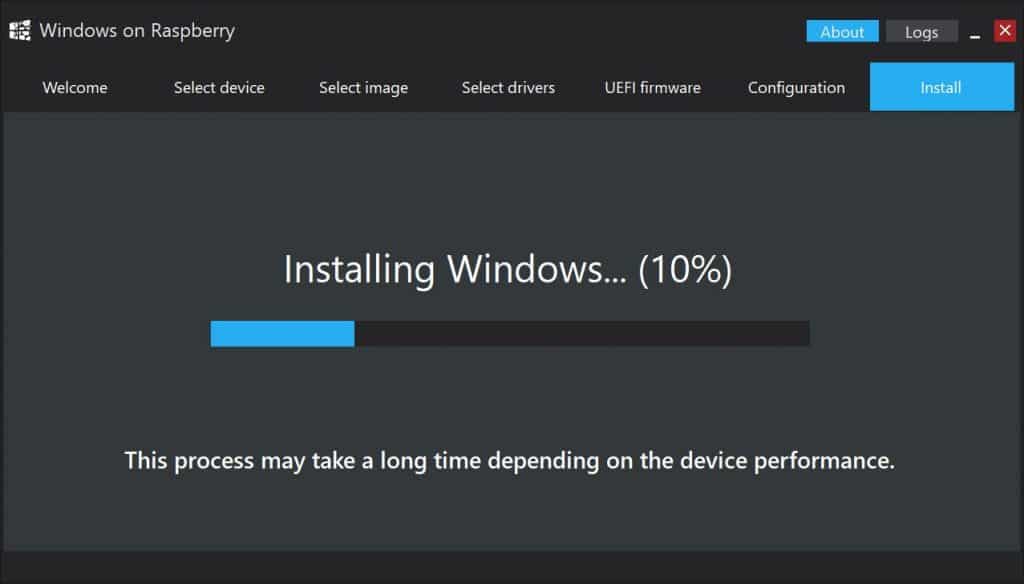
This step will still be longer than we are used to with Linux systems, but not that much.
On a SSD drive, it should be something like 15 minutes. On a SD card it can be really long, probably over an hour.
First boot
Once your drive is ready, you can plug it into your Raspberry Pi (or insert the SD card) and boot it up.
This step also is pretty long, as there is an installation process running in the background to configure everything for your specific device.
By the way, the second boot will be faster – it’s only the first boot that is a little long.
And that’s another step that is really faster with an SSD drive instead of an SD card.
As with any Windows 10 installation, there are a few things to configure in the first boot, like Cortana and all the privacy policies that Microsoft tries to disable for you:

Once done, you should get access to the Windows 10 desktop interface.
Nothing surprising here, but it’s nice to see it finally works in full version on a small Raspberry Pi.
Windows 10 overview

Yeah, Windows 10 is now running on our Raspberry Pi, but how does it actually work? Is it a good system for desktop usage?
Default apps
Overall, the system is pretty responsive.
You can browse in the settings or file explorer without any lag, and the default apps work pretty well.
Watch the video at the end of this tutorial to get a better idea of how it runs.
The default apps on my edition were basic ones (Accessories, Paint 3D, Office, etc.), but I was pretty impressed by the results.
It’s maybe not as responsive as my laptop, but it’s worth considering, given the price of the hardware.
Hardware support
After digging a bit into the system configuration, I found that not everything was working perfectly.
For example, there is no sound card detected (no audio output) and it doesn’t detect my second screen.
I didn’t spend time looking for drivers or workaround, so there may be some solutions out there.
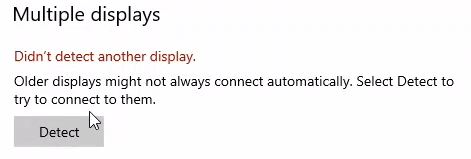
Just don’t expect to work perfectly out-of-the-box.
As you have seen for the installation part, the Raspberry Pi is not supported by Microsoft, so this installation is more of an experiment than a perfect solution.
Installing new apps
After the configuration issues, I also tried installing other random apps.
I picked some I often use on my computer, like VLC, Audacity and Raspberry Pi Imager.
I didn’t have any issue installing them, and they worked really well:
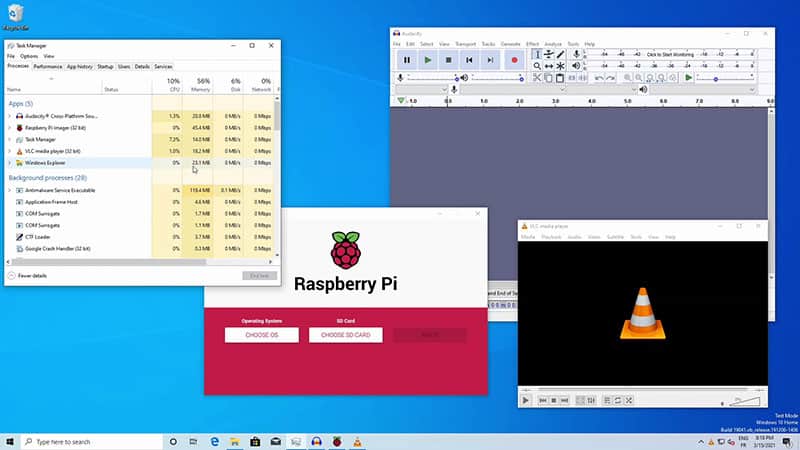
This is the most exciting part with an official Windows 10 running on Raspberry Pi in the future.
With around 80% of desktop users running Windows on their computers, we can expect them to easily switch to Raspberry Pi if they can stay on the same operating system.
Install it on a Raspberry Pi 400, and they won’t even see the difference with a standard computer :).
Yeah, we are pretty far from the original vision and the license system will probably be an issue.
Performance limits
A little warning however about the performances of this operating system.
As there is no optimization for the Raspberry Pi, you will reach the limits pretty quickly with some usage.
For example, watching YouTube on Google Chrome will be complicated. And if you want 1080p in full screen it’s almost impossible. Check the video below to see the results I got.
The memory and CPU were close to 100%, and I had nothing else running at the same time.
It's a free PDF guide containing every Raspberry Pi Linux command you should know!
Download now
Video: Install Windows 10 on Raspberry Pi
To conclude, Windows 10 on Raspberry Pi is now pretty to do, but the process is very long and everything isn’t fully supported yet.
It can be a decent solution for basic usage if you absolutely need to run Windows, but if you have the choice a distribution like Twister OS would probably be a better alternative.
It's a free PDF guide containing every Raspberry Pi Linux command you should know!
Download now
Reminder: Remember that all the members of my community get access to this website without ads, exclusive courses and much more. You can become part of this community for as little as $5 per month & get all the benefits immediately.
Do you need help to get started?
By the way, maybe you are new on Raspberry Pi and were looking for an easy way to stay on Windows because you are used to it on the PC. I’m sorry, but as you have seen, it’s not yet ready.
The Raspberry Pi world might be overwhelming for beginners, you may be lost among the different models, the operating systems and the thing you can do with it or not.
That’s why I have put together a mini-course to help you for the first steps.
By watching a few videos and following my tips, you can jumpstart your journey with a Raspberry Pi, avoid all the obstacles and start having fun with this exciting device.
Sounds interesting? Learn more on this page.