
Can you Use an iPad as a Raspberry Pi Monitor?
To start using Raspberry Pi, you will need many accessories to make it work properly. The screen is probably the most expensive accessory if you’re starting from scratch.
If you have an iPad at home, you may wonder if there is a way to connect both and use the iPad as your Raspberry Pi monitor.
You’re at the right spot, there are several solutions, and I’ll show you the easiest one today!
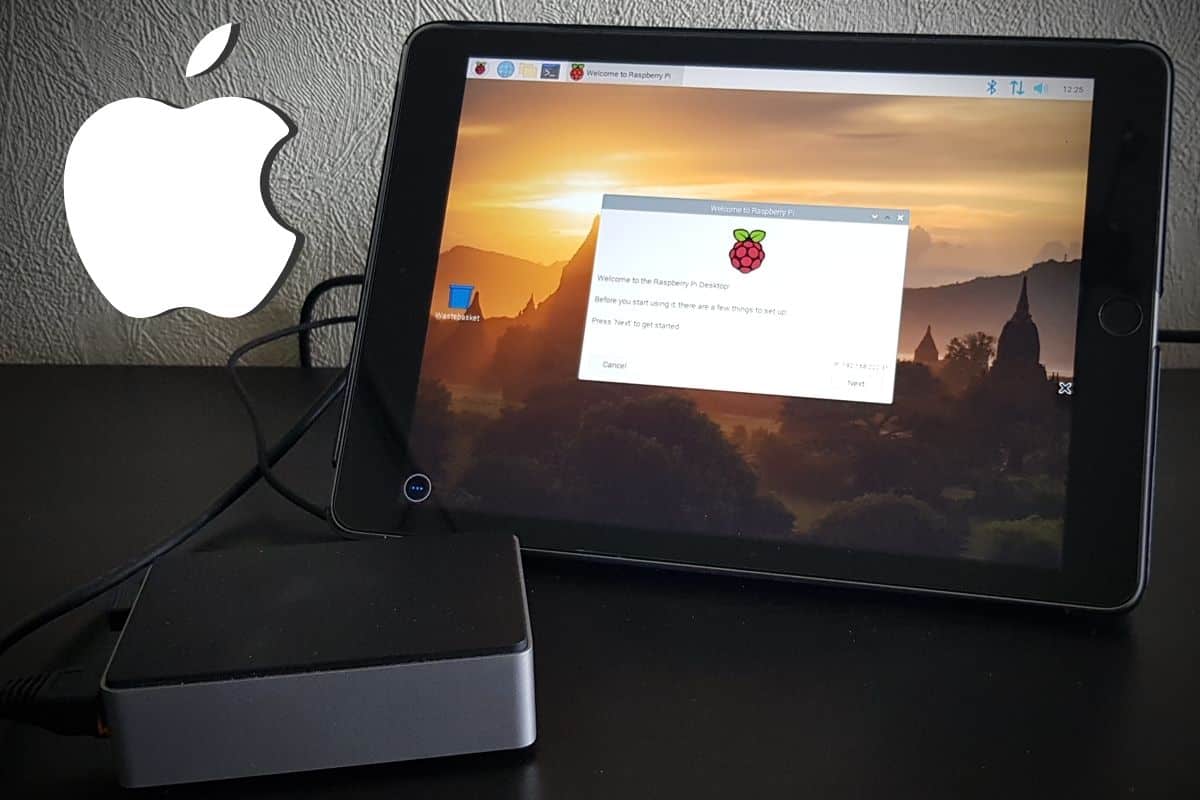
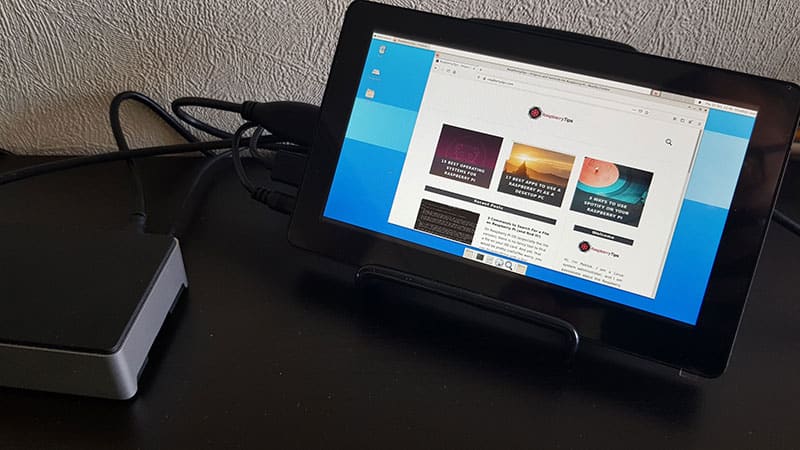
The Raspberry Pi can be connected to an iPad to use it as an external monitor. A wireless solution is to use an app like VNC to remotely control the Pi. No computer is required, everything can be set up from the iPad.
I will introduce other solutions at the end of this tutorial. But first, I’ll show you how to use this method. You can do almost everything from the iPad, so if you only have a Raspberry Pi and an iPad, you can set this up easily.
If you have an Android smartphone or tablet, I recommend checking this article instead.
If you need help getting started on Raspberry Pi, I have an entire course to guide you through your first steps. I’ll help you use the perfect hardware, plug everything in and install your first system. You’ll also do your first projects with me, just to make sure you are ready for the next level. Get all the information on this page if you are interested.
Raspberry Pi Installation
I’ll start with the Raspberry Pi installation, including a few tips to do most of the steps from the iPad.
Obviously, if your Raspberry Pi is already installed, you can skip this part and go directly to the iPad connection.
Prerequisites
We’ll use the Wi-Fi to connect the iPad and the Raspberry Pi, so you don’t need anything special for this installation, but as a reminder here is what I’m using:
- A Raspberry Pi 4 4 GB: Any Raspberry Pi model should be ok, this is just the one I’m using, and it’s perfect for desktop usage.
- A decent SD card: I’m using the SanDisk Extreme Pro for better performance, but you don’t need anything fancy here. Just avoid something too small (32 GB is fine).
If you are interested in performance comparison, you can check my benchmark of seven popular SD cards here. - The Flirc case: Not mandatory at all, but it’s what I’m currently using (you can read my review of the Flirc Case here)
- An iPad: I’m not really an Apple fanboy, but for a tablet, I still prefer the iPad over Android alternatives. And obviously, you need one because that the goal of this tutorial 🙂
Any model will be fine, I’m using this one currently, it’s the classic model.
A computer is not mandatory but will be useful, especially if you need to prepare a new SD card.
I’ll use the iPad directly for all the steps, but if you have a computer, feel free to use it, it should be more comfortable.
If you have a computer, but not an iPad, you can check this tutorial, that shows a similar solution.

Join Our Community!
Connect, learn, and grow with other Raspberry Pi enthusiasts. Support RaspberryTips and enjoy an ad-free reading experience. Get exclusive monthly video tutorials and many other benefits.
Learn moreInstall Raspberry Pi OS
The first step is to install an operating system on your Raspberry Pi.
Almost any distribution should be ok, as we’ll use a popular app you can install it on any system. But for this tutorial, I’ll show you how to do this with Raspberry Pi OS.
No computer?
If you don’t have a computer this is the most complicated step. As you probably know, we generally download the Raspberry Pi image and flash it on a SD card to install the system. This is not possible if you don’t have a computer.
If you are lost in all these new words and abbreviations, request my free Raspberry Pi glossary here (PDF format)!
Download now
The first solution will be to borrow a computer from a friend at work/school and flash your SD card by following the standard procedure from here.
But I have another alternative for you if that’s not possible. You can also use an Android phone and create your SD card on it.
This video shows you how to do this:
With a computer
If you have a computer you can follow these steps:
- Download the Raspberry Pi OS image from the official website
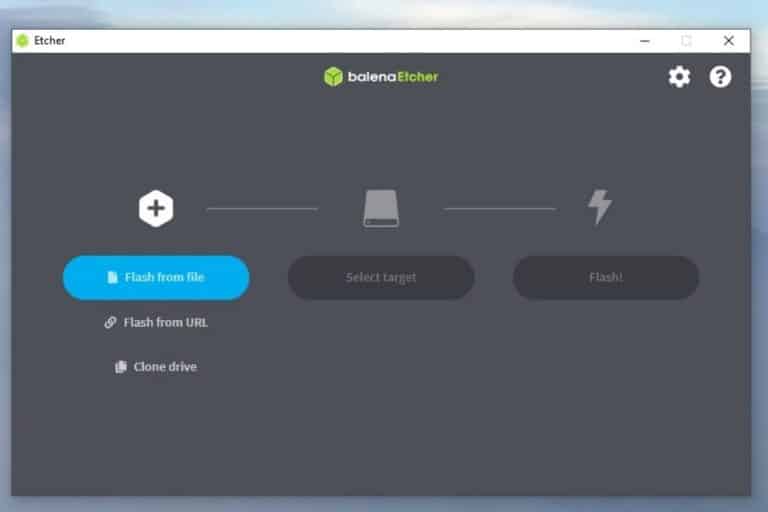
- Download and install Balena Etcher
You can also use Raspberry Pi Imager, it’s the same thing. - Flash the SD card by using Etcher
- That’s it 🙂
If you need detailed instructions to do this, you can check out my full guide here on how to install Raspberry Pi OS Desktop.
Enable SSH
Before going further, we’ll configure the system to start SSH directly on the first boot. This way we can access the Raspberry Pi remotely and continue this tutorial.
- Insert the SD card in your computer again (Etcher will eject it automatically)
- Go to the SD card files with your file explorer app
On Windows, you should have a new disk, maybe something like E:
If you are using an Android phone, you can also browse the files on the SD card - Create a new file named “ssh” in the root folder
Be careful if you are on Windows, your system is not showing the file extension by default, and we don’t want any extension.
You have to check the box “File name extensions” in the “View” tab to see it
- That’s it, you can safely eject the SD card and insert into in your Raspberry Pi to boot your system.
This file will tell Raspberry Pi OS to automatically start SSH on boot so that we can directly connect to it.
If you want more details about this, or if you need to use a Wi-Fi connection on the Raspberry Pi, you can check this tutorial on the topic.
Find your Raspberry Pi IP address
After a few minutes, your Raspberry Pi should have completed its first boot. Before accessing it remotely, we need to find its IP address.
Most networks are using a DHCP server to allocate IP addresses, so you might get a different one each time.
There are many ways to find the Raspberry Pi IP Address, but today we’ll try to do it on the iPad.
- Open the App Store on your iPad
- Look for “iNet” in the search engine and install the free “iNet – Network scanner” app
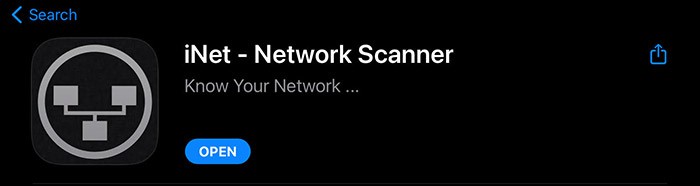
I have tested a few of these apps, and even if this one is not optimized for iPad, it was the best for me. - Once installed, open the app and start a network scan
The app doesn’t need your location, so you can decline the permission request. - You’ll get something like this:
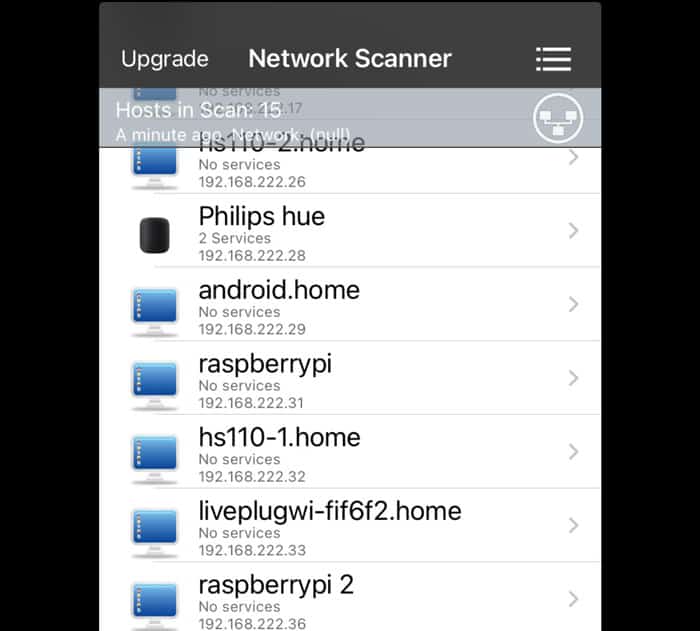
I have several Raspberry Pi on my network, but the one I’m interested in right now is 192.168.222.31.
Find your Raspberry Pi in the list and note the IP address, you’ll need it later.
Raspberry Pi OS configuration
We are almost done with the Raspberry Pi OS part.
We’ll use VNC to connect the iPad to the Raspberry Pi desktop.
This will allow you to see the entire Raspberry Pi screen from the iPad and control it.
VNC is not enabled by default, and we need to set the access password before using it.
We’ll configure this with SSH:
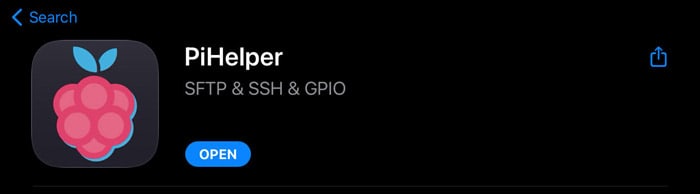
- If you want to use your iPad for this, you can install either install an SSH app like Termius or WebSSH. I’m using PiHelper, which is an app dedicated to the Raspberry Pi.
- Once installed, open it and add a new connection:
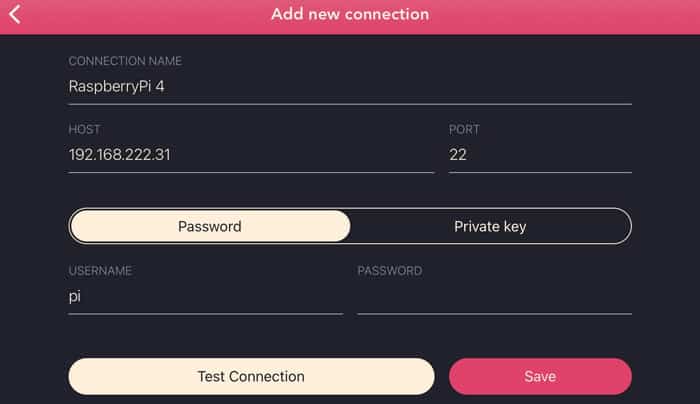
The default password for “pi” is “raspberry”. - You should see your Raspberry Pi in the list, with nice graphs showing the CPU, memory and disk usage:
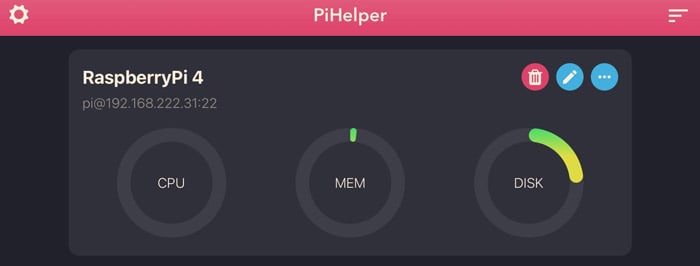
- Click on it to see more details, and then click on the “Term” button at the top of the screen to access SSH.

- From there, install TightVNC with:
sudo apt install tightvncserverIt will remove the default VNC server and install this one.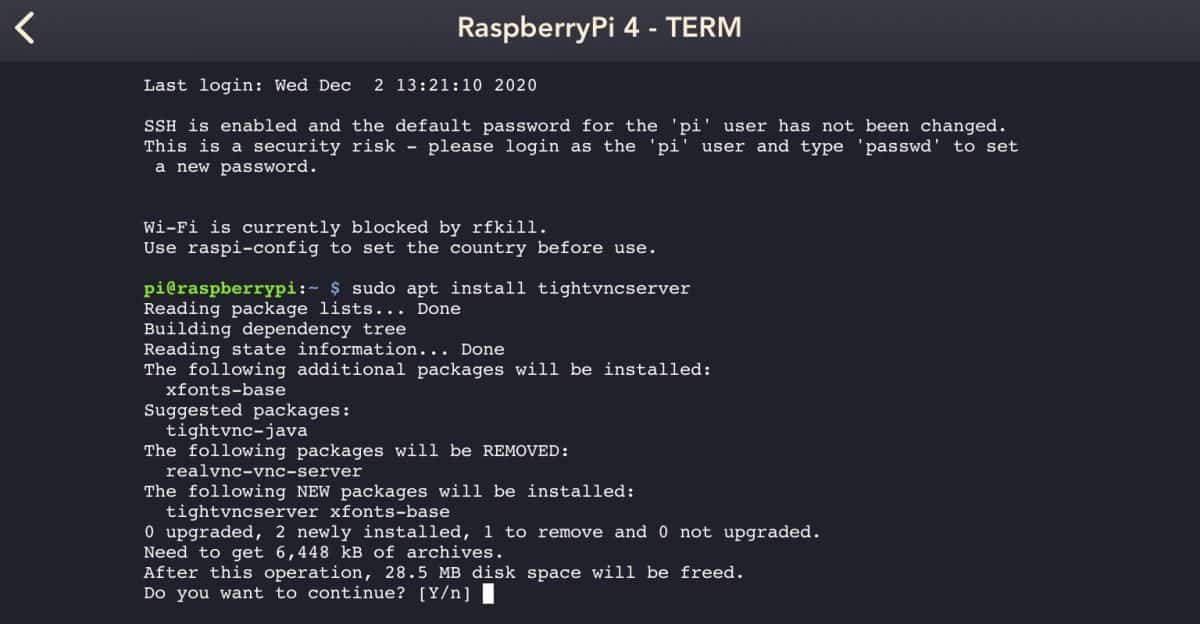
- Once you are done, do this to set the password:
tightvncserver
Choose a password and enter it twice
Now, the Raspberry Pi is ready to use, we just need to install VNC on the iPad.
Obviously, you can do the same thing on your computer by using “Putty” or any other SSH client.
Are you a bit lost in the Linux command line? Check this article first for the most important commands to remember and a free downloadable cheat sheet so you can have the commands at your fingertips.
It's a free PDF guide containing every Raspberry Pi Linux command you should know!
Download now
Use your iPad as a Raspberry Pi Monitor
Install the app on iPad
Now that everything is ready on the Raspberry Pi, the last step is to install a VNC Viewer app on the iPad:
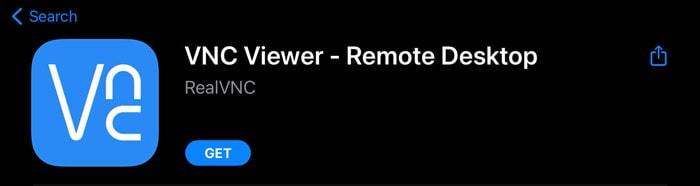
- Back in the App Store, look for VNC in the search engine
- Install “VNC Viewer – Remote desktop”
- Open it and add a new connection by click the “+” symbol in the top right of the screen:
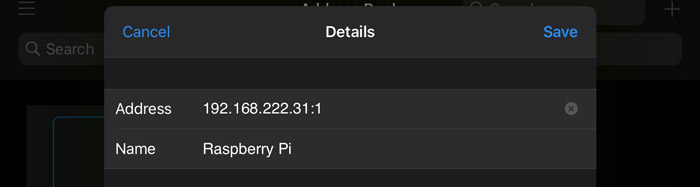
Don’t forget to add the port after the IP address. It should be :1 by default, or you can check what the “tightvncserver” command displayed.
You don’t need to sign in to use VNC. - Click on the icon to start the connection
- Accept the unencrypted connection warning by clicking on “Connect”
- Enter your password
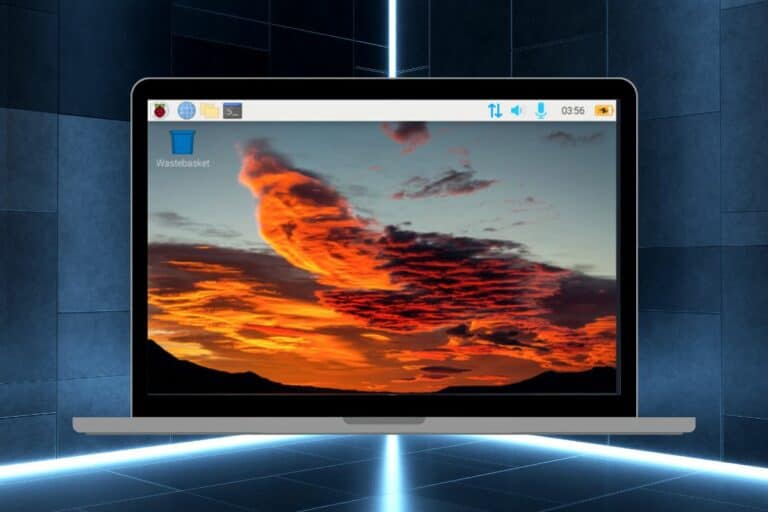
You can save it if you want. - You should see the Raspberry Pi desktop screen on your iPad
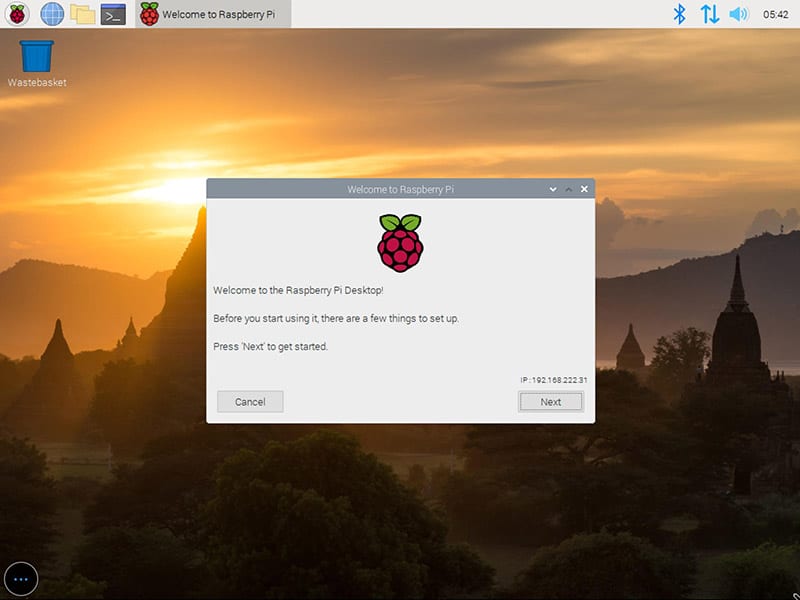
You might need to adjust the zoom (with two fingers) if the display doesn’t fit perfectly (mine was too zoomed in at the first connection).
If you are lost in all these new words and abbreviations, request my free Raspberry Pi glossary here (PDF format)!
Download now
If it is working pretty well, and the display quality is good, you can do almost anything with it. Mouse control may not come naturally, you might need a few minutes to handle it correctly.
You can move the VNC menu wherever you want. By default, it’s in the top-left corner, exactly on the Raspberry Pi main menu, so not the best location. Touch it and keep it pressed to move it to another spot.
Onscreen virtual keyboard
If you really want to use your iPad as a monitor, you will need a keyboard. There are two ways to do this.
The first way is to use the VNC keyboard, which you can access in the “…” menu we moved previously.
It’s the most natural way to do this, as it’ll use your iPad keyboard and add a few other features (like the keys shortcuts you can see on top).
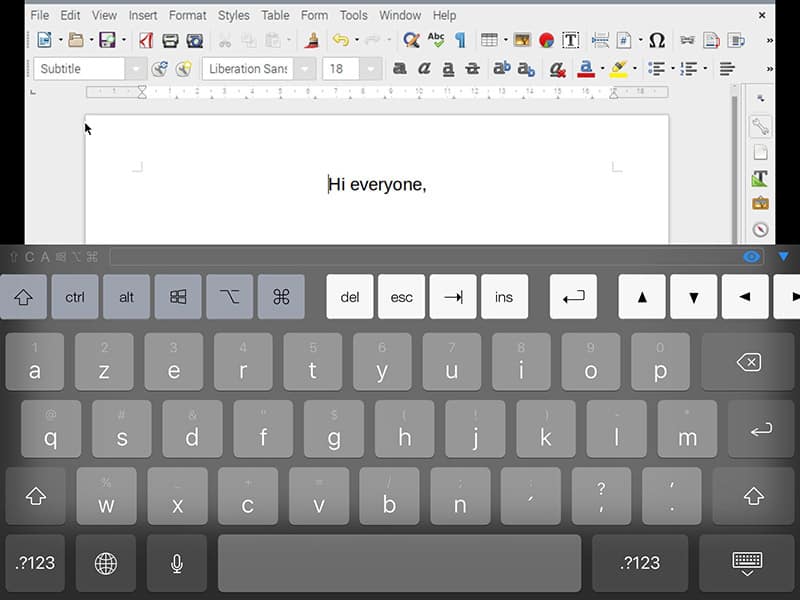
It works pretty well, but it takes up too much space on the screen, and the Raspberry Pi display will not auto-resize to fit the first half of the iPad screen, so it’s helpful, but not perfect.
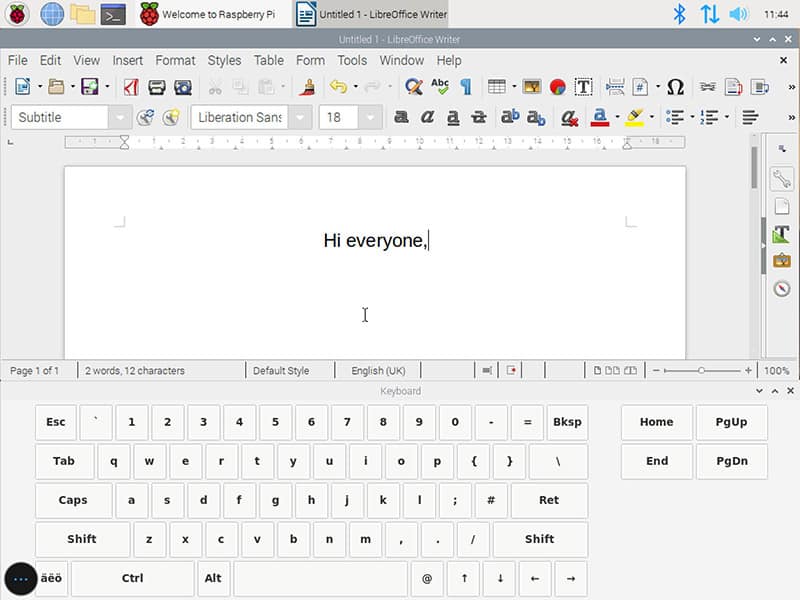
You can also use a virtual keyboard, directly on the Raspberry Pi OS (you can check this post to know how to install it).
This interface will be slightly better, but the VNC mouse make it difficult to use.
And if you want to use a physical keyboard, check my recommendations here: Tested: The Best Keyboards For Raspberry Pi
My thoughts about this solution
As you might already understand by reading the previous steps, using an iPad is a good temporary solution if you are traveling and only have your iPad and Raspberry Pi.
You can use this solution to do something quickly on your Pi (maybe save your photos and upload them somewhere in the cloud), but it doesn’t seem to be a good solution for a daily usage.
The PiHelper app is excellent if you need something to control the Raspberry Pi and type a few commands.
The VNC app can be used to set up the Raspberry Pi at the beginning of a project if you don’t need the screen anymore after that, but not for desktop usage.
It's a free PDF guide containing every Raspberry Pi Linux command you should know!
Download now
Want to chat with other Raspberry Pi enthusiasts? Join the community, share your current projects and ask for help directly in the forums.
Other solutions
If you are looking for something better, here are a few other solutions you can try to improve your Raspberry Pi monitor without spending too much money (most of them are almost free).
iPad Pro
If you have an iPad Pro, you can try the same solution, but there is a better way. The iPad Pro comes with a USB-C port that you can plug into your Raspberry Pi to power it AND control it without a network connection.
So, it’s a little easier, as you don’t need a Wi-Fi network to use VNC and control your Raspberry Pi, but it’s not revolutionary.
I don’t have an iPad Pro to test this, but I don’t think the USB-C connection will help fix our issues.
A pretty good solution will be to use the Magic Keyboard with it. The keyboard issue will be fixed (but not the mouse). For office use or for coding, the Magic Keyboard should be enough.
Raspberry Pi Screen
The best way to control a Raspberry Pi is to use a touch screen made for it, rather than using an iPad.
As you may already know, I’ve been using the SunFounder 7″ touch screen for a few months, and I’m loving it (you can read my review here).
It’s a bit small for desktop usage, but it’s much better than using an iPad .
Android tablet
It’s not really an alternative, but if you don’t have an iPad, you can use your Android tablet (or phone) and do the same thing.
VNC is available on the Play Store.
I tested it and I had the same issue with the mouse. So, no better, no worse.
VNC alternatives
Another strategy can be to replace the VNC app with something else.
On Windows, RDP, NoMachine, and TeamViewer are good alternatives to VNC, and they are available on iPad/Android.
I tried with RDP, but I had the same issues as with VNC.
The only one that is working as I expected is NoMachine. It really clicks on the Raspberry Pi and not where the cursor is. So, the mouse is fixed with NoMachine, and you can really use the virtual keyboard, so it’s pretty good.
I would say, VNC is the quickest solution to make it work almost immediately after the installation, if you don’t need a monitor all the time. But NoMachine is probably the best solution overall if you want decent comfort and regular desktop usage.
If you want to try this, you can check out my tutorial here, to know how to install it on your Raspberry Pi. Everything can be done in SSH, so you can continue with your iPad.
I also made a video about this option, you can find it on my YouTube channel here:
Feel free to leave a comment in the community if you have any questions or suggestions to improve this!
Whenever you’re ready, here are other ways I can help you:
The RaspberryTips Community: If you want to hang out with me and other Raspberry Pi fans, you can join the community. I share exclusive tutorials and behind-the-scenes content there. Premium members can also visit the website without ads.
Master your Raspberry Pi in 30 days: If you are looking for the best tips to become an expert on Raspberry Pi, this book is for you. Learn useful Linux skills and practice multiple projects with step-by-step guides.
The Raspberry Pi Bootcamp: Understand everything about the Raspberry Pi, stop searching for help all the time, and finally enjoy completing your projects.
Master Python on Raspberry Pi: Create, understand, and improve any Python script for your Raspberry Pi. Learn the essentials step-by-step without losing time understanding useless concepts.
You can also find all my recommendations for tools and hardware on this page.

To fix the mouse issue, simply connect a mouse to the Raspberry Pi! Then, all mouse cursor movements will show up on the iPad as if by magic (of computer science)!
Haha 🙂
Yes, I probably forgot that the goal was to use your Pi without a monitor, not without any accessories
Un Grand Merci !
very helpfull ! et en plus ça fonctionne 😉