
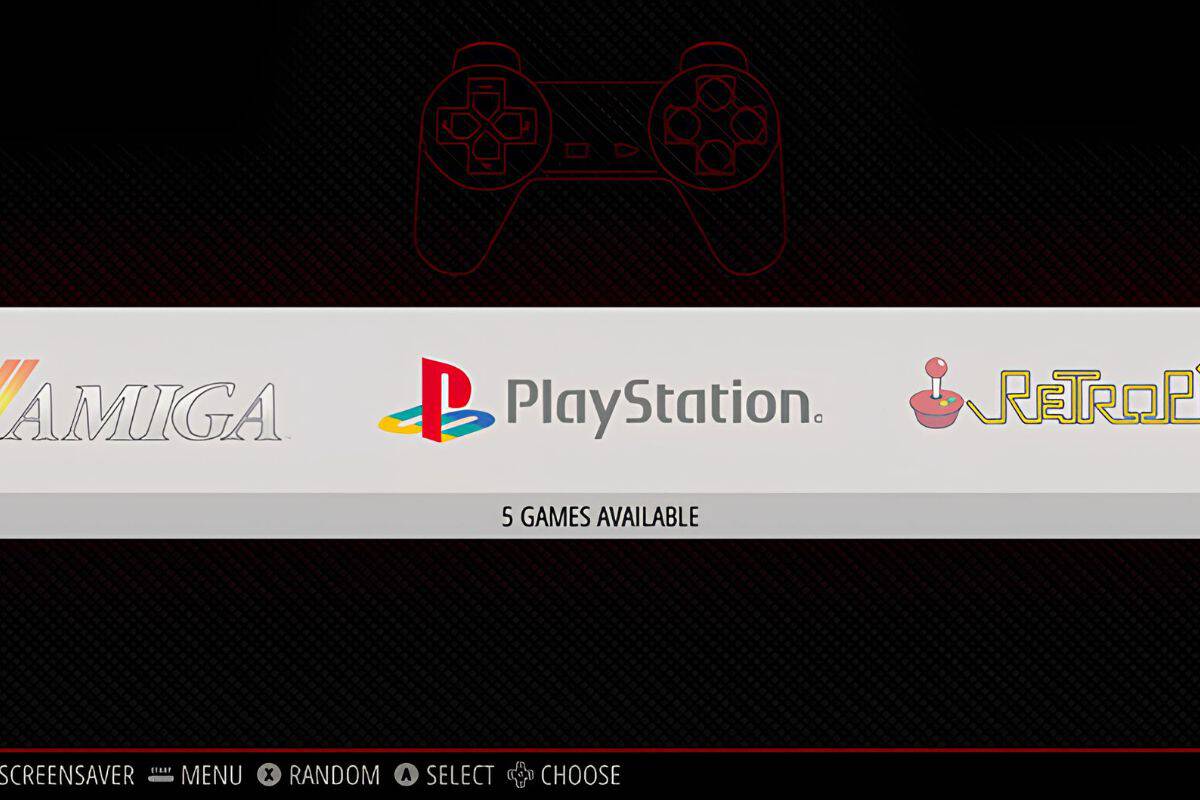
How to Play PSX Games on RetroPie? (Step-by-Step with Pictures)
If you want to play PlayStation games on your Raspberry Pi, you might notice that it’s not available by default on RetroPie. That’s because you need to have the emulator (pcsx) first. In this tutorial, I will show you how to install it in a few steps.
To play PlayStation 1 games on RetroPie, one of three emulators available needs to be installed (lr-pcsx-rearmed, PCSX-ReARMed, or lr-beetle-psx). The first one is installed by default on the latest RetroPie version, but on older ones you can install them with the setup script.
You have the short answer here, but I know that many of you have problems doing this. So let’s see how to do this step by step on Raspberry Pi.
By the way, if you want the best experience with your PSX games on RetroPie, you can use a DualShock wireless controller, it’s working well on Raspberry Pi (tutorial here).
By the way, if you’re looking for some great retro games, I’ve got a list of my 24 favorites for Retropie, Recalbox, or Lakka. It’s packed with screenshots, descriptions, and download links to make it easy for you. Grab the list for free here!
Install RetroPie
If you’re looking for the PlayStation on RetroPie, you probably already have everything installed on your Raspberry Pi. If not, I recommend to first read my post on how to install RetroPie on a Raspberry Pi.
Once installed, I recommend updating the RetroPie setup script to avoid errors:
You might also like: Tired of Raspberry Pi OS? Level up with these top-rated systems.
- Go to RetroPie Configuration.
- Select RetroPie Setup.
- Then click on Update RetroPie-Setup script (S).
Once updated, you are ready to go.
Install a PSX Emulator
RetroPie is a manager for hosting different gaming systems, but it doesn’t run the games itself. To play PlayStation games, you’ll need a PlayStation emulator.
What is an Emulator?
An emulator is a software that allow you to run games for another computer on your current computer. For example, a N64 emulator in Retropie allows you to run N64 games on a Raspberry Pi.
Bonus tip: Once everything is set up, you’ll want a few good games to try right away. I listed some of the best ones with download links. Grab the list here.

If you want a clearer path than jumping from tutorial to tutorial, my book gives you a step-by-step roadmap to really understand your Raspberry Pi.
Check the book hereYou can get answers from real experts in minutes.
Get help with your setup
So, what you need here is to find and install an emulator for PlayStation. As mentioned in the introduction, you have three choices recommended by the official wiki.
In this guide, I’ll show you how to install the emulator called PCSX-ReARMed.
Install PCSX-ReARMed
Note: If you have the latest version of RetroPie, an emulator called lr-pcsx_rearmed is already installed by default. If so, you can skip this part and start adding PSX games to your system.
PCSX-ReARMed is available via the RetroPie setup menu, so the installation is straightforward:
You might also like: 7 Hidden Raspberry Pi Features You Should Be Using
- Go to the RetroPie Configuration screen.

- Select RetroPie Setup.

- Then a window like this appears:

You’ll probably need to use a keyboard for the next steps. - Navigate to Manage packages > Manage optional packages.

- Find pcsx-rearmed in the list and press ENTER.

- Choose install from binary.

- After a few seconds, the package is installed.
Exit this menu and return to EmulationStation (press ESC several times).
That’s it, your new PSX emulator is now ready to use.
The next step if you haven’t done it yet is to download and install your PlayStation games.
Install PlayStation Games
Now that you have the emulator, you’ll need to get the games you want to play on it.
Download Games
The first step is to find the ROM corresponding to the game you want to play. I’ve already written a step-by-step tutorial on how to download games for RetroPie that I recommend you read.
For a quick example of how it works, try the following:
- Visit the Gamulator PlayStation page, for instance:

- Pick a game you want to try.
In my case, I have downloaded Crash Bandicoot 3. - Download the game in the next page.
You can choose the browser download by clicking on the “ROM (direct)” option.
Once downloaded, your game is almost ready to use.
You just need to install it.
Install Games
There are several methods to install a new game on RetroPie (visit this link to see the 4 methods I generally use). The easiest one if you’ve just installed RetroPie is to use the network share.
Here’s how to do this on Windows:
Bonus tip: Once everything is set up, you’ll want a few good games to try right away. I listed some of the best ones with download links. Grab the list here.
Read next: Probably one of the best Raspberry Pi workstations (review)
- Extract the downloaded file with 7zip or WinRAR.
With 7zip, it’s with a right-click > 7zip > Extract Here. - Copy the extracted files (CTRL+C).
- From your file explorer, browse to \\<YOUR-RASPBERRYPI-IP>.
You can get it in Retropie Configuration > Show IP: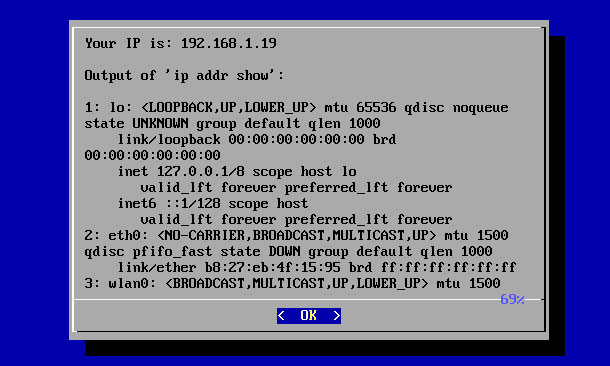
In my case, it’s \\192.168.1.19 for example. - The share opens with the following folders:

- Go to roms > psx.
- And paste your files into it (CTRL+V).
You are almost ready to play.
Let’s check how it works in the next paragraph!
Play!
Before playing your PlayStation game in Retropie you have a last step to take:
- Even if you have copied your game in the psx folder, Retropie doesn’t display the PlayStation emulation in the menu.
- As for any new games, you have to restart Emulstation to apply changes:
- From the main menu, press Start.
- Go to Quit and choose “Restart Emulstation“.
- In seconds, Emulstation restarts and the PlayStation logo is now available in the menu.
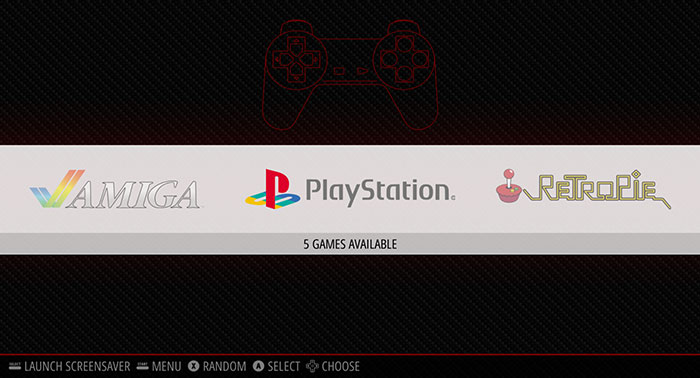
- Go to PlayStation.
- You should see the game you just downloaded.
- Press A to play :).
That’s it, you can now play most of the PlayStation games like this.

Be careful though, some games don’t work with this emulator.
If you want, I have found this spreadsheet that give you a list of games available, and the corresponding status with PCSX ReARMed.
That’s it, you now know how to enable the PSX emulator on Retropie and also how to download and install your new games. I hope this tutorial was useful to you If it’s the case, feel free to leave a comment in the community or to share it on your favorite social network.
If you are interested in RetroPie, I have many other posts here on our site:
- 12 Best Games to Play on RetroPie (Download Links)
- How to use a PS4 controller on Retropie? (the easy way)
- Best Themes for RetroPie in 2026 – Top 15
- 13 Retropie Tips That Will Impress Your Friends
- How to Scrape Retropie Games? (Auto & manual)
Stuck on this project? Ask me or other Pi users in the RaspberryTips Community. We help each other out and you'll get answers quick. Join and fix it together.
Related Questions
Can I run PlayStation 2 games on Raspberry Pi?
Not really at this time, as the emulator for this is still being worked on. However, if you have a more powerful Raspberry Pi 5 and are determined enough, it may be possible. There are some experimental workaround methods out there that might work for a few titles.
You might also like: 25 project ideas you can try at home with Raspberry Pi
Can I use a PlayStation controller to play my games?
Yes, if you have a USB controller, you can plug it on your Raspberry Pi and configure it. You can even use PS4 controllers in Bluetooth if you want. More information here.
Recommended hardware for Retropie power users
- Retropie SD card: Save time and play directly to any game you want with this giant SD card preloaded with over 10k games.
- Raspberry Pi 4: Retropie is now available for Raspberry Pi 4, and it’s excellent. Why would you stay on a slower device?.
- 8bitdo controller: This is currently the best controller for retro gaming on Raspberry Pi. All the latest technologies in a retro design. But for N64 games specially, you can use the Nintendo version here.
- SSD drive: if you have thousands of games and want to improve performances, a SSD will help you a lot, check this one from SanDisk on Amazon…
Whenever you’re ready, here are other ways I can help you:
Test Your Raspberry Pi Level (Free): Not sure why everything takes so long on your Raspberry Pi? Take this free 3-minute assessment and see what’s causing the problems.
The RaspberryTips Community: Need help or want to discuss your Raspberry Pi projects with others who actually get it? Join the RaspberryTips Community and get access to private forums, exclusive lessons, and direct help.
Master your Raspberry Pi in 30 days: If you are looking for the best tips to become an expert on Raspberry Pi, this book is for you. Learn useful Linux skills and practice multiple projects with step-by-step guides.
Master Python on Raspberry Pi: Create, understand, and improve any Python script for your Raspberry Pi. Learn the essentials step-by-step without losing time understanding useless concepts.
Master Linux Commands: Overwhelmed with Linux commands? This book is your essential guide to mastering the terminal. It includes practical tips, real-world examples, and a bonus cheat sheet to keep by your side.
You can also find all my recommendations for tools and hardware on this page.


mine won’t work and I’ve tried everything on this list and It still won’t work im using a usb stick for the games though
An incredible write up – thank you for the simplicity and ease of use when setting this up! Is it possible to craft another write-up around the saving feature? Selfishly, I’m running into a lot of issues with the save data/load data options (.srm files) for PSX in Retropie. Thanks!
Thanks Matt 🙂
I will think about your post idea