Getting Started With PyQt on Raspberry Pi (PyQt5/PyQt6)
Python is the default programming language on Raspberry Pi, and it comes in handy when creating simple scripts and interacting with hardware (GPIO pins, for example). Running scripts for our own use is one thing, but creating nice interfaces for the end user is another level. That’s the goal of this article, where I’ll introduce the PyQt library.
PyQt is a library that can be used to create GUI applications with Python. On Raspberry Pi OS, it’s available in the default repository and can be installed via the package manager (APT).
Let’s start with a short introduction, then I’ll show you how to install it on your device and create your first scripts with it.
By the way, if you get overwhelmed as soon as Python is required for a project, I recommend checking out my e-book “Master Python on Raspberry Pi“. It will guide you step-by-step to learn the essential concepts (and only the essential concepts) required to achieve any project in the future. Raspberry Pi without Python is like a car without an engine, you miss all the fun parts. Get 10% off by downloading it today!
What is PyQt?
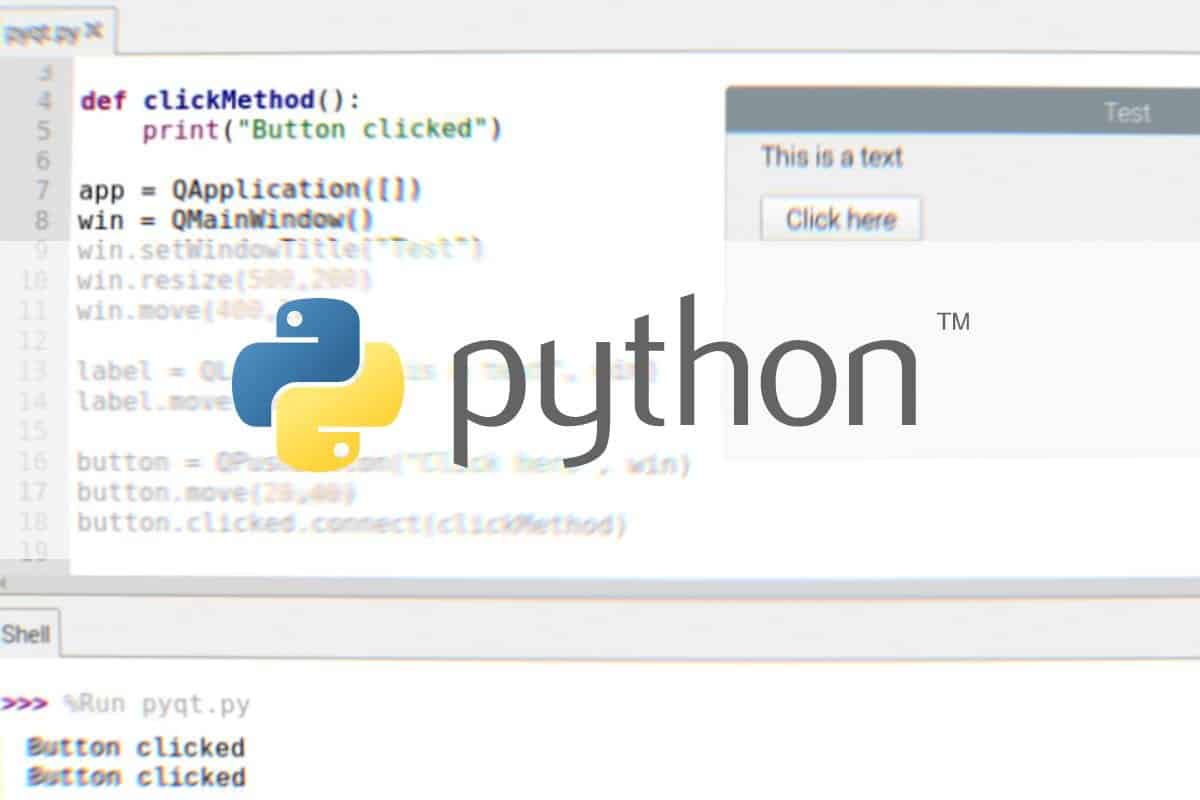
As the name suggests, PyQT is a mix between Python and Qt.
Python is the default language used on Raspberry Pi. It’s preinstalled on Raspberry Pi OS, with many additional libraries already available for you. I have many articles about Python and the Raspberry Pi on this website, so I recommend checking these if you are new to this:
- Why Is Python Used On Raspberry Pi? (3 huge reasons)
- Should You Learn Linux or Python first?
- How to Learn to Program in Python with a Raspberry Pi?
Qt is basically the main application framework used to create applications with a graphic user interface (GUI). It’s written in C++ and works on all platforms (Windows, Linux, macOS and even smartphone systems).
So, PyQt is the toolkit you need to access this framework in Python. The goal is to create graphic applications within your Python code. For example, create a window with buttons that will do specific actions instead of doing everything from a terminal.

Join Our Community!
Connect, learn, and grow with other Raspberry Pi enthusiasts. Support RaspberryTips and enjoy an ad-free reading experience. Get exclusive monthly video tutorials and many other benefits.
Learn moreLet’s learn how to set up your Raspberry Pi to use it, and I’ll show you a few examples – everything will be clearer after that.
It's a free PDF guide containing every Raspberry Pi Linux command you should know!
Download now
How to install PyQt on Raspberry Pi
There are two ways to get PyQt on Raspberry Pi: you can either use APT to get the version from the repository or use PIP to install the latest version available.
If like me, you always mix the languages syntax, download my cheat sheet for Python here!
Download now
Method 1: Install PyQt with APT
Using the package manager (APT) is the most natural way to get PyQt installed on your Raspberry Pi.
I tested it on Raspberry Pi OS, but it should work the same on all Debian-based distributions.
Open a terminal and type this command to install PyQt on your system:sudo apt install python3-pyqt5
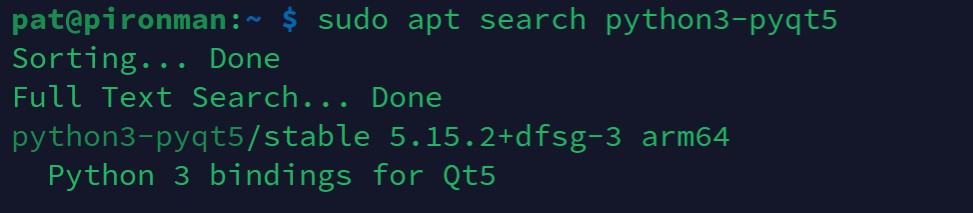
APT will install it in a few seconds, taking care of the required dependencies if needed.
Note: I noticed that it was already installed on one of my Raspberry Pi devices. So maybe it’s already installed on the full version of Raspberry Pi OS (or I got it while installing something else).
Method 2: Install PyQt with PIP
The official repository is generally a few versions behind, so using PIP instead of APT is often a great way to get the latest version available.
For personal projects, I would recommend APT, as it’s easier and will stay up-to-date automatically with your system updates. However, if you need a specific version, PIP is a good alternative.
If you never used PIP before, you may need to install it first with:sudo apt install python3-pip
Then update pip with:pip install --upgrade pip
You can then install the latest version of PyQt5.
It looks like you first need the Qt5 development headers:sudo apt install qtbase5-devAnd you can then install PyQt5 with:pip install PyQt5

If you are new to this, I would recommend reading this article for more details about Python libraries: How to Install and Use Python Packages on Raspberry Pi?
Note: PyQT6 is also available via PIP:pip install PyQt6
The code syntax is different for this library, and for now, it’s not available in the official repository, so I will use PyQt5 in the examples below. But you can use it if needed, just check the official documentation for code examples.
It's a free PDF guide containing every Raspberry Pi Linux command you should know!
Download now
Want to chat with other Raspberry Pi enthusiasts? Join the community, share your current projects and ask for help directly in the forums.
Getting started with PyQt5 on Raspberry Pi
Now that PyQt5 is installed on your Raspberry Pi, let’s try to use it.
The syntax is not as straightforward as with other libraries, so I’ll try to deconstruct it for you, starting with something really basic and building up from there.
First script
A minimalist script you can create to generate your first window looks like this:
from PyQt5.QtWidgets import QApplication, QMainWindow
import sys

app = QApplication([])
win = QMainWindow()

win.show()

sys.exit(app.exec_())- PyQt5 is a gigantic library, so it’s good practice to only import the class you need (QApplication and QMainWindow for this example).
- Then we create an application and a window, with the default options (no parameters).
- Finally, we call win.show() to display the window we just created.
- sys.exit() is used to make sure the program is stopped when we close the app.
You can copy this code into your favorite editor. I recommend using Thonny for these first tests.
So, when you click on “Run”, you should get something like:
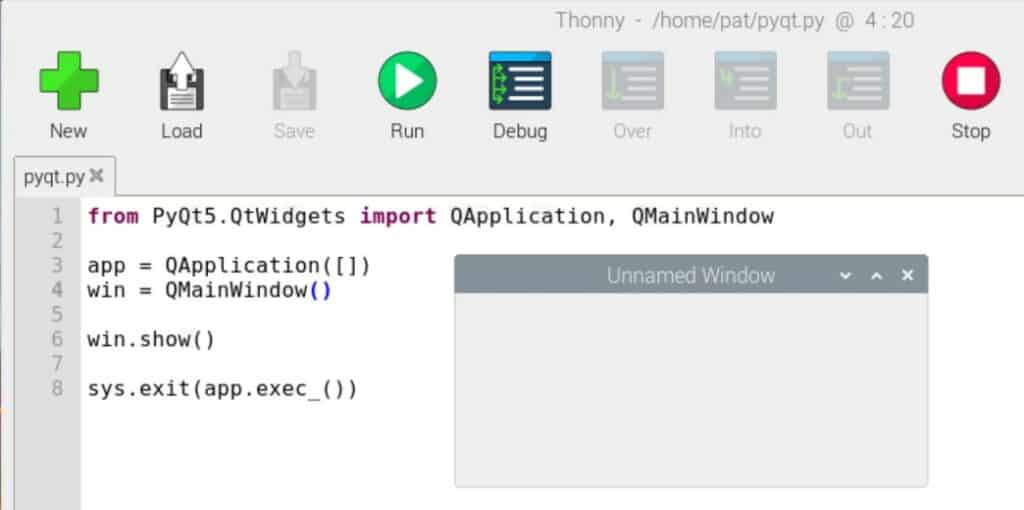
I told you, it’s really the minimum we can do without adding more complicated functions.
It’s just showing an empty window on your screen.
If like me, you always mix the languages syntax, download my cheat sheet for Python here!
Download now
Let’s see how to add some basic elements to it and configure it a bit more.
Basic elements
From there, you can improve your script a little to:
- Adjust the window size and position on your screen.
- Add text in the window (so you can use this for error messages for example).
- Add a button to start a specific action for your project.
Window size and position
The QMainWindow class comes with a few functions you can use to set the window title, size and position:
- setWindowTitle(<title>): will set the window title to whatever you want.
- resize(<width>,<height>): set the default size for the new window.
- move(<x>,<y>): move the window location to the specified coordinates.
You can call these functions from the “win” object we created in the first script, so it will look like:
win = QMainWindow()
win.setWindowTitle("Your Title")
win.resize(500,200)
win.move(400,200)
I will give you a full example at the end of this article. Let me introduce a few other things first.
Add text in your window
To display text in your new window, you need to create a new object: a label.
It’s like a text area in PowerPoint. You define it, type the text and choose the position.
The code to do this looks like that:
label = QLabel("This is my dumb text", win)
label.move(20, 0)
You need to import QLabel on the first line of your script or it won’t work (check the first line in the full script below).
We use the constructor to define the initial text and the window it’s attached to. Then the move function can be used to place the text in a specific location.
Create a button
Buttons are probably the thing you’ll use the most, as using this library just to display text is a bit too complicated for the result. Anyway, adding a button in your window is a lot like adding text.
The only difference is that we need to link the click-on-the-button link to a specific action.
Here is the sample of my code where I create the button:
button = QPushButton("Click here", win)
button.move(20,40)
button.clicked.connect(clickMethod)
Same idea, we use QPushButton to define it and set the text on it.
Don’t forget to import QPushButton too.
Then the move function is the same as for the text label, you can use it to place the button wherever you want.
The last line tells what the button does.
In this example, I call the “clickMethod” function when the button is clicked.
Here is my full script with all these elements:
from PyQt5.QtWidgets import QApplication, QMainWindow, QLabel, QPushButton
import sys

def clickMethod():
    print("Button clicked")

app = QApplication([])
win = QMainWindow()
win.setWindowTitle("Test")
win.resize(500,200)
win.move(400,200)

label = QLabel("This is a text", win)
label.move(20,0)

button = QPushButton("Click here", win)
button.move(20,40)
button.clicked.connect(clickMethod)

win.show()

sys.exit(app.exec_())
When you run the script, the window now looks like this:
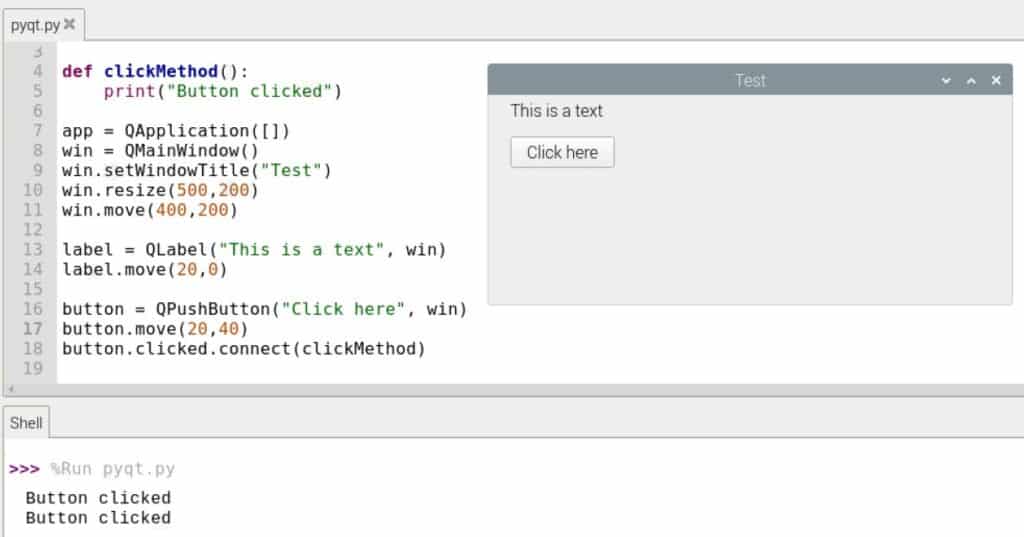
So, on the window, you have a different title, a text and then a button.
If you click on the button, it executes the clickMethod() function, and shows “Button clicked” in the console.
Obviously, you’ll edit the function, so it does whatever you need for your specific project. But you get the idea.
Going further
I hope this introduction tutorial gave you a basic understanding of how to use PyQt on your Raspberry Pi. Try to play a bit more with these elements, change the values in my script, and add other text labels and buttons with different actions to make sure everything is clear.
Once done, you can check the official documentation to learn about the other classes, functions and parameters you can use:
- Official doc: https://doc.qt.io/qtforpython/
- Python doc: https://wiki.python.org/moin/PyQt/Tutorials
This documentation is useful to get an idea of all the possibilities of this library, but I find that even basic examples are pretty complicated for beginners. That’s why I recommend starting from my example and adding new features from there.
And remember that if you are new to Python, it’s probably not the first tutorial you should try. Start with something easier and get back to this later. Here are a few suggestions:
- 15 Fun Raspberry Pi Projects to Experiment with Python
- How To Use The Raspberry Pi Camera With Python
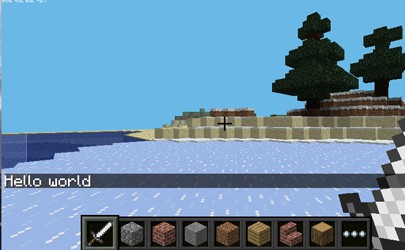
- How to program Minecraft with Python on a Raspberry Pi?
Whenever you’re ready, here are other ways I can help you:
The RaspberryTips Community: If you want to hang out with me and other Raspberry Pi fans, you can join the community. I share exclusive tutorials and behind-the-scenes content there. Premium members can also visit the website without ads.
Master your Raspberry Pi in 30 days: If you are looking for the best tips to become an expert on Raspberry Pi, this book is for you. Learn useful Linux skills and practice multiple projects with step-by-step guides.
The Raspberry Pi Bootcamp: Understand everything about the Raspberry Pi, stop searching for help all the time, and finally enjoy completing your projects.
Master Python on Raspberry Pi: Create, understand, and improve any Python script for your Raspberry Pi. Learn the essentials step-by-step without losing time understanding useless concepts.
You can also find all my recommendations for tools and hardware on this page.