Getting Started With QEMU On Ubuntu – An Illustrated Guide
QEMU is a good emulator that is generally used as a virtualizer to create virtual machines that run other operating systems (like VMWare or VirtualBox). Unlike these two, there is no graphic interface so getting started is not really intuitive. But don’t worry, I’ll explain everything in this guide.
QEMU is available in the default repository on Ubuntu and can be installed with APT. From there, virtual machines can be created and run with a few command lines, or by using virt-manager to do the same in a graphic interface.
I’ll guide you step-by-step, from installation to the creation of your first virtual machine, and explain how to get a graphic interface for QEMU.
How to install QEMU on Ubuntu
Installing QEMU on Ubuntu is pretty straightforward, but if it’s your first time, let’s do install it step-by-step.
System updates
As for any new project, it’s always a good practice to completely update your system to make sure you run the latest version of everything. It’s good for security reasons, but also to avoid conflicts later on.
You can do your system updates in a terminal, with:sudo apt update
sudo apt upgrade
QEMU Installation
Once done, we’ll use APT again to install QEMU. Some versions are available in the Software Center, but I got better success with APT.
Here is the command line:sudo apt install qemu qemu-kvm
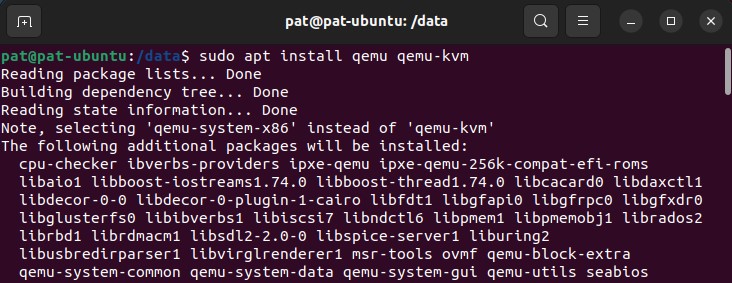
By choosing these two packages only, Ubuntu will install all the required dependencies.

Join Our Community!
Connect, learn, and grow with other Raspberry Pi enthusiasts. Support RaspberryTips and enjoy an ad-free reading experience. Get exclusive monthly video tutorials and many other benefits.
Learn moreBy the way, QEMU is just an emulator by default, adding qemu-kvm allows us to use it as a virtualizer. That’s why we need both packages.
Download your exclusive free PDF containing the most useful Linux commands to elevate your skills!
Download now
Are you a bit lost in the Linux command line? Check this article first for the most important commands to remember and a free downloadable cheat sheet so you can have the commands at your fingertips.
Optional: Enable virtualization in your computer BIOS
If you haven’t created a virtual machine on your computer, it’s probably a good idea to take a few seconds to go into your BIOS and check that virtualization is enabled. It will speed up your virtual machines a lot, so it’s not a waste of time.
To access the computer BIOS, you generally have to stop the computer and press a key when you start it (DEL, ESC, or F2 for example). Check your computer user guide to know which one to use.
Then, you’ll generally find this configuration option in the CPU settings, maybe under “Processor” or “Chipset”.
In general, it’s named “Virtualization Technology”. Make sure it’s enabled.
The configuration is different for each brand or even computer model, but you should find it easily.
Create a virtual machine with QEMU on Ubuntu
Once QEMU is installed, here are the steps to create a new virtual machine with QEMU:
- Create a new virtual disk where you’ll install the system.
- Download an image of the operating system you want to use.
- Start QEMU, specifying the virtual disk and image file.
Let’s see how to do this.
Create a virtual disk
The base command to create a virtual disk for QEMU is qemu-img. The syntax looks like this:sudo qemu-img create <filename.format> <size>
QEMU supports different formats of virtual disk:
- qcow2: Native format with QEMU.
- vdi: VirtualBox disks.
- vmdk: VmWare disks.
- vhdx: Hyper-v virtual disks.
- You can find the complete list here.
Anyway, for this tutorial, I’m only interested in QEMU, so I’ll use the native format.
A simple command would be something like:sudo qemu-img create myvm.qcow2 16G

The disk file will be created in your current location if you don’t specify the path. It’s probably smart to create a new folder for the QEMU drives and use it. Personally, I created a new folder (/data) and put my disk in it, but I’ll let you do as you want.
Download the system image
To install a new operating system on this virtual disk, we’ll need an installation image.
You can download it from the official website for the distribution or operating system you want to install.
For example, I’m testing this for you with a minimal Debian image. So, I go to Debian.org and download the latest image available:
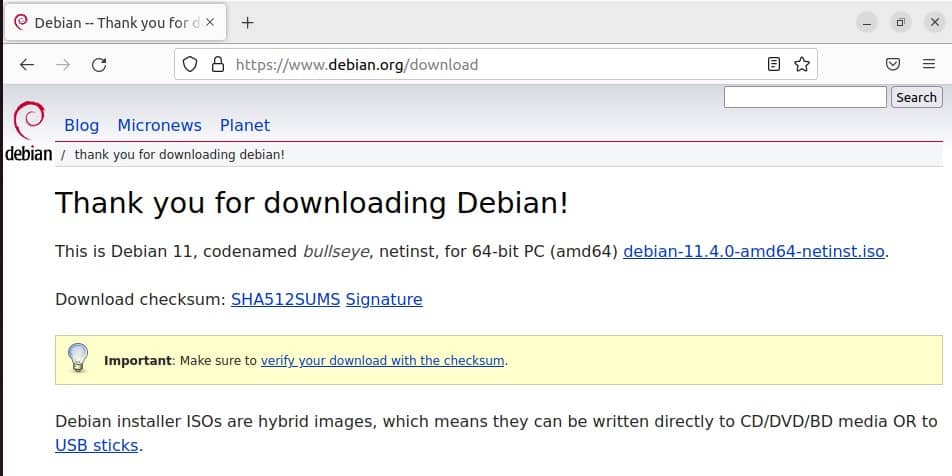
We need an ISO image. If it’s compressed, please extract it from the archive before going further.
Start the installation
We’ll now start the virtual machine for the first time, telling QEMU to use a CD-ROM player, and put the image we just downloaded onto it.
Download your exclusive free PDF containing the most useful Linux commands to elevate your skills!
Download now
Here is the command line to do this:sudo qemu-system-x86_64 -boot d -cdrom /path/debian.iso -m 1024 -hda /path/myvm.qcow2
- qemu-system-x86_64: the base command to run a classic virtual machine with a 64bits architecture.
- -boot: we want it to boot on the image.
- -cdrom: location of the image file (probably /home/user/Downloads/yourimage.iso).
- -m: the amount of RAM we need for this virtual machine.
- -hda: the path to the virtual disk we just created (/data/myvm.qcow2 in my case).
It’s not necessarily intuitive, but it’s pretty understandable once you have the command line in front of you.
When you execute this command, a new window will show up, starting QEMU and the system installation.
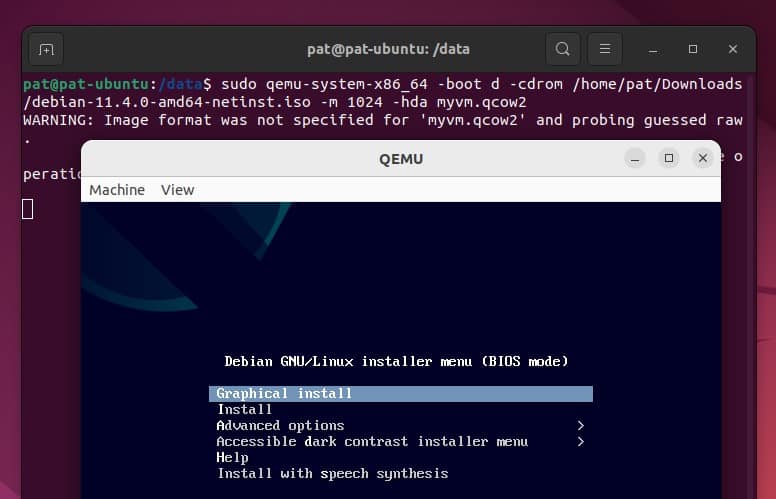
From there, follow the steps to install the new operating system inside the virtual machine. It’s as if you were installing it on your computer.
QEMU will keep the focus when you click inside the windows (you’ll stay inside the virtual machine). You can press CTRL+ALT+G to exit and get back to your Ubuntu environment.
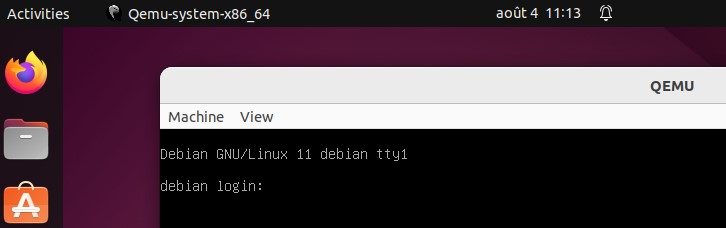
At the end of the installation, you can stop the system. I will explain how to start it back in the next section.
Download your exclusive free PDF containing the most useful Linux commands to elevate your skills!
Download now
How to use QEMU on Ubuntu
Start an existing virtual machine with QEMU
If you stopped the virtual machine after the installation or rebooted your system, you can start the existing virtual machine again with almost the same command as for the installation. We just don’t need to specify the image file this time.
To start an existing virtual machine with QEMU, use:sudo qemu-system-x86_64 -m 1024 -hda myvm.qcow2
Don’t forget to add the path to your disk image if it’s not under your current location.
Also, QEMU will be a bit slow if you don’t use KVM. If your computer has the virtualization technology enabled, you can add –enable-kvm to your command line to speed it up:sudo qemu-system-x86_64 --enable-kvm -m 1024 -hda myvm.qcow2
Feel free to add more memory too if you can. Many optional parameters are available if you need anything special for your virtual machine. You can find the list on the main page (direct link).
Is there a GUI for QEMU on Ubuntu?
QEMU doesn’t come with a graphic interface by default, it’s all in command lines. But virt-manager can be installed on Ubuntu to add a more user-friendly environment to create and manage QEMU virtual machines.
You can install virt-manager with APT:sudo apt install virt-manager
I had to restart my computer to fix some permissions issues, so I recommend doing the same on your side:sudo reboot
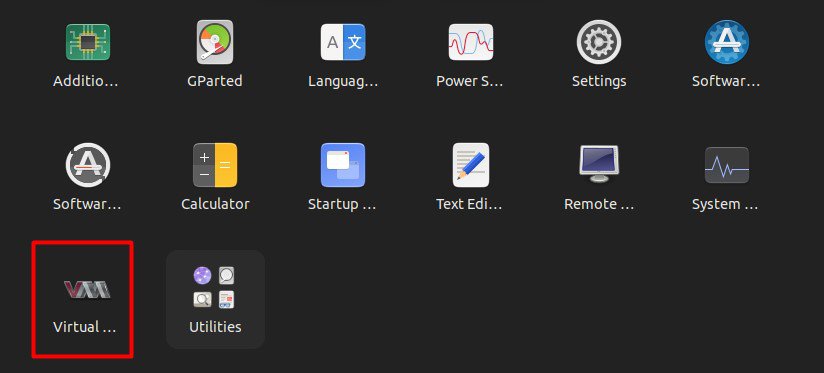
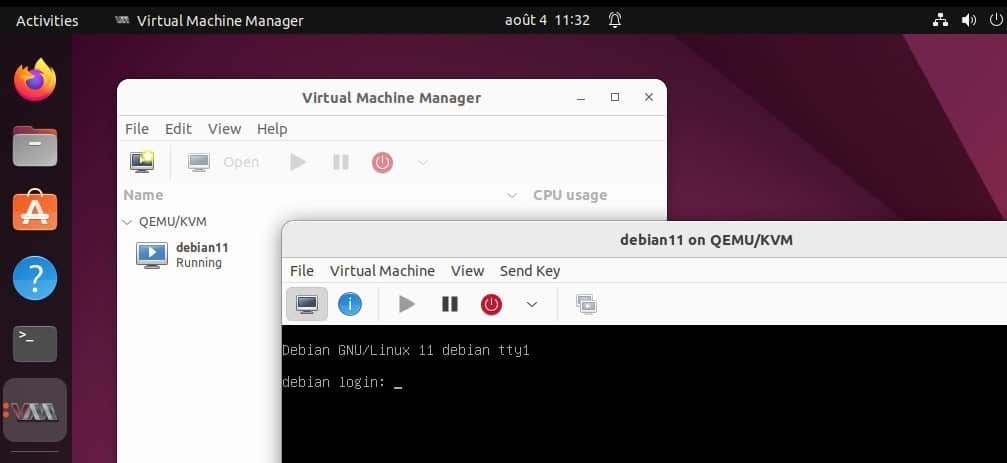
After that, you’ll find Virtual Machine Manager (virt-manager) in the main menu with the other apps:
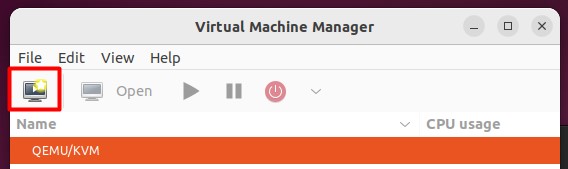
At first, the manager has no idea if you already have some virtual machines on your system, so it will be empty. You first need to import the virtual machine we just created.
Click on the first icon (“Import Existing Image”) to open the wizard:
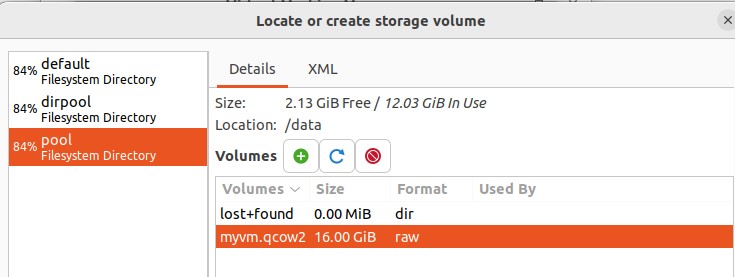
You’ll then have a new window asking you the file’s location. Click on “Browse” and find the image file in the pop-up window. You can add a new volume if some partitions are missing there.
Choose the QEMU image we just created, and confirm:
You can then choose the corresponding operating system (Debian 11 in my example), and adjust the memory and CPU settings if needed.
Give a name to your virtual machine, and configure the network if you need anything special.
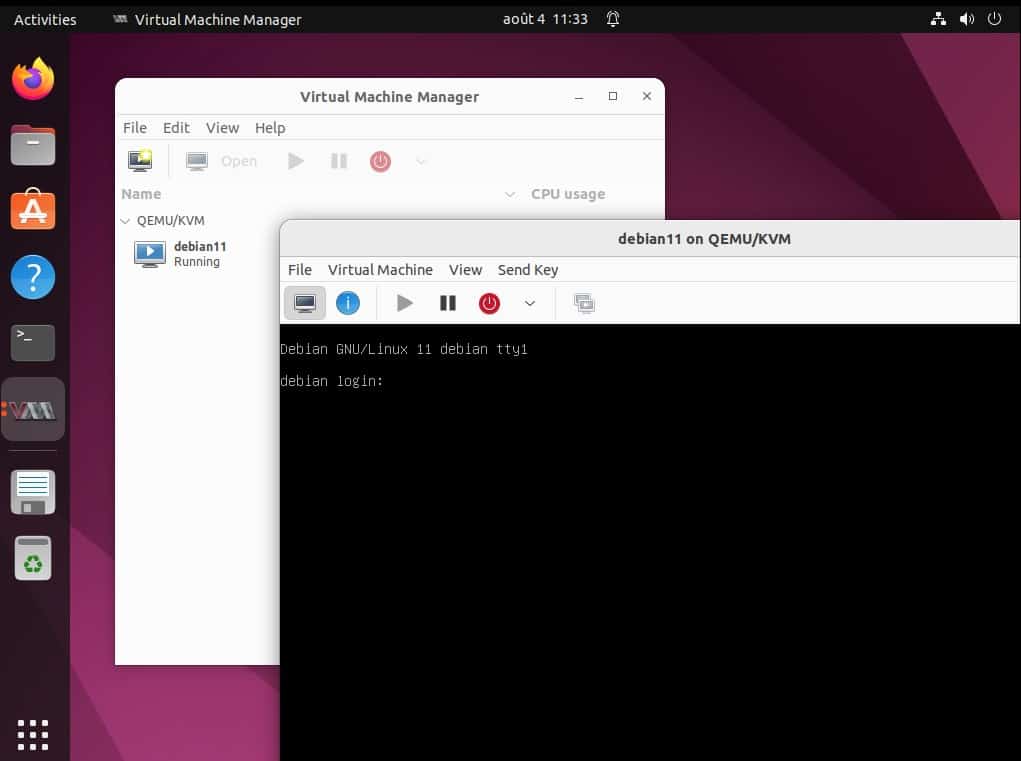
You’ll then have it listed in Virtual Machine Manager. Using QEMU on Ubuntu is now much simpler, and looks a lot more like VirtualBox or VMWare:
I hope this guide helped you. Feel free to leave a comment in the community if you have any additional questions, and check my other guides for Ubuntu there:
- The Complete Beginner’s Guide to The Ubuntu Hosts File
- How To Safely Extend a Partition on Ubuntu (GUI & Commands)
- The 5 Fastest Ways to Find a File on Ubuntu (Apps & Commands)
Download your exclusive free PDF containing the most useful Linux commands to elevate your skills!
Download now
Reminder: Remember that all the members of my community get access to this website without ads, exclusive courses and much more. You can become part of this community for as little as $5 per month & get all the benefits immediately.
Additional Resources
Overwhelmed with Linux commands?
My e-book, “Master Linux Commands”, is your essential guide to mastering the terminal. Get practical tips, real-world examples, and a bonus cheat sheet to keep by your side.
Grab your copy now.
VIP Community
If you just want to hang out with me and other Linux fans, you can also join the community. I share exclusive tutorials and behind-the-scenes content there. Premium members can also visit the website without ads.
More details here.
Need help building something with Python?
Python is a great language to get started with programming on any Linux computer.
Learn the essentials, step-by-step, without losing time understanding useless concepts.
Get the e-book now.