
Resources for Beginners
If you're just getting started on Raspberry Pi, you don't need many things. You only need to find the minimal required hardware, without spending too much money for now. And you mainly need help to understand how the basics work and start to enjoy quickly.

On this page, I give you a few examples of what you'll need right away. These are mainly tools that I use and appreciate.
Raspberry Pi 4 Starter Kit
My recommendation: You absolutely need to buy the basic hardware to get started.
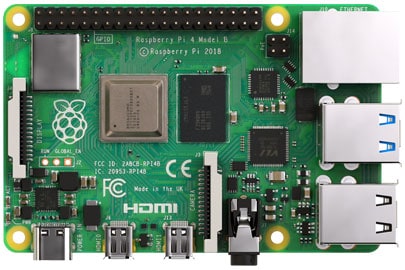
If you can afford it, the Raspberry Pi 4 is the best choice currently. You can use anything you want on it with the maximum performance available.
The 4 Go version is not mandatory, if it’s too expensive for you, you can choose another pack (1 or 2 Go) to save a few dollars.
Strong points: Choosing a kit is the best way to get started, you will avoid many issues trying to find the required accessories, compatible cables, etc. Everything is included, you can start Raspbian 5 minutes after delivery 🙂
Alternative: If you just want to give a try and don’t want to spend too much, the Raspberry Pi Zero is probably a good alternative for half the price. I use this kit for example, feel free to check (Amazon).
The absolute minimum
My recommendation: Ok ok, if you just start and don’t want to spend too much money, you can absolutely start with the main board only. You will need at least an SD card and a power cable, but maybe you already have them at home. I still recommend the Raspberry Pi 4B+, with 1 or 2 GB it’s ok, you don’t really need more to learn the basics.
Alternative: Older models are not cheaper than that, so it’s probably a wrong bet to start on a Pi 3 for example. But if you really want something cheap, the Raspberry Pi Zero can be enough to learn (if you don’t ask it too much). Check it here on Amazon, if you want to compare.
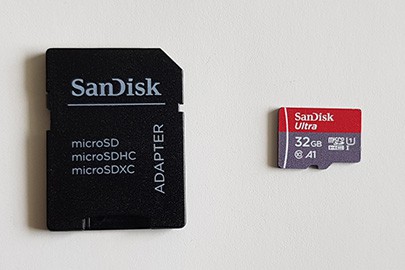
A basic SD card
My recommendation: Another thing you may need if you already have your Raspberry Pi is one or more SD cards. Personally, I use the basic SanDisk Ultra all the time, they are cheap and work very well (they have a good score in my benchmark here)
Alternative: They are many alternatives available, but if you just start on Raspberry Pi, you probably don’t need more than that. The best one of my benchmark is available in the Expert category of this resource page, if you want to give a try.
Adapter: If your computer doesn’t have an SD card reader, you can find one to plug on USB. Any model from Amazon will do the job (this one for example).
Useful Tips to Get Started
My recommendation: Once you have your hardware at home, the next thing you need is a bit of information of what you need to do with it. How to install Raspbian? How to configure the network? Etc.
In this guide, you’ll get everything you need to set up your Raspberry Pi.
Alternative: As reading many posts to answer each new question you have every 5 minutes is not optimal, you can save time by reading my book “Master your Raspberry in 30 days”. You can download it here, and the idea is to guide you through a step-by-step process, with one new chapter each day.
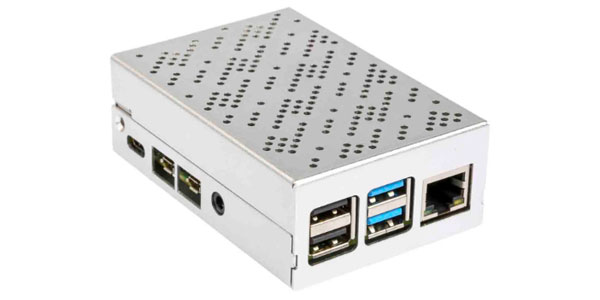
Professional case (Pi 4 or 3B)
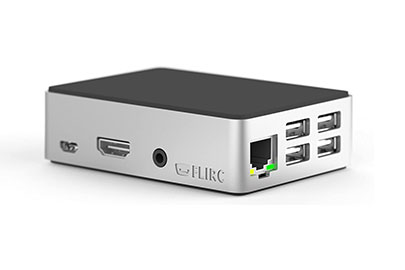
My recommendation: Flirc is a case I strongly recommend if you just start (and for the others too, I use one most of the time). It’s easy to assemble, use passive cooling to avoid heating, and the design is pretty cool!
They have the same one in black if silver is not for you, with a nice branding for Kodi (click on the link to check it).
Alternative: The link I give is for the Raspberry Pi 4, but there is the same one for the Raspberry Pi 3B / 3B+ (as you can see on the picture). Links to Amazon for the best price as always 🙂
Raspberry Pi Essentials
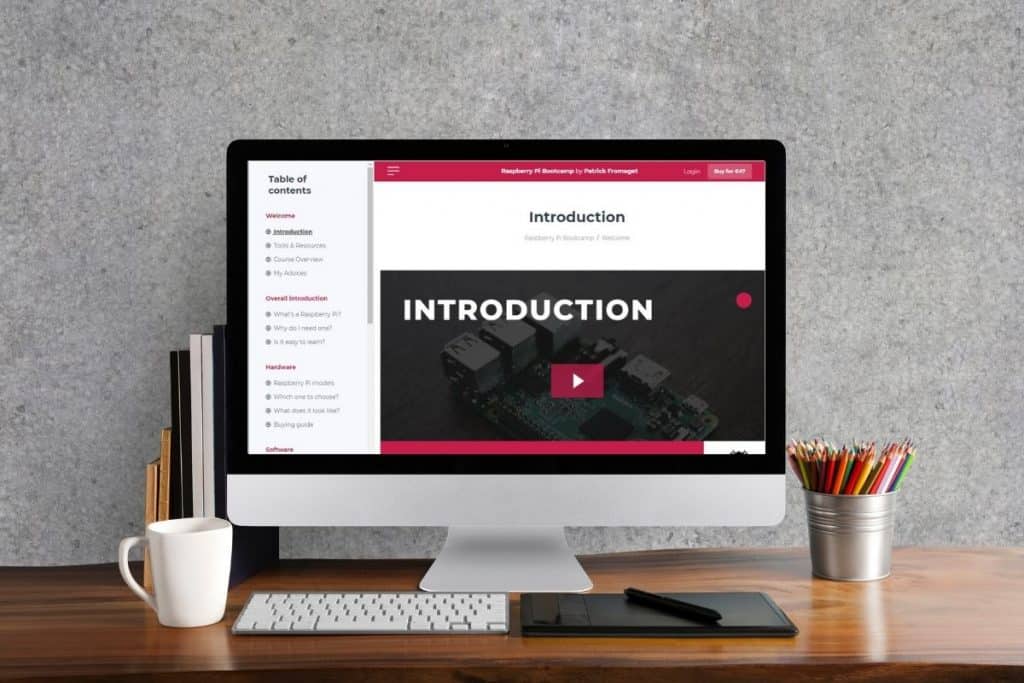
My recommendation: If you prefer watching someone else doing it to learn faster, a course is the best option you have. In this course, you start from the basics and build several projects to apply them (GPIO, web server, etc.)
Strong points: Even if this is a course format, it’s pretty cheap, but you get the full tour of your Raspberry Pi. For a 4-hour course with several projects included, it’s worth it.
Alternative: If you rather save some money to buy new hardware for now, you can check the tutorials on my YouTube channel. I’m no longer active on this platform, but you can still access all the (old) videos for free.
Balena Etcher
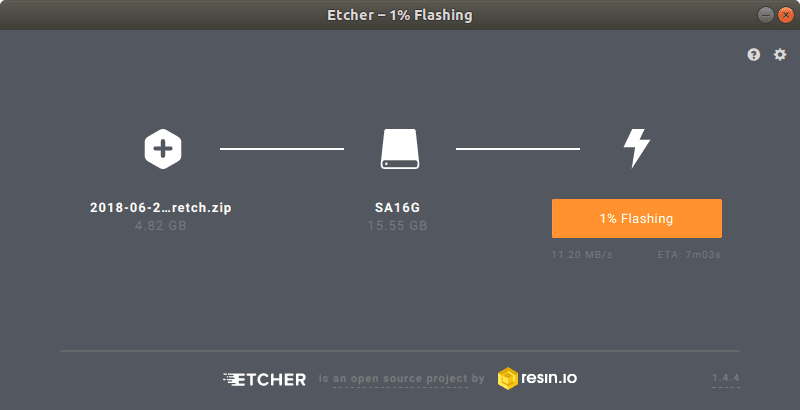
My recommendation: Etcher is a free tool to flash OS images on SD cards that I often recommend in my posts. It’s available on any operating system (Windows, Linux, macOS) and easy to use.
Strong points: It works all the time! Many tools are doing the same thing, but I always had problems with them when using “exotic systems” or unformatted SD cards.
Alternative: Recently, the Raspberry Pi Foundation released a new software to do the same. I don’t really use it because I like Etcher, but it’s probably working well as it was built for this purpose. You’ll find it on the Raspberry Pi OS download page.
PDF: Commands Cheat Sheet
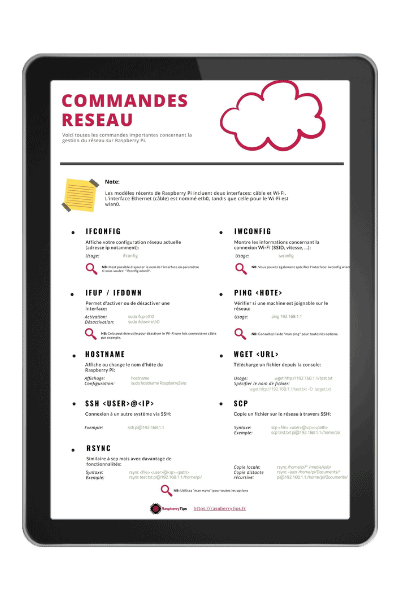
My recommendation: Getting started with Linux is already a challenge, but remembering all the commands can be overwhelming. Download this cheat sheet and keep it with you all the time to quickly find the command to use in any situation.
Strong points: This cheat sheet is available for free, you just have to download it and try! Include over 70 commands, with a short explanation and a few examples each time.
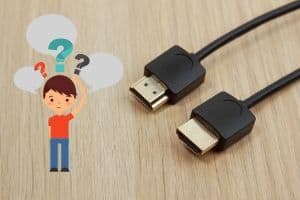
HDMI Cables or Screen?
My recommendation: The Raspberry Pi Foundation doesn’t make things easy when you have to choose the accessories you need for each model 🙂
All seem to use a different display port. But anyway, finding the corresponding cable is mandatory to learn in good conditions.
Which one to choose? As you just start on Raspberry Pi, you will probably use one of these models:
– Raspberry Pi 4 : micro HDMI to HDMI (Amazon, you need two for the dual screen)
– Raspberry Pi 3 : HDMI to HDMI (Amazon, you may already have one with your TV or console)
– Raspberry Pi Zero : mini HDMI to HDMI (Amazon)
You can also use adapters, but I often have issues with them, so I don’t recommend using them.
Alternative: If you don’t have an available screen, or don’t want to buy a specific cable for each Raspberry Pi, you can also consider this official touchscreen from the Raspberry Pi Foundation (Amazon).
You can attach the Raspberry Pi to the back, and plug it on the DSI port.
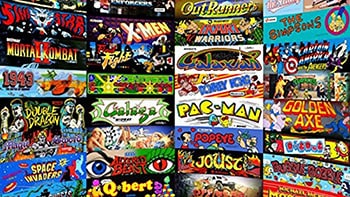
Retro games SD card
My recommendation: If you use your Raspberry Pi mainly for retro-gaming, an interesting option to consider is to find a SD card preloaded with many games. There’s a fair difference in the price when comparing to the SD card only, but you’ll save lots of time instead of downloading each game one by one.
Alternative: It’s not really an alternative, but eBay can be an interesting marketplace to consider for this product. Here is a direct link to the products available at the moment.
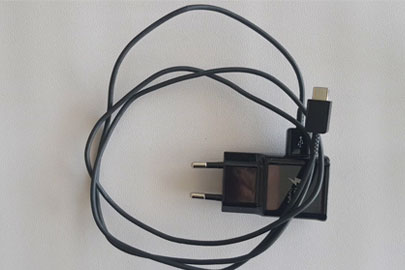
Power supply (RPI 4 / 3B)
My recommendation: The Raspberry Pi Foundation doesn’t include a power supply with their products. So, if you don’t buy a kit, you’ll probably need one.
There are many options available, but make sure to have a compatible charger, with the same power output as the official one. The easiest way is to get the official one, or one from a popular brand like Canakit, here are the links for the two models:
– Raspberry Pi 4
– Raspberry Pi 3B / 3B+
Alternative: If you want to keep your money on this item, it’s possible. It can work with a basic USB cable (USB-C for Raspberry Pi 4, USB Mini for Raspberry Pi 3B) plugged on your computer. Or even your smartphone charger can do this. But it’s not optimal.
Need more?
Check the other pages below
Note: This post contains affiliate links. If you use them, I’ll get a small commission.
The commission comes at no additional cost to you.
RaspberryTips is a participant in the Amazon Associates and other companies affiliate programs.
I recommend these products because I use them myself and I know them.
This is simply a list of what I use and love