
Setting Up Sense HAT on Raspberry Pi: A beginner’s guide
I’ve had my Sense Hat for a few months, and I’m excited to share what I’ve learned with you.
But it’s been difficult to write this post because there are so many things to explain. I didn’t know how to organize everything in order to make it a complete tutorial that wasn’t too long.
This tutorial is finally online, and consists of several parts.
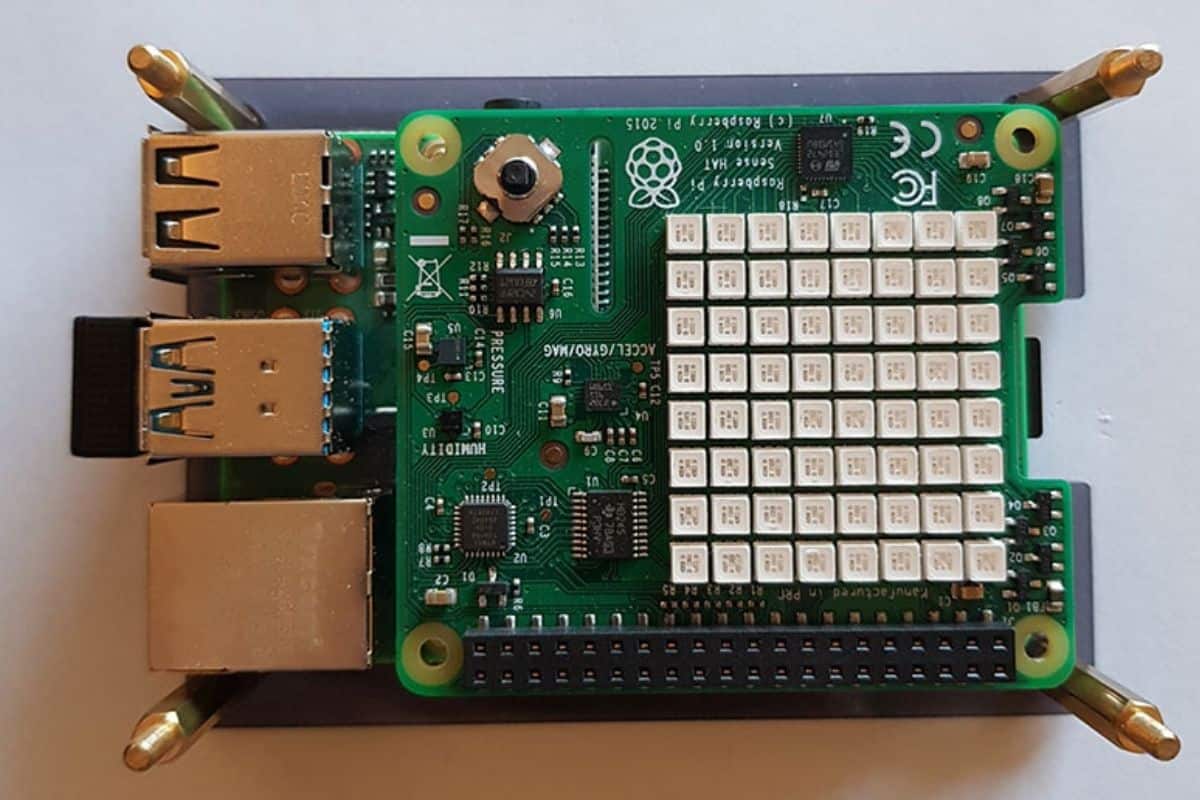
The Sense Hat is the most popular HAT on Raspberry Pi. It’s an expansion card, created by the Raspberry Pi Foundation, that provides many sensors, a LED matrix and a joystick. Python code can be used to control all of this.
But before playing with it, there are a few things you need to do and understand, which is the main goal of this first part of the article.
In this post, I will explain what exactly you can do with Sense Hat, where to buy it, how to install it and ensure that everything is ok.
If you’re looking to quickly progress on Raspberry Pi, you can check out my e-book here. It’s a 30-day challenge where you learn one new thing every day until you become a Raspberry Pi expert. The first third of the book teaches you the basics, but the following chapters include projects you can try on your own.
Sense Hat presentation
“HAT” definition
We often use the term HAT to define a Raspberry Pi extension.
It’s not only for the first meaning, but it stands for “Hardware Attached on Top”.
In short, it’s an additional card you plug on the top of your Raspberry Pi to bring new features.
Generally, it uses the GPIO ports to connect the two cards together.
If you are interested, you can see a few HATs examples on this page.
Don’t panic, the assembly is easy.
It requires no soldering, so you can plug and unplug it when you want.
And even better, the installation is automatic most of the time.
The Raspberry Pi will recognize the HAT thanks to an EEPROM module on the board that identifies the HAT model.
So don’t be afraid to use HAT with your Raspberry Pi, it’s effortless, and close to an additional PCI cards on your computer.
Just plug it in, you might have to install one thing, and it’s ready to use.
If like me, you always mix the languages syntax, download my cheat sheet for Python here!
Download now
The Sense Hat story
Originally, the Sense HAT was created by the Raspberry Pi Foundation as “Astro Pi” (you may have heard this name).
The goal was to send a few Raspberry Pi with many sensors onboard the International Space Station (ISS).
Here is an infographic from the ESA (European Space Agency):

After this successful flight, the Sense HAT was created as a commercial product that was available for anyone on Earth :).
What does a Sense Hat do?
The sense HAT provides many new sensors to the Raspberry Pi:

Join Our Community!
Connect, learn, and grow with other Raspberry Pi enthusiasts. Support RaspberryTips and enjoy an ad-free reading experience. Get exclusive monthly video tutorials and many other benefits.
Learn more- Accelerometer (get the movement speed of the PI)
- Gyroscope (capture the rotation movement of the Raspberry Pi)
- Magnetometer (magnetic field measurement)
- Air pressure sensor
- Temperature and humidity sensors
And there is also an LED display matrix and a joystick on the top of it.
Everything is controllable in Python scripts, which we’ll see in the next part of this tutorial.
Video
If you aren’t excited enough by the Sense Hat features just yet, here’s a short video of a person playing with the LED display :);
I’m sure you want to keep reading after that ^_^.
It's a free PDF guide containing every Raspberry Pi Linux command you should know!
Download now
Sense Hat installation
Where to buy a Sense HAT?
Before going further, the first step is to have a Sense Hat in your hands :).
This extension is not very expensive, typically between $30 and $40 depending on where you buy it.
You will find it in the same stores as the Raspberry Pi device.
The most convenient place to order it is probably on Amazon (check the current price here).
If like me, you always mix the languages syntax, download my cheat sheet for Python here!
Download now
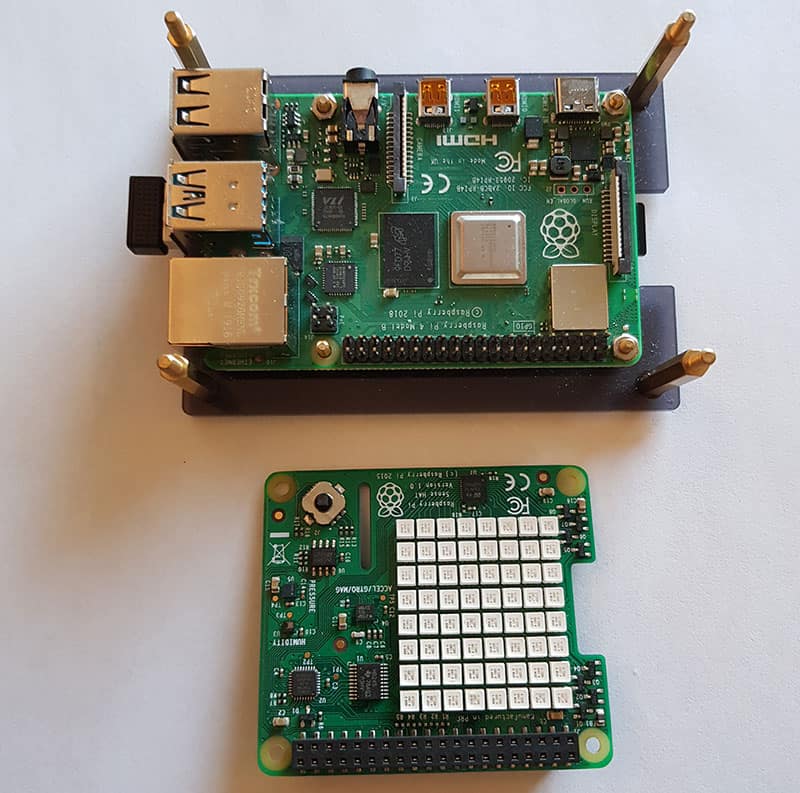
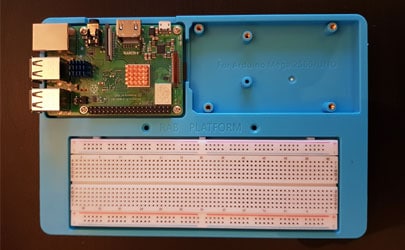
It’s not mandatory, but you can purchase specific cases to accommodate the Raspberry Pi and the Sense Hat together. For example, it fits perfectly inside the Argon Neo (check my review here with pictures of the Sense HAT in it).
Prerequisites
So, once you have your Sense Hat, you don’t need much else.
If you have your Raspberry Pi and your Sense Hat, you are ready to go.
You also need to prepare a SD card with Raspberry Pi OS Desktop (or Full) on it.
If needed, you can find my recommendations for a good SD card here, and a tutorial on how to install RPI OS Desktop here.
For now, don’t plug in the Sense Hat, we will get to this as soon as the operating system is ready.
Once on Raspberry Pi OS, I recommend to:
- Check that the Internet connection is working (this step is mainly for Wi-Fi connections).
- Update your system:
sudo apt update && sudo apt upgrade - Enable SSH.
It’s not mandatory for now, but you’ll need it in a following part of this tutorial.
Once ready, you can stop your Raspberry Pi and move to the Sense Hat installation.
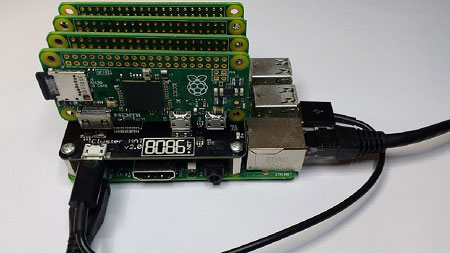
Hardware installation
The Sense Hat installation on the Raspberry Pi is straightforward.
The Sense HAT has a GPIO connector that slot into all the pins, so you don’t have to think on where to plug it in.
- Start with the Raspberry Pi off (unplug the power cable).
- Then, put the Sense Hat on the GPIO pins and push it gently to connect it.
- Finally, start your Raspberry Pi again.
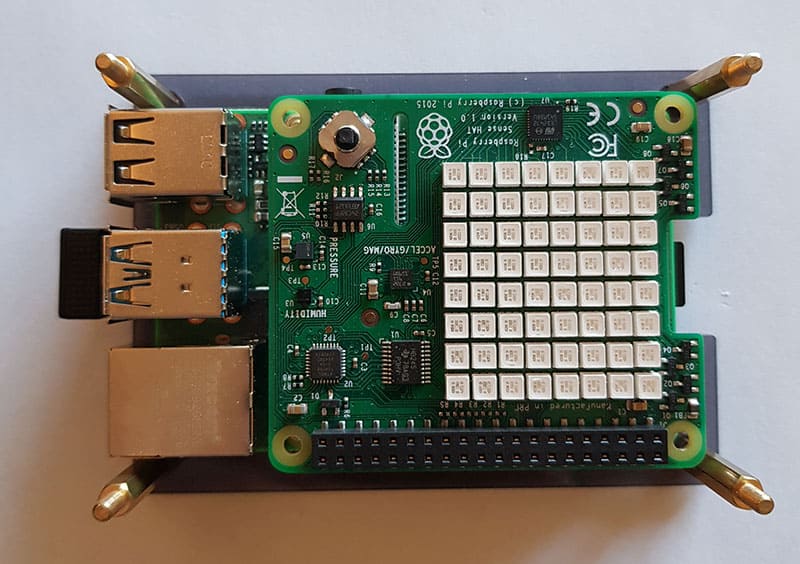
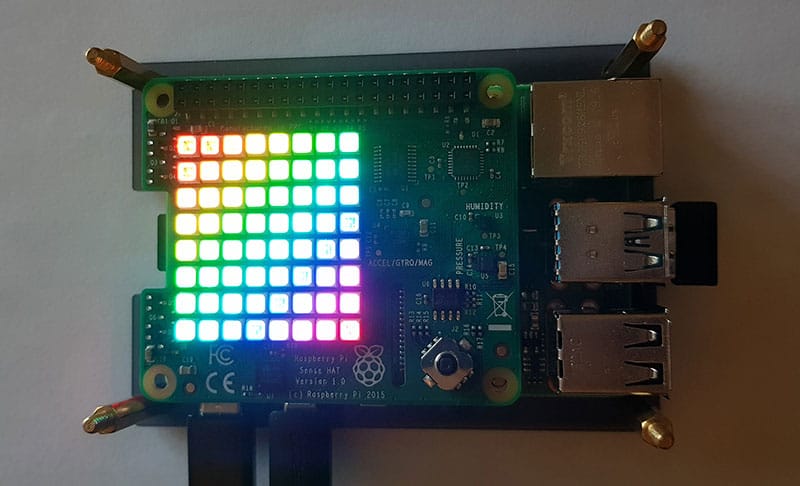
If the Sense Hat is plugged correctly, all the LEDs on the top will light up to draw a rainbow for a few seconds:
The Sense Hat is provided with a few screws to attach it to the Raspberry Pi.
You can screw them in if you want, but it isn’t mandatory.
Installation check
If you got the rainbow display on boot, you can be almost certain that everything is ok.
But in this last part, we will verify that Raspberry Pi OS can control the Raspberry Pi.
Raspberry Pi OS configuration
Depending on the Raspberry Pi OS version you have, you may need to install the Sense Hat library.
It’s installed by default on the Full version, but this might not be the case for all versions.
Here is the command to install it:sudo apt install sense-hat
You can also use the Add/Remove Software tool if you prefer.
Hello world
Even if this post is not a Python lesson on how to program with the Sense Hat, I will give you a basic script to test that everything is working fine.
- Create a new Python script with your favorite editor.
– On Desktop, you can use Thonny (main menu > Programming > Thonny Python IDE).
– On the Lite version or in a terminal, nano will be enough for this:nano hello_world.py - Paste the following lines:
from sense_hat import SenseHat
sense = SenseHat()
sense.show_message("Hello world")
I will come back to this in the next part, but for now there is no need to understand everything: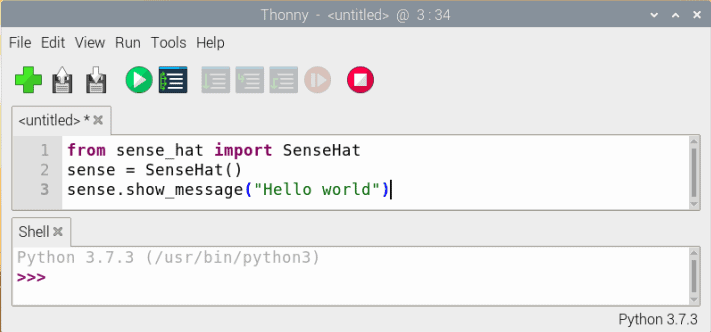
- If you are in Thonny, click on the green “Run” button to run the script.
On nano, save and exit (CTRL+O, CTRL+X) and run it with:python hello_world.py
However you run this script, you should see the Sense Hat displaying “Hello world” in big white letters on the LED Matrix.
Note: If you are new to Python scripts, a good idea is probably to start with this Python tutorial before going further.
It's a free PDF guide containing every Raspberry Pi Linux command you should know!
Download now
If you are looking for exclusive tutorials, I post a new course each month, available for premium members only. Join the community to get access to all of them right now!
Conclusion
That’s it for this first part, the goal for now was to discover what Sense Hat is, install it and ensure everything is working correctly.
It also gives you the time to buy one if you haven’t yet :).
(As a reminder, the direct link to Amazon here).
If you want to learn more about what you can do with a Sense Hat, you can jump to the second part of this tutorial.
We’ll move to the practice part, and see how to control it completely with Python scripts.
In any case, if you have any questions or suggestions, feel free to leave a comment in the community.
Whenever you’re ready, here are other ways I can help you:
The RaspberryTips Community: If you want to hang out with me and other Raspberry Pi fans, you can join the community. I share exclusive tutorials and behind-the-scenes content there. Premium members can also visit the website without ads.
Master your Raspberry Pi in 30 days: If you are looking for the best tips to become an expert on Raspberry Pi, this book is for you. Learn useful Linux skills and practice multiple projects with step-by-step guides.
The Raspberry Pi Bootcamp: Understand everything about the Raspberry Pi, stop searching for help all the time, and finally enjoy completing your projects.
Master Python on Raspberry Pi: Create, understand, and improve any Python script for your Raspberry Pi. Learn the essentials step-by-step without losing time understanding useless concepts.
You can also find all my recommendations for tools and hardware on this page.


Dear Patrick
I bought a few days ago a Raspberry 4 and a SenseHat. First I was succesfull in running the Raspberry Pi with the GPIO (led’s etc). Then I mounted the SenseHat. After connecting to the power the LED on top started the rainbow but didn’t switched off after a few second.
It seems that the SenseHat module was not recognized by the main board. I got an error message after the command sense = SenseHat() saying that the device was not recognized. I found the corresponding line in the SenseHat.py program:
raceback (most recent call last):
File “/home/pi/humidity-2020-11-05-10-41-29.py”, line 6, in
sense = SenseHat()
File “/usr/lib/python3/dist-packages/sense_hat/sense_hat.py”, line 39, in __init__
raise OSError(‘Cannot detect %s device’ % self.SENSE_HAT_FB_NAME)
OSError: Cannot detect RPi-Sense FB device.
Any idea what I amdoing wrong or it is a hardware failure. Note that I am using a headless approach.
I do appreciate any help.
Kind regards
Albrecht Neftel, Switzerland
Hi,
Make sure you didn’t miss any step in the prerequisites (python library installed for example).
You can also check that I2C is enabled in raspi-config and reboot your Raspberry Pi.
Patrick