Python on Raspberry Pi: The Top 5 Libraries for Every Developer
The Raspberry Pi is the ideal platform to learn and experiment with new things with Python. But with all the libraries already installed plus those available via the default repository and online, it can be complicated to find where to start. Let me introduce the essentials.
Some of the Raspberry Pi features are unique, like the GPIO pins or the camera module. Trying to interact with them in Python is a good starting point. But the Raspberry Pi can also be used to create user interfaces, analyze data sets or experiment with AI.
In this article, I will introduce the top 5 categories of projects that I recommend starting with. I’ll also provide examples of Python libraries and links to get you started. Keep reading to get inspiration for your next projects!
By the way, if you get overwhelmed as soon as Python is required for a project, I recommend checking out my e-book “Master Python on Raspberry Pi“. It will guide you step-by-step to learn the essential concepts (and only the essential concepts) required to achieve any project in the future. Raspberry Pi without Python is like a car without an engine, you miss all the fun parts. Get 10% off by downloading it today!
GPIO
The GPIO pins are one of the unique features of Raspberry Pi that you should be interested in as soon as possible. These pins expand the capacity of Raspberry Pi boards, allowing you to create electronic circuits and build something concrete with Python.
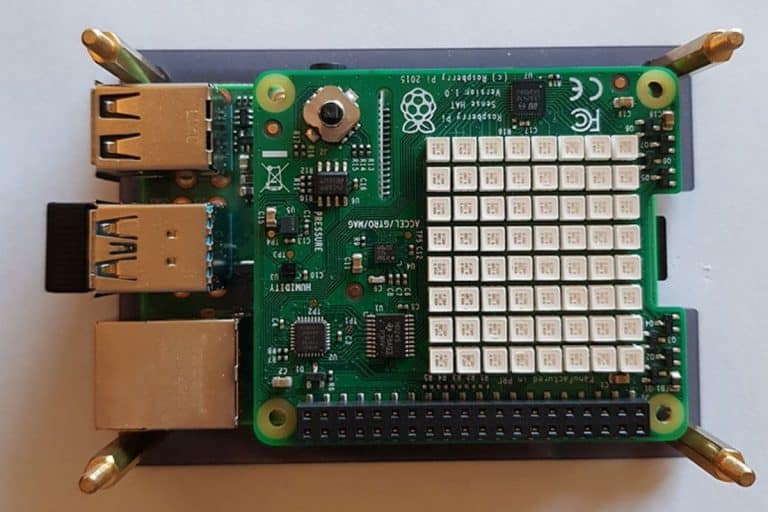
Playing with abstract notions in a code editor (variables, conditions, display text, etc.) is fine to get started. But you’ll really learn and try new things when you can apply these concepts to real-life examples. The GPIO pins allow you to build electronic circuits, but also plug expansion cards (like these HATs) or build robots (here are my favorites).
Join Our Community!
Connect, learn, and grow with other Raspberry Pi enthusiasts. Support RaspberryTips and enjoy an ad-free reading experience. Get exclusive monthly video tutorials and many other benefits.
If like me, you always mix the languages syntax, download my cheat sheet for Python here!
Download now
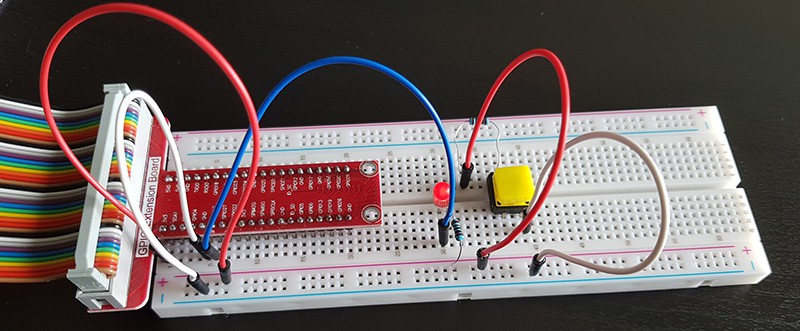
If you follow tutorials using GPIO in Python, you’ll basically find two popular libraries:
- RPi.GPIO: The original library that you’ll find in most examples online.
It’s available by default on Raspberry Pi OS, and you can definitely use it in your projects.
It’s just no longer the easiest way to interact with GPIO pins. - GPIO Zero: Will basically do the same thing, but the syntax is easier to write and read.
So, if you are new to Python or Raspberry Pi, you should probably try to find tutorials using this library first.

No matter which one you use, if you have a Raspberry Pi, you should at least try a few projects where you play with the GPIO pins. I have a few guides on this website that might help you to get started:
- The Raspberry Pi GPIO Pinout: Diagram & Explanation
- Getting Started with GPIO Pins on Raspberry Pi (Beginners guide)
- How to Install and Use Python Packages on Raspberry Pi?
By the way, if you need some wires and stuff to get started, SunFounder has the perfect kit for your Raspberry Pi, including all the components you might need. You can find it here on Amazon, or directly on their website. It’s more than 150 projects you can do with it, all documented, in Python, C++, Java and more.
Camera management
The second main specificity of Raspberry Pi boards is the presence of a camera port, where you can plug a compatible camera module.
The support of this camera module opens the way to the creation of many projects (using Python or not). I have an entire article listing my favorite projects with a camera on Raspberry Pi, it includes things like robots, security cameras or just timelapse.
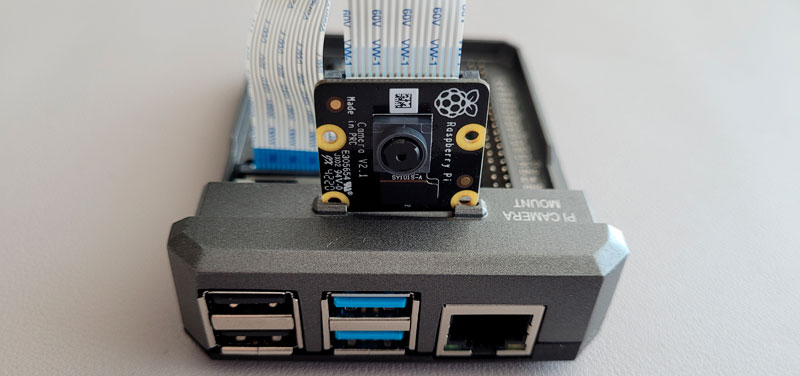
If we stay focused on Python, the Raspberry Pi includes a library named PiCamera (or PiCamera 2 for the latest version) that allows you to control the camera module in your Python scripts. You can use it to take pictures, record videos, adjust the camera settings, etc.
With the release of Raspberry Pi Bullseye, things have changed quite a lot on how to use this library, so if you follow tutorials online, make sure they are up-to-date for your system version. I have updated my tutorial about it recently, so I think it’s a good starting point if you want to give it a try:
How To Use The Raspberry Pi Camera With Python
If you need a camera module, you can order them from official Raspberry Pi resellers or find it on Amazon (check the price here). If it’s your first time using it, I have a step-by-step tutorial explaining how to plug your camera into your Raspberry Pi. Feel free to read it before testing to use it with Python.
Graphic interfaces
Creating basic Python scripts that you run yourself from the command line, or schedule to run automatically in the background, is fine. But if you want to build better projects, with easier-to-use interfaces made for “normal people”, you need to level up your game.
If like me, you always mix the languages syntax, download my cheat sheet for Python here!
Download now
I’m talking about creating windows, with buttons, text and stuff, like with all applications you use on your computer on a daily basis. Even with a simple example like lighting up a LED via the GPIO pins, as mentioned earlier, having buttons to turn the LED on and off is a better user experience.
I wrote an article recently, introducing PyQt on Raspberry Pi, which is one of the libraries you can use to do this. I won’t say it’s easy to use, but it’s always the same pattern. Once you know how to create a window with text and a button, you know everything.
Here is a screenshot from a typical example:
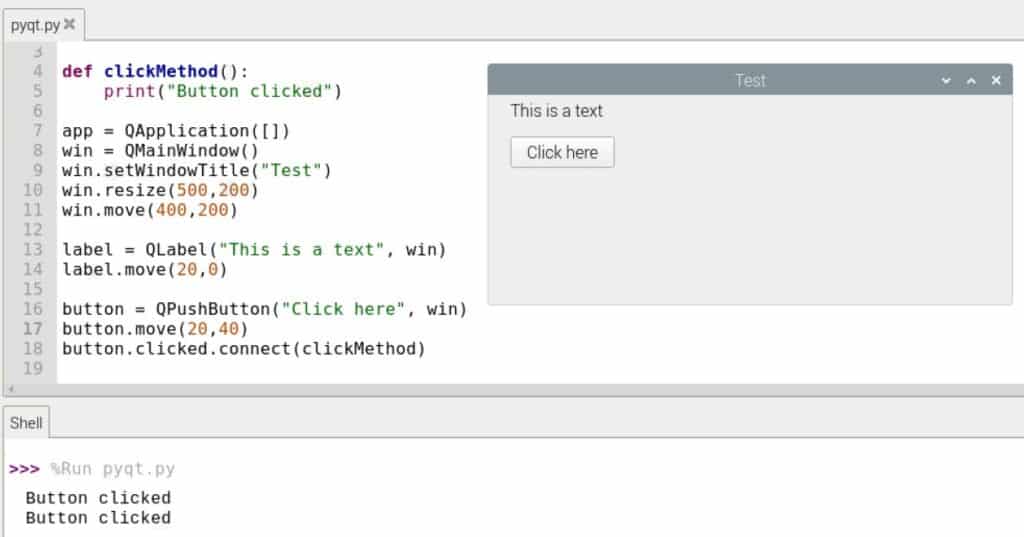
So, if you haven’t tried this yet, I highly recommend reading this tutorial, where I guide you step-by-step to create your first interface. You can follow my dumb example to understand how it works, or even better, apply it to an existing project you have.
Other libraries are available to do something similar. I know of GUIZero and Tkinter, but there are probably many other options (I also have a tutorial about Kivy). All of them are available in the default repository on Raspberry Pi, so pick the one you want and try them!
It's a free PDF guide containing every Raspberry Pi Linux command you should know!
Download now
Data visualization
In the same vein, not only can you create graphic user interfaces quite easily in Python, but you can also display charts with the right library. Matplotlib is one of them.
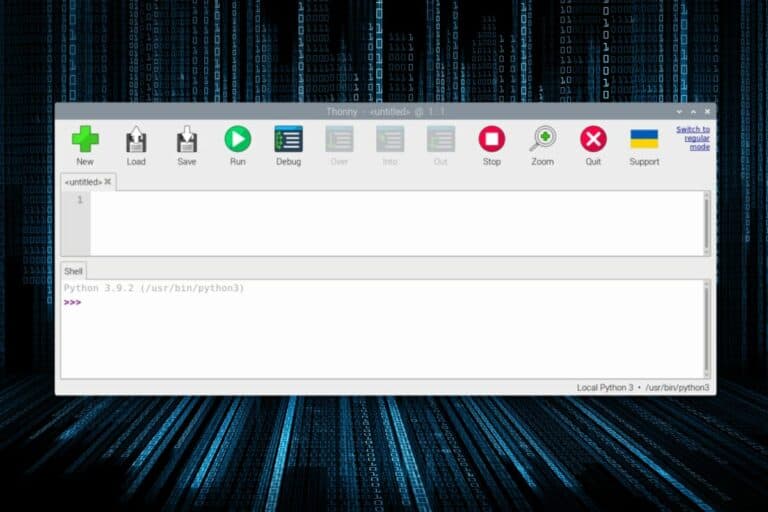
I have an introduction guide to Matplotlib available on RaspberryTips, which is a good starting point if you want to try it. Here is a basic example displaying a line chart in a new window with Thonny:
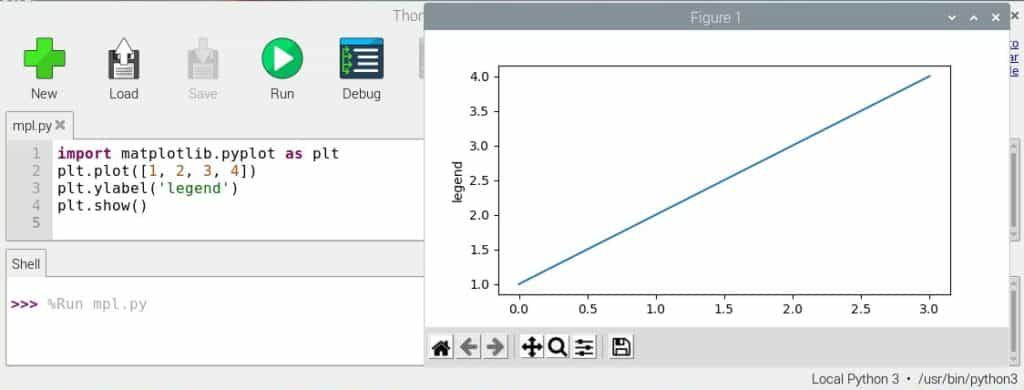
Matplotlib is a good complementary library for many projects. For example, I’m currently learning AI skills in Python, and Matplotlib is often used to add a visual representation of the data I’m working with. Even if displaying the graph is not the main goal, it can be useful to understand more complex concepts, with a visual representation.
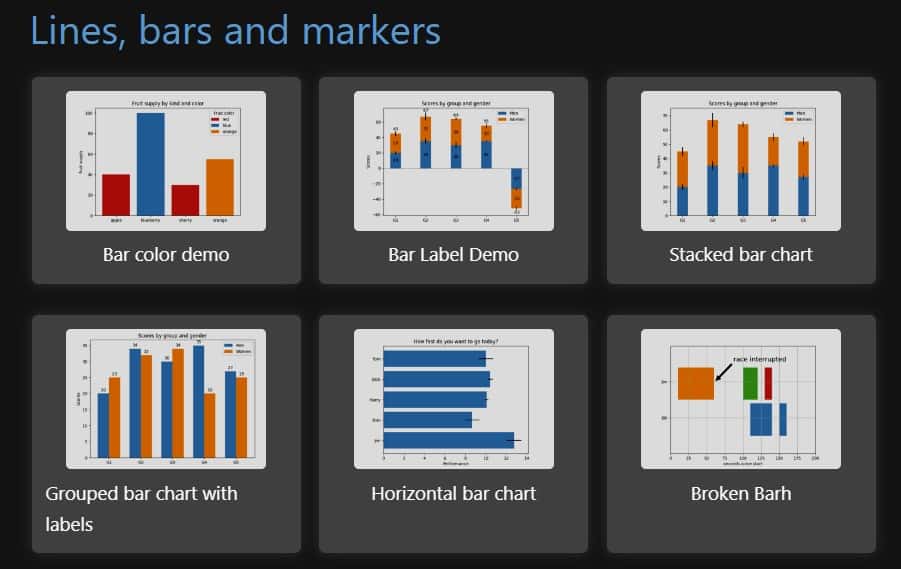
I’m showing you a basic example, but you can find more on their website, with all the typical charts you are used to. You can have different series, and scales, and play with colors, sizes, etc. Everything is possible.
It's a free PDF guide containing every Raspberry Pi Linux command you should know!
Download now
Want to chat with other Raspberry Pi enthusiasts? Join the community, share your current projects and ask for help directly in the forums.
Computer vision
Computer vision is a pretty wide category of projects you can try on Raspberry Pi. It goes from basic image manipulations to complex projects with AI where you make decisions based on the picture content.
The most popular library in this category on Raspberry Pi is OpenCV. OpenCV is an open-source library, compatible with languages like Python or C++, which allows you to build computer vision and machine learning projects.
Typical examples of OpenCV use are image manipulation, object detection (recognizing a specific type of object, like a face or pet), or object tracking (a robot can follow you, for example).
Here is a basic example using the OpenCV library in Python, used to resize an existing image:
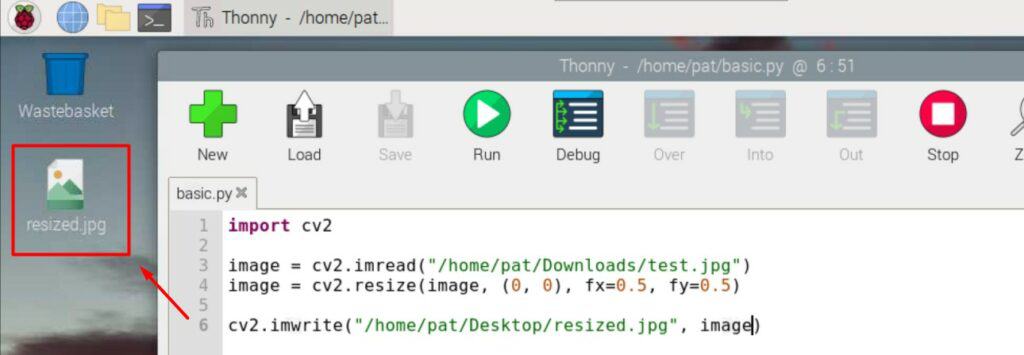
You can find my introduction guide to OpenCV here. But OpenCV is a gigantic library with tons of features and possibilities. You can visit their documentation to have an overview, but you’ll probably need to invest a lot of time, and maybe even follow a complete course to master it.
They have courses on their website, but you can find cheaper options on Udemy (this one for example), or even with Skillshare if you are a member (that’s what I use all the time to learn new skills, you can start for free with this link).
Whenever you’re ready, here are other ways I can help you:
The RaspberryTips Community: If you want to hang out with me and other Raspberry Pi fans, you can join the community. I share exclusive tutorials and behind-the-scenes content there. Premium members can also visit the website without ads.
Master your Raspberry Pi in 30 days: If you are looking for the best tips to become an expert on Raspberry Pi, this book is for you. Learn useful Linux skills and practice multiple projects with step-by-step guides.
The Raspberry Pi Bootcamp: Understand everything about the Raspberry Pi, stop searching for help all the time, and finally enjoy completing your projects.
Master Python on Raspberry Pi: Create, understand, and improve any Python script for your Raspberry Pi. Learn the essentials step-by-step without losing time understanding useless concepts.
You can also find all my recommendations for tools and hardware on this page.

