How to Use YouTube API Keys with the Kodi add-on?
Kodi is a great tool on Raspberry Pi to watch videos from streaming services like Amazon Prime, YouTube and many others.
But it’s not possible to watch directly YouTube videos on Kodi anymore, you need to create and use the API.
As I understand this can be complicated for many of you, I will explain everything in this tutorial, so that you can configure it easily on your Raspberry Pi.
How to create and use the YouTube API keys on Kodi?
As soon as the YouTube add-on is installed, it will ask to configure the API keys.
These keys can be generated in the Google Developers Console, after creating a dedicated application.
In theory, it doesn’t seem so complicated, but the interface is not intuitive at all if you are not a developer (and even if you are).
I have a bit of experience with Google APIs, so I will help you to do this step-by-step, with a picture at each to make sure you complete this tutorial.
Generate the API keys to use Kodi on Raspberry Pi
The first step is to access the Developers Console on Google.
No worry if it’s your first time, I’ll explain everything.
Create your project on Google Developers Console
- From your computer, open the Developers Console website
- Log in with your Google account, or create one if needed.
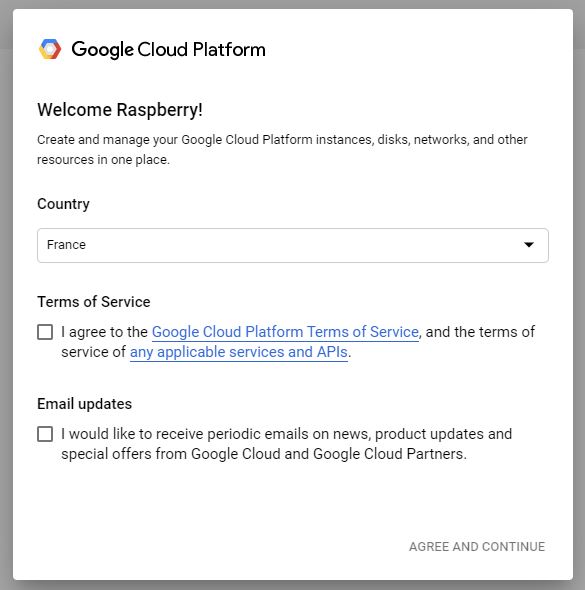
- Accept the terms of service if it’s your first time here:
- Once in the console, your only choice is to create a new project.
Click on the link at the top of your screen:
- Fill the form with a project name and click on “CREATE”:
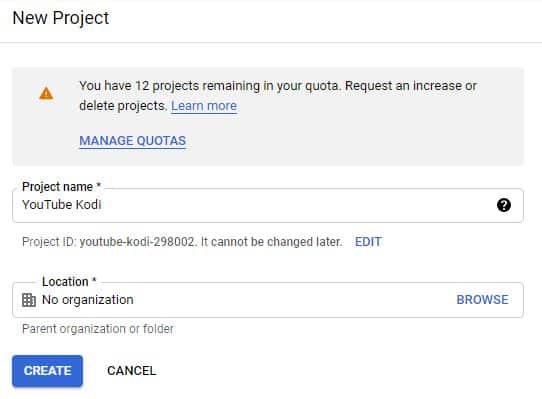
No organization is required, and you can choose the name you want
After a few seconds, the project’s dashboard shows up, and we can now enable the YouTube API for this project.
Enable the YouTube API in your project
- So, click on “Enable APIs and Services”:

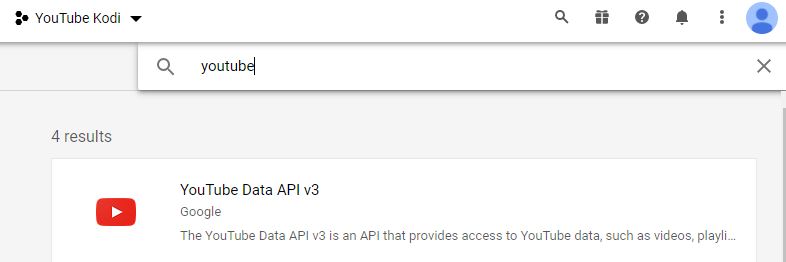
- Type “YouTube” in the search engine, and click on “YouTube Data API v3”:
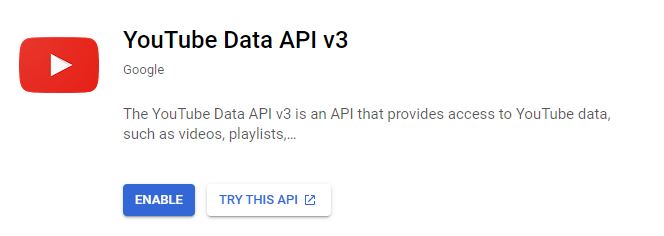
- Once in it, you can enable this API by clicking on “Enable”:
- Once done, you need to create credentials to use it.
Click on “Create Credentials” to move forward: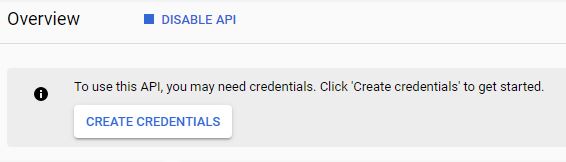
- A form shows up, where you need to give a bit of information about your API usage (which API you want to use, where you will use it and the type of data you need):
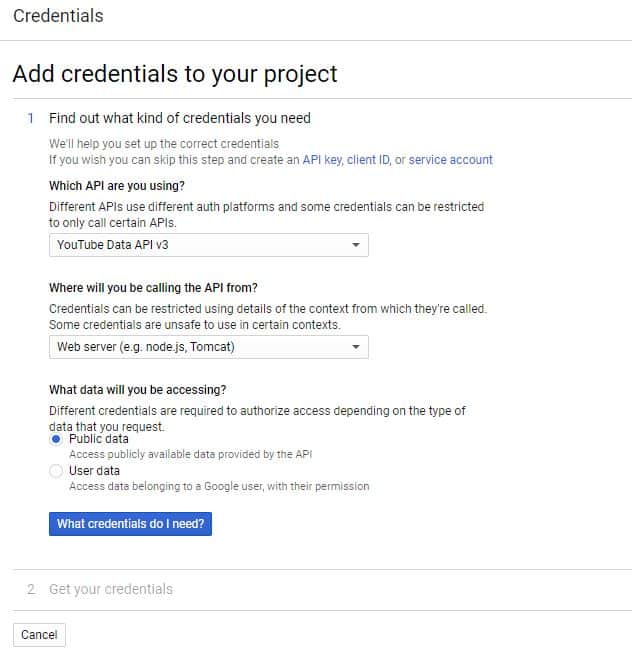
Once done, click on “What credentials do I need?” and the page will show you your API key: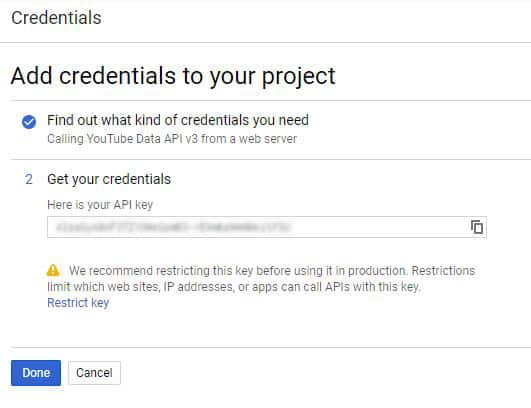
The first step is completed, copy and paste this API key into a text document (or anywhere you want to keep it safe), we’ll need it later.
Click on “Done” to exit this screen.
It's a free PDF guide containing every Raspberry Pi Linux command you should know!
Download now
Get your YouTube keys
We are almost done, but this is not enough, the YouTube add-on require 3 things, and we only have the first one 🙂
We now need to configure OAuth for the two other parts:
- In the left menu, click on “OAuth consent screen”:
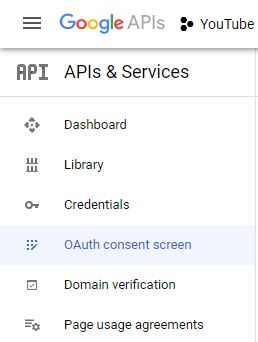
It’s the screen that shows up when you want to allow a new app (you get this screen with most Chrome extensions for example). - In our case, it’s pretty simple, as this app is only for private usage.
Click on “External” and “Create”: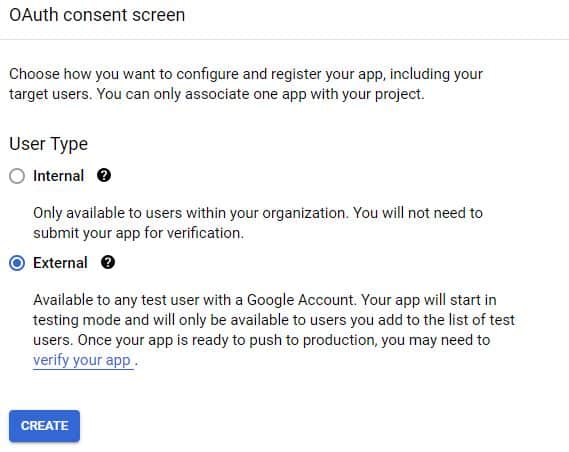
- On the next page, fill the mandatory fields only (App name, User support email and developer email), we don’t need the other ones:
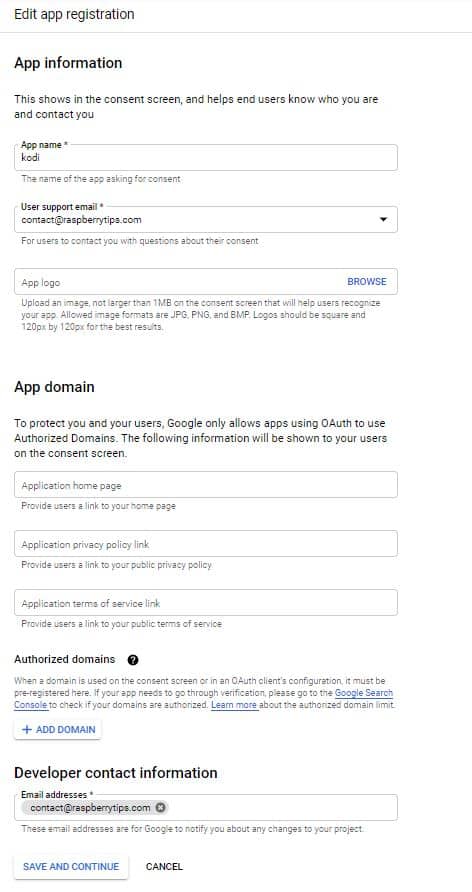
Click on “Save and continue” once done. - The next screens will ask you for the scopes to enable and the test users, we don’t need that for the moment, so you can skip them.
Most of these options will require a verification of your app by Google, which is a whole different level and imply many other things (website, privacy policy, etc.).
I don’t think it’s your goal here.
We are almost at the end of the configuration, hold on 🙂
The last step is to get the keys we still need to configure YouTube on the Raspberry Pi:
- Get back to “Credentials” in the left menu
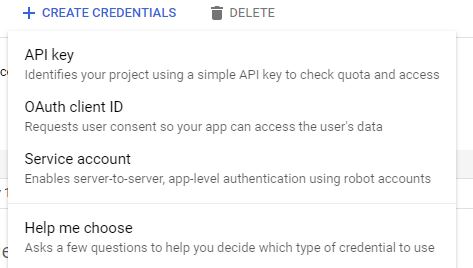
- Click once again on “Create Credentials”
- But that time, you’ll select “OAuth client ID”:
- Select the option “TV and Limited input devices” for the application type and fill the name field with whatever you want:
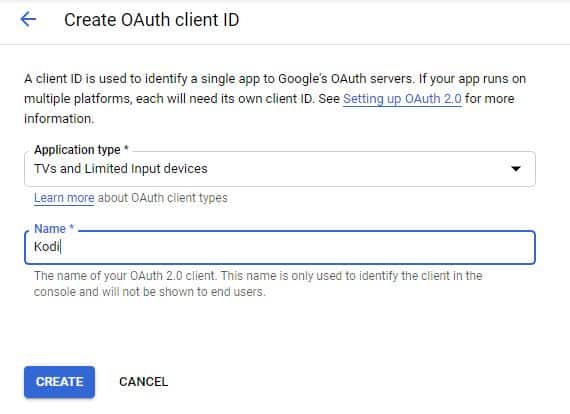
- Once done, click on “Create”. Finally, the OAuth IDs are now displayed on your screen:
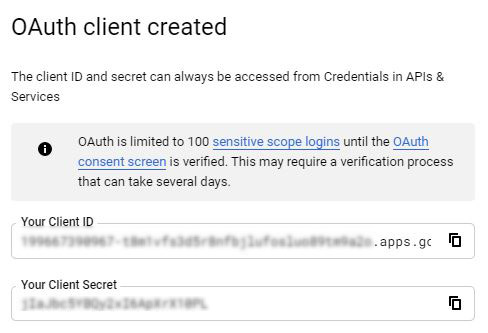
Copy them in your notes, with the API key.
We now have everything we need, and can configure the YouTube App on the Raspberry Pi with these keys.

Join Our Community!
Connect, learn, and grow with other Raspberry Pi enthusiasts. Support RaspberryTips and enjoy an ad-free reading experience. Get exclusive monthly video tutorials and many other benefits.
Learn moreInstall YouTube on Raspberry Pi
If YouTube is already installed in Kodi on your Raspberry Pi, you can skip this step.
I’m just adding it in case you need additional information.
The procedure might be slightly different depending on which system you are using, but you’ll quickly find the alternative.
If needed, you can also check my tutorials on how to install OSMC (text format) or LibreElec on Raspberry Pi (video). I also have a comparison of OSMC and LibreElec here if you don’t know which one to use.
Here is the procedure to install the YouTube add-on on Kodi:
- From the Kodi main menu, go to Settings > Add-on browser.
- Choose “Install from repository” and “All repositories”
- Go to the “Video add-ons” submenu
- Look for YouTube in this list.
You can use the up arrow key to go faster at the end. - Finally, click on “Install” and accept any missing dependency.
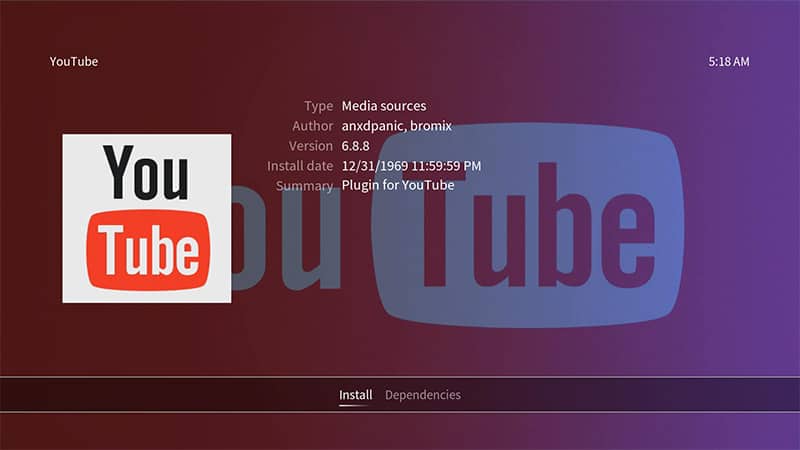
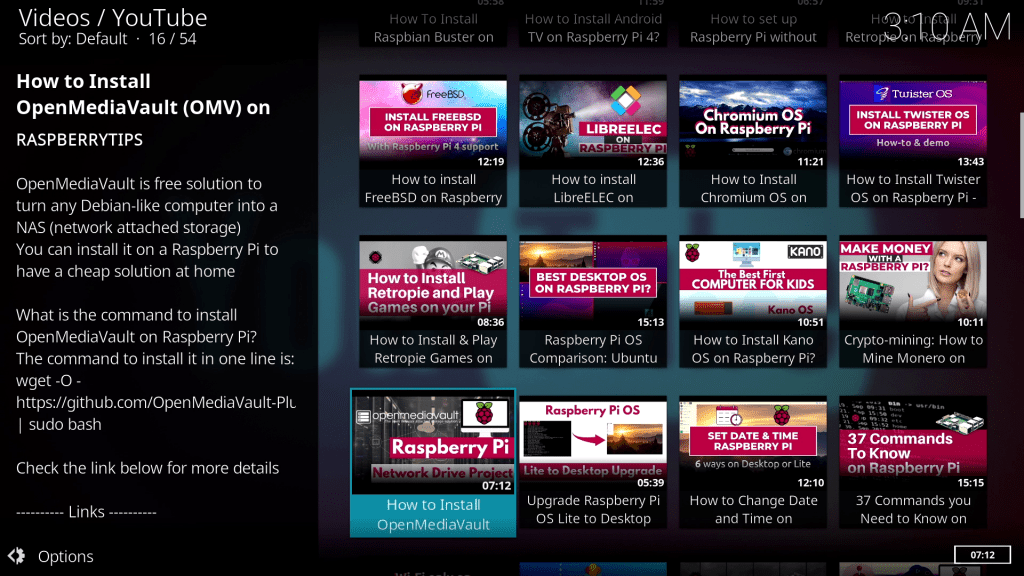
The first step is done, you can now get back to the main menu and open the YouTube app.
It’s in the Videos add-ons submenu.
It's a free PDF guide containing every Raspberry Pi Linux command you should know!
Download now
Configure the API keys in the YouTube add-on
But before watching anything on YouTube, the add-on will remind you that you don’t have the permission to do this 🙂
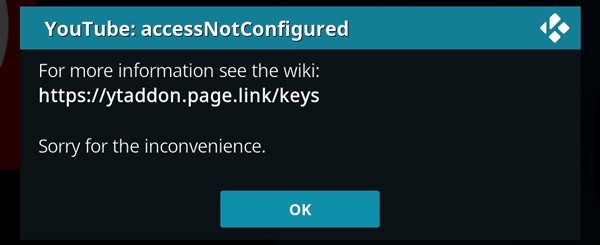
Here is how to fix this now that you have everything to configure it:
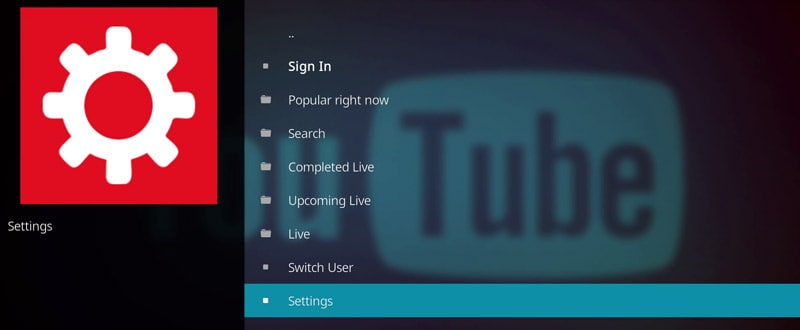
- In the YouTube app, go to “Settings”:
- Got to the “API” tab.
We’ll enable the API configuration page, to avoid typing the three keys on the Raspberry Pi directly 🙂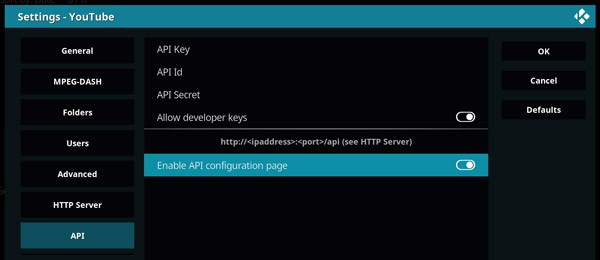
As you can see, the URL of the page is displayed here, but we need to find the port. - To get this, go to the “HTTP Server” tab, and note the port:
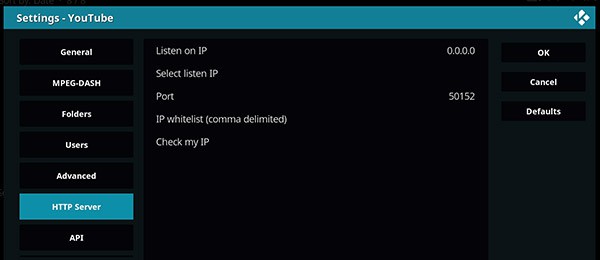
So in my case, the configuration page will be http://<IP>:50152/api
You can get the IP address in Settings > System information if you don’t know it yet.
Let’s put the API keys on the web page now:
- Access the API configuration page, whatever your URL is.
- A form like this should show up:
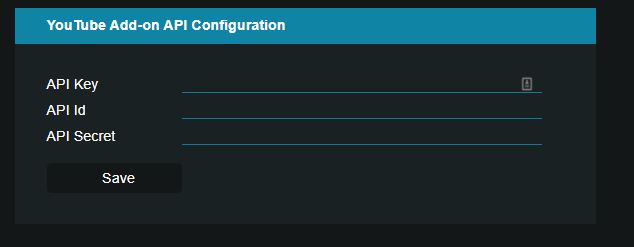
- Fill the form with the key, id and secret you noted previously and click on “Save”.
- You’ll get a confirmation message telling you that the personal API keys are now enabled:
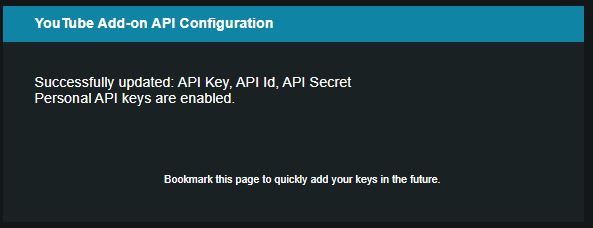
Good job, you can now use YouTube on Kodi and watch my videos on the RaspberryTips channel 🙂
Just kidding, do whatever you want on YouTube, it’s now working perfectly 🙂
It's a free PDF guide containing every Raspberry Pi Linux command you should know!
Download now
Using a VPN on Kodi
Before finishing this tutorial, I just want to recommend you looking for a VPN when you are using Kodi.
As a reminder, a VPN is an encrypting technology, allowing you to keep yourself anonymous and protect your data online.
The other benefit is that you can often use it to watch movies or series that are not available in your country, same thing for services.
It’s not mandatory, but it’s a great add-on to improve your experience with Kodi.
If you want to give it a try, I have an in-depth tutorial on how to install NordVPN on Raspberry Pi OS or Kodi, that will explain step-by-step how to register and configure everything easily.
Recently, I switched to a cheaper solution, with Ivacy VPN.
It’s working very well, you can check your latest offer by clicking here.
I’ll share a tutorial very soon on how to install it on your Raspberry Pi.
Whatever the solution, there is a 30-day money-back guarantee, so you don’t take any risk by trying one of them now:
It's a free PDF guide containing every Raspberry Pi Linux command you should know!
Download now
If you are looking for exclusive tutorials, I post a new course each month, available for premium members only. Join the community to get access to all of them right now!
Conclusion
That’s it, this tutorial is pretty short, but with so many steps, that are non-intuitive at all!
Hopefully, it was helpful to you, and that you managed to configure it correctly.
If you are interested in Kodi, feel free to check my other tutorials on the topic:
- Watch other streaming providers on Kodi (Netflix & co)
- Step-by-step tutorial on how to install NordVPN on Kodi
- Kodi installation guide for beginners
- Kodi and Retropie on the same system? It’s possible, check that link