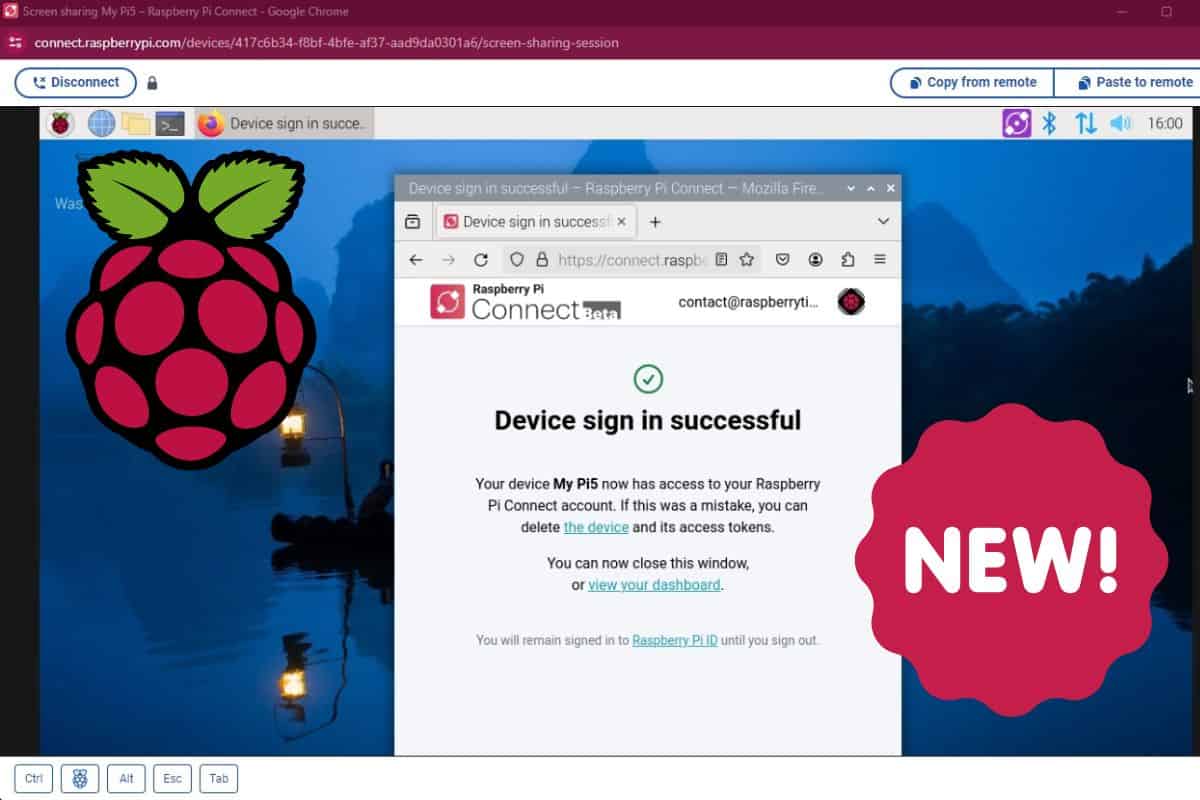
Introducing Raspberry Pi Connect: Easy remote access to your Pi
With the recent release of Raspberry Pi OS Bookworm (and the move to Wayland), many remote access tools have become obsolete or require additional configuration. Today, the Raspberry Pi Foundation is releasing a new solution to simplify and secure access to a remote Raspberry Pi.
Raspberry Pi has just announced a new way to remotely access a Raspberry Pi: Raspberry Pi Connect. This new tool establishes a secure peer-to-peer connection between the web browser and the Raspberry Pi using the WebRTC protocol.
Let’s explore how it works, and how to try it. Remember, it’s still in beta, but it’s already working pretty well.
System requirements
There are a few system requirements to install and use Raspberry Pi Connect on your Raspberry Pi, so make sure you respect them:
- Connect is only available on Raspberry Pi OS Bookworm 64-bit, which means it’s only working on a Raspberry Pi 4, 400 or the latest Raspberry Pi 5.
- Wayland must be used as the window server (this is the default, so if you didn’t change the configuration it should already be OK).
Obviously, it’s only compatible with the Desktop edition of Raspberry Pi OS, you can’t use it on a Lite version.
Also, as it has just been released, make sure you’re up-to-date with your repository and system updates. You can run these commands to update everything:sudo apt update
sudo apt upgrade
Join Our Community!
Connect, learn, and grow with other Raspberry Pi enthusiasts. Support RaspberryTips and enjoy an ad-free reading experience. Get exclusive monthly video tutorials and many other benefits.
Learn moreIf you need help to set up your system, you can read this tutorial: Install Raspberry Pi OS Bookworm on Raspberry Pi (Illustrated guide).
Want to chat with other Raspberry Pi enthusiasts? Join the community, share your current projects and ask for help directly in the forums.
Installing Raspberry Pi Connect
Install Raspberry Pi Connect
- Start by installing the main package with:
sudo apt install rpi-connect
- Once installed, restart the Raspberry Pi:
sudo reboot
Are you a bit lost in the Linux command line? Check this article first for the most important commands to remember and a free downloadable cheat sheet so you can have the commands at your fingertips.
Configure Connect
After the reboot, you’ll notice a new icon in the system tray, confirming that the service is now installed and running.
An account is required to continue, here are the next steps:
- Click on the icon in the top-right corner:

- Click on Sign in, and follow the sign-in process in your web browser.
If it doesn’t work (didn’t work for me), you can use the command line to generate a sign-in link:rpi-connect signin
- In your web browser, you must now sign in or create an account if you don’t have one:

Creating an account only requires an email and password, nothing complicated (and it’s free, of course).
Once signed in, the only thing to do is to link your current Raspberry Pi to your account:
- The first step is to give it a name:

- And then it will be recorded, and accessible from anywhere:

Access your Raspberry Pi remotely
Once the service is installed and running, and the Raspberry Pi is linked to your account, you can access it from anywhere. I did the test from my laptop and it worked right away.
Here are the steps:
- Access to the Raspberry Pi Connect website from another computer.
- Connect to your account, using the email address and password you created in the previous section.
- You should see all your Raspberry Pi devices listed once connected:

- Simply click “Connect”, wait a few seconds, and you should get access to the full interface:

The interface is really clean and responsive. You can copy/paste commands and text and use the shortcuts at the bottom of the screen.
I’ll update this article when I have more experience with this tool, but it may well replace all the alternative tools if they keep improving it (remember, it’s only a beta version for now).
You can find the official documentation here, and post on the official forums if you find any bug or have suggestions.
Whenever you’re ready, here are other ways I can help you:
The RaspberryTips Community: If you want to hang out with me and other Raspberry Pi fans, you can join the community. I share exclusive tutorials and behind-the-scenes content there. Premium members can also visit the website without ads.
Master your Raspberry Pi in 30 days: If you are looking for the best tips to become an expert on Raspberry Pi, this book is for you. Learn useful Linux skills and practice multiple projects with step-by-step guides.
The Raspberry Pi Bootcamp: Understand everything about the Raspberry Pi, stop searching for help all the time, and finally enjoy completing your projects.
Master Python on Raspberry Pi: Create, understand, and improve any Python script for your Raspberry Pi. Learn the essentials step-by-step without losing time understanding useless concepts.
You can also find all my recommendations for tools and hardware on this page.


