
The Best Raspberry Pi Gear Chosen For You
Here are the products I use and recommend for your Raspberry Pi projects.
If you are unsure of which gear to purchase, pick from this list and you won’t be disappointed.
Disclaimer: This post contains affiliate links. If you use them, I may receive a small commission.
If you have any additional questions, ask them in the community ;-).
Patrick
✅ Essentials
A Raspberry Pi
While there are many Raspberry Pi models to choose from, I can simplify your decision by narrowing it down to just two: the most powerful and the best value.
Read my full guide below for all the details, but if you’re in a hurry, pick one of these and you won’t regret it.
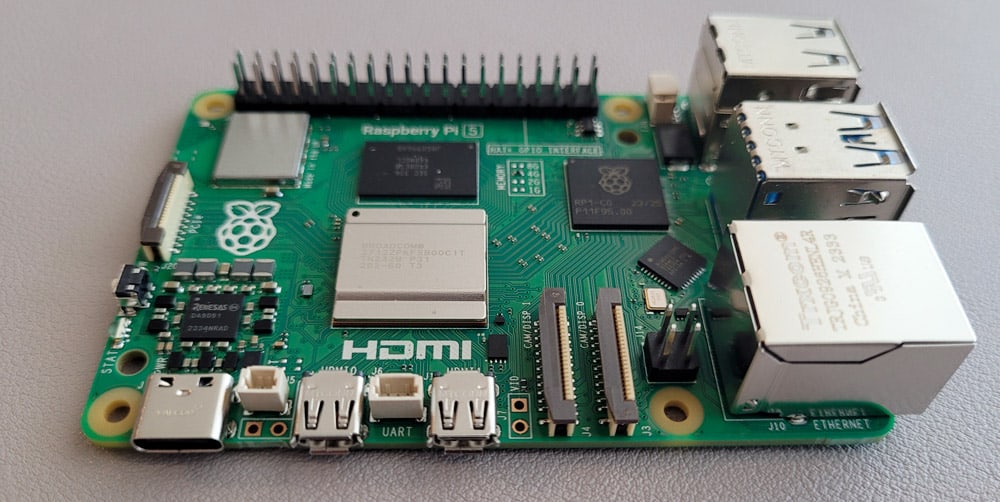
Raspberry Pi 5
The latest and greatest Raspberry Pi model available. If you can afford it, don’t think twice. It’s your best option for all projects.
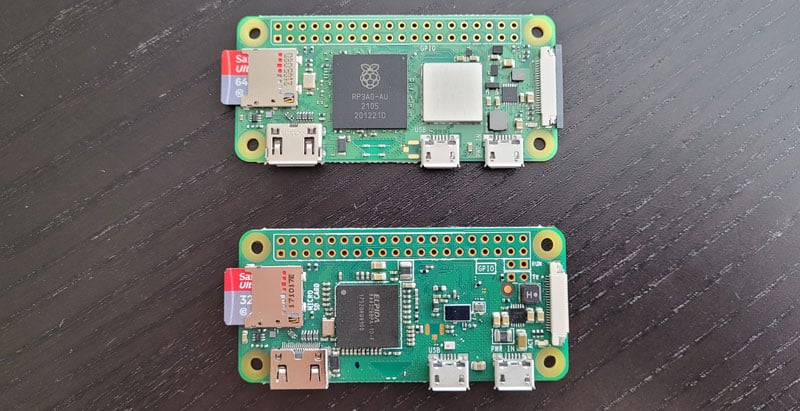
Raspberry Pi Zero 2
The alternative to getting started if you are on a tight budget. Be careful, as there are many limitations. However, it’s good enough for learning Linux or using it as a home server.
Micro-SD Card
It’s no longer mandatory to use an SD card with your Pi (you can use USB drives), but I still recommend it as it’s compatible with all systems and projects.
Since the price difference between all the options is pretty small, just get the fastest one.
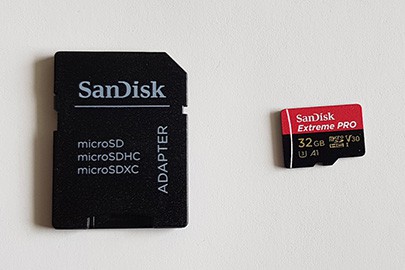
SanDisk Extreme Pro
It’s the fastest SD card according to my benchmarks, very reliable, and not too expensive. Get one for every project, it’s my go-to for everything.
Power Supply
This is especially important with newer Raspberry Pi models. It’s possible to power a Raspberry Pi with a simple USB cable. Consider using an official power supply to get the best performance and avoid power issues.
Official power supply
Each model has different requirements, but I always use the one for my Raspberry Pi 5, and it works fine with the Pi 4 and 400.
Warning: Older models have different connectors, be sure to select one compatible with your device.
Related articles
🚩 CORE ACCESSORIES
Case/cooling
Cases are not required, but they protect your device and help keep it clean and cool.
If you’re serious about Raspberry Pi, you should probably get one. It’s not that expensive and will save you time and headaches.
There are many options available, I have a list of the ones I’ve tested on the website below, and I’ve handpicked two great ones for you.

SunFounder Pironman
I got mine from SunFounder to write a quick review, and it has been running in my home with my Pi 4 main server since then.
It’s my favorite. The fan runs only when needed (rarely), you can configure the light, and there is room for an SSD (M2).
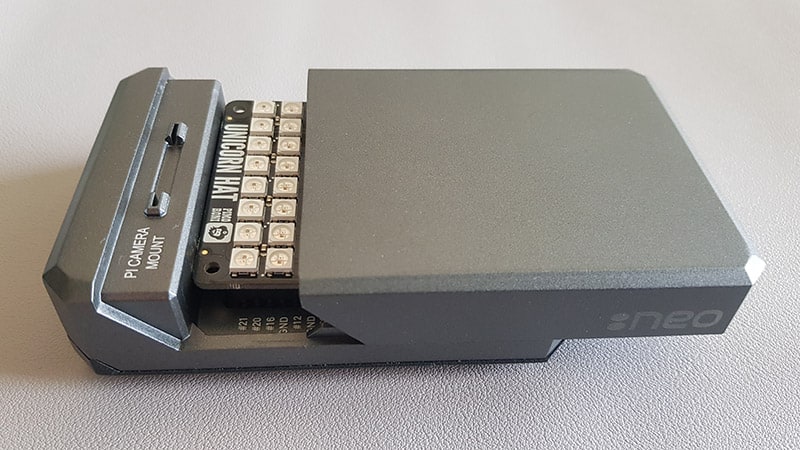
Argon Neo
The one I use for all my tutorials. I keep it on my desk, so I can quickly change SD cards and try something new.
It’s passive, so it’s quiet, solid and clean.
SSD Drive
Raspberry Pi can now use and boot from USB drives. Using an SSD instead of an SD card can significantly improve overall performance.
If you want to give it a try, here is the model I currently use and recommend.
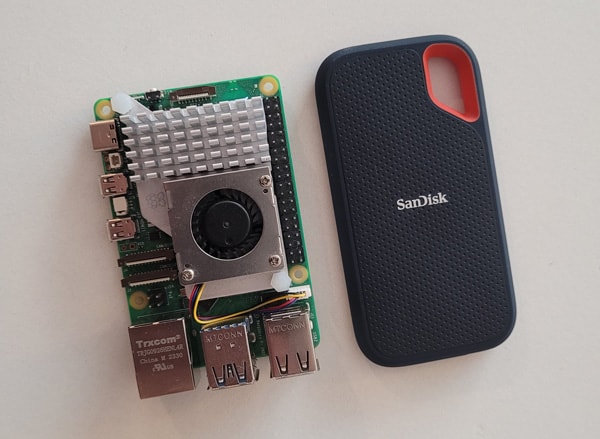
SanDisk Extreme Pro SSD
It’s the size of a Raspberry Pi Zero, so it’s perfect for us. You can keep it underneath your Pi and use it all the time. It’s super fast and looks nice.
✨ ENHANCEMENTS
Pi Monitor
I try not to use my main screen for my Pi, so I can continue working efficiently with my laptop.
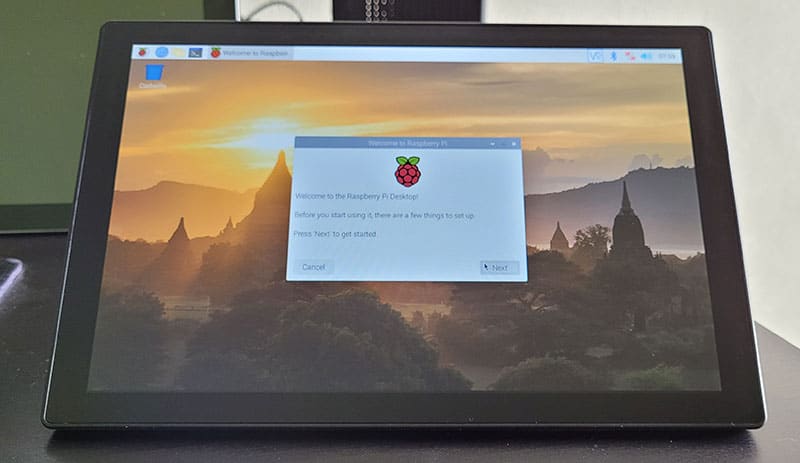
Instead, I use a 10″ dedicated monitor my Raspberry Pi is plugged into. The one I use is no longer available on the market, but here is another I can recommend.
SunFounder 7″ Monitor
This 7″ monitor has touchscreen capability and is probably one of the best options currently available.
I prefer a bigger screen, but I probably use mine more than you do :-).
Display cables
Be especially careful if you don’t buy a Raspberry Pi kit with all the cables. While most displays can handle HDMI cables on their side, some Raspberry Pi have different requirements:
- Micro-HDMI on Pi 4, 400 & 5.
- Mini-HDMI on Pi Zero (1 & 2).
- HDMI on other models.
Official power supply
Here is a link to an HDMI cable for each model. Of course, if your monitor only has a VGA or DVI input, you need to find something compatible.
Bonus tip
Try to avoid adapters if possible. A cable with the correct connector on both ends usually works better than a standard HDMI cable + adapter.
For example, I prefer using a micro-HDMI to HDMI cable rather than a micro-HDMI to HDMI adapter followed by an HDMI cable.
USB Stuff
Now that you have all the essentials, let’s see what you can add to create your perfect setup.
You can add these accessories to make your projects more convenient and save time. You don’t need them, but these are inexpensive add-ons you can consider once you get serious about your Raspberry Pi projects.
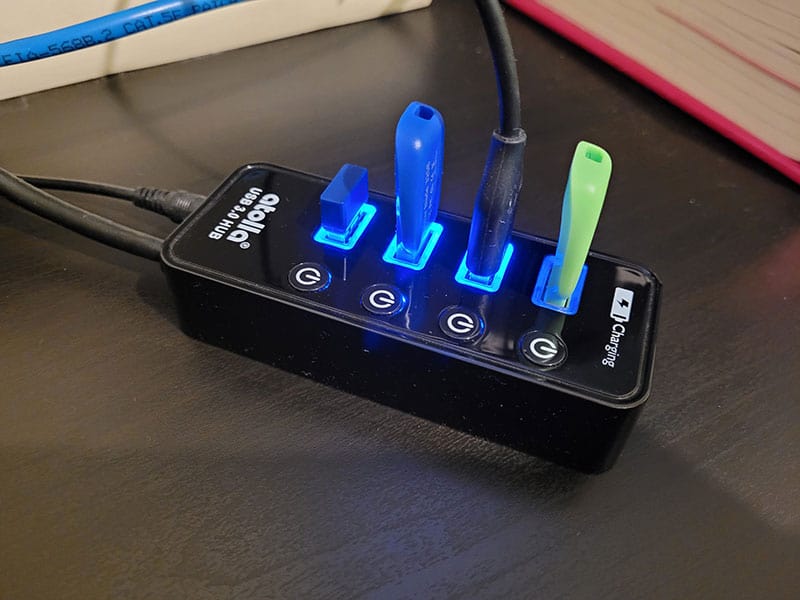
Powered USB hub
This has been a game changer for me, especially with my Raspberry Pi 4, which was getting undervoltage errors when I added USB devices.
With a powered USB hub, the errors have disappeared and it’s also very convenient as you can turn any USB device on and off with one button (and switch operating systems with one click, for example).
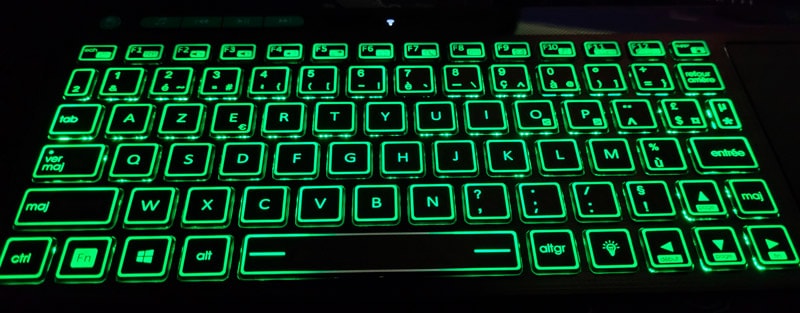
Wireless keyboard
This is what I’m currently using. I’ve been recommending a tiny wireless keyboard for years (see below), but I’ve switched to something bigger and more comfortable for entering passwords and commands.
You can use any USB keyboard, of course, but I like having a dedicated one that is wireless and comfortable enough.
🔥 EXTRAS

Wi-Fi Extender
This is easier now with Raspberry Pi Imager, but typing my long Wi-Fi password, often with the wrong keyboard layout, each time I installed a new OS was a terrible experience.
For a few years now, I’ve been using a Wi-Fi extender on my desk, with Ethernet ports where I plug in my Raspberry Pi and be connected instantly. I highly recommend doing the same for convenience and speed/stability.
Best budget pick
I’m using a no-name extender provided by my ISP, so I don’t have a solid recommendation, but this one looks good.
Any basic extender with at least one Ethernet port should do the trick. Some work right out of the wall outlet, while others have a bit more cable length; pick what works best for your setup.
Bonuses
We are almost at the end of this list of recommendations, but here are a few more things I use regularly and like.
Game controller
To be honest, I don’t play much on Raspberry Pi, but when I’m writing tutorials for Retropie & co, I need a controller that works with most consoles.
This one is excellent, with a decent price, and I also use it on my PC for modern games :-).
Video capture device
This is mostly for Youtubers, but it can be handy if you don’t have a second monitor and want to see what’s going on.
You connect the device to your computer (USB) and the Raspberry Pi (HDMI), and using a tool like OBS Studio or equivalent, you can monitor (and of course record) the Raspberry Pi display directly from your computer.
🛠️ PROJECTS GEAR
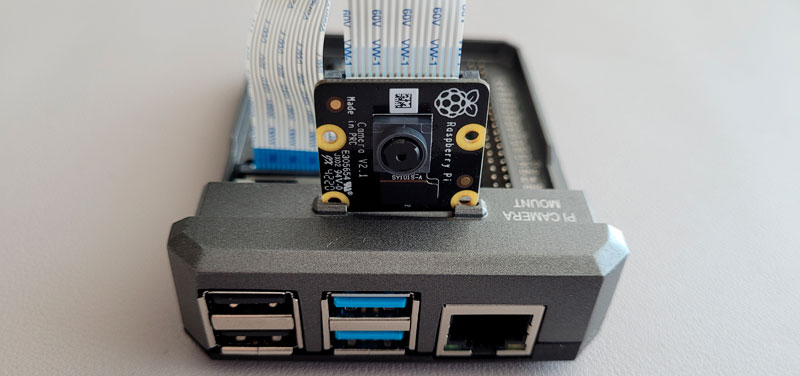
Camera
Many interesting projects require a camera. It’s an inexpensive add-on that you should have if you want to do some fun things with your Pi.
After testing many models, I recommend buying the official module, it works right away and the quality is great.
Official Camera Module 3
I couldn’t find it on Amazon, so here’s a link to the official website.
Make sure you get the latest version, with the right cable for your Raspberry Pi model.
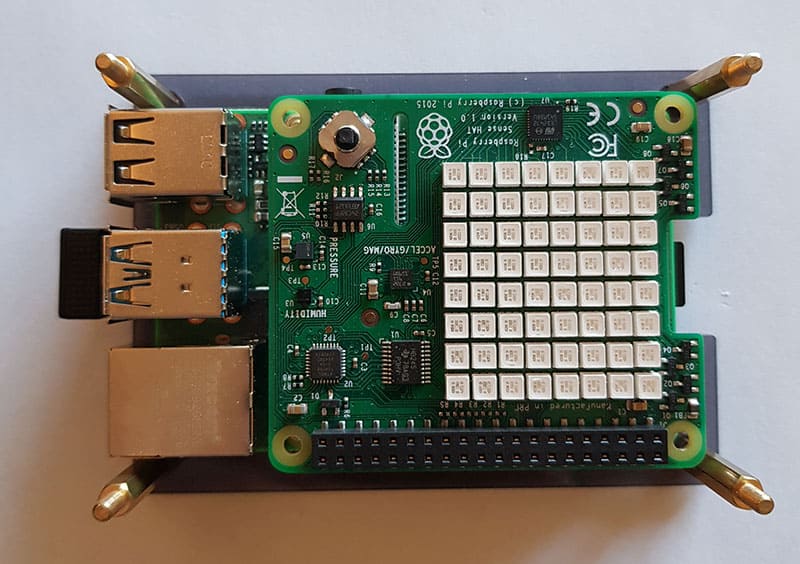
HATs
HAT (Hardware Attached on Top) are expansion boards that you can plug into the GPIO pins to add new features. They are a great way to explore electronics and programming without having to use wires, soldering, and things like that.
The Sense HAT is the perfect first purchase to try this out, but you can find other recommendations in the link below.
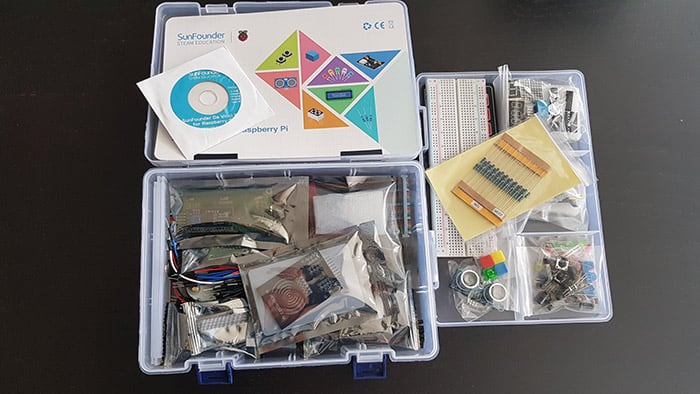
Electronics kits
Once you’re ready to go a little further with GPIO pins, I highly recommend getting a kit with everything in it (breadboard, wires, sensors, etc.).
I have this kit from SunFounder and haven’t used much else since I got it. Give it a try!
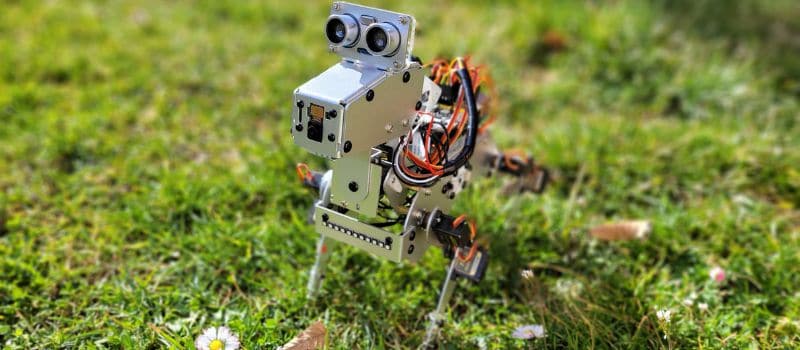
Robot kits
I’ve tested a few robot kits for the Raspberry Pi, and it’s always an interesting project. Mix Lego, electronics and programming and you have a project that will keep you busy for a long time.
Not all kits are created equal, so pick one from this list (or my favorite in the picture).