How to Install PostgreSQL on Raspberry Pi
PostgreSQL, often called Postgres, is an open-source object-relational database management system (ORDBMS). It is known for its robustness, reliability, and scalability. In this article, I shall guide you through the installation and initial configuration of the PostgreSQL server on your Raspberry Pi.
PostgreSQL is available in the official Raspberry Pi repository. It can be installed using the “apt install postgresql” command. Configuration files for PostgreSQL are located in the”/etc/postgresql” sub-folders.
This article will provide a detailed, step-by-step procedure for installing PostgreSQL. I will also show you all the means available to configure your server to get it going.
If you’re looking to quickly progress on Raspberry Pi, you can check out my e-book here. It’s a 30-day challenge where you learn one new thing every day until you become a Raspberry Pi expert. The first third of the book teaches you the basics, but the following chapters include projects you can try on your own.
What is PostgreSQL?
PostgreSQL is an open-source object-relational database management system. It is a collection of software and services that runs on your computer/Raspberry Pi to manage databases. Additionally, this software also provides controlled access to remote clients.
PostgreSQL offers materialized views and partial indexing for better performance. It is most known for its robustness, reliability, and scalability.
Key Features of PostgreSQL
A few of the key features of PostgreSQL are as follows:
- Advanced SQL Support: PostgreSQL supports many SQL features, including complex queries, joins, sub-queries, and window functions.
- Extensibility: PostgreSQL offers a comprehensive extension system that allows developers to enhance its functionality with custom data types and functions.
- JSON support: PostgreSQL includes support for JSON data types and offers functionalities for handling JSON documents.
- Cross Platform: Compatibility: PostgreSQL is available on multiple platforms, including Windows, Linux, macOS, and various Unix-based systems.
- Community and Support: Owing to its open-source nature, an active and vibrant community contributes towards its development.
Comparison with Other DBMS
PostgreSQL is not the only DBMS (Database Management System) available on Raspberry Pi. There is a multitude of DBMS available. A brief comparison of the most common DBMS is as follows:
It's a free PDF guide containing every Raspberry Pi Linux command you should know!
Download now
| Type | Licensing | Data Types | Learning Curve | |
| PostgreSQL | Object-relational, SQL | Open-source | Structured Semi-structured Unstructured | Difficult |
| MariaDB/ MySQL | SQL | Proprietary | Structured Semi-structured | Moderate |
| Oracle | Multi-model, SQL | Proprietary | Structured Semi-structured Unstructured | Difficult |
| MongoDB | NoSQL, Document oriented | SSPL | Structured Semi-structured Unstructured | Moderate |
| SQLite | SQL | Public Domain | Structured Semi-structured Unstructured | Easier |
You can find a more detailed comparison of different DBMSs over here. You can also find step by step guide for the installation and configuration of MariaDB/ MySQL over here.
Installing PostgreSQL
Having understood what PostgreSQL is and how it compares to its competitors, let’s dive into a step-by-step procedure for installing PostgreSQL on your Raspberry Pi.
Installation
As I said before in the introduction, PostgreSQL is available on the official repository of Raspberry Pi. To install PostgreSQL follow these steps:
- It is a good practice to update your system before installing new software. To update your system, open a terminal and enter the following commands:
sudo apt update
sudo apt full-upgrade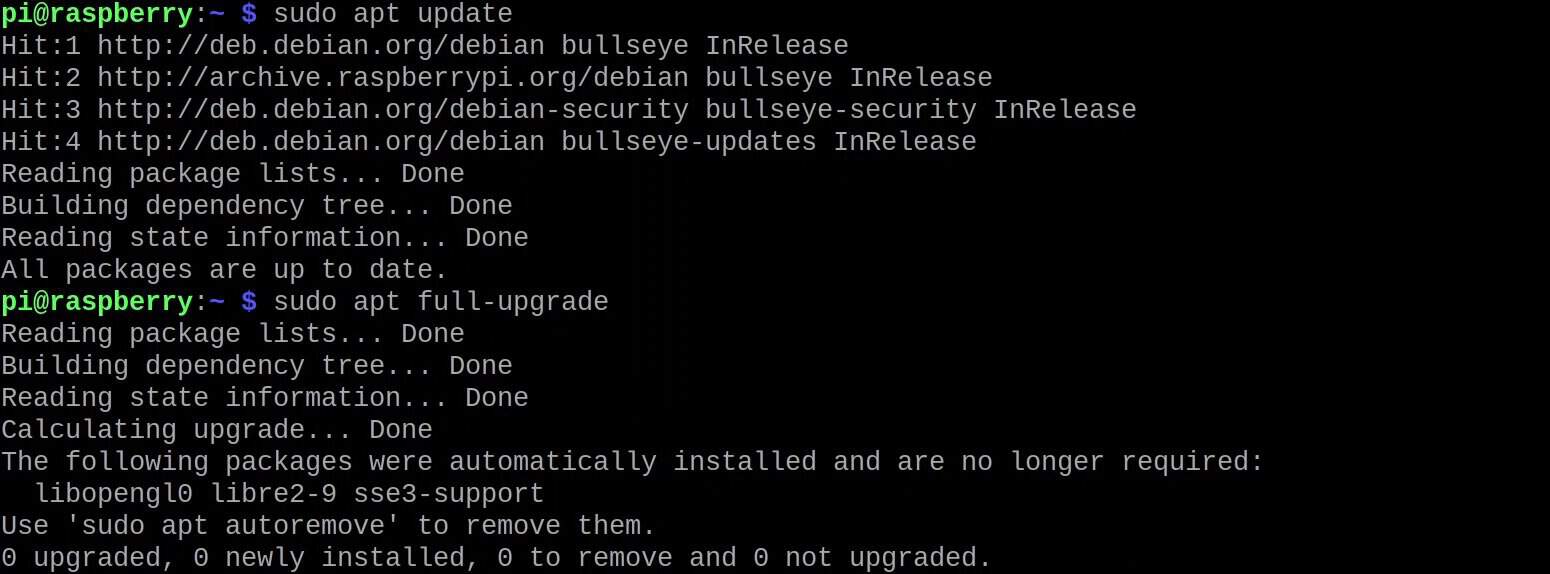
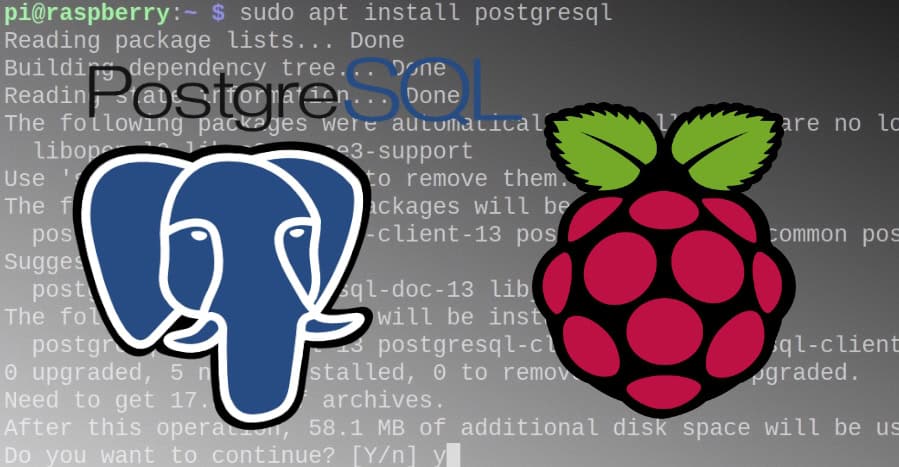
- Install PostgreSQL with the command:
sudo apt install postgresql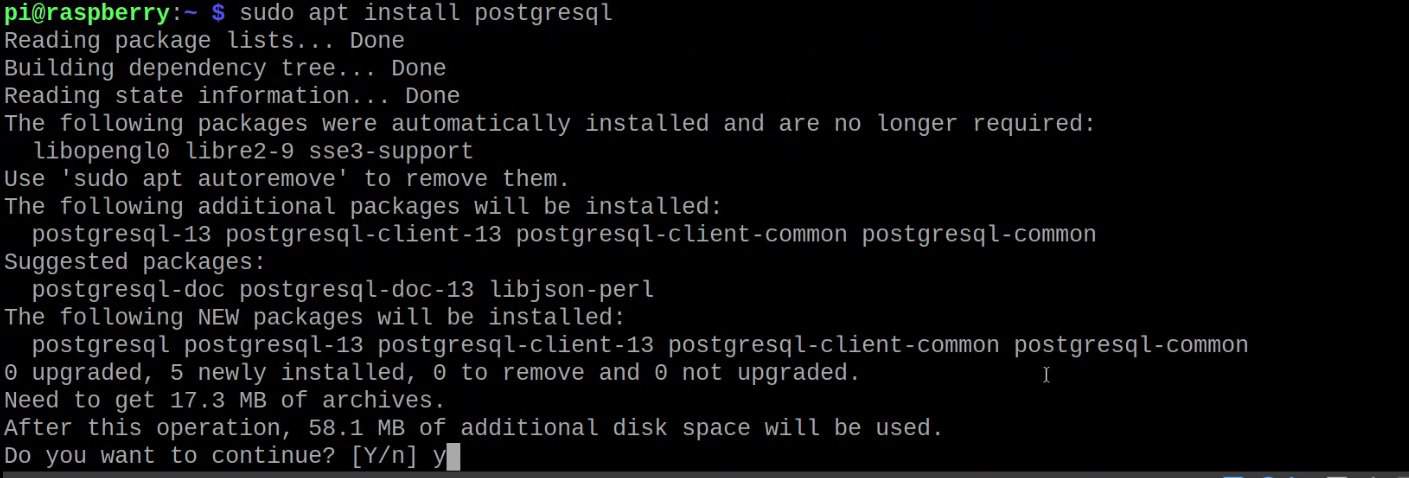
- Press Y to install, It might take a little while depending upon your internet connectivity.

And just like that you have successfully installed PostgreSQL on your Raspberry Pi. To confirm that PostgreSQL has been installed and is running you can enter the following command to check its status:sudo systemctl status postgresql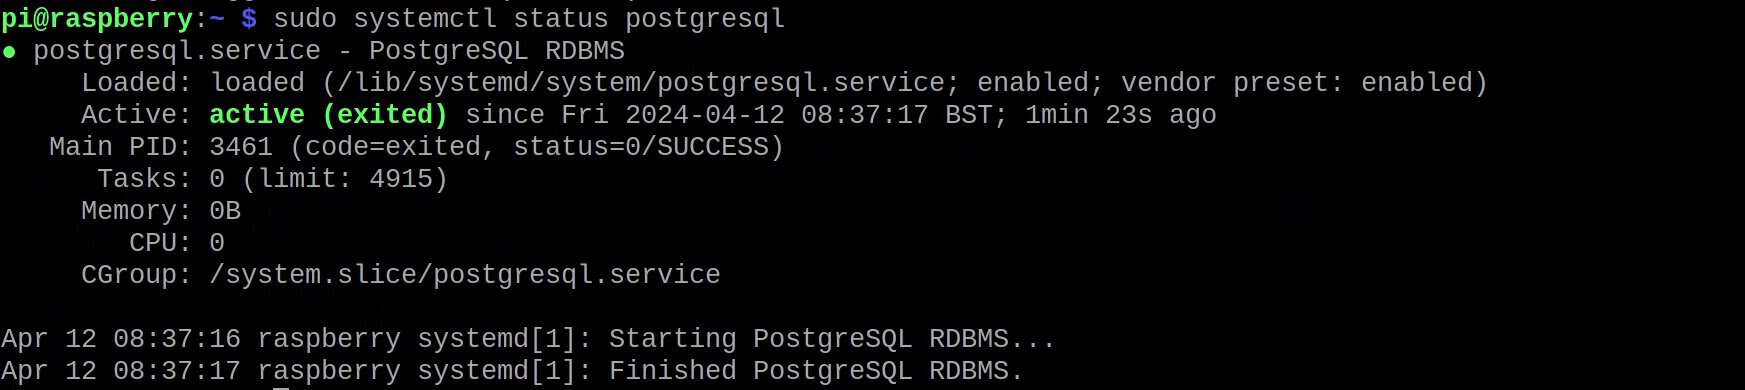
However, to use the DBMS there is some initial setup you need to do.
Are you a bit lost in the Linux command line? Check this article first for the most important commands to remember and a free downloadable cheat sheet so you can have the commands at your fingertips.
Initial Setup
To use PostgreSQL, you must first add a new role for your default user. To do that, do the following steps:
- Change to the postgres user using the command:
sudo su postgres
- Add a role for your default user, i.e., pi.
To do that, enter the following command:createuser pi -P --interactive
- The interactive session will ask you to set a password for this role and a few other questions. You can answer these questions as per your requirements.
- Now you can run PostgreSQL Interactive Terminal using the command:
psql
- Alternatively, you can enter exit twice (once to exit the PostgreSQL Interactive Terminal and again to exit the postgres user and return to the user pi).

- Now you can access PostgreSQL Interactive Terminal as your regular user (pi in my case) using the command:
psql -d postgres -U pi -W
- It will ask you for the password you set earlier while creating the role for the new user.
And that is it, you have successfully installed PostgreSQL on your Raspberry Pi and configured your default user to access the Interactive Terminal.
You can find detailed documentation regarding the PostgreSQL Interactive Terminal Command Line (psql) on the Official PostgreSQL Documentation. Once inside the PostgreSQL Interactive Terminal, you can enter simple SQL statements you might be familiar with.
Having installed PostgreSQL and accessed its Interactive Terminal, I will guide you to creating a database, writing data to it, and reading from it. Additionally, I shall share some tips on advanced configuration to enable you to access your databases remotely.
Creating Your First Database in PostgreSQL
To create our first database, access the PostgreSQL Interactive Terminal and execute SQL Statements.
It's a free PDF guide containing every Raspberry Pi Linux command you should know!
Download now
- Access the Interactive Terminal with the command:
psql -d postgres -U pi -W - Create a database using the SQL statement:
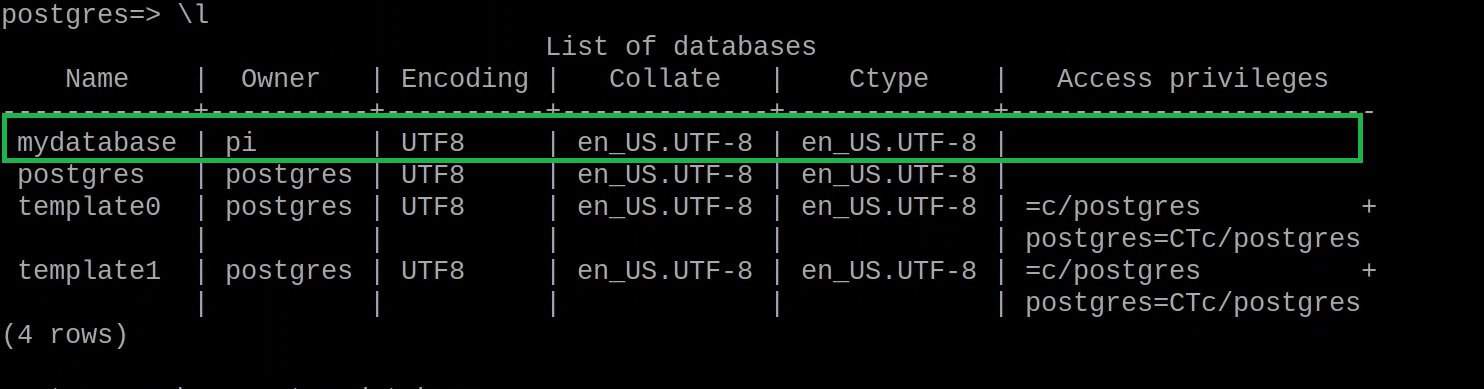
CREATE DATABASE mydatabase;
- Make sure to terminate each SQL statement with a semicolon ‘;’.
- You can confirm that the database has been created and see a list of all available databases by entering ‘\l’ option in the Interactive Terminal.
- Connect to ‘mydatabase’ using the command:
\connect mydatabase
- It will ask you for the password for the current role you are using (the same as you set for the pi user during the initial setup).
- To create a table named ‘customers’ having two columns i.e name and address (both of text type) run the following SQL statement:
CREATE TABLE customers (name text, address text);
- To add data to the table for a customer named ‘Usman’ having address ‘7 Jackson Ferry’ run the following SQL statement:
INSERT INTO customers VALUES ('Usman', '7 Jackson Ferry');
- To read all data saved in the table ‘customers’ enter the following SQL statement:
SELECT * FROM customers;
Using simple SQL Statements and a few Interactive Terminal options we successfully created our first database, entered data, and read the data to verify it. Read on to find out how to do the advanced configuration of PostgreSQL and access it from a remote terminal.
It's a free PDF guide containing every Raspberry Pi Linux command you should know!
Download now
Further Configuration
For advanced configuration of PostgreSQL, you will need to edit a few configuration files using a suitable text editor (e.g. Nano). Details of all configuration files and their locations on a typical install can be found in the Official Documentation.
Managing Remote User Access
To access your DBMS remotely, we need to alter the pg_hba.conf file to manage client authentication and postgresql.conf file to make PostgreSQL listen for remote connections.
Subsequently, we can connect a different computer with PostgreSQL installed to access our Interactive Terminal remotely:
Let’s start by editing pg_hba.conf:
- Open the pg_hba.conf file in a text editor (nano) using the command:
sudo nano /etc/postgresql/13/main/pg_hba.conf
- This should open the file in a text editor (make sure to run the command as sudo, else you will not be able to save the file after editing).
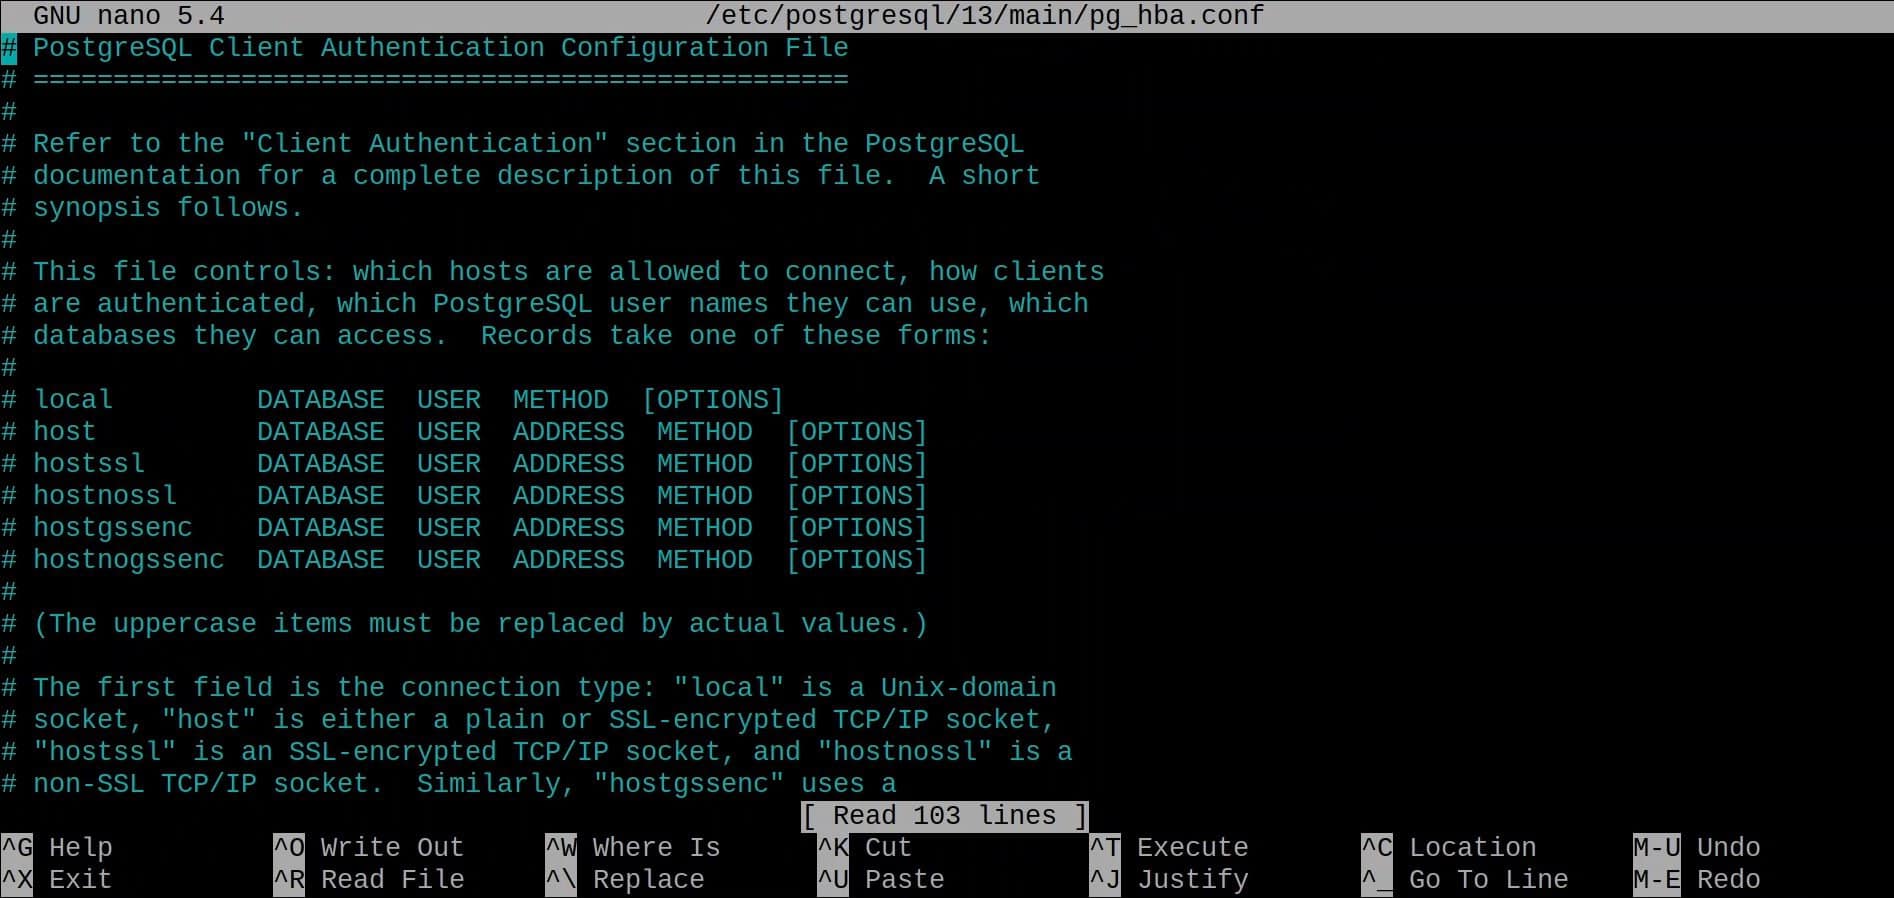
- To give access to all users for all databases edit the file and enter the line as shown in the image below.
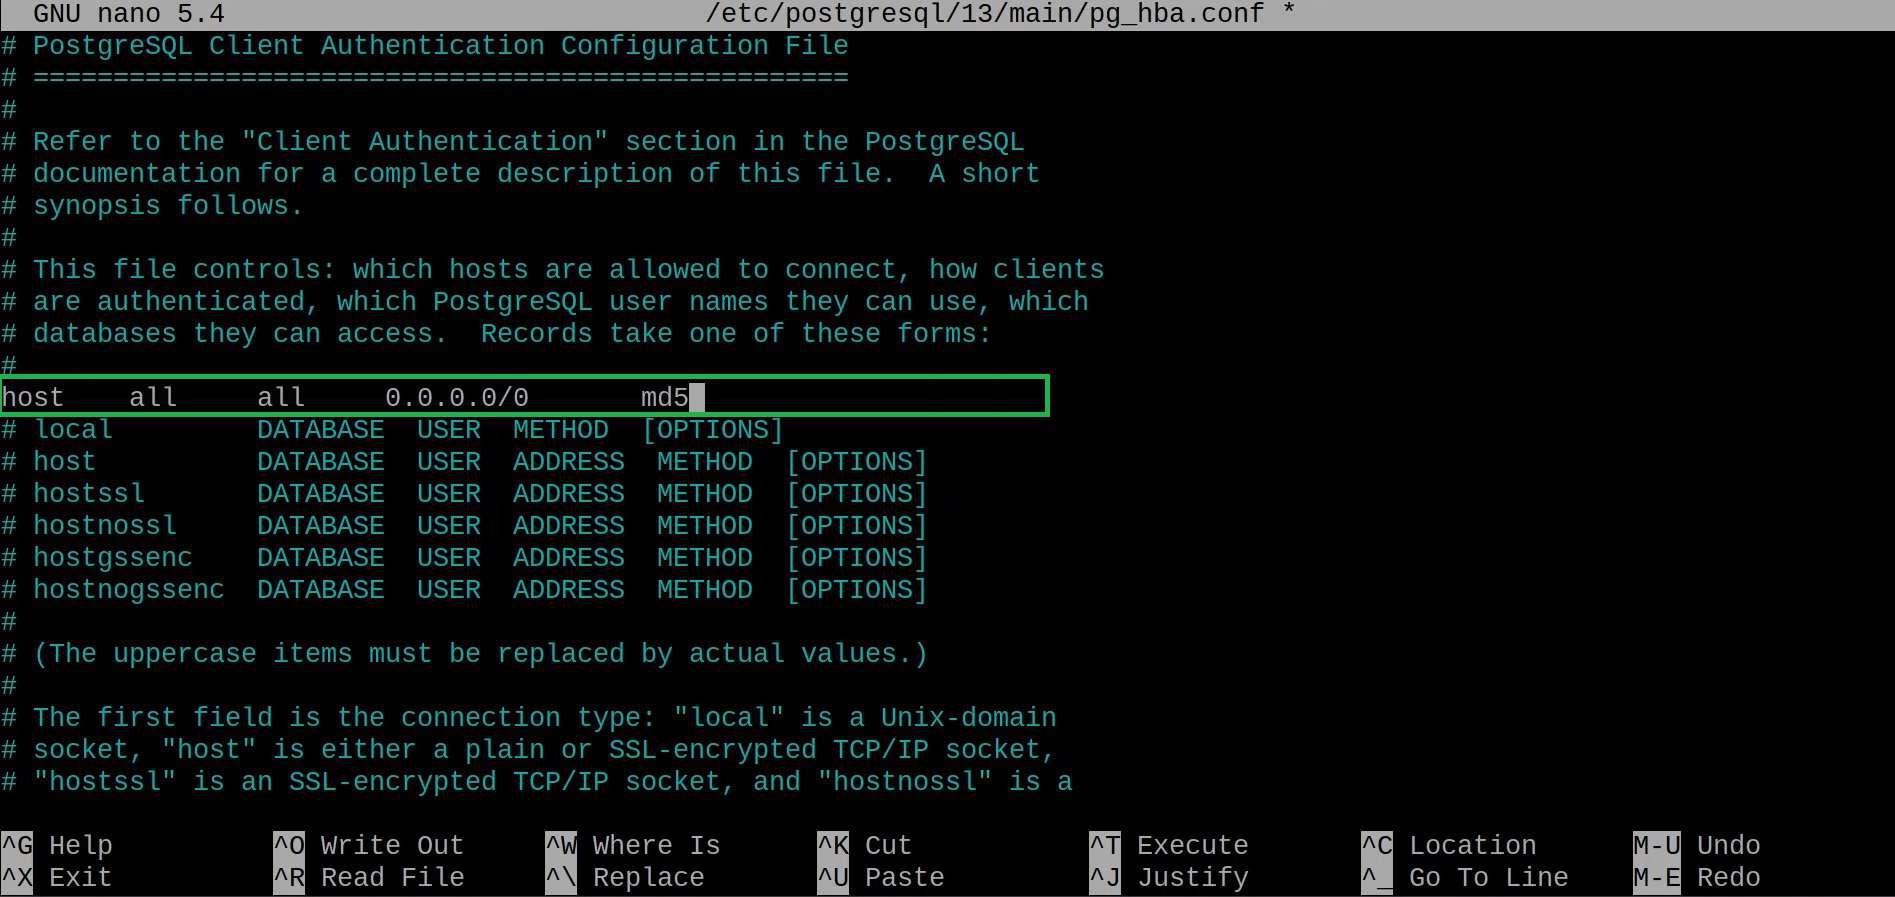
- Details of how to edit pg_hba.conf and all options available to configure client authentication can be found in Official Documentation.
- Enter Ctrl + X then press Y and Enter to exit the text editor (nano).
We can then edit the second file (postgresql.conf):
- Next, we open postgresql.conf file using the command:
sudo nano /etc/postgresql/13/main/postgresql.conf
- This should open the configuration file in the text editor.

- Scroll down to find the Connections And Authentication section.
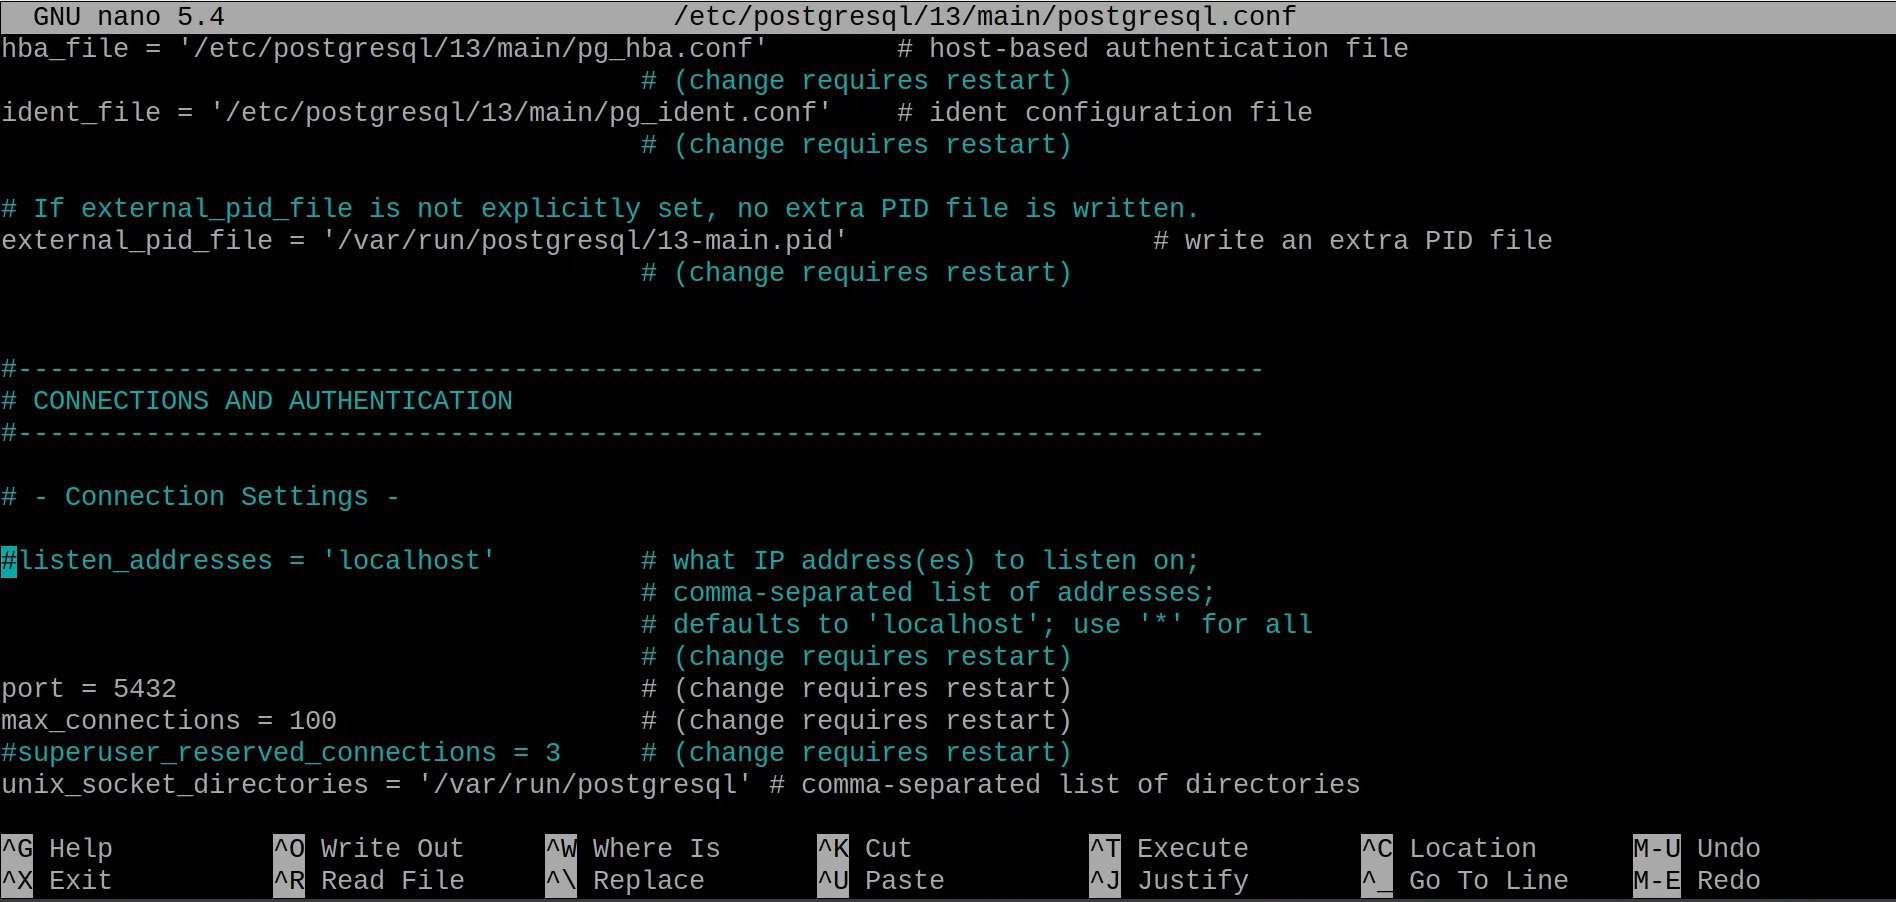
- Un-comment the first line by removing the ‘#’ in front of it and edit it to make the file like shown in the following image.
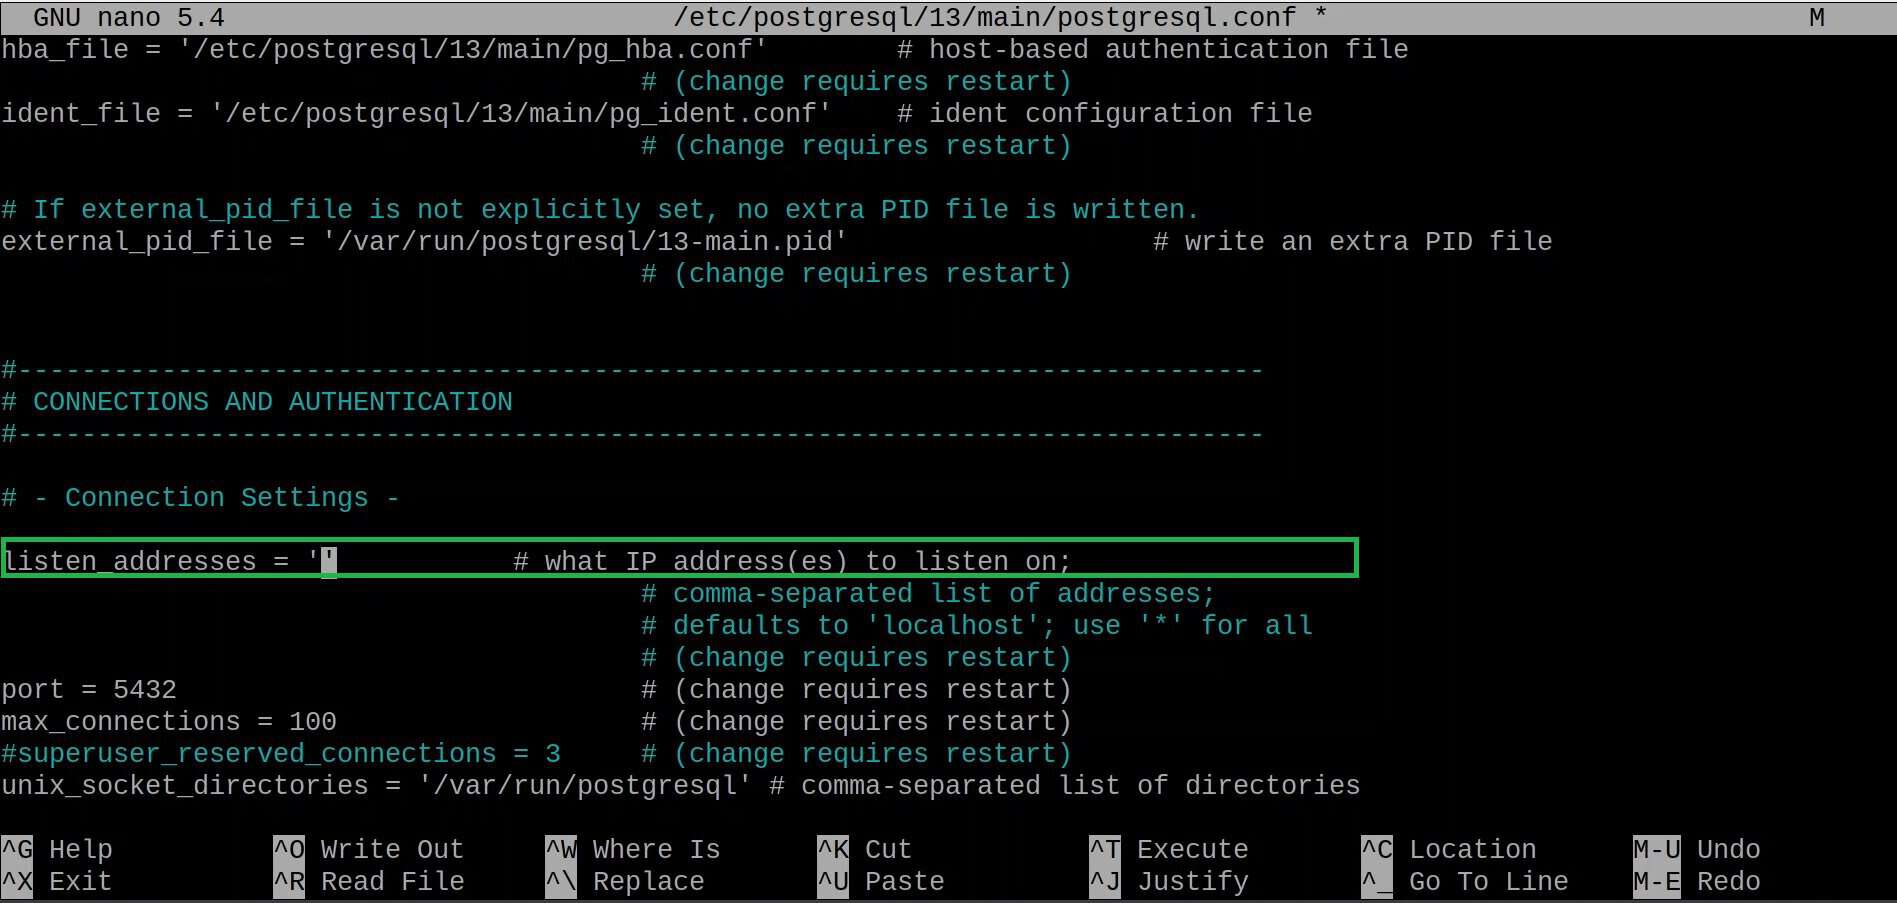
- Details on editing postgres.conf and all options regarding setting server configuration parameters can be found in Official Documentation.
- Enter Ctrl + X then press Y and Enter to exit the text editor (nano).
The last step is to apply the changes to our server:
- To make sure the settings take effect, we need to restart the PostgreSQL service using the command:
sudo systemctl restart posrgresql
Congratulations, you have successfully configured your PostgreSQL to accept connections from remote and access databases saved on your Raspberry Pi.
Connecting to Your Database Remotely
To connect to your database remotely you need to ensure that you have another system that can access your Raspberry Pi over the network and has PostgreSQL installed on it.
- First, you need to verify that the server (Raspberry Pi) and the client (Ubuntu-based system in our case) are on the same network. You can check the IPv4 address of your Raspberry Pi using the command:
ip a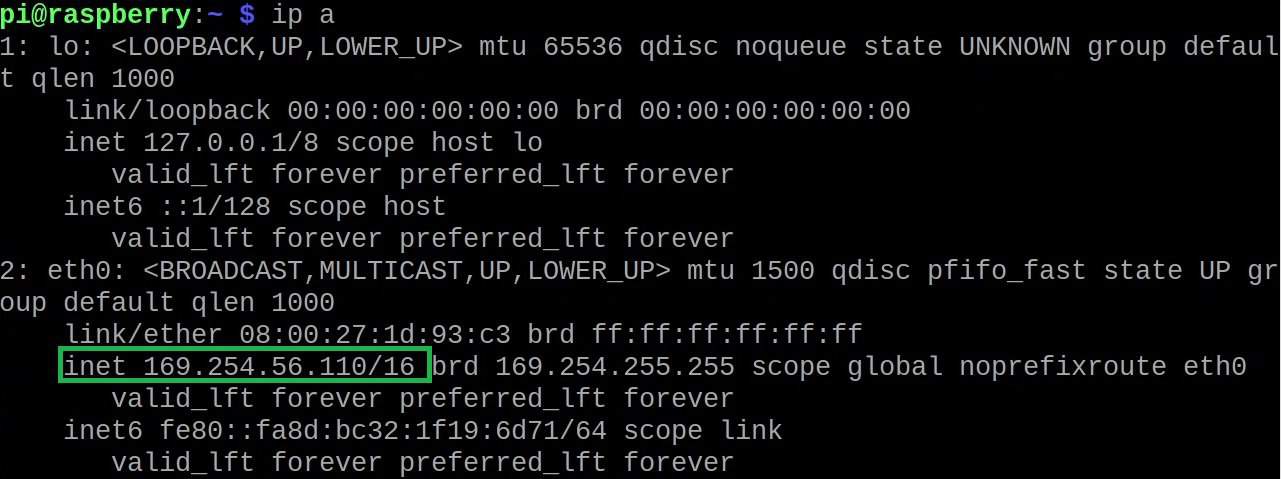
- Check connectivity between your server (Raspberry Pi) and client (Ubuntu-based system in my case) by pinging the IPv4 address of the server from your client using the command:
ping <Insert Raspberry Pi IP here>
- Connect to your server by running the following command from your client:
psql -h <Server IP> -p <PSQL Port> -d <Database Name> -U <Role/ User Name> -W - For example, we will have to execute the following command:
psql -h 168.254.56.110 -p 5432 -d mydatabase -U pi -W
- You will be prompted to enter the password for your user/ role (defined during the initial configuration of your role).
- To read all data saved in the table ‘customers’ enter the following SQL statement:
SELECT * FROM customers;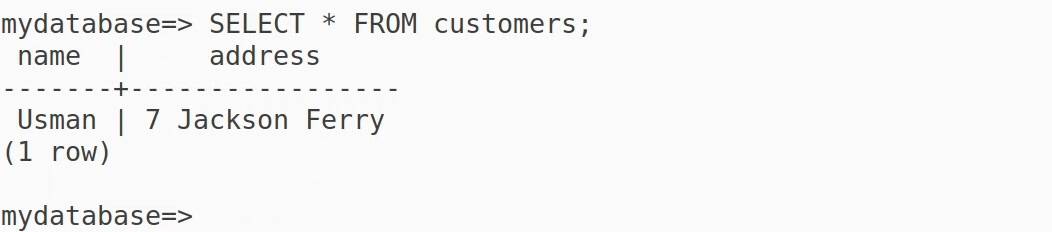
Following the above steps, we have successfully accessed the PostgreSQL Interactive Terminal from a remote station (Ubuntu-based system) and read through our database.
PhpPgAdmin tool to Manage PostgreSQL Databases
If you are uncomfortable with the Interactive Terminal and the CLI you can use PhpPgAdmin tool. PhpPgAdmin is a graphical interface through which you can manage your PostgreSQL Databases.
PhpPgAdmin is available in the Raspberry Pi repositories and can be installed using the command:sudo apt install phppgadmin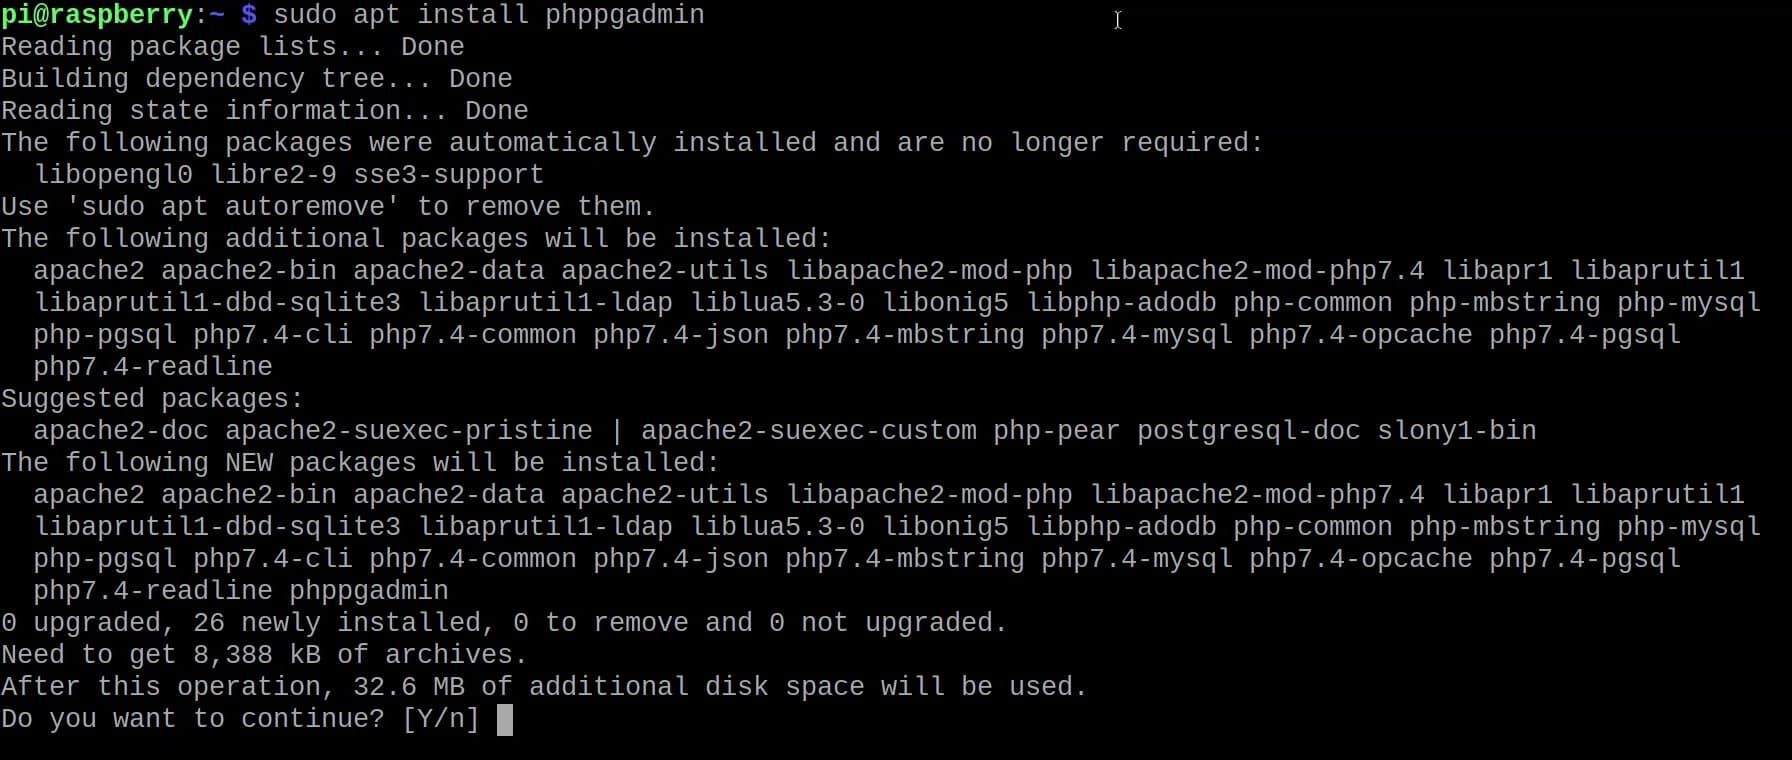
Now you can run the tool by entering the URL “http://localhost/phppgadmin” in your browser: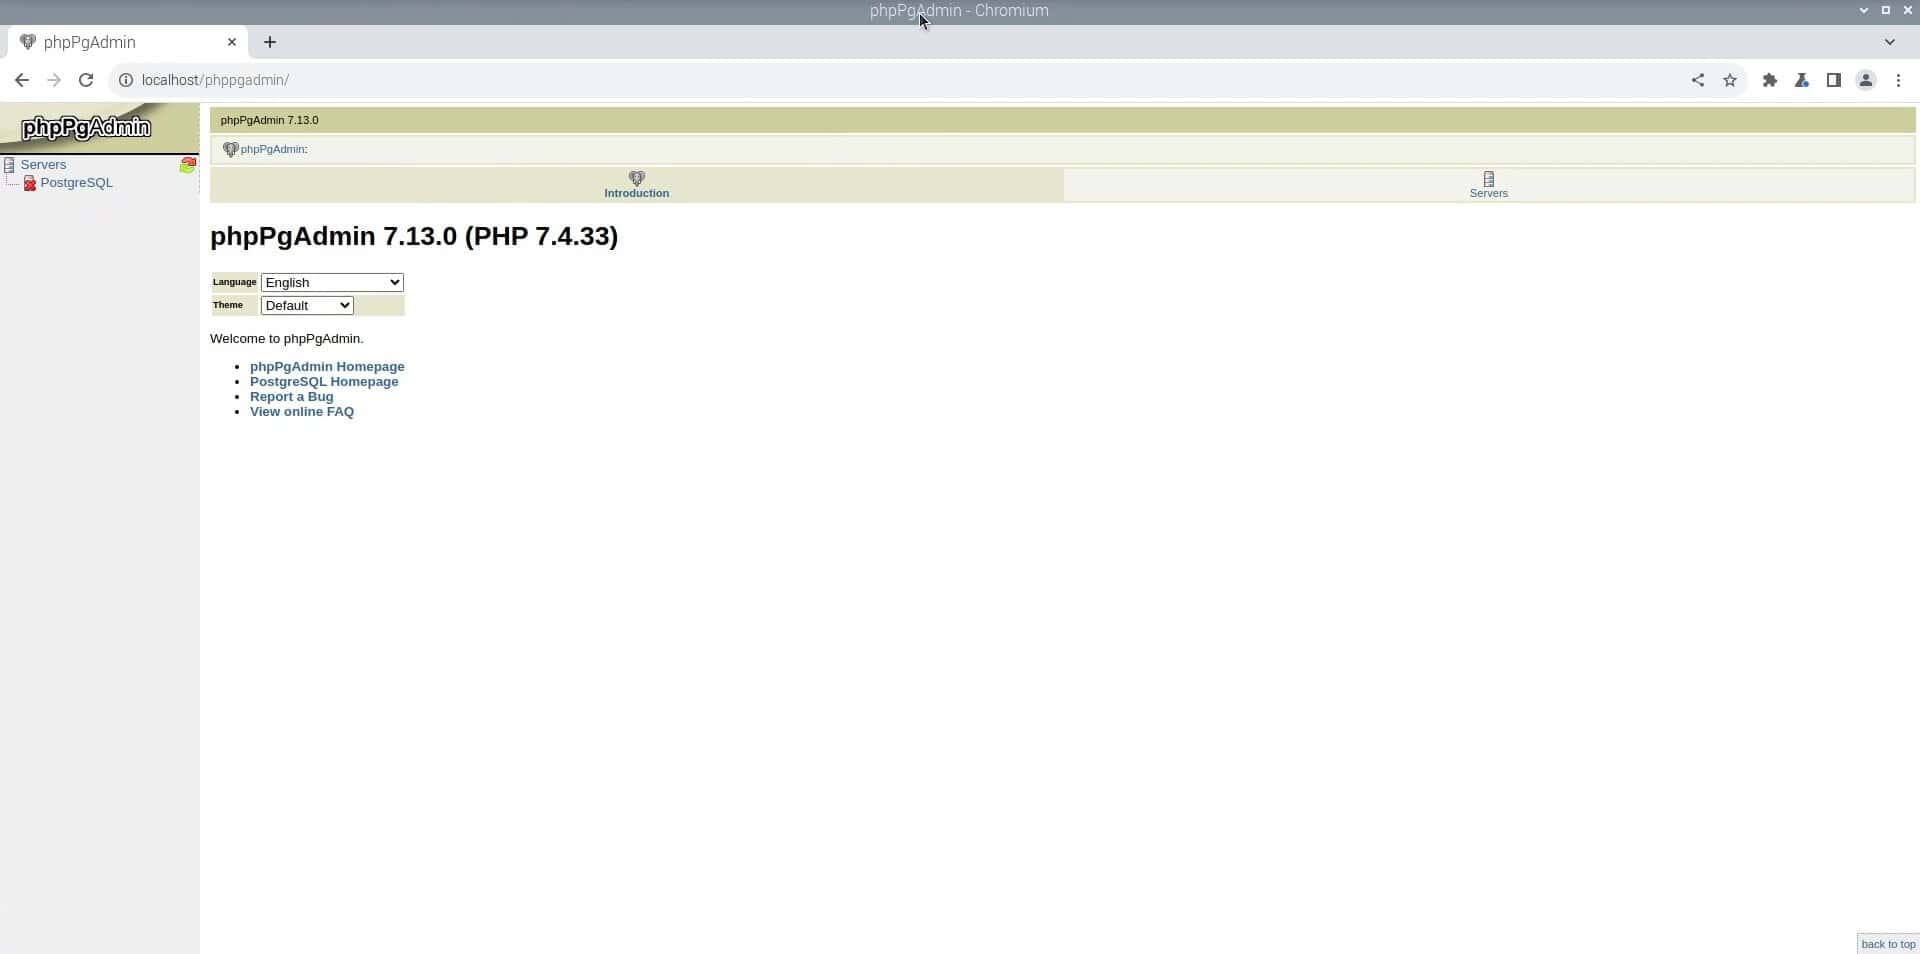
To learn more about the usage of PhpPgAdmin you can consult their official GitHub page.
It's a free PDF guide containing every Raspberry Pi Linux command you should know!
Download now
Reminder: Remember that all the members of my community get access to this website without ads, exclusive courses and much more. You can become part of this community for as little as $5 per month & get all the benefits immediately.
Conclusion
By following this tutorial we have successfully installed PostgreSQL on our Raspberry Pi, created our first database, and learned how to access it locally and from remote terminals.
To follow up on the same and learn more about PostgreSQL consult the Official PostgreSQL Documentation.
Whenever you’re ready, here are other ways I can help you:
The RaspberryTips Community: If you want to hang out with me and other Raspberry Pi fans, you can join the community. I share exclusive tutorials and behind-the-scenes content there. Premium members can also visit the website without ads.
Master your Raspberry Pi in 30 days: If you are looking for the best tips to become an expert on Raspberry Pi, this book is for you. Learn useful Linux skills and practice multiple projects with step-by-step guides.
The Raspberry Pi Bootcamp: Understand everything about the Raspberry Pi, stop searching for help all the time, and finally enjoy completing your projects.
Master Python on Raspberry Pi: Create, understand, and improve any Python script for your Raspberry Pi. Learn the essentials step-by-step without losing time understanding useless concepts.
You can also find all my recommendations for tools and hardware on this page.