How to Install MariaDB on Raspberry Pi? (MySQL Server)
MariaDB is one of the most common services used on Raspberry Pi, it has now replaced MySQL on most distributions. But I know that some of you have problems installing and configuring it properly. That’s why I’m sharing a specific tutorial on how to install it on your Raspberry Pi.
MariaDB is available in the default Raspberry Pi OS repository, and can be installed with: “apt install mariadb-server” or via the package manager with the Desktop edition. The configuration can then be found in the /etc/mysql folder.
That’s it for the short answer. In this tutorial, I will guide you through each step, so you’ll know exactly what to do.
If you’re looking to quickly progress on Raspberry Pi, you can check out my e-book here. It’s a 30-day challenge where you learn one new thing every day until you become a Raspberry Pi expert. The first third of the book teaches you the basics, but the following chapters include projects you can try on your own.
What is MariaDB?
Let’s start with a short explanation of what MariaDB is for those who may need this.
What is a database?
The name is almost explicit.
But if you are just starting on MySQL, imagine a database as file where you will store any data you need to keep.
For example, this website uses a database to store the content, comments, or website configuration of each post.
I often explain a database as a folder on your computer, with many excel files in it.
The folder is the database, each Excel file is a table, and they contain one column for each data to store.
What is MariaDB?
MariaDB is the service that will host the database.
Similar to how Apache is used to host a web server, MariaDB is used to store data in databases.

It’s a free service, available on any Linux distribution.
MariaDB is a young project. It started in 2009 and is now supported by major companies like Google and Alibaba.
It’s not yet one of the most popular database engines (0.58% market share according to Datanyze), but it’s growing fast. Big companies like Google, Mozilla and Wikipedia are using it.
It's a free PDF guide containing every Raspberry Pi Linux command you should know!
Download now
MariaDB is not the only database management system available on Raspberry Pi. You can find my top 5 recommendations here.
Difference between MariaDB and MySQL?
MariaDB is a fork of MySQL (= they created it from a copy of the MySQL source code).
So, for now, there’s barely any difference.
MariaDB has been created following the MySQL acquisition by Oracle in 2009.
So, it’s highly compatible with MySQL.
Most of the projects will work on MariaDB without requiring any changes.
How to install MariaDB on Raspberry Pi OS
Now that you have more information about what MariaDB is, you can try installing it by reading the following instructions. Here are the required steps to install MariaDB on your Raspberry Pi:

Join Our Community!
Connect, learn, and grow with other Raspberry Pi enthusiasts. Support RaspberryTips and enjoy an ad-free reading experience. Get exclusive monthly video tutorials and many other benefits.
Learn more- Install the mariadb-server package.
- Use root to access MariaDB for the first time.
- Complete the installation.
- Create a new user and password.
Let’s see how to do all of this in details.
Install MariaDB server
As said in the introduction, MariaDB is available in the Raspberry Pi OS repository, so the installation is straightforward. Open a terminal (or connect via SSH) and follow the instructions:
- As always, start by updating your system:
sudo apt update
sudo apt upgrade
- Then you can install MariaDB with this command:
sudo apt install mariadb-server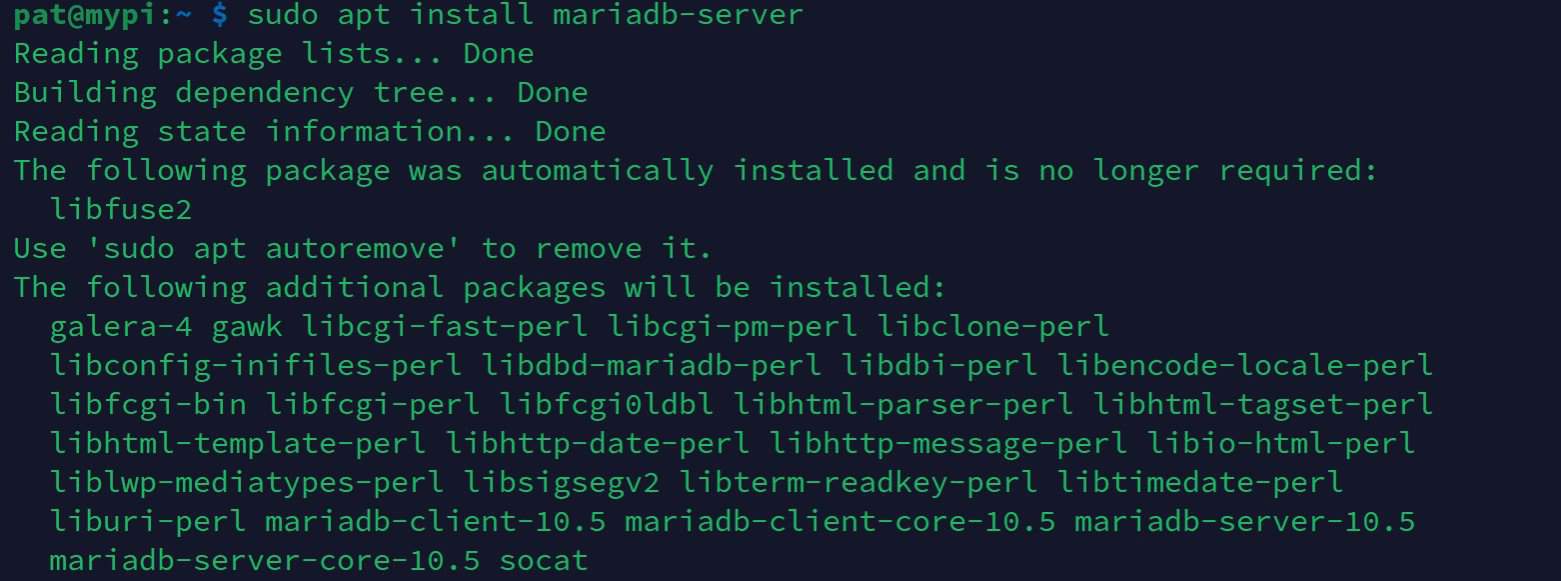
- Type “Y” and Enter to continue.
After a few seconds, the installation process is complete and MariaDB is almost ready to use.
If you’ve noticed it, the installation of MariaDB has also installed the MariaDB client.
This will allow you to connect from the command line with: mysql
But by default, there is no account available to connect.
That’s why we need to create root access first,
Are you a bit lost in the Linux command line? Check this article first for the most important commands to remember and a free downloadable cheat sheet so you can have the commands at your fingertips.
Root access
Here is how to define the password for the root user and start to use MariaDB:
- Enter this command:
sudo mysql_secure_installation - A message like this appears:
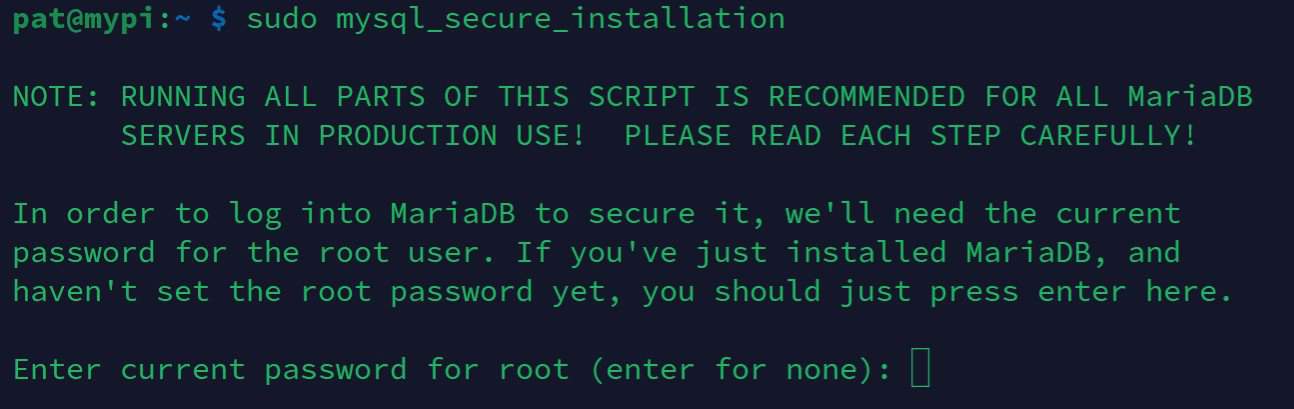
- Press enter to continue (no password by default).
- Press “Y” to switch to unix_socket authentication.
- Then type “Y” to set a new password, and enter the password of your choice.
- Now, press “Y” three more times to:
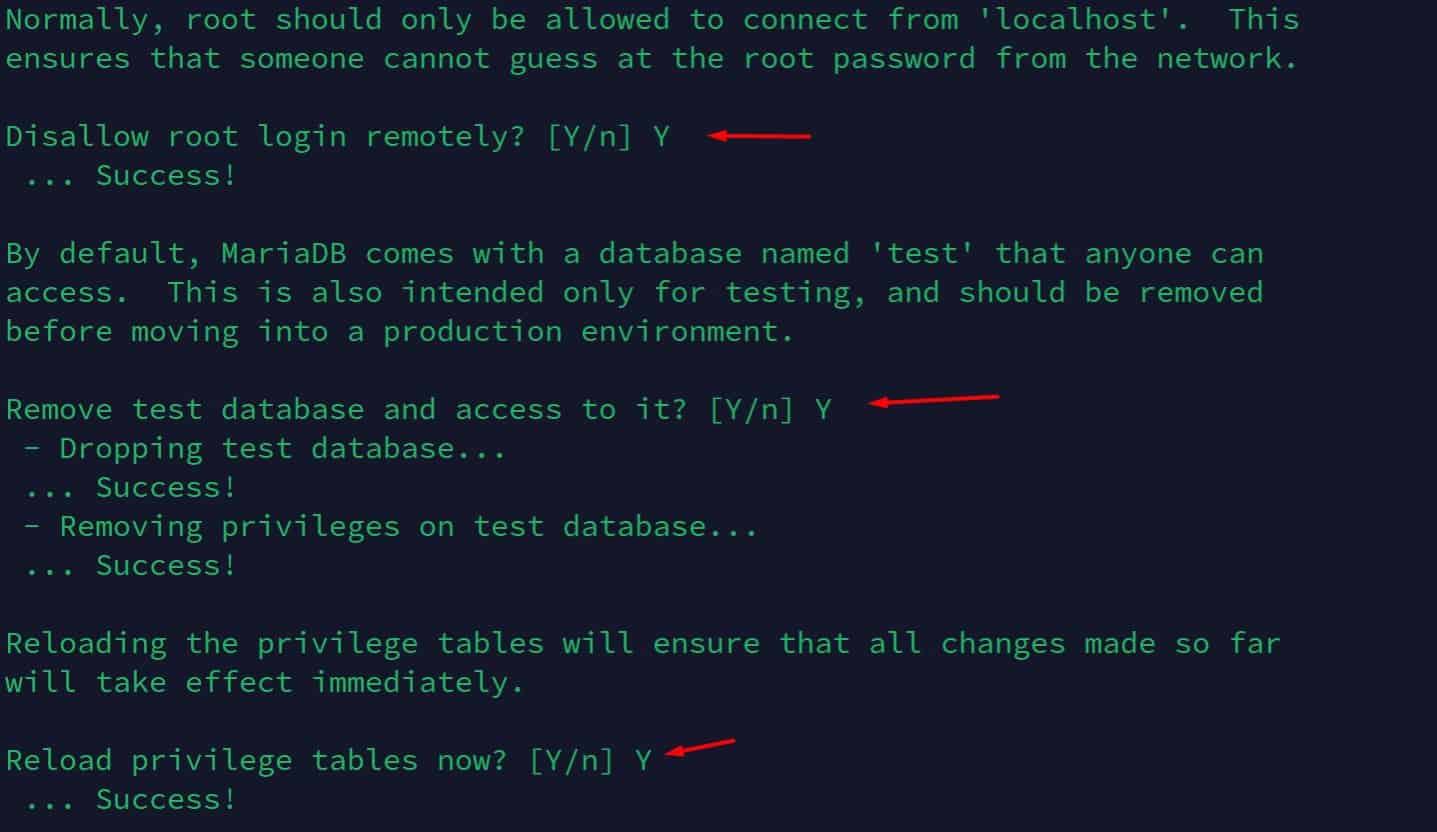
- Remove anonymous users.
- Disallow root login remotely.
- Remove the test database.
- And finally, press “Y” again to reload the privileges.
That’s it, this time MariaDB is ready to use with root login.
The “root” user is not enabled by default on Raspberry Pi OS, you can use “sudo” instead, and specify the username in the MySQL command. But if you really want to enable root, it’s possible. I explain how to do this in this article.
It's a free PDF guide containing every Raspberry Pi Linux command you should know!
Download now
Connect with root
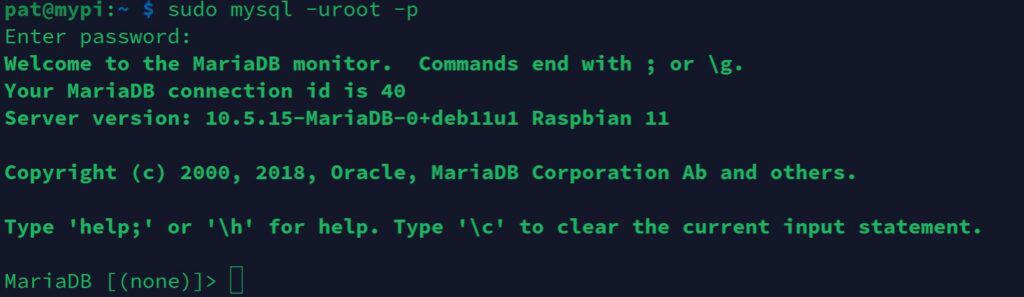
You can now use the mysql command for your first connection:
sudo mysql -uroot -p
Then enter the password you have defined previously.
And that’s it, you are connected to the MySQL server.
Once you are connected, you can use all the MySQL queries like these:
- SHOW DATABASES;
- USE <database>;
- SHOW TABLES;
- SELECT * FROM <table>;
- UPDATE, INSERT, DELETE, …
You can check the syntax and all the information on the official documentation.
Create a new MariaDB user
As on your system, it’s not recommended using the root user for any application (it’s one of the main security tips I give you in this article).
Keep it for you, for administration and debugging on a local usage. But for any other applications, you will probably create new users, with access to only one specific database.
Create a new user on MariaDB
Here is how to do this:
- Connect to the MySQL command line:
sudo mysql -uroot -p - Create a new database:
CREATE DATABASE <dbname>;
In this step and the following, replace all variables between <…> by the name you want to use - Now, create the new user:
CREATE USER '<username>'@'localhost' IDENTIFIED BY '<password>'; - Then, allow this new user to do anything on the database we just created:
GRANT ALL PRIVILEGES ON <dbname>.* TO '<username>'@'localhost'; - Finally, reload the permissions with:
FLUSH PRIVILEGES;
Test the connection
You can now check that everything works fine with:sudo mysql -u<username> -p
And use the password you just created.
That’s it, you can now do everything you want on the new database.
You can for example use this to host a website on your Raspberry Pi, or even to host apps like NextCloud or WordPress at home.
It's a free PDF guide containing every Raspberry Pi Linux command you should know!
Download now
Further configuration
You can do most of the MySQL configuration in the command line, but it’s not always easy if you don’t know the MySQL language.
So, I’ll show you two ways to configure your server.
/etc/mysql
As with many services, you’ll find a configuration file in the /etc folder.
It’s the first way to change the configuration.
Here are the files you’ll find under /etc/mysql:
├── conf.d
│   ├── mysql.cnf
│   └── mysqldump.cnf
├── debian.cnf
├── debian-start
├── mariadb.cnf
├── mariadb.conf.d
│   ├── 50-client.cnf
│   ├── 50-mysql-clients.cnf
│   ├── 50-mysqld_safe.cnf
│   └── 50-server.cnf
├── my.cnf -> /etc/alternatives/my.cnf
└── my.cnf.fallback
As you use MariaDB, you need to edit the files under mariadb.conf.d.
- For the server configuration, open the 50-server.cnf file like this:
sudo nano /etc/mysql/mariadb.conf.d/50-server.cnf - In this file you can find many configuration options. Each line uses the same format:
option = value
Lines starting with a # are commented, you need to remove this character to change the value. - For example, you can change the bind-address to allow remote connections, or the datadir to move the databases to another directory (on a USB drive for example).
You can find all the information about this file on the MariaDB website.
PHPMyAdmin
Even if the configuration file is mandatory to change the configuration, you won’t change it everyday.
But one thing that you’ll do more often is to create users, databases and tables.
Or just reading the data in the tables.
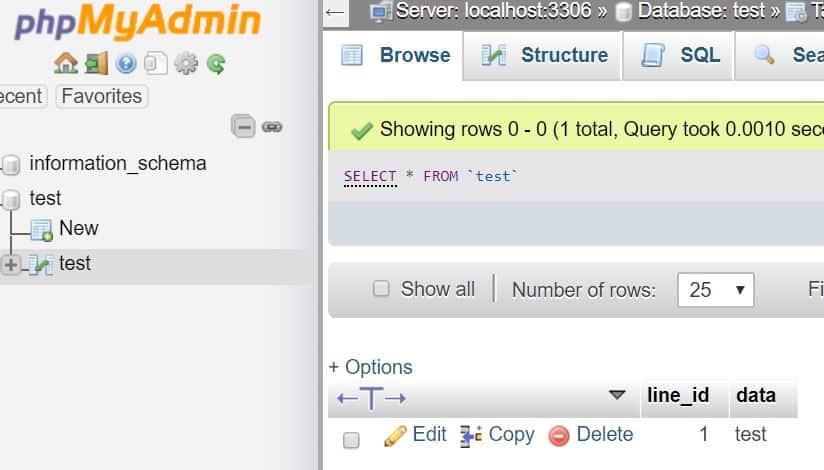
You can install PhpMyAdmin to avoid using the MySQL console for each operation.
PhpMyAdmin is a free web interface that you can install on your Raspberry Pi to do all the basic operations on your database.
You can follow the step by step tutorial on this post to install it.
This tutorial installs Apache and PHP before, but the PhpMyAdmin installation will add and configure them automatically.
It's a free PDF guide containing every Raspberry Pi Linux command you should know!
Download now
Reminder: Remember that all the members of my community get access to this website without ads, exclusive courses and much more. You can become part of this community for as little as $5 per month & get all the benefits immediately.
Conclusion
That’s it, you now know how to install MariaDB on Raspberry Pi, and also how to configure and manage it on a daily basis.
By the way, MariaDB/MySQL isn’t the only option to host a database on your Raspberry Pi. Check the link to find the best alternatives you can try.
But installing MariaDB is often a prerequisite for most projects on Raspberry Pi, including:
- Set Up a LAMP Web Server On A Raspberry Pi In 2022
- How to Install an Email Server on your Raspberry Pi?
- How to install NextCloud on your Raspberry Pi? (2 ways)
If you need more information on this topic, feel free to send them in the community, so I can answer your questions and also write other posts on this subject.
And as usual, thanks to share this post in your favorite social network if it was useful for you!
Whenever you’re ready, here are other ways I can help you:
The RaspberryTips Community: If you want to hang out with me and other Raspberry Pi fans, you can join the community. I share exclusive tutorials and behind-the-scenes content there. Premium members can also visit the website without ads.
Master your Raspberry Pi in 30 days: If you are looking for the best tips to become an expert on Raspberry Pi, this book is for you. Learn useful Linux skills and practice multiple projects with step-by-step guides.
The Raspberry Pi Bootcamp: Understand everything about the Raspberry Pi, stop searching for help all the time, and finally enjoy completing your projects.
Master Python on Raspberry Pi: Create, understand, and improve any Python script for your Raspberry Pi. Learn the essentials step-by-step without losing time understanding useless concepts.
You can also find all my recommendations for tools and hardware on this page.