How To Install & Configure GitLab Server on Ubuntu?
Now that GitHub is part of the Microsoft ecosystem, more and more developers are looking for alternatives, if possible self-hosted on their own servers. GitLab is one of them, and it can be installed on most distributions, including Ubuntu servers. Here is how to do it on this operating system.
GitLab offers a repository for Debian-based distributions like Ubuntu, with access to the latest versions for free. Once the repository is added, GitLab can be installed and maintained up-to-date via the package manager (APT).
In this tutorial, I’ll show you how to add this repository, install the main server and get started with it as quickly as possible.
How to install GitLab server on Ubuntu
Here are the main steps to install the GitLab server on Ubuntu systems:
- Check the prerequisites (especially the Ubuntu version).
- Add the official repository to the package manager sources.
- Install the main GitLab package, using APT.
Now let’s move on to the details.
Prerequisites
A few important things are recommended before you even try to install anything related to GitLab. Here are the most important prerequisites:
- Ubuntu Server LTS: GitLab is generally not supported on non-LTS versions (Long-Term Support). Make sure you’re using one of them to follow these instructions. There is one every two years, in April (18.04, 20.04, 22.04, 24.04, etc.).
- Enable SSH: I recommend enabling SSH for most tutorials on this website, including GitLab. It allows you to follow the steps on your usual computer, and send the command lines to the server directly (copy/paste). Check my SSH guide if you are not used to it.
- (Recommended) Set a static IP address: You’ll use your server IP address to install and access GitLab. It’s highly recommended to set a static IP address, so it never changes (which can break the configuration in addition to being annoying).
- A few packages are required before starting the installation:
sudo apt install -y curl openssh-server ca-certificates tzdata perl postfixDuring the Postfix installation, choose “Internet Site” and keep the default values if you are unsure, you can always tweak the configuration later if needed.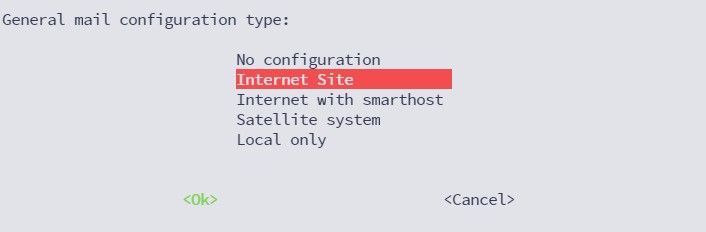
Once all of this is set up, you’re ready to move on to configuring the package manager.
If you’re new to the Linux command line, this article will give you the most important Linux commands to know, plus a free downloadable cheat sheet to keep handy.
Download your exclusive free PDF containing the most useful Linux commands to elevate your skills!
Download now
Adding the official repository
GitLab is not available in the default repository. An additional repository needs to be added to APT (the package manager) so we can use it to install the GitLab server.
There is a script doing everything for you available from GitLab, so no need to play with sources.list and GPG key yourself.
Just run this command to add the GitLab repository to your system:curl https://packages.gitlab.com/install/repositories/gitlab/gitlab-ee/script.deb.sh | sudo bash

Join Our Community!
Connect, learn, and grow with other Raspberry Pi enthusiasts. Support RaspberryTips and enjoy an ad-free reading experience. Get exclusive monthly video tutorials and many other benefits.
Learn more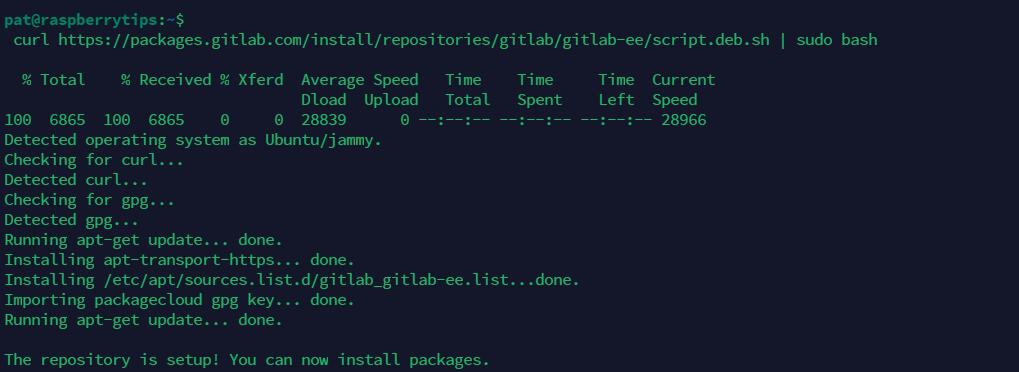
It will install the missing prerequisites if any (curl, gpg, etc.), add the GitLab server to your sources.list, and deal with the GPG keys.
Installing the GitLab package
Once the repository has been added to the system, the GitLab package can be installed using APT almost as usual. The only difference is that the server URL to be used must be specified in the “apt install” command line.
On a local network, you can simply use the HTTP protocol with the server IP address, but it’s also possible to use a DNS name or HTTPS if you can get a valid certificate for it.
For my tests, I’ll simply use the IP address with HTTP, something like:sudo EXTERNAL_URL="http://192.168.222.21" apt install gitlab-ee
Adjust this command with the right protocol (HTTP or HTTPS), and your IP address or DNS name. APT will then download and install the latest version of GitLab server for your system:
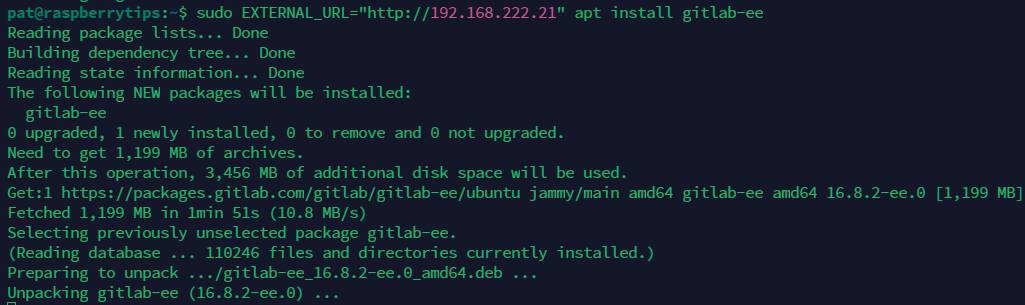
The package is pretty heavy (1.2 GB at the time of writing), so it might take a while to download and install, depending on your connection speed and hardware.
You’ll get an ASCII art with your server URL near the end of the installation:
Download your exclusive free PDF containing the most useful Linux commands to elevate your skills!
Download now
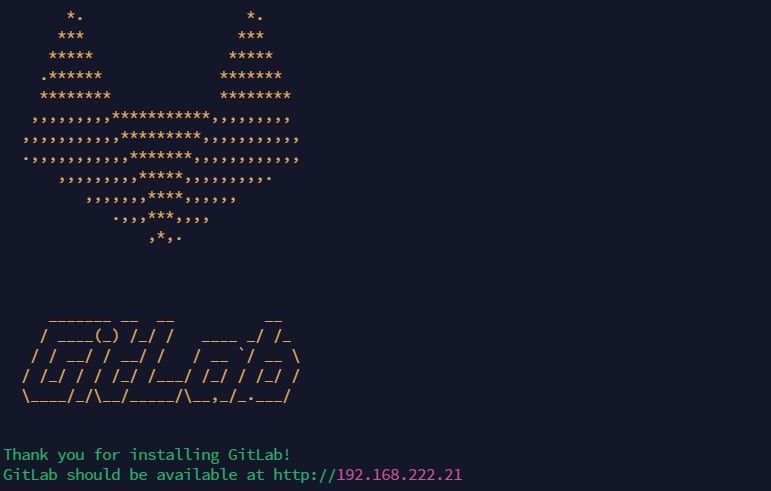
That’s it! Installation is complete. We can now access the main interface and continue with the initial configuration.
Note: The “ee” in “gitlab-ee” stands for Enterprise Edition. GitLab comes in two main editions: Enterprise (EE) and Community (CE). Both have free options if you don’t need advanced features or support. On an Ubuntu server, I recommend installing the Enterprise Edition so that you can always upgrade to a paid version if needed (which is not possible, or at least complicated, with the Community Edition). More details on the official website.
Download your exclusive free PDF containing the most useful Linux commands to elevate your skills!
Download now
First steps with GitLab on Ubuntu Server
GitLab comes with a nice web interface, allowing you to not only create and manage your coding projects, but also to handle all the server configuration. Here is how to get started with it.
Test the web interface
Once the installation is done, you can access the web interface on http://<EXTERNAL_URL>.
Open your web browser and use the same URL as defined in the installation process.
You’ll see a login prompt for the GitLab Enterprise Edition. As you’re using the self-hosted edition of GitLab, you can sign in with a local user account.
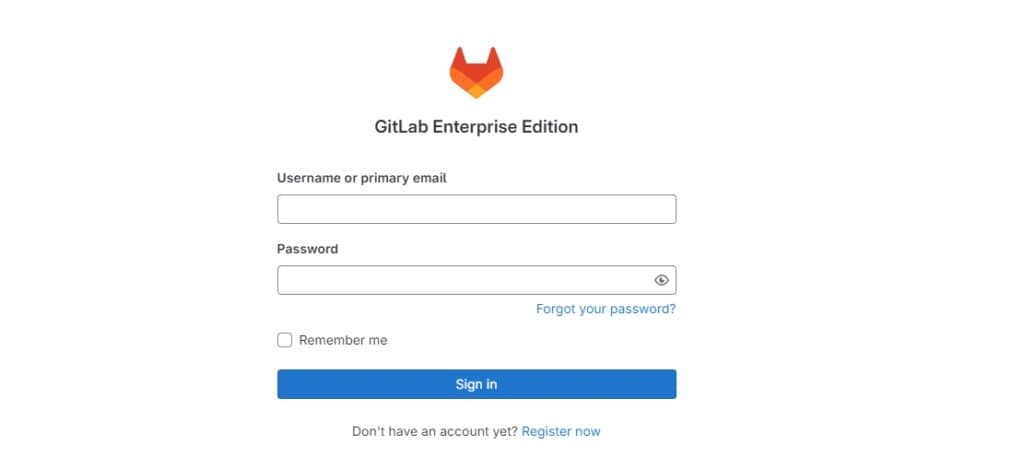
The default administrator username is “root”, and a random password has been generated during the installation.
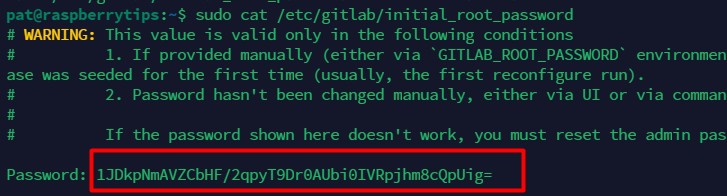
You can find it in the “/etc/gitlab/initial_root_password” file:sudo cat /etc/gitlab/initial_root_password
So, sign in with “root” and this password, and you should get access to the full GitLab interface after that. It looks like this:
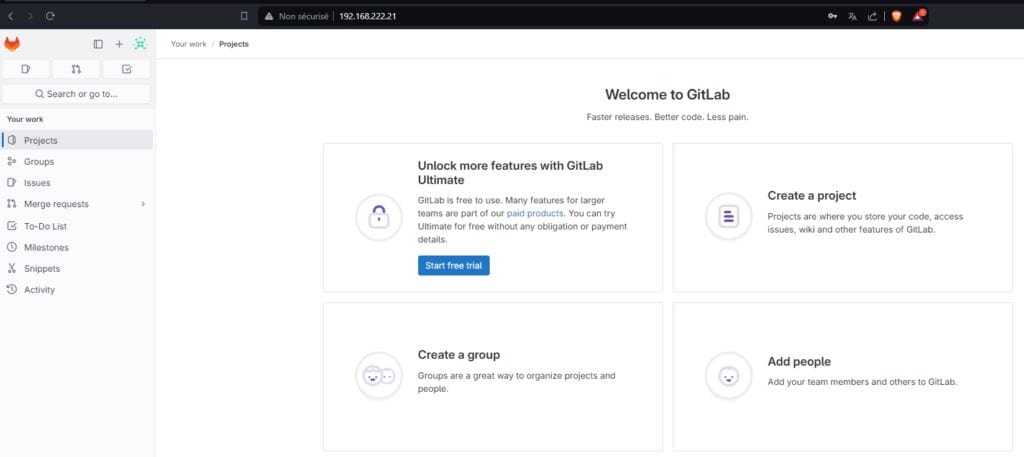
Please set a new password right away. It’s stored in plain text in this file, so it’s highly recommended to change it quickly. You can do it by clicking on “Password” in the User settings menu.
Create your first project
I guess many of you already have experience with GitLab and were more interested in the installation steps than the tool itself, but anyway, let’s take a few minutes to create your first GitLab project with me.
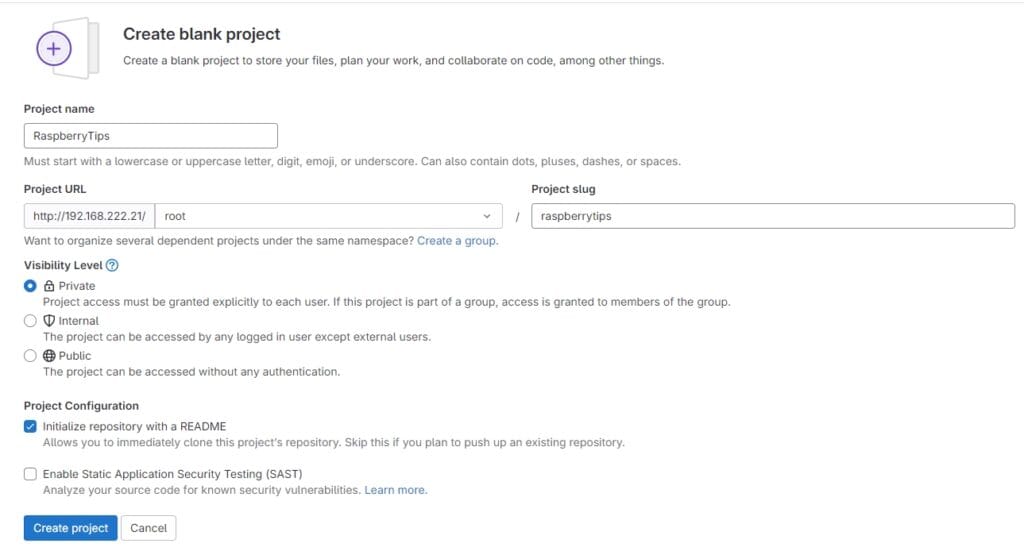
On the home page, click on “Create a project”. You’ll have a few options, and most likely will start with a blank project. A form like this is asking your project name, URL and initial configuration:
Once the project is created, you’ll see a familiar page with the project name, source code, and README content:

From there, you can grab the project URL to access it with Git from your computer.
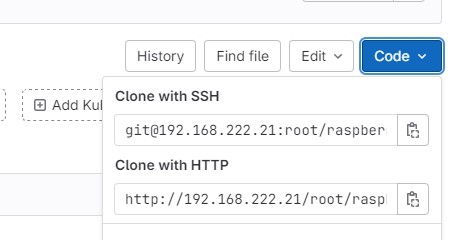
Like for any project using GitLab or GitHub, you can clone this empty project on your computer or server, and start working with it as usual.
In my example, I cloned the repository with this command syntax:git clone http://<SERVER-IP>/<USER>/<PROJECT>.git
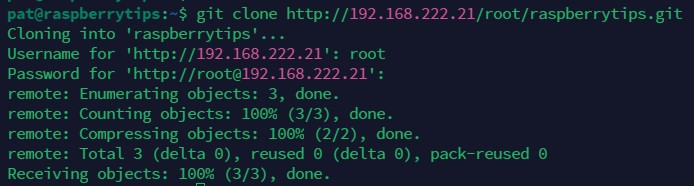
You can now start working on your project as usual. As long as the GitLab server is running and accessible from your computer, it’s business as usual :-).
Want to learn more tips? Here are a few other articles you might be interested in:
- How to Install PyCharm on Debian? (With Shortcut)
- 5 Best Free FTP Clients For Ubuntu (Tested & ranked)
- Ubuntu Server in Production: Expert Insights To Consider
Download your exclusive free PDF containing the most useful Linux commands to elevate your skills!
Download now
Want to chat with other Raspberry Pi enthusiasts? Join the community, share your current projects and ask for help directly in the forums.
Additional Resources
Overwhelmed with Linux commands?
My e-book, “Master Linux Commands”, is your essential guide to mastering the terminal. Get practical tips, real-world examples, and a bonus cheat sheet to keep by your side.
Grab your copy now.
VIP Community
If you just want to hang out with me and other Linux fans, you can also join the community. I share exclusive tutorials and behind-the-scenes content there. Premium members can also visit the website without ads.
More details here.
Need help building something with Python?
Python is a great language to get started with programming on any Linux computer.
Learn the essentials, step-by-step, without losing time understanding useless concepts.
Get the e-book now.