How to Use Anaconda on your Raspberry Pi (Miniforge)
Anaconda is a popular open-source platform mainly used by people working with Python or R. It helps manage different environments in the same system. It also has a package manager called Conda that can be used to download and maintain dependencies.
While Anaconda is not supported by Raspberry Pi, Miniforge can provide the same core features. It can be installed by downloading an installer script from the GitHub repository that will take care of all the dependencies.
In this tutorial, I’ll show you how to install Miniforge on your Raspberry Pi and then how install to your first package with it.
If you need help getting started on Raspberry Pi, I have an entire course to guide you through your first steps. I’ll help you use the perfect hardware, plug everything in and install your first system. You’ll also do your first projects with me, just to make sure you are ready for the next level. Get all the information on this page if you are interested.
What is Miniforge?
Miniforge is part of the condo-forge project, which is a community-led collection of recipes, build infrastructure and distributions for the Conda package manager.
It's a free PDF guide containing every Raspberry Pi Linux command you should know!
Download now
You can think of Miniforge as the minimalist version of the full Anaconda package, with only the essentials installed. So you can run it on a simple system like the Raspberry Pi.
On one hand, Anaconda is like a smartphone filled with preinstalled apps. It comes with a lot of popular applications (Python packages) already installed. It’s handy on a powerful computer, but it takes up disk space, requires RAM to run, and may have some apps you don’t need.

Join Our Community!
Connect, learn, and grow with other Raspberry Pi enthusiasts. Support RaspberryTips and enjoy an ad-free reading experience. Get exclusive monthly video tutorials and many other benefits.
Learn moreOn the other hand, Miniforge is like having only the app store on your phone. You have to find and download each app separately, but you only install the ones you want, which will save you space.
To follow this tutorial, all you need is a Raspberry Pi running on the latest 64-bit version of Bookworm OS (Note that the 32-bit version will not work). So, let’s start with the actual tutorial and install the package on our Pi.
How to Install Miniforge on the Pi
Now, let’s learn how to install Miniforge on your Raspberry Pi. It’s a straightforward process that will take around 5 minutes to complete.
- First, go to the Miniforge repository by following this link from your Raspberry Pi.
You should see the following page once you open it on any browser: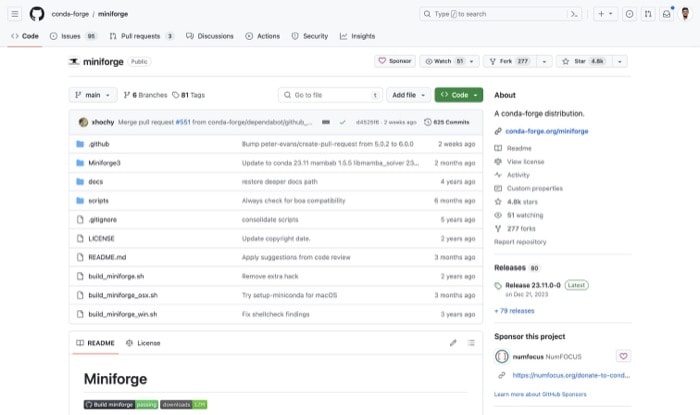
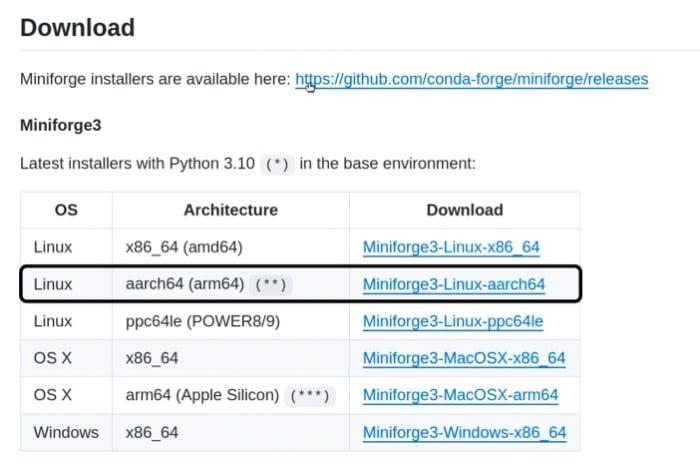
- In the download section of the README file, you will see a table with install links for all supported platforms. Since the Raspberry Pi runs on an ARM-based CPU, we will select the Linux arm64 option and install it on the Pi with a single click.
- Once you have the installer installed on your Pi, it’s time to get your hands dirty and write some Linux commands.
There is only one command required to complete the installation once you get into the directory where the installer was placed:cd <directory-with-installer>bash Miniforge3-Linux-aarch64.sh
- Once you execute the bash command given above, the installation process will start.
You will be prompted to press Enter to start the installation: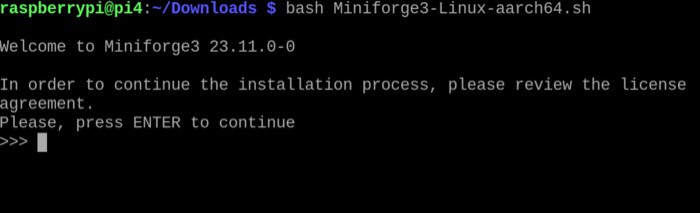
- This will open the licensing agreement. You can exit this by pressing “q” on your keyboard. However, I would highly encourage you to glance through the agreement to learn more about the Miniforge package’s licensing.
Finally, type in “yes” to agree to the terms and press Enter.
- Next, it will prompt you to select the installation location for miniforge3.
You have two options here: Keep the default location or select a custom location of your choice.
For this tutorial, I will install it on the default location. Simply press Enter again to select this: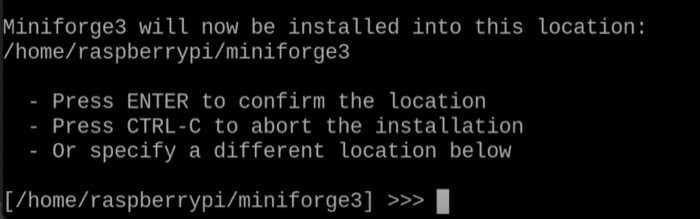
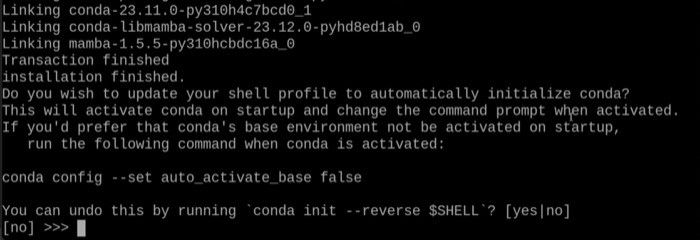
- That’s all! The installer will run and install all the required packages. Once the installation process is complete, there is one last configuration step. The installer will ask if you want to disable activating Conda on startup. I would recommend not doing this. Just type in “yes” and press Enter.
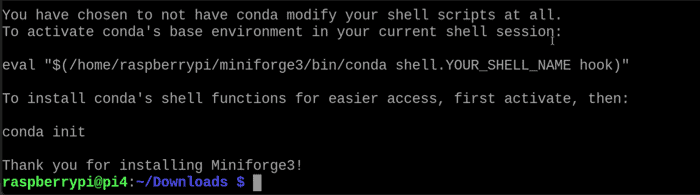
- Great! You have successfully installed Miniforge on your Pi.
Now that we have Miniforge installed on the Raspberry Pi, let’s set up our first environment and install our very first package.
Are you a bit lost in the Linux command line? Check this article first for the most important commands to remember and a free downloadable cheat sheet so you can have the commands at your fingertips.
It's a free PDF guide containing every Raspberry Pi Linux command you should know!
Download now
It's a free PDF guide containing every Raspberry Pi Linux command you should know!
Download now
Miniforge First Run
In this section, we will see Miniforge in action on our Raspberry Pi. We will do the following, which are the common steps you would do when getting started with a project:
- Create a new Environment for your project (using Python for this tutorial).
- Install our very first Python package and test it.
Creating a New Conda Environment
Conda environments help manage dependencies and isolate projects. This is particularly useful when some packages require specific module versions.
So, let’s first start by creating a new environment for our first project:
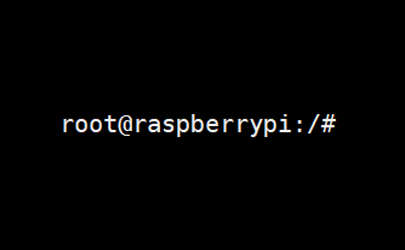
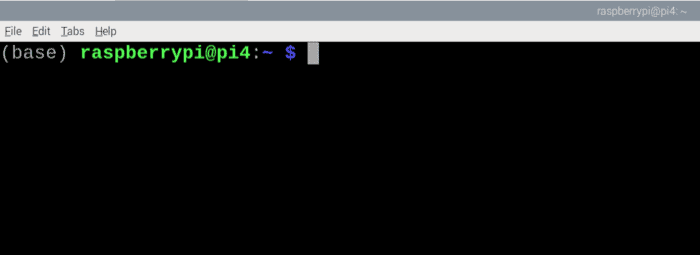
- Start with restarting your terminal window. This allows the installation to take effect. Once you do this, you should see the “(base)” beside your terminal cursor. This simply means that we are in the default “base” environment now:
- Create a new environment using Conda with this command:
conda create -n <environment-name>
This command will let you create a new base environment, which will be a blank slate. You can install any packages you need based on your application requirements. This creation process will take a few minutes so please be patient.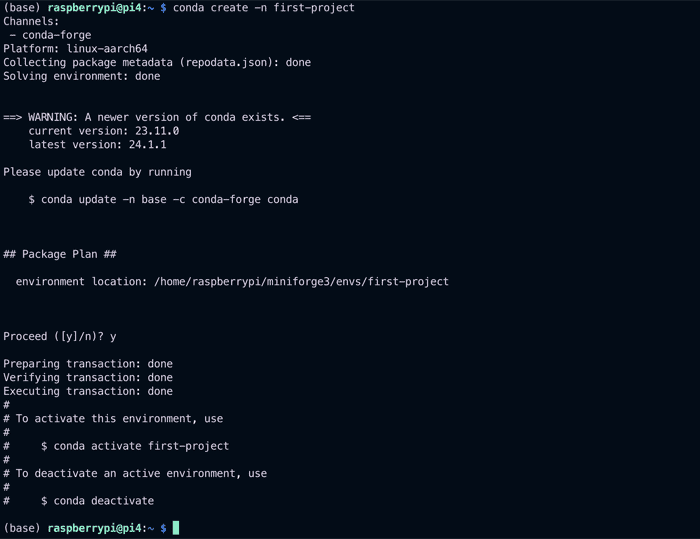
- Once you have created the environment, you can activate it by typing the following command:
conda activate <env-name>
This should change the environment name base to the one you chose to activate.
Perfect! We have successfully created our first clean environment. Let’s install a new package in this environment and test it.
Installing your First Package
One major advantage of using a distribution like Anaconda is that you can isolate projects by managing different environments (with different packages installed on each) on the same system.
Let’s test this by installing the popular scikit-learn package in our new environment.
- Before we start, let’s check if we already have this package installed on our environment (you won’t have it if it is a fresh environment).
- Start a Python interpreter in your environment by typing:
python
Then, you type:import sklearn
This will throw an error: “ModuleNotFoundError: No module named ‘sklearn'”.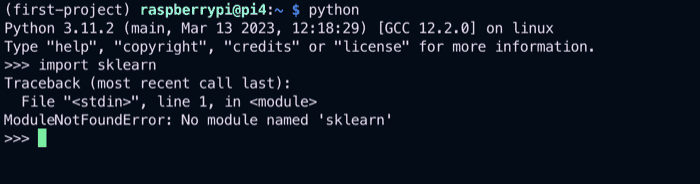
- Scikit-learn is a very popular machine-learning package for Python developers. It provides all the essential tools required to get started with Machine Learning basics. Let’s install it in our environment.
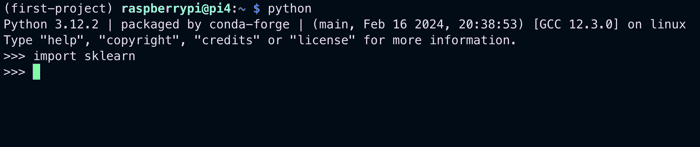
We will use the Conda package manager to do this, here is the command to install a new package:conda install scikit-learn
This will start the package installation process in the environment you are currently in. It will take a few minutes to complete. Press “y” to proceed with the installation if asked at any point during the process. - Once this is done, you can now repeat step one, start a new Python interpreter and type in the same import command. This time, there will be no errors and the package import will be successful.
Congratulations! You have completed the installation and setup process for Miniforge successfully on your Raspberry Pi. This marks the end of this tutorial.
It's a free PDF guide containing every Raspberry Pi Linux command you should know!
Download now
Want to chat with other Raspberry Pi enthusiasts? Join the community, share your current projects and ask for help directly in the forums.
Conclusion
In this article, we learned how to configure Miniforge (a minimalistic alternative to Anaconda) on the Raspberry Pi, created our very first environment and learned how to install packages in it.
This is just the beginning! We covered the most important use cases for this versatile distribution on the Pi. This software can help you turn your Raspberry Pi into a fully functional Development Machine, where you can manage multiple projects simultaneously without any conflicts or issues.
And if you want to learn more about Python, you’ll find many interesting tutorials and project ideas on this site, here are a few examples:
- 15 Fun Raspberry Pi Projects to Experiment with Python
- A Beginner’s Guide to Virtual Environments in Python
- How to Read and Write RFID Tags With Raspberry Pi
Whenever you’re ready, here are other ways I can help you:
The RaspberryTips Community: If you want to hang out with me and other Raspberry Pi fans, you can join the community. I share exclusive tutorials and behind-the-scenes content there. Premium members can also visit the website without ads.
Master your Raspberry Pi in 30 days: If you are looking for the best tips to become an expert on Raspberry Pi, this book is for you. Learn useful Linux skills and practice multiple projects with step-by-step guides.
The Raspberry Pi Bootcamp: Understand everything about the Raspberry Pi, stop searching for help all the time, and finally enjoy completing your projects.
Master Python on Raspberry Pi: Create, understand, and improve any Python script for your Raspberry Pi. Learn the essentials step-by-step without losing time understanding useless concepts.
You can also find all my recommendations for tools and hardware on this page.