The Best Tools To Capture Screenshots on Ubuntu
If you’re new to Ubuntu (and Linux in general), you’ll discover that there are excellent tools available to take screenshots. Even the default tool has the most useful features, but if you need more, you can always find better alternatives for your specific needs.
The default screen capture application on Ubuntu allows us to screenshot the full screen, but also the active window or any selected area on the screen. It’s also possible to record a video instead of capturing a picture.
In this article, I will explain how to find and use this tool, and suggest other applications you can try if you need more features.
Built-in: how to use the default screenshot tool on Ubuntu
How to use it
The default tool to take screenshots on Ubuntu is available directly after the installation. It’s not listed in the apps list, but there are two ways to find it quickly.
First, you can use the search engine in the main menu and type “screenshot” in it. You’ll get something like:

Just click on the icon “Take a screenshot” to start the app. I’ll talk about the features a bit later.
The alternative is to use the shortcuts in the top bar. When you click on the icons in the top-right corner, you’ll get something like the image below, with a few shortcuts to the main settings:
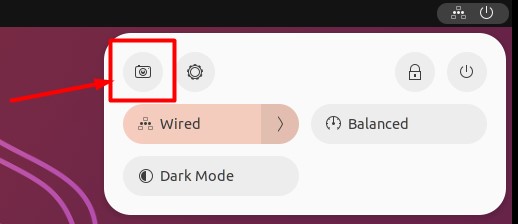
In the top-left corner of this pop-up, you have a camera icon, which will also start the application.
Note: If you’re not using the default desktop environment, it might be slightly different, but you should be able to quickly find the equivalent in the main menu (or by using the keyboard shortcuts I’ll list later).
Download your exclusive free PDF containing the most useful Linux commands to elevate your skills!
Download now
Features
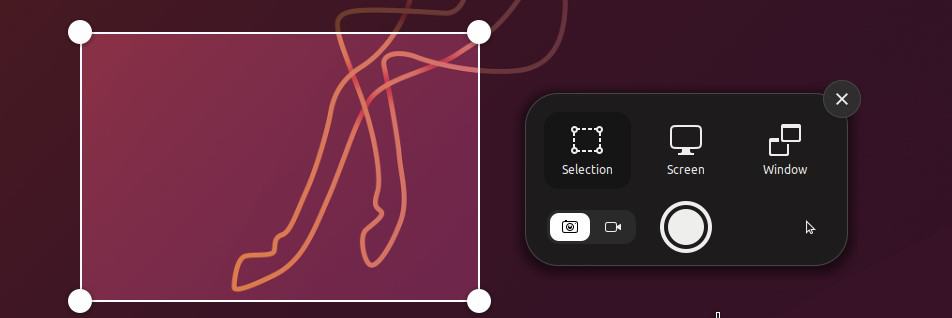
When you start the screenshot tool, you get an intuitive interface with a few options. Basically, you have the choice between three types of pictures:
- Selection: You’ll use your mouse to draw a square and select the area you want to capture.
- Screen: The whole screen will be saved into a file.
- Window: The tool will automatically select the currently active window, so you don’t have to select it or crop the full screen afterward.
After choosing an option, you can click on the rounded button to take the screenshot.
By default, the pictures are saved under Pictures/Screenshots in your home folder, while the videos are kept under Videos/Screencasts.

Join Our Community!
Connect, learn, and grow with other Raspberry Pi enthusiasts. Support RaspberryTips and enjoy an ad-free reading experience. Get exclusive monthly video tutorials and many other benefits.
Learn moreYou can switch between pictures and videos by clicking on the corresponding icon in the bottom-left corner of this tool. The capture icon is red when you’re in video recording mode.
And there is a tiny mouse icon in the bottom-right, which allows you to choose whether you want to capture the mouse pointer or not.
Keyboard shortcuts
The main shortcut to start the tool is the “Print” key on your keyboard.
Then you can use a few combinations to save time and directly run your desired feature.
Here are the main keyboard shortcuts (no need to have the tool started):
- Capture the current window: Alt+Print
- Capture the whole screen: Shift+Print
- Start/stop a recording: Shift+Ctrl+Alt+R
And if the tool is open, you don’t even have to use your mouse. You can use these keys instead:
- Select an area: “S”
- Capture the entire screen: “C”
- Capture the current window: “W”
- Toggle pointer on/off: “P”
- Toggle picture/video modes: “V”
Download your exclusive free PDF containing the most useful Linux commands to elevate your skills!
Download now
Best alternatives to take screenshots on Ubuntu
In most cases, the default application to take screenshots will be enough for most people. But if you have more advanced needs, I have two alternatives that might be interesting:
- Flameshot: includes way more features than the built-in tool.
- Scrot: if you need to take screenshots from the terminal (SSH, scripts, …).
Let’s see how they work.
Flameshot: all the features you need
Flameshot is a great tool to take captures on Linux, and it’s available on Ubuntu. It adds interesting features like drawing on the screenshot, adding text, flipping the image, etc. If you need more than the basic options, you’ll love it.
Download your exclusive free PDF containing the most useful Linux commands to elevate your skills!
Download now
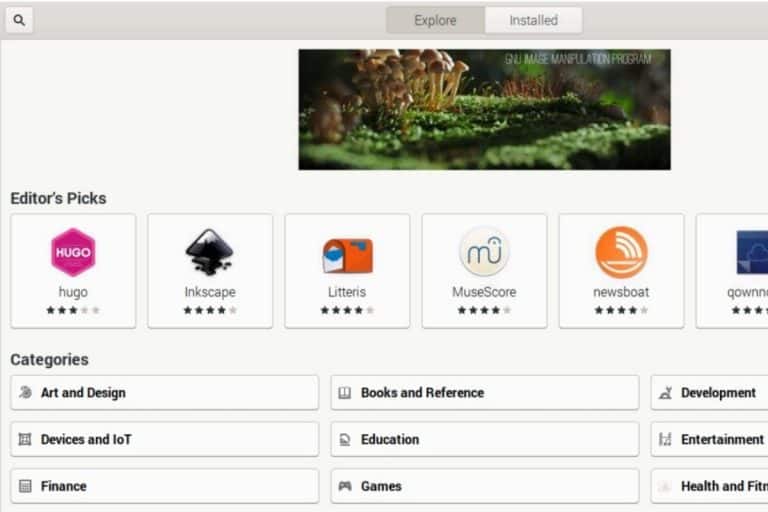
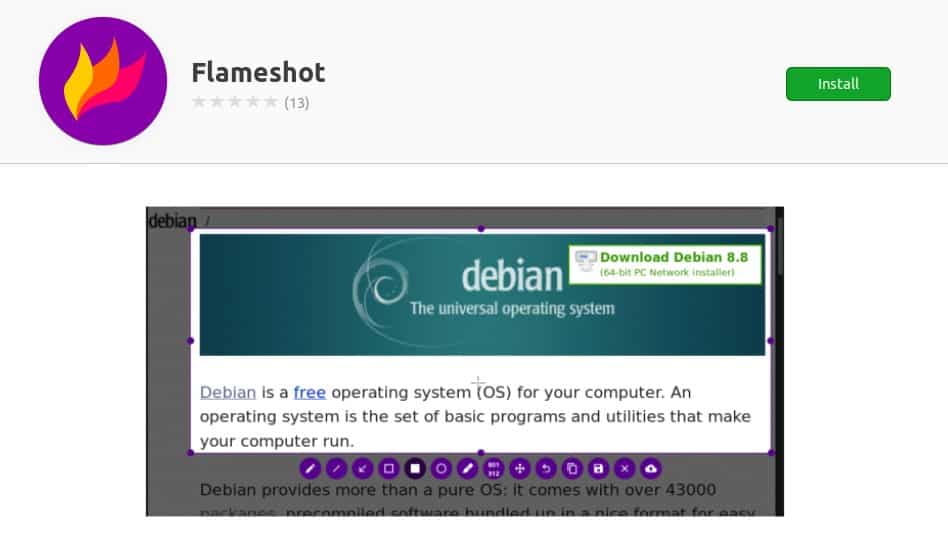
It’s not installed by default on Ubuntu, so you first need to install it. The easiest way is probably to use the Ubuntu software catalogue. Search for “Flameshot”, and click “Install” there:
You can also use APT to install it if you prefer. Open a terminal and type these commands:sudo apt update
sudo apt install flameshot
After the installation, you’ll directly find it in the main menu (search for “flameshot”).
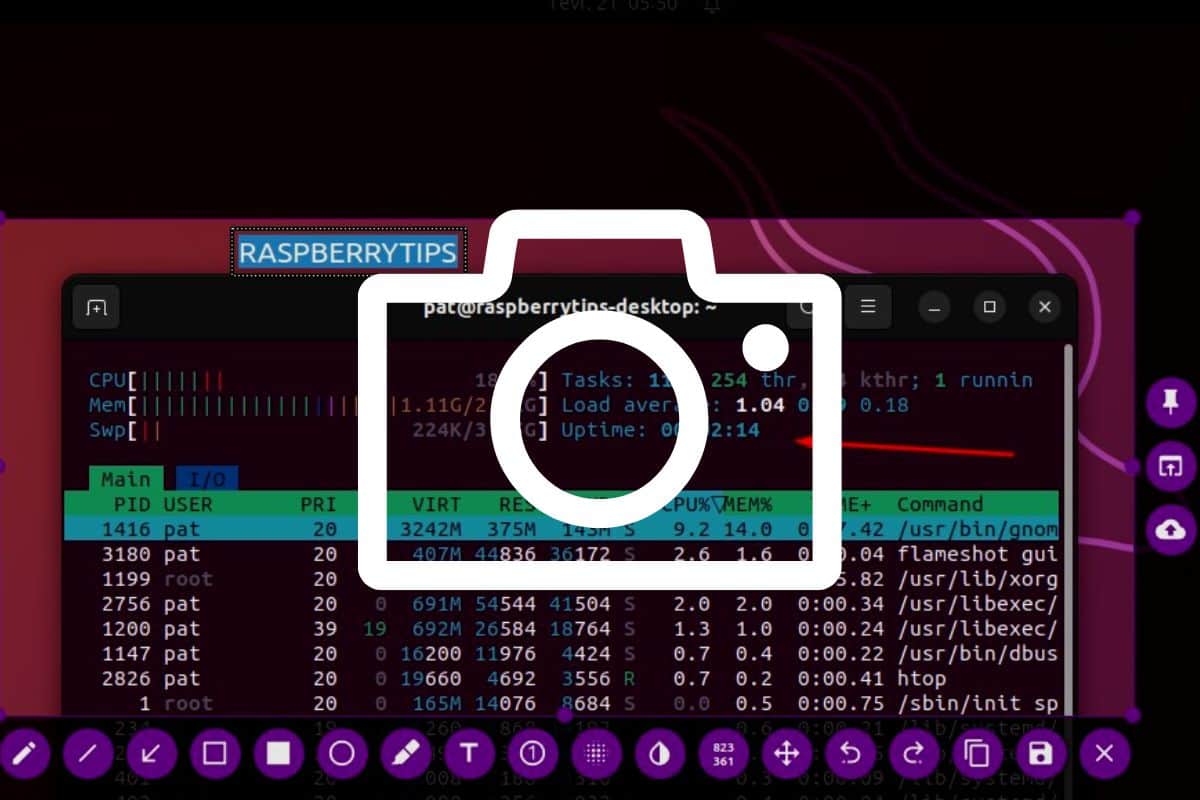
As you can see in the preview image, there are a ton of features built-it (the purple icons at the bottom). But the main strength of Flameshot is that you almost have an editing tool available while taking the screenshot.
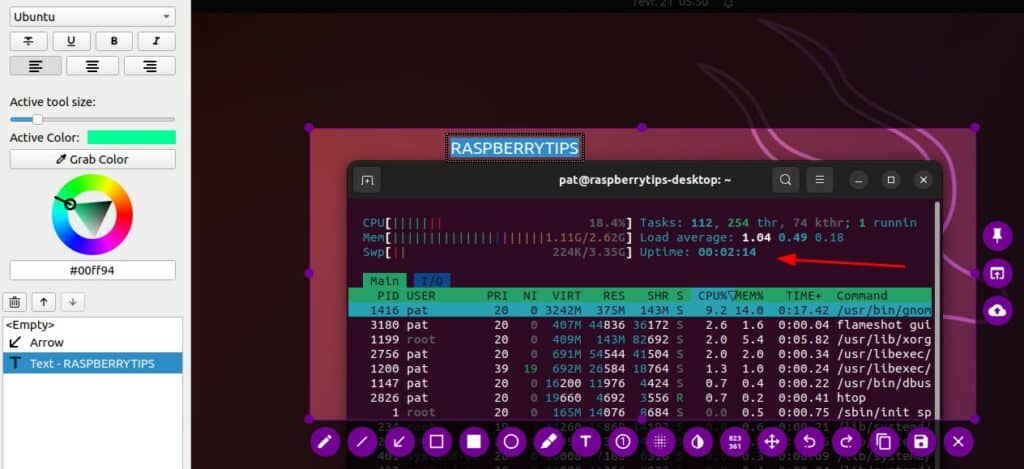
In this example, I can pick a font, size and color for the text or symbols I’m adding to the picture. If you are used to opening Gimp or any other editing tool to add things to your screenshots, you don’t need it anymore with Flameshot.
Almost everything is possible with this tool, and it’s not complicated. So, I highly recommend testing it, and in a few minutes, you’ll be up to speed and ready to use it in any real situation.
If you’re new to the Linux command line, this article will give you the most important Linux commands to know, plus a free downloadable cheat sheet to keep handy.
Scrot: the command line master
Scrot is a simple tool that is very powerful when you need to take screenshots from the command line on Ubuntu (and most other distributions).
Let’s say you are connected to a remote Linux server via SSH and want to see what’s on the screen. Well, none of the previous tools will help you, but Scrot can.
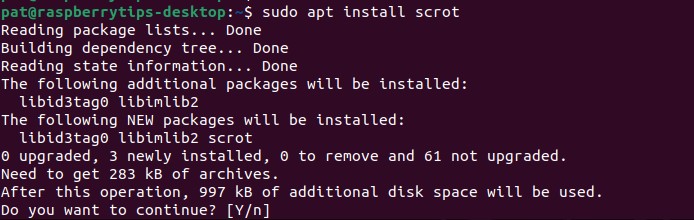
First, you need to install it on your system. On Ubuntu, it’s also available in the default repository:sudo apt update
sudo apt install scrot
If you are connected via SSH, you first need to tell which display you want to capture.
In most cases, you can set the DISPLAY variable to 0, as it’s the default option:export DISPLAY=:0
You don’t need to do this if you use the terminal directly on Ubuntu with a desktop environment.
Then, the basic syntax of Scrot is:scrot <image-file.jpg>
Here is an example:
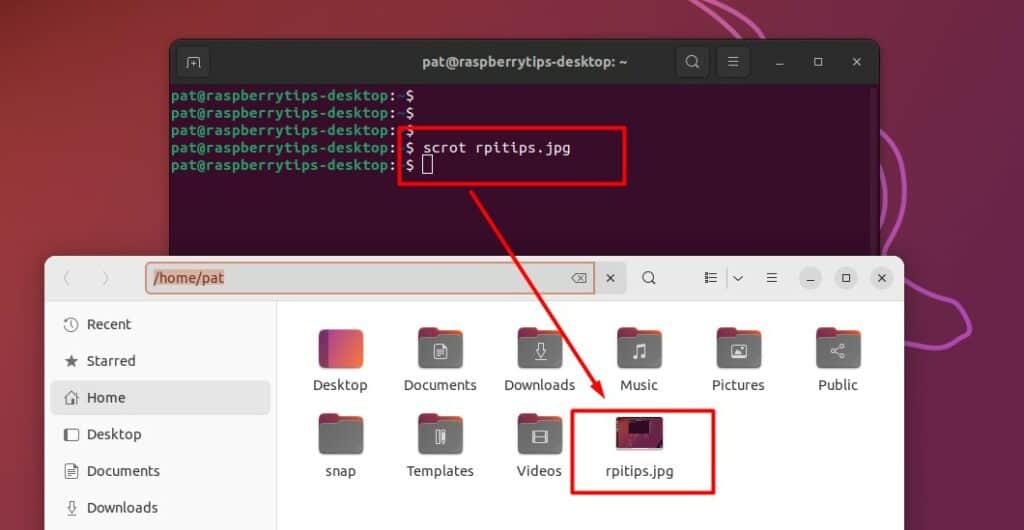
You can use this command from the Ubuntu environment directly, or most likely inside scripts or other applications where a screenshot can be useful.
I showed you the basic use of this command, but many options are available. You can use man to see a list of the features:man scrot
You can also check the online documentation on Unix.com.
Download your exclusive free PDF containing the most useful Linux commands to elevate your skills!
Download now
If you are looking for exclusive tutorials, I post a new course each month, available for premium members only. Join the community to get access to all of them right now!
Additional Resources
Overwhelmed with Linux commands?
My e-book, “Master Linux Commands”, is your essential guide to mastering the terminal. Get practical tips, real-world examples, and a bonus cheat sheet to keep by your side.
Grab your copy now.
VIP Community
If you just want to hang out with me and other Linux fans, you can also join the community. I share exclusive tutorials and behind-the-scenes content there. Premium members can also visit the website without ads.
More details here.
Need help building something with Python?
Python is a great language to get started with programming on any Linux computer.
Learn the essentials, step-by-step, without losing time understanding useless concepts.
Get the e-book now.