How To Install & Use Balena Etcher On Ubuntu (Easiest Way)
Balena Etcher is an interesting, free tool you can use to create bootable SD cards and USB drives. I constantly use it to test new operating systems on my Raspberry Pi, but you can also use it to install a new Linux distribution. It’s often easier to use than the alternatives (Rufus & co), so let’s learn how to install it on Ubuntu and other Debian-like distributions.
The easiest way to install Balena Etcher on Ubuntu is to add its repository to the APT sources, so that it can be installed as any other application, and kept up-to-date easily.
I will show you, at the end of the article, that you can also run it without installation by using the AppImage file available on their website, but it’s not really straightforward on the latest Ubuntu releases, so I wouldn’t recommend it.
Install Balena Etcher via APT on Ubuntu
Balena Etcher is a free tool, available on Windows, macOS, and Linux. When you go on the official website, they will offer the AppImage for Linux. I tested it, but I didn’t find it easy to use. Also, if you want to keep the app up-to-date, it’s better to add a repository and use APT.
That’s why I recommend following this procedure to install Balena Etcher on Ubuntu:
- Make sure curl is installed on your system:
sudo apt install curl - Download and run the installation script for Balena Etcher:
curl -1sLf 'https://dl.cloudsmith.io/public/balena/etcher/setup.deb.sh' | sudo -E bash - The script will download and install all the prerequisites for you, you don’t need anything else.

- It will add a new repository, so you only need to update APT and install the package with it after that.
- Start by updating the repositories with:
sudo apt update - And install the corresponding package with:
sudo apt install balena-etcher-electron
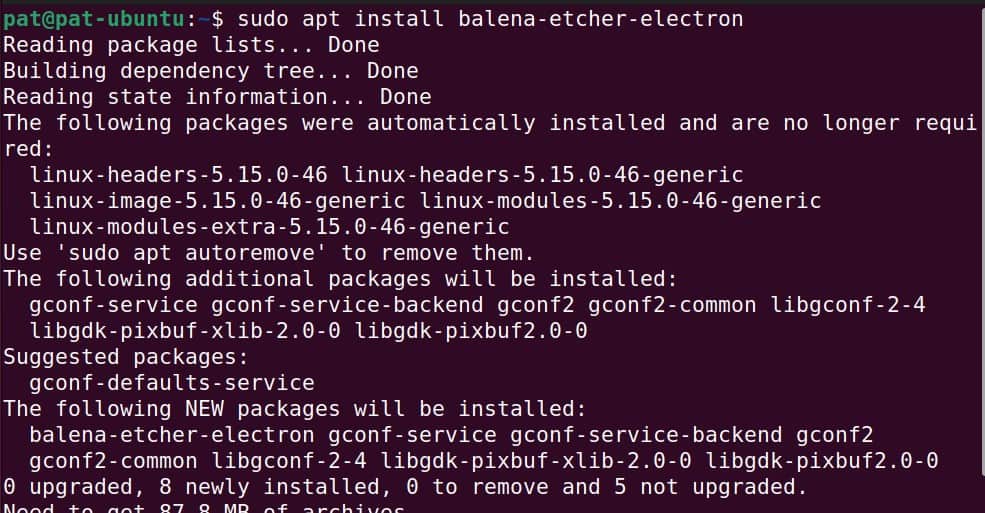
Once done, Balena Etcher will be available in the main menu, and it will be ready to use (check the next section for the instructions).
Download your exclusive free PDF containing the most useful Linux commands to elevate your skills!
Download now
By the way, it should work on most Debian-based distributions. So, you can follow the same steps, even if you are using Debian, Mint, Twister, or any alternative.
Note: This solution is currently not working on the latest Ubuntu release. On new versions, some deprecated packages have been permanently removed from the official repositories, including “gconf” that is still required for Etcher. The only workaround currently is to download the AppImage file manually from their website, as explained at the end of this tutorial.
Are you a bit lost in the Linux command line? Check this article first for the most important commands to remember and a free downloadable cheat sheet so you can have the commands at your fingertips.

Join Our Community!
Connect, learn, and grow with other Raspberry Pi enthusiasts. Support RaspberryTips and enjoy an ad-free reading experience. Get exclusive monthly video tutorials and many other benefits.
Learn moreHow to use Balena Etcher on Ubuntu
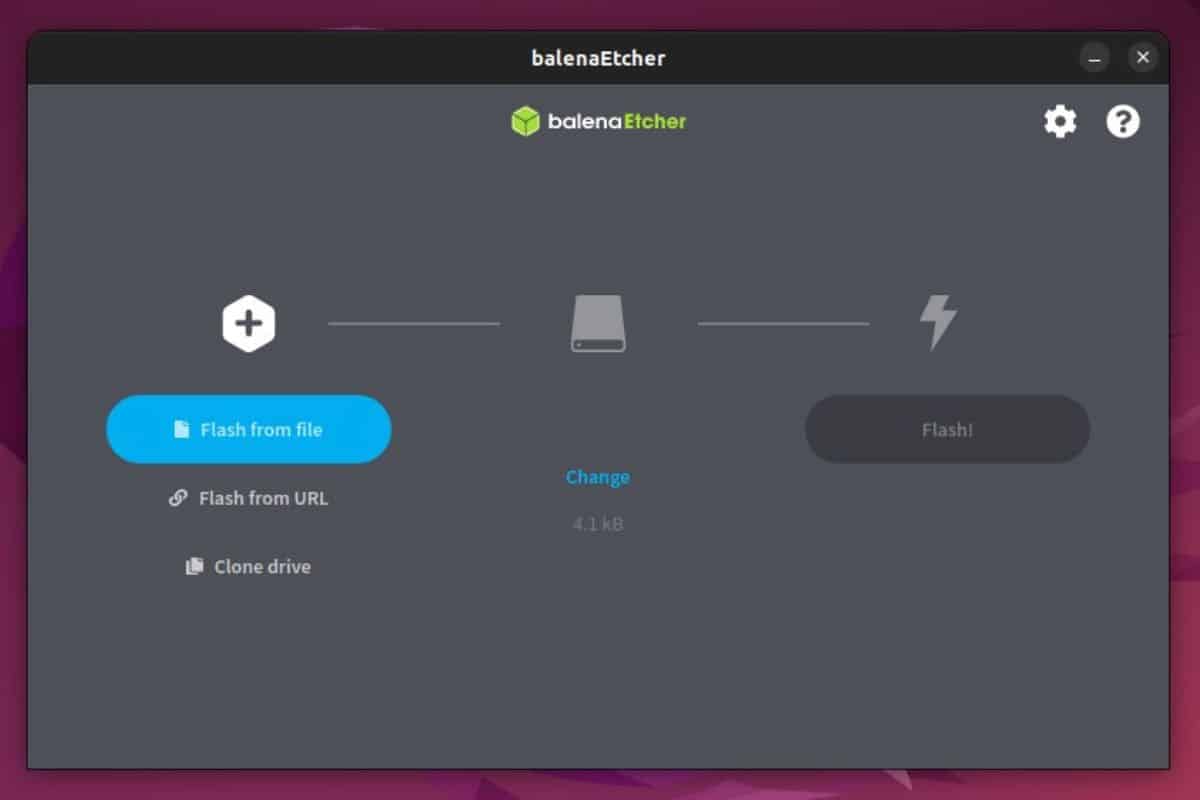
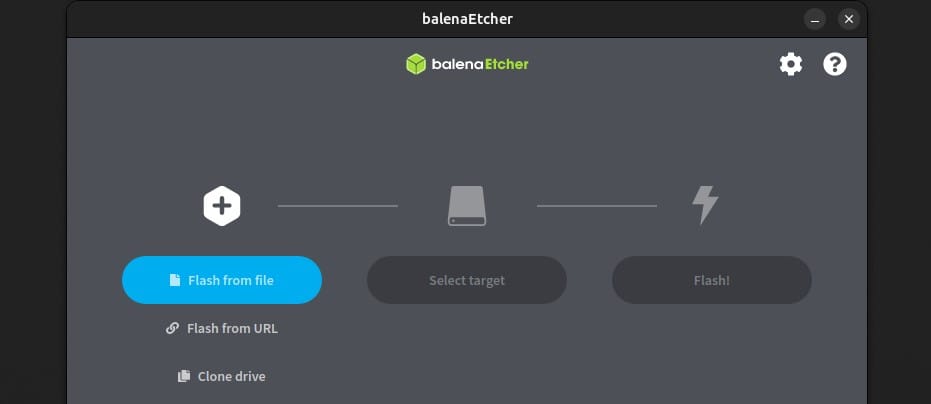
You can find the Balena Etcher in lightpad after installation. Open the applications list, and click on the Etcher icon to start it. You should get something like:
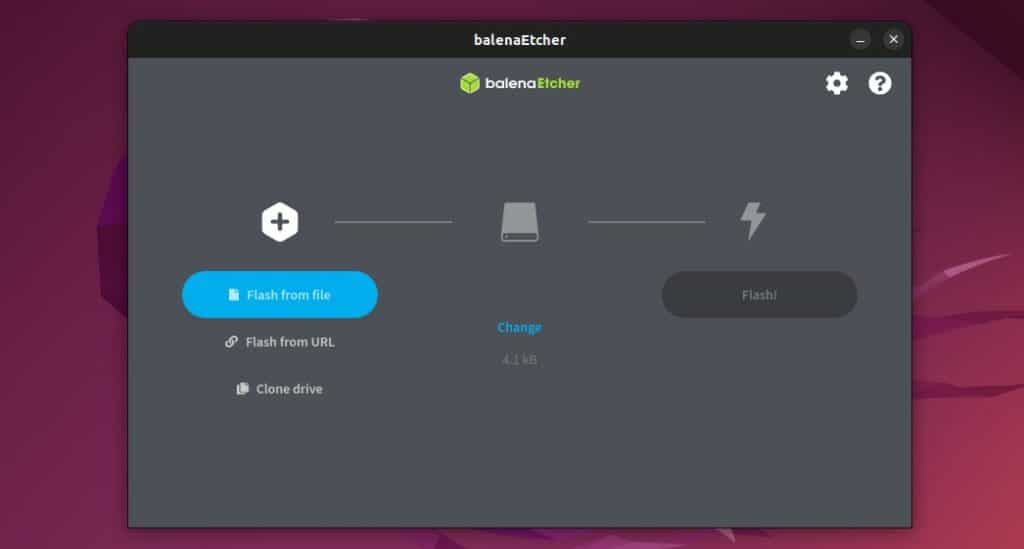
As I told you in the introduction, using Balena Etcher is straightforward. You have three main parts:
- On the left, you can choose the image you want to flash on your SD card or USB drive.
For example, click on “Flash from file” and browse to your downloads folder to use the latest Debian image, as on this screenshot:
- It will then unlock the second part, where you can select the target drive.
Plug your USB drive or SD card if you haven’t done it yet.
Click “Select target” if it doesn’t choose it automatically, and select your drive in the list. - Finally, you can click “Flash!” to start the installation.
Etcher will do everything for you (format, partition, copy the files, and verify the integrity).
And that’s it! If you are used to less intuitive tools, you’ll love this one.
As you can see on the first screenshot, you can also flash an image from a URL, but I don’t really see the point (more chances of failure in my opinion), or duplicate an existing drive (can be really useful to create full backups).
Download your exclusive free PDF containing the most useful Linux commands to elevate your skills!
Download now
Anyway, it isn’t very complicated once you have the correct procedure. But as I lost a ton of time trying the method they push on their home page, I will share with you how to make it work without installation.
Run Balena Etcher without installation on Ubuntu
I always thought that using Balena Etcher on Ubuntu would be as straightforward as on Windows: download, install, and ready-to-go.
Well, they don’t have a snap or a deb package, but they only offer an AppImage. In theory, it should work fine, but they didn’t use the latest FUSE version to build it, so it doesn’t work right away on the current Ubuntu release.
If they haven’t fixed it yet, before you read this, here is what I did to make it work:
- Go to the main website, and download the AppImage file.
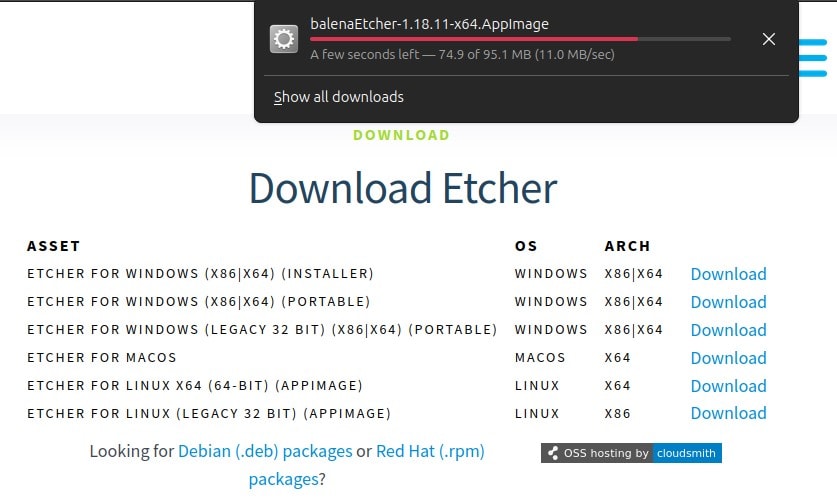
Take the one corresponding to your system architecture (probably x64). - You need to adjust the file permissions before you can run it.
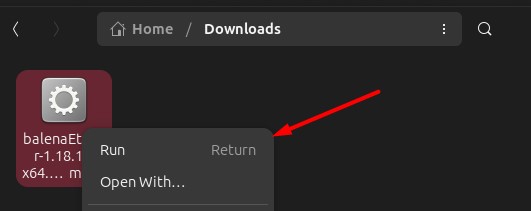
Got to the Downloads folder, do a right-click on the file, and select Properties.
Then check the box “Executable as Program”: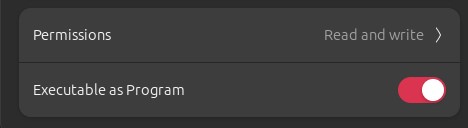
- If you are lucky, you can then double-click on the AppImage file to start it, or do a right-click and choose “Run”.
But in my case, it didn’t work. When I tried from a terminal, I got an error about a missing package: FUSE2. Etcher is still using FUSE 2, while Ubuntu includes FUSE 3 by default, so it doesn’t work directly.
If you get the same error, you need to install this package to make it compatible with your system:sudo apt install libfuse2Then try again.
It finally worked. You can then follow the previous section to use Balena Etcher on your Ubuntu system.
Note that you can now easily install Raspberry Pi Imager on Ubuntu, which does the same thing, and is even better if you flash SD cards for a Raspberry Pi.
Download your exclusive free PDF containing the most useful Linux commands to elevate your skills!
Download now
Related questions
How to uninstall Balena Etcher on Ubuntu?
If you installed Balena Etcher with the script, you can remove it from your computer with APT:sudo apt remove balena-etcher-electronAnd then remove the repository with:sudo rm /etc/apt/sources.list.d/balena-etcher.list
To completely remove any trace, you’ll also need to do:sudo rm -rf /var/lib/apt/lists/*
sudo apt clean
sudo apt update
How to install Balena Etcher on Fedora?
There is a similar procedure you can use with Fedora, using a DNF repository instead of APT.
Here is the command line:
curl -1sLf \
'https://dl.cloudsmith.io/public/balena/etcher/setup.rpm.sh' \
| sudo -E bash
You can find the corresponding procedures for Red Hat, OpenSuse, or even Manjaro on their GitHub page.
Download your exclusive free PDF containing the most useful Linux commands to elevate your skills!
Download now
Reminder: Remember that all the members of my community get access to this website without ads, exclusive courses and much more. You can become part of this community for as little as $5 per month & get all the benefits immediately.
Additional Resources
Overwhelmed with Linux commands?
My e-book, “Master Linux Commands”, is your essential guide to mastering the terminal. Get practical tips, real-world examples, and a bonus cheat sheet to keep by your side.
Grab your copy now.
VIP Community
If you just want to hang out with me and other Linux fans, you can also join the community. I share exclusive tutorials and behind-the-scenes content there. Premium members can also visit the website without ads.
More details here.
Need help building something with Python?
Python is a great language to get started with programming on any Linux computer.
Learn the essentials, step-by-step, without losing time understanding useless concepts.
Get the e-book now.