How to Install Raspberry Pi Imager on Ubuntu (Full Guide)
Raspberry Pi Imager is now a must-have for any Raspberry Pi user. It allows us to flash a new system to an SD card in seconds, by simply picking the system from a list. It’s available for Ubuntu, and in this article, I’ll show you how to get the most out of it.
Raspberry Pi Imager is now available in the default Ubuntu repository, and so can be installed on recent Ubuntu releases in a few clicks. It’s listed in the “Ubuntu Software” tool, or available via the package manager (APT).
In this article, I’ll guide you through the installation (which is pretty straightforward), but most importantly, I’ll also guide you through the first steps of using this great tool, and the hidden options you should know about.
How to install Raspberry Pi Imager on Ubuntu
There are basically two main ways to install Raspberry Pi Imager on Ubuntu: you can either use the package manager (Ubuntu Software or APT) or you can download it from the official website. While using the website may sometimes offer a more recent version, using the repository is faster and should stay up-to-date after an update.
Recommended: Use Ubuntu Software
As Raspberry Pi Imager is now available in the default repository, the easiest way to install it on Ubuntu is to use “Ubuntu Software”:
- Open “Ubuntu Software” from the shortcuts in the left menu.
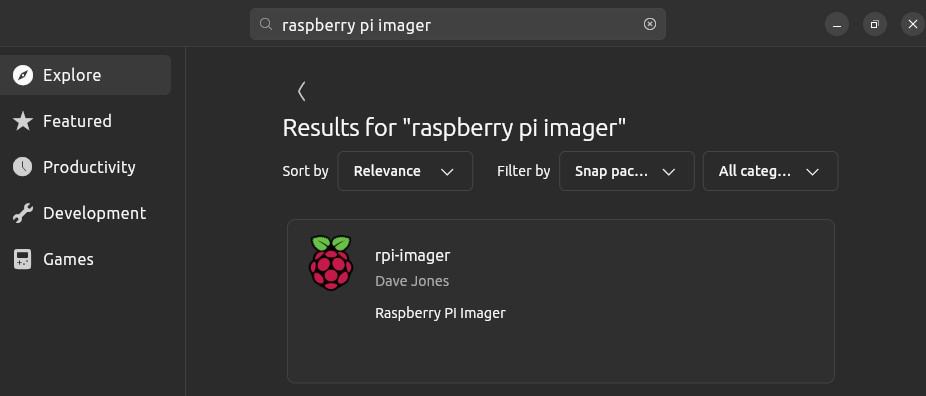
- Search for “raspberry pi imager” and you should find it easily in the first results:
- You can then install it in one click, as with any other application listed here.
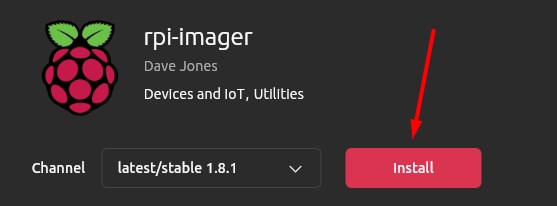
- It will ask for your password to confirm the installation, and a few seconds later, the app will be available in your applications list.
Alternatives: APT or manual installation
With APT
If you prefer the command line, Raspberry Pi Imager is available in the default repository on Ubuntu, and can be installed with:sudo apt install rpi-imager
Manual installation
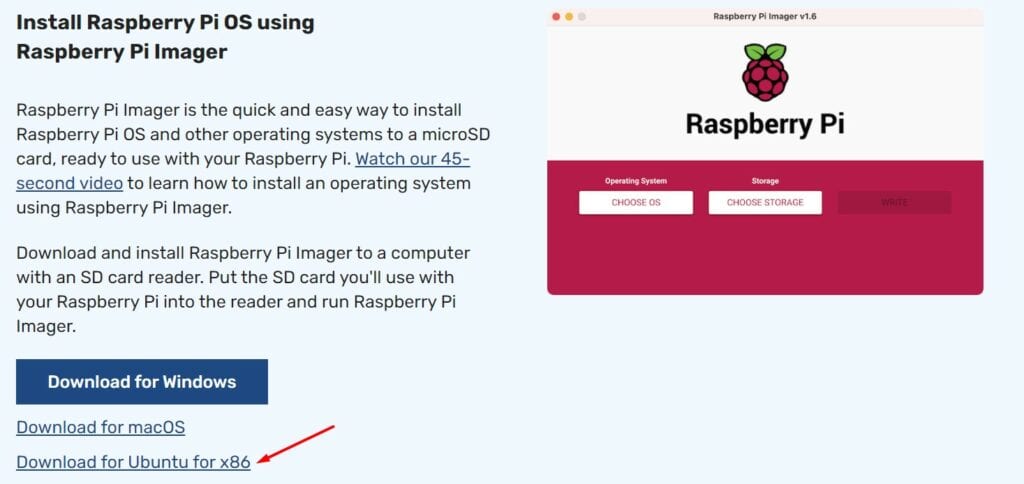
If for any reason, the previous methods don’t work, or if you want to get the latest version available, you can also visit the official website’s download page, and get the latest package for Ubuntu.
Download your exclusive free PDF containing the most useful Linux commands to elevate your skills!
Download now
Once downloaded, you can double-click on the file to install the package, or use this command:sudo dpkg -i imager_latest_amd64.deb
If you’re new to the Linux command line, this article will give you the most important Linux commands to know, plus a free downloadable cheat sheet to keep handy.

Join Our Community!
Connect, learn, and grow with other Raspberry Pi enthusiasts. Support RaspberryTips and enjoy an ad-free reading experience. Get exclusive monthly video tutorials and many other benefits.
Learn moreHow To Use Raspberry Pi Imager
Once Raspberry Pi Imager is installed, it can be used to flash any operating system to an SD card or a USB drive. Some operating systems are directly supported and can be installed in one click. And the other operating systems can be flashed by using a custom image.
Flash an operating system from the list
The basic use of Raspberry Pi Imager is to flash a system available in the “OS List”. Here is how to do this:
- The default view of Raspberry Pi Imager looks like this:
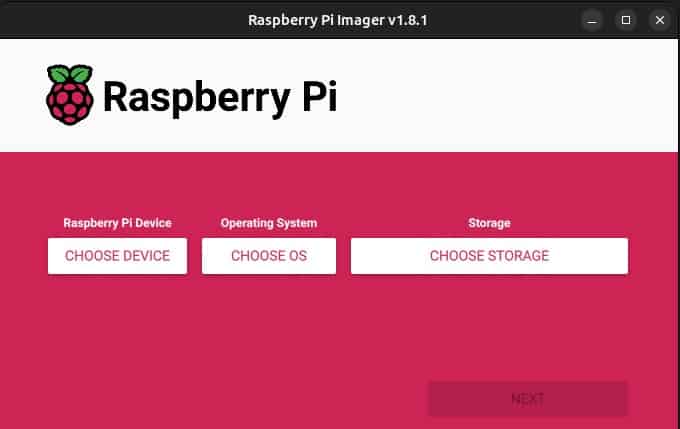
- There are three buttons:
– “Choose Device”, where you can filter the operating systems list depending on the device you use (optional)
– “Choose OS”, where you’ll get the OS list I’m talking about.
– “Choose storage”, to select the support you’ll use for your new setup.
– “Next”, to continue the process. - Optional: click on “Choose device” to filter the systems list:
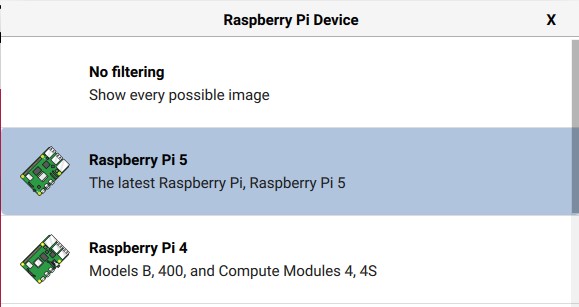
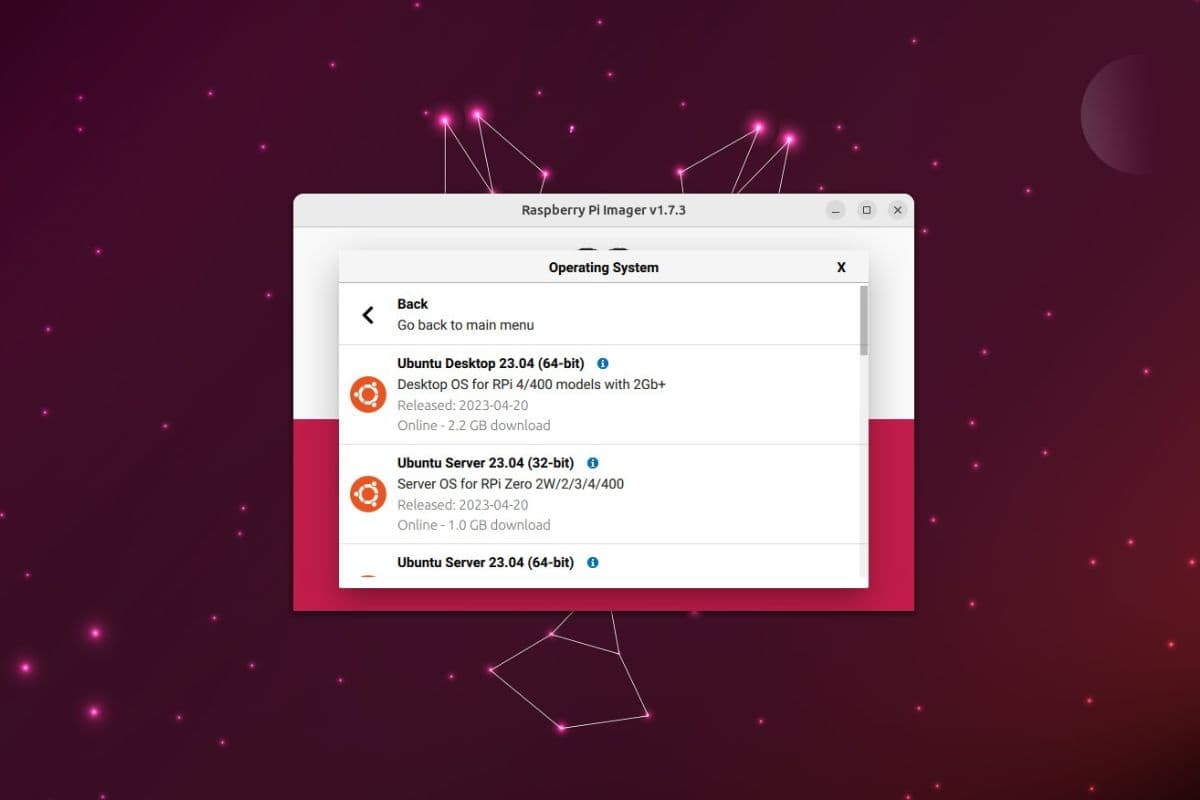
If I pick “Raspberry Pi 5”, I will only see compatible systems in the next step. But if you are using Imager for a PC, or want to see everything, just keep the default (“No filtering”). - Click on “Choose OS”, and a menu like this will show up:
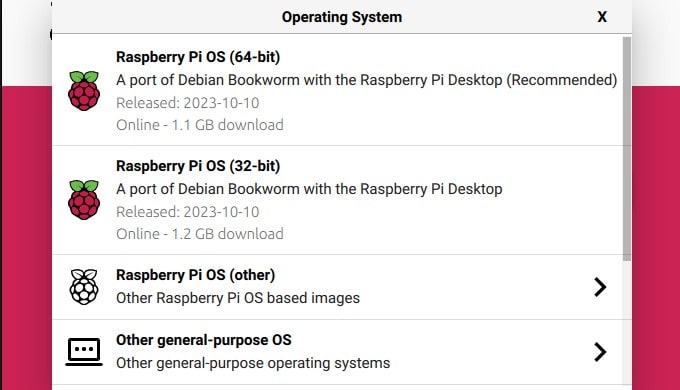
On the first line, you have Raspberry Pi OS with Desktop (64-bit version), which you’ll probably use most of the time if you have a recent Raspberry Pi. But then, you can also browse the different submenus to find other operating systems that are supported by this tool.
For example, in Raspberry Pi OS (other), you’ll find all the other versions of Raspberry Pi OS (64-bit, Legacy, without a desktop, etc.). In “Other general-purpose OS”, you’ll find well-supported distributions like Ubuntu or Manjaro, with all submenus for their different flavors.
These are all images for usage on a Raspberry Pi, if you plan to use Raspberry Pi Imager for a traditional computer, jump to the next section in this article: “Flash a custom image”. - To continue this example, let’s click on “Raspberry Pi OS (32-bit)”.
The menu will close, and you can move to the next step. - Insert the media you’ll use to install your new system.
It can be an SD card if you have an SD card reader (integrated or via a USB adapter like this one), a USB drive (like the flash disk I use all the time or even an SSD plugged into the computer via USB). - Click on “Choose Storage” and pick the corresponding drive from the list.
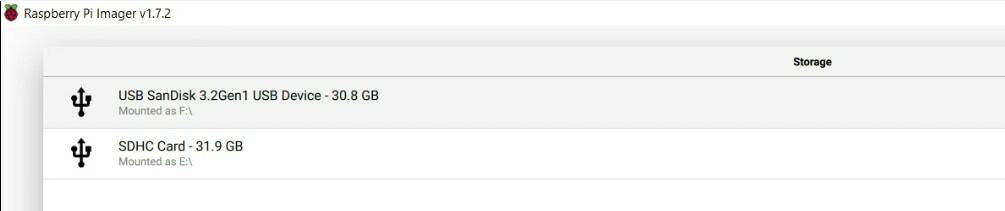
Make sure not to select media storage that you use for something else (the one used for the current OS is hidden, but if you have a backup drive or anything like that it may be listed there). - Once done, click on “Next”.
You’ll be prompted to use OS customization options if the system is supported.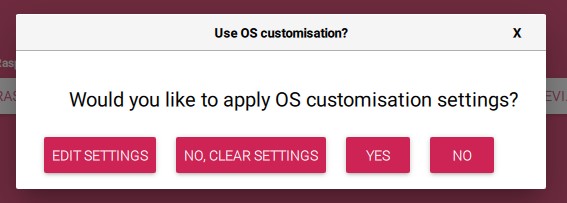
It allows you to set default settings directly before the first boot (default username and password, enable SSH, change the hostname, etc.). More about this later. - The flashing process will then start, the storage will be formatted, and all system files copied to it.
The installation will take a few minutes. It may take more time if you are flashing a specific image for the first time or if you have a slow internet connection.
That’s because Raspberry Imager will first download the image from the system maintainer and then flash it onto your media storage. The second time you flash the same image, it will already be cached on your disk and will be installed faster (no download required).
It will be mentioned under the image name if the file is already cached on your computer:

Flash a custom image
But Raspberry Pi Imager is not limited to the OS list and can be used to flash any image (whether it’s for a Raspberry Pi or a normal PC).
Download your exclusive free PDF containing the most useful Linux commands to elevate your skills!
Download now
It’s not because a distribution or architecture is not listed that you can’t use Imager to create bootable media with it.
For example, if you have downloaded an image manually from the official website of any distribution, you can also use Raspberry Pi Imager:
- Click on “Choose OS”.
- Then, select “Use Custom Image” at the bottom of the list.

- A window will show up, asking you to pick the image you want to use.
All file formats are supported, you don’t even need to extract the file if the system image is compressed. - Then follow the same steps previously mentioned, picking the media you intend to use and clicking on “Write” to start the installation.
Download your exclusive free PDF containing the most useful Linux commands to elevate your skills!
Download now
Raspberry Pi Imager advanced options
Since this tool was first released, the Raspberry Pi Foundation has remained focused on its development and has continued adding new features regularly.
Raspberry Pi Imager continues to improve with each new release, and I have no doubt that it will become the new standard, as the alternatives are not adding new features at all.
Let’s take a look at some interesting features you can already try with Raspberry Pi Imager.
Special features available in the OS list
You may have noticed that the OS list not only includes Linux distributions but also other tools:
- Misc utility images: In this subsection, you’ll find ways to update and change the bootloader on your Raspberry Pi, without having to install Raspberry Pi OS first. This can be useful if you want to switch from SD to USB boot or if you intend to try the new network boot feature on your Raspberry Pi.
You’ll also find PINN OS there, which is a great tool for multi-boot (more details here). - Erase: Quickly format your SD card or USB drive with this feature. You could also use Gparted as explained here, but Raspberry Pi Imager has this feature built-in.
OS Customization
Last, but not least, if you use this tool for a Raspberry Pi, you can pre-configure your system before the first boot with the advanced options available for some distributions (especially for Raspberry Pi OS and Debian-based distributions).
With the latest version of Raspberry Pi Imager, it’s pretty hard to miss these options, but let’s take a moment to explain what it i and why you should use them.
After picking the distribution from the OS list and the storage device, you’ll get an invitation message to edit the OS options (for supported systems only).
By accepting to edit them, you can set up the default settings for your new system. For example, you can create the first user and password (which is now a mandatory step on new installations), enable SSH or change the localization options (keyboard layout and time zone).
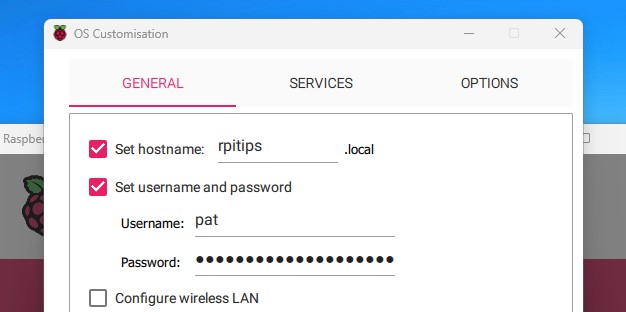
I encourage you to use this feature, especially if you regularly flash Raspberry Pi OS again and again. Personally, I do it almost every day, and I save a lot of time by filling out this form. You can choose to apply these default settings when selecting “to always use” in the dropdown menu at the top of the form.
If you set a username and password (don’t use “pi”), it’ll skip the first boot wizard that has been added for security reasons in the latest versions.
This is particularly useful for a headless installation of a Raspberry Pi, but can save you time in most cases.
Download your exclusive free PDF containing the most useful Linux commands to elevate your skills!
Download now
If you are looking for exclusive tutorials, I post a new course each month, available for premium members only. Join the community to get access to all of them right now!
Additional Resources
Overwhelmed with Linux commands?
My e-book, “Master Linux Commands”, is your essential guide to mastering the terminal. Get practical tips, real-world examples, and a bonus cheat sheet to keep by your side.
Grab your copy now.
VIP Community
If you just want to hang out with me and other Linux fans, you can also join the community. I share exclusive tutorials and behind-the-scenes content there. Premium members can also visit the website without ads.
More details here.
Need help building something with Python?
Python is a great language to get started with programming on any Linux computer.
Learn the essentials, step-by-step, without losing time understanding useless concepts.
Get the e-book now.