How To Install Minecraft Forge On Linux? (Illustrated Guide)
Minecraft Forge is an unofficial extension to the Minecraft game, allowing you to install mods to add new features in your game, or simply change them. As a Minecraft fan and Linux user, it’s often difficult to find help on the official websites. This is why I’m writing this article – I’ll explain all the steps to install Forge on your computer.
Overall, the easiest way to install Minecraft Forge is to download the Java installer from the official website. If Minecraft and Java are installed and configured correctly, a new profile will be added to the Minecraft launcher.
If all of this is still unclear for you, don’t worry, I’ll explain everything in detail now, and add pictures for each step so that you can compare it with what you get on your PC.
Prerequisites to install Minecraft Forge on Linux
Before trying to install Minecraft Forge on your Linux distribution, you need to have Java and Minecraft installed already.
The Java runtime is probably already installed if you use a modern system. For example, you get it when you install LibreOffice. You’ll need it for Minecraft anyway.

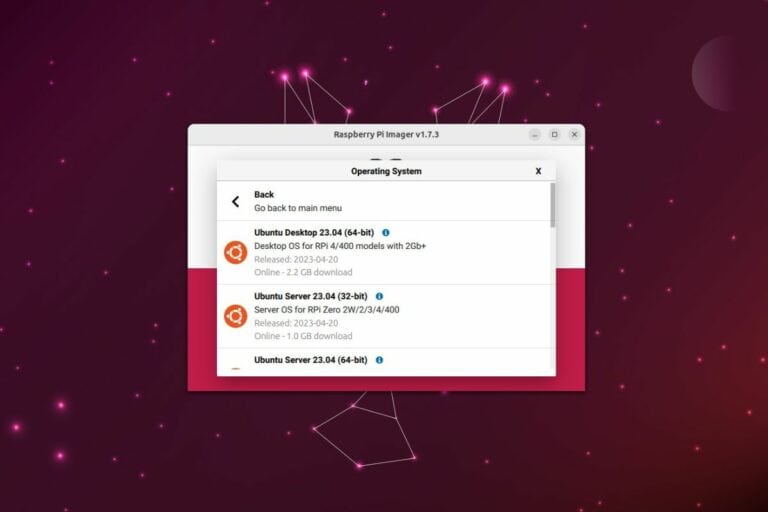
To install Minecraft, go to the Mojang website and log in with your Microsoft account. In the downloads section, they will offer a few options for Linux users. I’m testing this tutorial for you on Ubuntu, so I downloaded the DEB version and installed it with the default software manager.
Nothing complicated here, but just make sure you have your Minecraft launcher installed and running before trying to install Forge.
Minecraft Forge Installation on Linux
Here are the required steps to install Minecraft Forge on Linux:
Download your exclusive free PDF containing the most useful Linux commands to elevate your skills!
Download now
- Download Minecraft Forge for Linux from the official website.
- Run the Java installer to add it to your Launcher.
- Start a new game and select Minecraft Forge in your profiles list.
You get the idea, I will now explain each step in detail.
Download Minecraft Forge for Linux
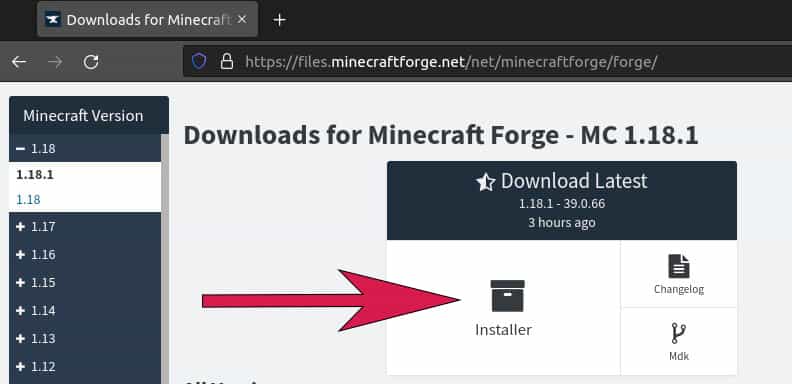
Open the official website for Minecraft Forge (click here). By default, the latest stable version available will show up. At the time of writing, it’s 1.18.1. Make sure it’s the one you want to install. You can use the left menu to use another version.
Once the correct version is selected, click on “Installer” to download the Java installer on your PC:
You’ll be redirected to an ad page that you can skip after 5 seconds. Wait a few seconds to get the installer on your computer, and move to the next step once ready.

Join Our Community!
Connect, learn, and grow with other Raspberry Pi enthusiasts. Support RaspberryTips and enjoy an ad-free reading experience. Get exclusive monthly video tutorials and many other benefits.
Learn moreMinecraft Forge Installation
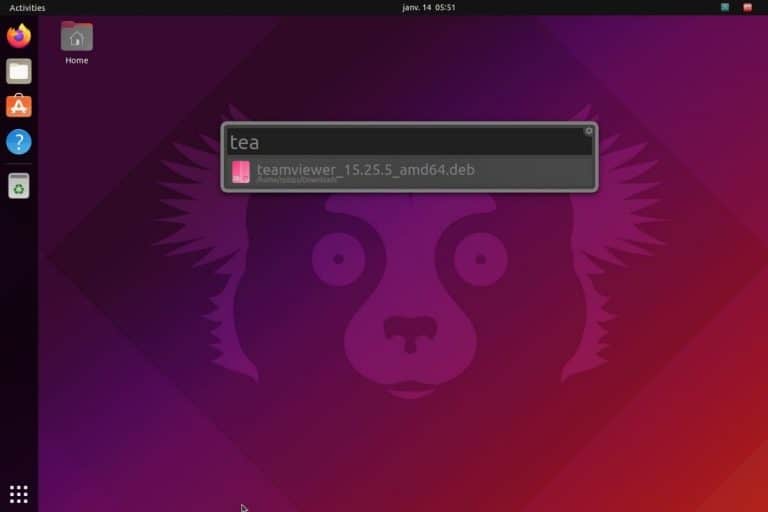
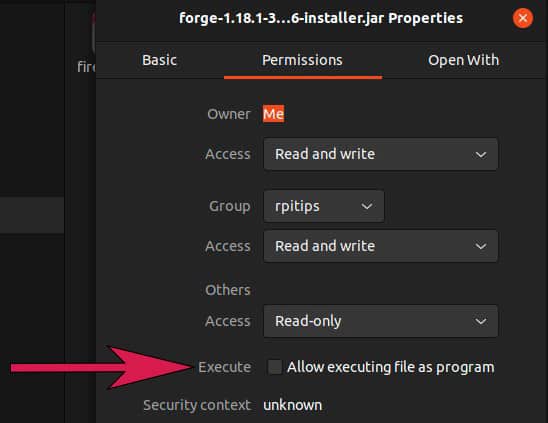
Once the Minecraft Forge installer is downloaded, you’ll probably need to add the execution permission before running it. Go to your downloads folder, right-click on the files and open the properties tab.
Check the execution box in the permissions tab:
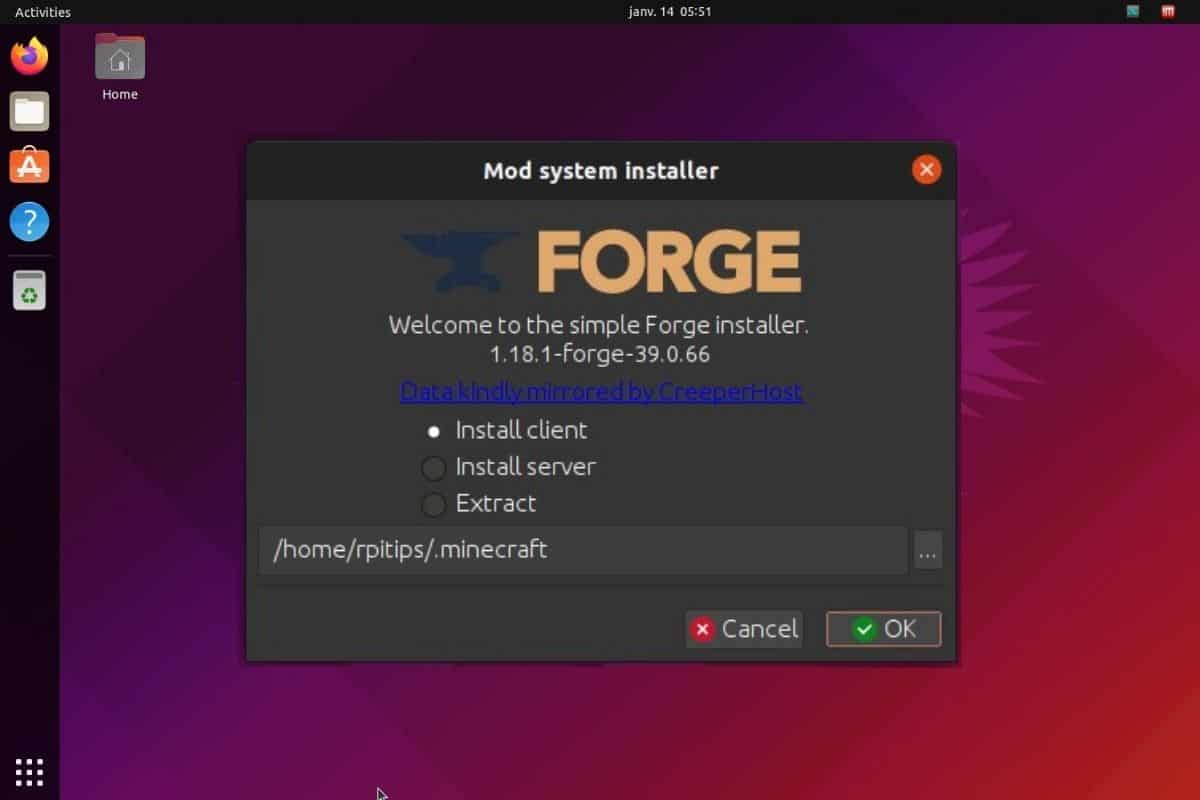
After doing this, you can just double-click on the file to start the installation process. The Minecraft Forge installation wizard will show up, and ask if you want to install the client or the server version:
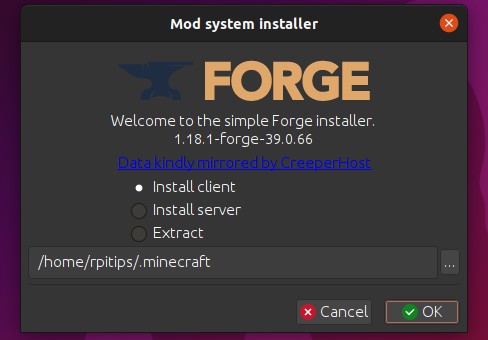
I suppose that most of you reading this are here to get the client, so keep the default value. If you want to install both, you will need to run the installer twice. The installer will automatically locate your Minecraft installation folder. Just make sure to change it if you have several installations on your computer, and it didn’t locate the one you would like to use with Forge.
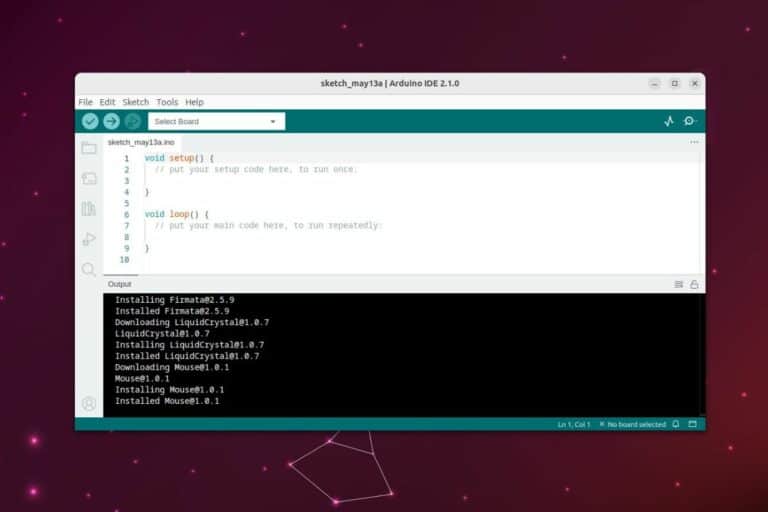
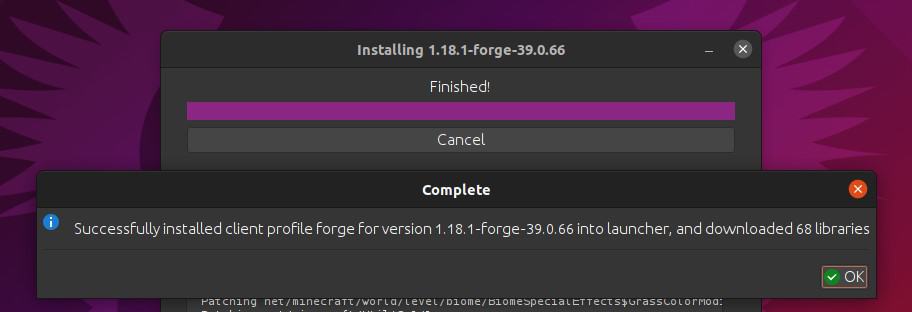
The installation will start when you click on “OK”. There is nothing much to do during the installation, just wait for the success message:
First game with Minecraft Forge
The last step, once Minecraft Forge is installed, is to tell the Minecraft Launcher to use it. During the installation, the Minecraft Forge installer should have added a new profile in your Minecraft Launcher. Start your Minecraft launcher and check the profile list on the left:
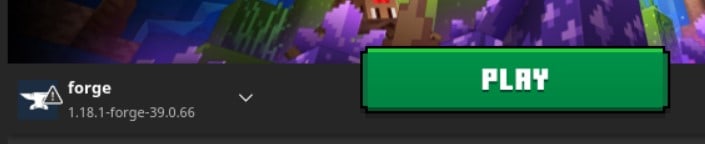
As you can see, in my case, Forge is selected by default with the version I just installed. I now just need to click on “Play” to start Minecraft with Forge. You may get a warning message, explaining that the game has been modified, just check the box to accept it.
Download your exclusive free PDF containing the most useful Linux commands to elevate your skills!
Download now
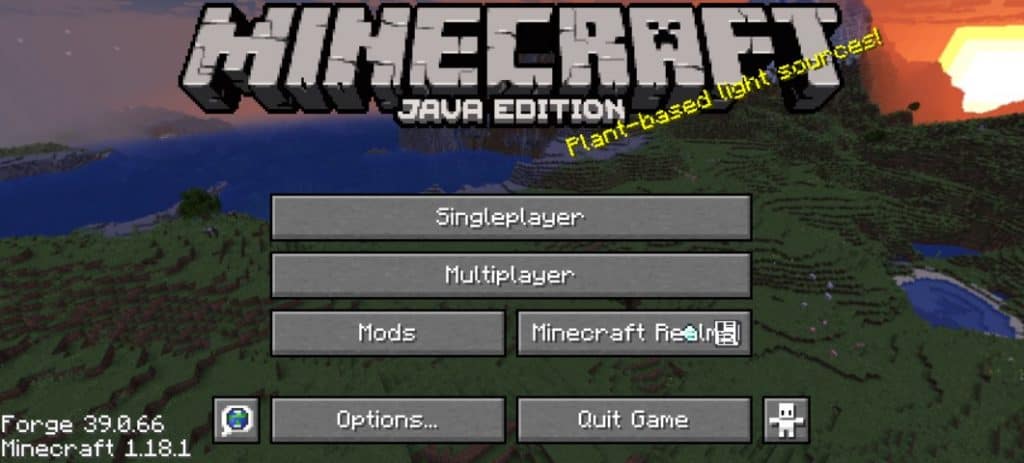
Your launcher may download files again, and start Minecraft as usual. The main screen might be slightly different, with mentions of Forge being used:
How To Use Minecraft Forge On Linux
Installing Forge on your Linux system is nice, but it doesn’t do anything if you are not adding any mods after that. If you are not used to this, I’ll now explain where to find mods and how to install them.
Each mod will have a specific goal, for example adding a new feature to the game or enhancing your gameplay in some way. For example, the mod “Just Enough Items”, will allow you to view a list of items and recipes in your inventory.
Let’s see how to install it.
Downloads mods
The next step once Minecraft Forge is installed and tested is to download the mods you were interested in in the first place. You’ll find them online everywhere, it can be on a developer website, on “best mods” articles, etc.
The easiest way to find and download mods for Minecraft Forge is to visit CurseForge. They have an inventory of the most popular mods, where you can filter by game version, popularity, and more.
- Open Curseforge in your web browser.
- Use the filter the pick a specific game version (1.18.1 in my case).
- Click on Download to get the corresponding file to your computer.
Beware though, Minecraft Forge is not the only option, and some mods are not available for it. Another way to find compatible mods is to use “Forge” in the game version list. And then, before downloading a mod, check if the game version you want is available (the last update date can help for this).
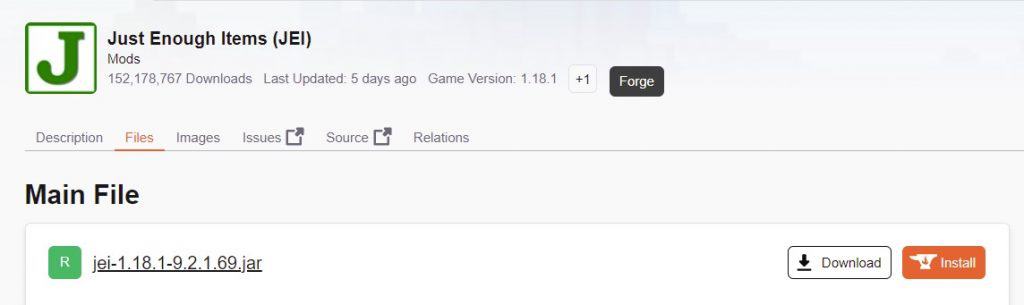
On this page, I can see that the mod is available for the game version 1.18.1, and when hovering the “+1” icon, it’s a Forge mod. I get it, it’s not very intuitive, but that’s the best we have :-).
Install a new mod
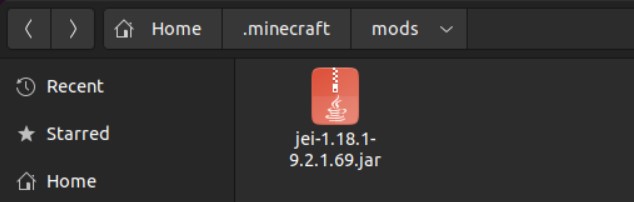
Once the file is on your PC, you need to copy the mod file under your Minecraft installation folder, in the “mods” directory.
The Minecraft default installation is under a “.minecraft” folder in your home directory. You may need to use “CTRL+H” to display the hidden files. Open it and paste the downloaded file in the “mods” folder:
Restart your Minecraft Launcher and click on “Play” (making sure Minecraft Forge is still selected as your default profile). The main menu will slightly change, showing one more mod loaded, and you can click on the “Mods” button to make sure the new mod is installed:
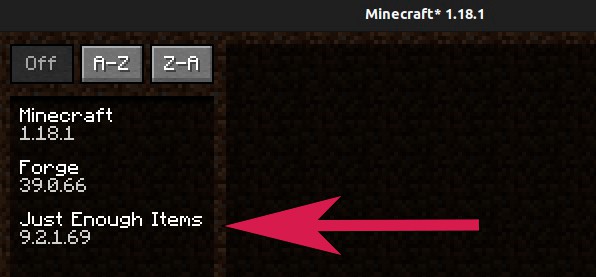
Obviously, you’ll also see the difference in your game. For example, Just Enough Items adds new things to the user interface, so you can’t really miss it while playing. Some mods have additional options in the configuration menu, others can be more discreet if they just add something in your games that can’t really be configured (like new ores or whatever).
Update an existing mod
There is no magical procedure to update existing mods on a Minecraft Forge installation. You need to follow the same process as for the installation. Download the new version from CurseForge or from the developer website and put it under the mods folder, replacing the old version.
Minecraft Forge may notify you when a new version is available, but you’ll generally update them when a new Minecraft version is released, I think.
Make sure to back up your save games and mods list before doing this. You can’t really know beforehand if the update will break your game, or change too many things in it, especially with mods altering the world generation.
Download your exclusive free PDF containing the most useful Linux commands to elevate your skills!
Download now
Minecraft Forge FAQ
How to install Optifine on Linux?
Optifine is one of the most popular mods for Forge. It can be downloaded from the official website. Then, put the files in the “mods” directory and restart the Minecraft launcher, using the Forge profile, to have Optifine enabled on your Linux system.
If you want to try a vanilla Minecraft server, you can find my guide to install it on Linux here: Hosting A Minecraft Server On Debian: The Ultimate Guide
Download your exclusive free PDF containing the most useful Linux commands to elevate your skills!
Download now
Want to chat with other Raspberry Pi enthusiasts? Join the community, share your current projects and ask for help directly in the forums.
Additional Resources
Overwhelmed with Linux commands?
My e-book, “Master Linux Commands”, is your essential guide to mastering the terminal. Get practical tips, real-world examples, and a bonus cheat sheet to keep by your side.
Grab your copy now.
VIP Community
If you just want to hang out with me and other Linux fans, you can also join the community. I share exclusive tutorials and behind-the-scenes content there. Premium members can also visit the website without ads.
More details here.
Need help building something with Python?
Python is a great language to get started with programming on any Linux computer.
Learn the essentials, step-by-step, without losing time understanding useless concepts.
Get the e-book now.