
Programming the Sense HAT on Raspberry Pi with Python
The Sense HAT is one of my favorite Raspberry Pi accessories. It allows you to play with the Raspberry Pi and Python in a fun way, with different sensors and a nice LED matrix to display things on. In this tutorial, I’ll show you everything you need to know to interact with it in Python.
The Sense HAT comes with a Python library that allows you to easily access data from various sensors (temperature, gyroscope, joystick, etc.) and display it on the LED screen. Everything is available in the Python class “SenseHat”.
This tutorial is the second part of my guide to the Sense HAT Raspberry Pi. If you haven’t read it yet, you might want to check out part 1 first and come back later. This part is more advanced and focuses on the Python code once the device is installed.
By the way, if you get overwhelmed as soon as Python is required for a project, I recommend checking out my e-book “Master Python on Raspberry Pi“. It will guide you step-by-step to learn the essential concepts (and only the essential concepts) required to achieve any project in the future. Raspberry Pi without Python is like a car without an engine, you miss all the fun parts. Get 10% off by downloading it today!
Introduction
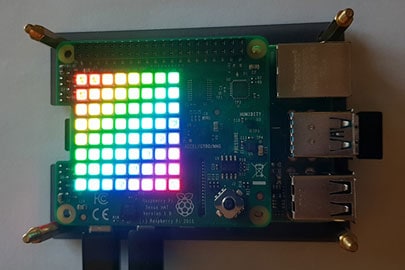
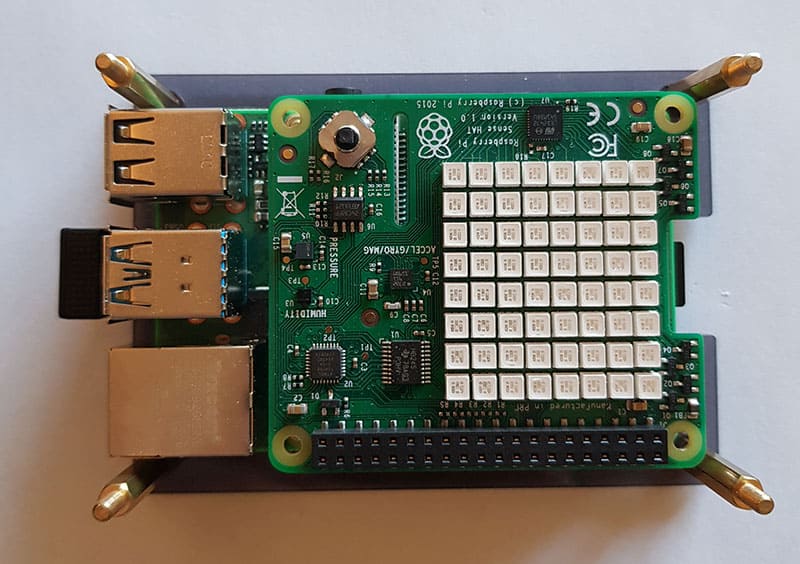
The Sense Hat is an expansion board created by the Raspberry Pi Foundation.
It provides many sensors like temperature, humidity and pressure.
There is also an LED display matrix and a joystick on it.
It’s a pretty cheap HAT to get started with GPIO on Raspberry Pi (check the current price here). By using it, you’ll learn a lot about Raspberry Pi, Python and GPIO pins.
In this post, we’ll see how to use everything in Python scripts.
If you haven’t read my first tutorial yet, I highly recommend starting with that.
Here is the link to the beginning of the tutorial: Sense Hat Tutorial Part 1.
Also, if you’re new to Python, I would also recommend starting with a Python tutorial. You can read this article for example for a quick overview.
Even if the scripts I show you here aren’t complicated, I won’t spend time explaining the Python part.
That being said, let’s get down to practice!
If like me, you always mix the languages syntax, download my cheat sheet for Python here!
Download now
Collect data from the Sense Hat
The Sense Hat Library
We briefly saw this in the previous part, but I will give you a few more details here.
To use the functions I introduce in your script, you need to firstly include the Python library for the Sense HAT at the beginning of your script.
A library is a source code that provides everything you need for a specific usage.
This avoids having to code it all by yourself.
Here are the two lines to add at the beginning of each Python code:from sense_hat import SenseHat
sense = SenseHat()
The first line imports the library and the second initializes the “sense” variable you’ll use in the entire script.

Join Our Community!
Connect, learn, and grow with other Raspberry Pi enthusiasts. Support RaspberryTips and enjoy an ad-free reading experience. Get exclusive monthly video tutorials and many other benefits.
Learn moreTemperature, humidity and pressure
Theory
Once the library is imported, you have access to all the basic functions to collect data from the Sense Hat.
Here are the first three functions you can use:
- sense.get_temperature()
- sense.get_humidity()
- sense.get_pressure()
The names are explicit.
They don’t need any parameters, and they return the value directly (as a float).
Example
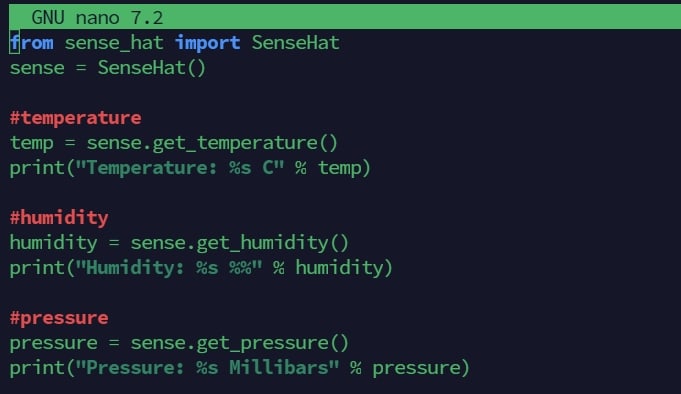
from sense_hat import SenseHat
sense = SenseHat()
#temperature
temp = sense.get_temperature()
print("Temperature: %s C" % temp)
#humidity
humidity = sense.get_humidity()
print("Humidity: %s %%" % humidity)
#pressure
pressure = sense.get_pressure()
print("Pressure: %s Millibars" % pressure)Output:Temperature: 28.5211639404 C
Humidity: 43.0516967773 %
Pressure: 998.412353516 Millibars
Temperature is in degrees Celsius, humidity in percentage and pressure in Millibars.
We get the numbers with many decimals values, so you can round them if you want: round(temperature).
Orientation and compass
Theory
The next functions I want to show you are orientation and compass.
Thanks to the magnetometer, we can almost use it as a compass.
As for the other functions, names are explicit:
- sense.get_orientation()
You can also use get_orientation_radians() or get_orientation_degrees() to specify the unit you want. - sense.get_compass()
Get the direction of North in degrees (compared to the USB ports direction).
360/0° is North, 90 is East, 270 is West and 180 is South. - sense.set_imu_config(compass_enabled, gyro_enabled, acc_enabled)
To select which sensor you want to enable.
Calibration
Before using these functions, you need to calibrate the Sense Hat.
The procedure is available on this GitHub page, but here is the summary:
- Install the requirements:
sudo apt install octave -y
There are many dependencies, so if you are short on space (or have a slow Internet connection), you might want to skip this part. - Copy the files to a temporary folder:
mkdir tmp && cd tmpcp /usr/share/librtimulib-utils/RTEllipsoidFit ./ -a - Run the calibration tool:
cd RTEllipsoidFit
RTIMULibCal
A configuration menu like this shows up:
If like me, you always mix the languages syntax, download my cheat sheet for Python here!
Download now
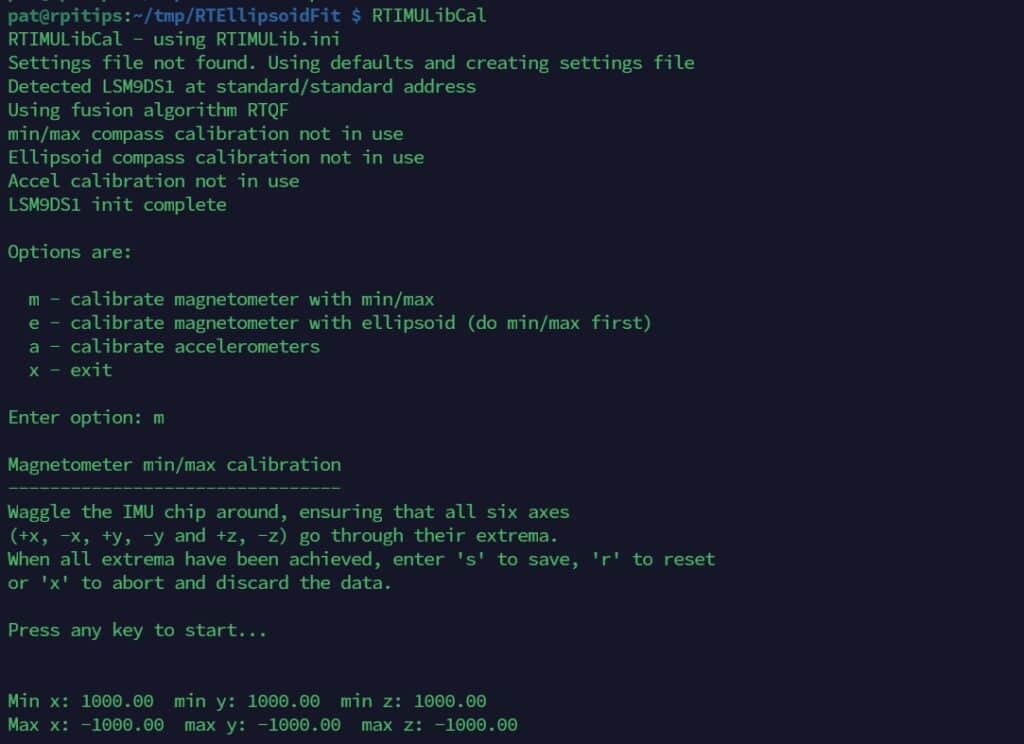
Options are:
m - calibrate magnetometer with min/max
e - calibrate magnetometer with ellipsoid (do min/max first)
a - calibrate accelerometers
x - exit
Press “m” and follow the instructions (you have to move your Raspberry Pi in all directions on 6 axes).
Press “s” and then “x” once done.
Example
Once your Sense Hat calibrated, you can use the previous functions like this:
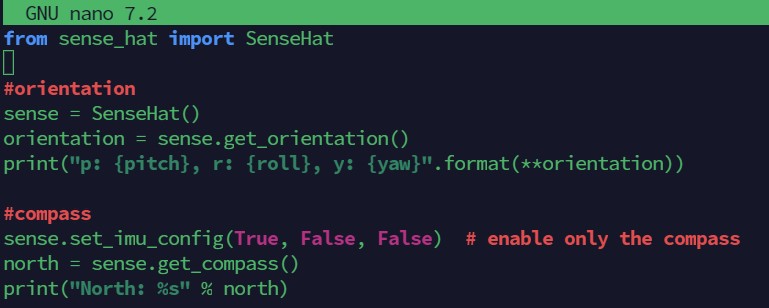
from sense_hat import SenseHat

#orientation
sense = SenseHat()
orientation = sense.get_orientation()
print("p: {pitch}, r: {roll}, y: {yaw}".format(**orientation))

#compass
sense.set_imu_config(True, False, False)  # enable only the compass
north = sense.get_compass()
print("North: %s" % north)
Output:
p: 1.34247368137, r: 0.0139023806468, y: 138.151914078
North: 138.151914078
Gyroscope and accelerometer
Theory
You can also use the gyroscope sensor built in the Sense Hat.
As for the previous ones, the function name is explicit:
- get_gyroscope()
Return the pitch, roll and yaw values in float - get_accelerometer()
Don’t forget to use set_imu_config() to enable only the one you want.
Example
The usage is almost the same as previously seen:
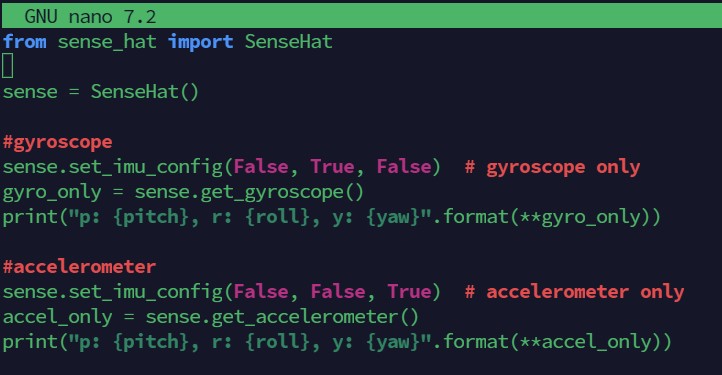
from sense_hat import SenseHat

sense = SenseHat()

#gyroscope
sense.set_imu_config(False, True, False)  # gyroscope only
gyro_only = sense.get_gyroscope()
print("p: {pitch}, r: {roll}, y: {yaw}".format(**gyro_only))

#accelerometer
sense.set_imu_config(False, False, True)  # accelerometer only
accel_only = sense.get_accelerometer()
print("p: {pitch}, r: {roll}, y: {yaw}".format(**accel_only))
Joystick events
Theory
Another thing I want to show you is the joystick.
You can use it as an input interface in your scripts.
As often with user interface development, the Python library allows you to catch events.
There are two main functions that I will show you here:
- wait_for_event()
As the name suggests, the script is paused until something happens.
The function returned three values: timestamp, action and direction. - get_events()
Rather than waiting for new events, you can check if something has happened recently.
This function gives you the history of all events that have happened since the last call.
Example
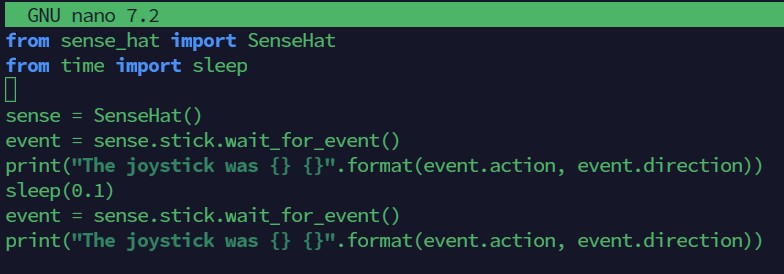
from sense_hat import SenseHat
from time import sleep

sense = SenseHat()
event = sense.stick.wait_for_event()
print("The joystick was {} {}".format(event.action, event.direction))
sleep(0.1)
event = sense.stick.wait_for_event()
print("The joystick was {} {}".format(event.action, event.direction))
With the wait_for_event() function, your script is paused until you touch the joystick.
Then it displays the action and direction (which you can use in a more complex program, for a menu or a game for example).
Display data on the Sense Hat screen
Ok, the last thing I want to show you is how to display things on the Sense Hat LED Matrix.
There are many functions to display colors, text, images or to configure things like orientation and light level.
But for this tutorial I will keep things simple: text and colors pixels.
Display texts
Theory
You have already learned how to do this in the first part of this tutorial, but I will explain here how it works.
The API offers two ways to display text on the screen: letters or text.
Here are the two functions you can use:
- show_message(text, speed, text_color, back_color)
Text is a sting, the speed is a float (0.1 by default) and colors are a list of three values (R, G, B).
You’ll understand in the examples below. - show_letter(letter, text_color, back_color)
Almost the same thing. Letter is a string of one character, and colors are (R, G, B) lists.
For both functions, default colors are a white text on a black background.
If this is ok for you, color parameters are not mandatory.
Example
from sense_hat import SenseHat
from time import sleep

sense = SenseHat()

#set your colors here
background = (198, 30, 74)
color = (255, 255, 255)

#display a message on the screen
sense.show_message("RaspberryTips <3", 0.05, color, background)
sleep(1)

#display only one letter
sense.show_letter("@")
sleep(2)

#turn off the screen
sense.clear()
In this example, I will show you the two functions in action, and an added a bonus function (the clear function).
Two clarifications now:
- The speed in the
show_message()function represents the pause time between each letter. So, the bigger this value is, the slower is the scroll speed. - If you want, you can use the
show_message()without all parameters, here are a few examples that works:sense.show_message("Text")
sense.show_message("Text", 0.1)
sense.show_message("Text", text_colour=[255, 0, 0]) sense.show_message("Text", back_colour=[255, 0, 0])
Set pixels colors
Theory
You’ve seen the rainbow colors on boot, so you already know that it’s possible to set each pixel to a specific color.
In this part, we’ll play with two functions:
- set_pixels(pixel_list)
The parameter is a list of 64 colors to define all pixels colors at once. - set_pixel(x, y, color)
or set_pixel(x, y, r, g, b)
You have the choice to set the color as a list or as three different parameters, don’t ask me why it’s only in this function :).
x is the left/right column, y is the top/bottom line (values from 0 to 7).
Example
from sense_hat import SenseHat
from time import sleep
from random import randint

sense = SenseHat()

R = (198, 30, 74)       #raspberrytips red
W = (255, 255, 255)     #white

#set all pixels at once
pixels = [
     W, W, W, W, W, W, W, W,
     W, R, R, W, R, R, W, W,
     R, R, R, R, R, R, R, W,
     R, R, R, R, R, R, R, W,
     R, R, R, R, R, R, R, W,
     W, R, R, R, R, R, W, W,
     W, W, R, R, R, W, W, W,
     W, W, W, R, W, W, W, W
]

sense.set_pixels(pixels)
sleep(5)
sense.clear()

#set one pixel at at time
while True:
        X = randint(0, 7)
        Y = randint(0, 7)
        sense.set_pixel(X, Y, R)
        sleep(0.2)
Yes, I love you :).
Use CTRL+C to stop the script once your screen is full of red pixels.
If you don’t know, randint() return a random value between the two parameter.
And while True is an infinite loop to display all the pixels.
But you can use static values and/or repeat the set_pixel() function if you prefer.
It's a free PDF guide containing every Raspberry Pi Linux command you should know!
Download now
API Reference
We have already seen a good list of functions today, but if you want to go further, you can check the API reference here.
On this page, you can find all the functions available in the Sense Hat library, to do anything with it.
It's a free PDF guide containing every Raspberry Pi Linux command you should know!
Download now
Want to chat with other Raspberry Pi enthusiasts? Join the community, share your current projects and ask for help directly in the forums.
Conclusion
That’s it for this second part, we have seen many things in Python today, and I hope you liked it!
Take time to play with it, change my code or try other things.
Learning new things is important, but having fun is better :).
I will probably add one or two other parts to this tutorial in the following weeks, and add the link here.
Meanwhile, feel free to leave a comment in the community if you are interested in something specific.
I was thinking of using the Sense Hat with Scratch and probably build a bigger project in Python as a conclusion, but I’m open to any suggestions.
Whenever you’re ready, here are other ways I can help you:
The RaspberryTips Community: If you want to hang out with me and other Raspberry Pi fans, you can join the community. I share exclusive tutorials and behind-the-scenes content there. Premium members can also visit the website without ads.
Master your Raspberry Pi in 30 days: If you are looking for the best tips to become an expert on Raspberry Pi, this book is for you. Learn useful Linux skills and practice multiple projects with step-by-step guides.
The Raspberry Pi Bootcamp: Understand everything about the Raspberry Pi, stop searching for help all the time, and finally enjoy completing your projects.
Master Python on Raspberry Pi: Create, understand, and improve any Python script for your Raspberry Pi. Learn the essentials step-by-step without losing time understanding useless concepts.
You can also find all my recommendations for tools and hardware on this page.


Hi. I want to scroll humidity and pressure on the LED screen. How do I do this please?
Arthur
G7IKG
from sense_hat import SenseHat
sense = SenseHat()
R = (198, 30, 74) #raspberryPi red
#temperature
temp = sense.get_temperature()
sense.show_message(“Temperature: %s C” % temp, text_colour=R)
#humidity
humidity = sense.get_humidity()
sense.show_message(“Humidity: %s %%” % humidity, text_colour=R)
#pressure
pressure = sense.get_pressure()
sense.show_message(“Pressure: %s Millibars” % pressure, text_colour=R)