
13 Retropie Tips That Will Impress Your Friends
Retropie is very popular, but most users don’t know a fraction of what you’ll discover here. I will give you 13 tips that will improve your experience with Retropie. Follow these tips after installation to immediately enjoy new features in your Retropie setup.
In this article, you’ll learn how to improve your Retropie installation with extra tips for security, appearance or gaming comfort. For example, I’ll show you how to use an external hard drive and how to replace the default menu theme.
But for now, let’s start with the first Retropie tips on the list.
If you’re looking to quickly progress on Raspberry Pi, you can check out my e-book here. It’s a 30-day challenge where you learn one new thing every day until you become a Raspberry Pi expert. The first third of the book teaches you the basics, but the following chapters include projects you can try on your own.
1 – Change the Retropie theme
The first thing you can do is change the default theme and use one that you prefer instead.
For example, if you use Retropie in an arcade box, you will probably look for an old theme.
To do this:
- Go into the Retropie configuration menu, and choose “ES Themes”.
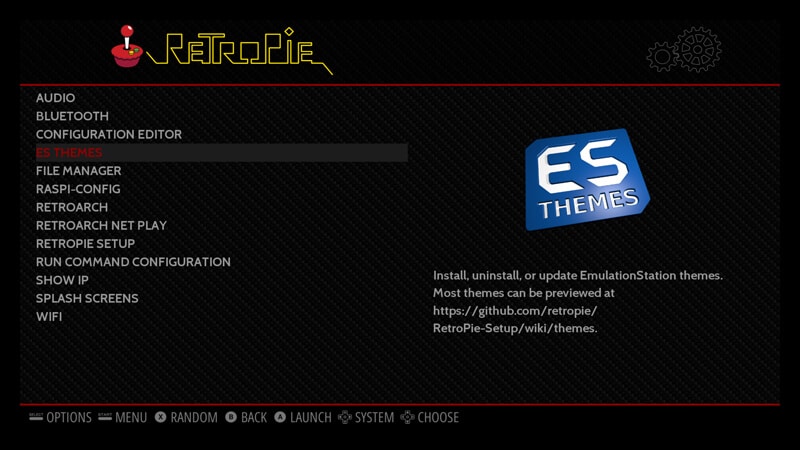
- You’ll get a list of all available themes in the next window.
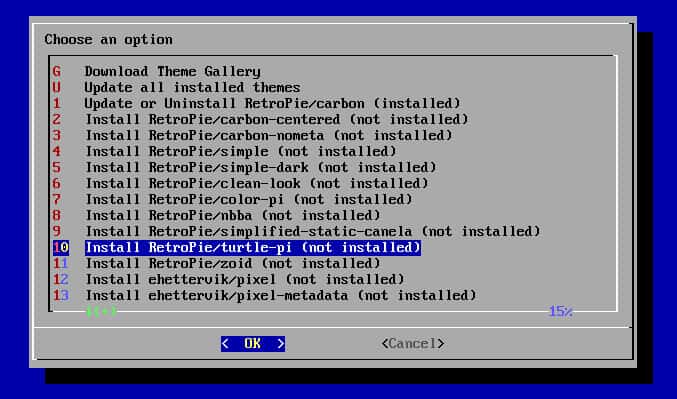
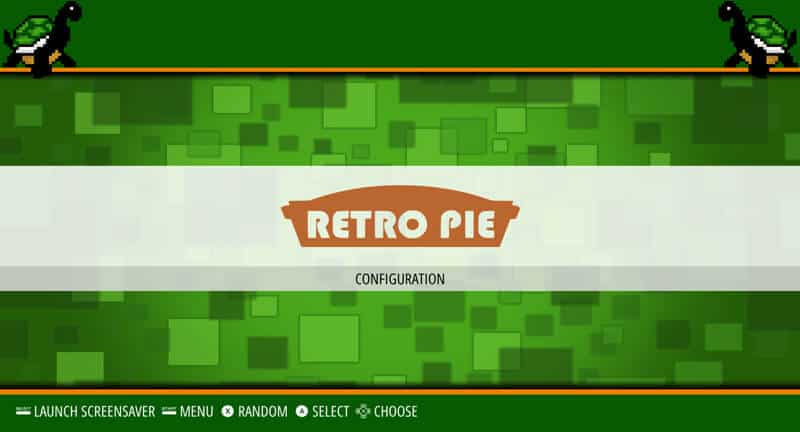
Select the one you want to install. You can check the theme illustrations here or the video after this paragraph. - For the example, I’ll try the Retropie/turtle-pi theme.
- Click on it to install.
- Exit the Retropie configuration menu and return to the home screen.
- From there, open the Main Menu (Start key probably).
- Go into “UI Settings” and scroll down to “Theme Set”.
- Select your new theme in the list and exit the menu.
- That’s it, you now have the theme you chose by default.
If you have any issues while enabling the theme (i.e. if you don’t get it in the theme list,) try to restart Emulstation to apply changes (Main Menu > Quit > Restart Emulstation).
Here is one of my videos with my favorite themes if you don’t know which one to choose:
The linked article with all the information is also available here.
2 – Use the Retropie web manager
Even if you can use the network share or SSH access to upload new ROMs on Retropie, there is a better option: the Retropie Web Manager.
This tip allows you to add a web interface to see everything about your ROMs, BIOS and system status. It works from any web browser on any device in the same network (including your phone!).
You can install it from the Retropie setup:
- Go to the Retropie configuration menu, and click “Retropie Setup“.
- Then choose “Manage packages” and “Manage experimental packages“.
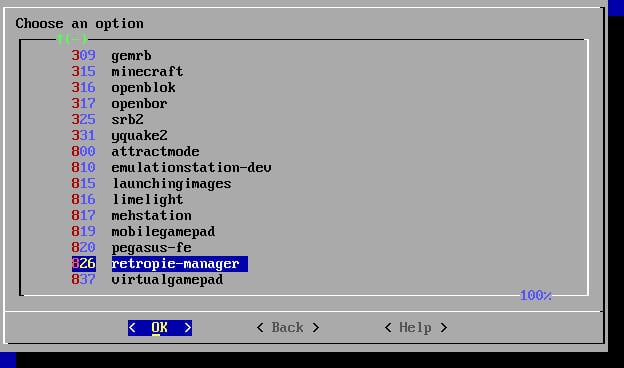
- Scroll down to retropie-manager (near the end of the list) and click on it.
- Choose “Install from source” in the next window.
- Wait a few seconds for the Retropie script to install the package.
- Then exit the Retropie setup menus.
Retropie manager is now installed, but you need to start the service before using it:
- Go back to the Retropie Setup section.
- Select Configuration/tools.
- Then Retropie Manager. You’ll get a menu like this:

- Click on 1 and 3: “Start Retropie-Manager now” and “Enable Retropie-Manager on Boot“.
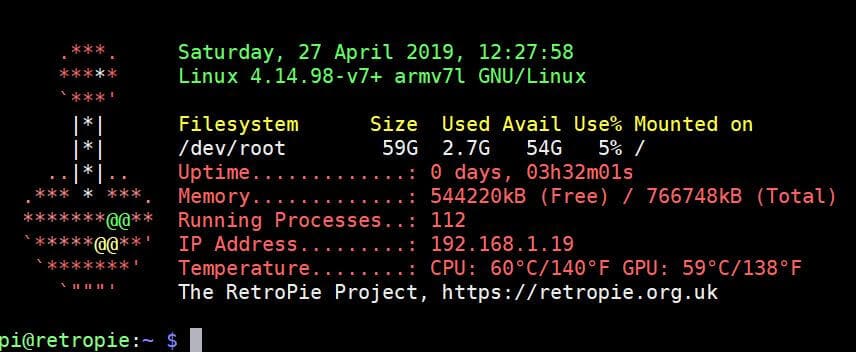
That’s it, Retropie manager is now available at http://IP_ADDRESS:8000.
If you don’t know the Raspberry Pi IP Address, you can get it in the Retropie Configuration > Show IP.
Get a list of my 24 favorites games (with links) to play on Retropie, Recalbox or Lakka
Download now
I cover the web manager usage in detail in my Retropie Beginner’s Guide.
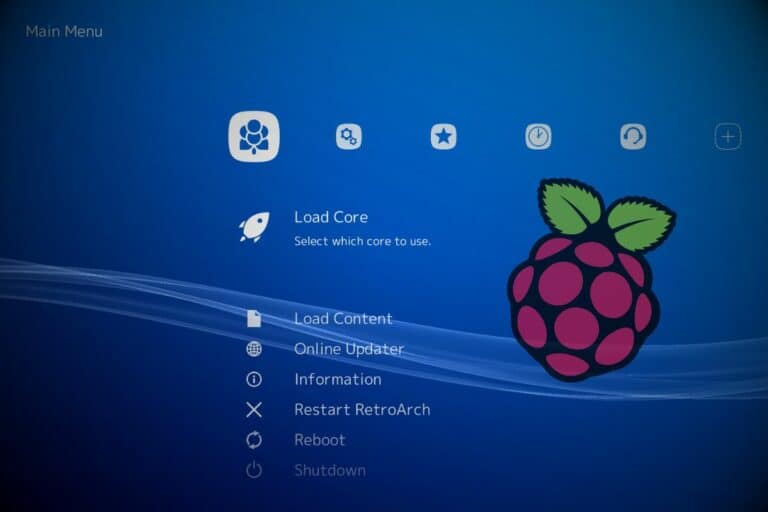
3 – Play on a better Raspberry Pi model
My next tip is a quick one regarding your hardware. While Retropie will run on any Raspberry Pi model (the Raspberry Pi 1 has the same performance as the old SNES), I highly recommend using a Raspberry Pi 4 or newer.
I’m not saying you should buy the latest Raspberry Pi model right away if you don’t have one.
But after trying Retropie on your current device, I’d consider upgrading if you keep playing regularly.
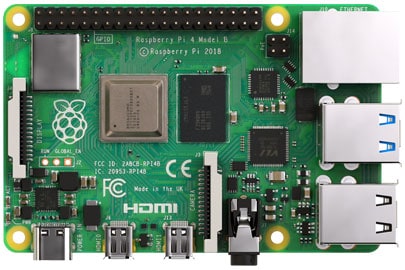
This list covers how to get the best experience with Retropie, and the easiest way is to start with the best Raspberry Pi available. This way, you’ll get better performance, lower response time and no lag in games.
You can check out my recommended products page for a list of the best products available.
For a specific Retropie usage, I recommend finding a complete kit with all the basics, including controllers.
For example, I like this one (check the price directly on Amazon) that includes a retro gaming case and two SNES controllers.
Use this to really impress your friends, as the title says ^^.

Join Our Community!
Connect, learn, and grow with other Raspberry Pi enthusiasts. Support RaspberryTips and enjoy an ad-free reading experience. Get exclusive monthly video tutorials and many other benefits.
Learn more4 – Mount an external USB drive
The SD card limitations
As you probably know, there are two main issues when using Retropie on a Raspberry Pi:
- The SD card storage size is not unlimited. You probably have something between 16 and 64 GB.
Depending on what kind of ROMs you want to use, it can fill quickly (ROMs for the latest platforms can weigh over 500M, so 32 ROMs like this and your 16G SD card is full). - The second problem is the lifespan of SD cards. They are not known to last for years of intensive use, so you may lose everything when your SD card dies.
We will talk about backups in the next tip, but first I want to show you how to use a USB device to store your ROMs. In fact, this is the best option to avoid the two issues listed above.
Yes, if you need more storage, you can find big, affordable SD cards for Retropie, like this giant and fast SD card. With storage like this, you can keep anything you want (games, screenshots, videos, etc.). Also, it’s one of the fastest models from my SD card benchmark, so space and speed are not incompatible :).
If you want to be safer with your storage, another option is to store your ROMs on a USB device (or at least do a regular backup on it).
If you don’t have one yet, you can find several disks that offer good value for money. Personally, I have this one on Amazon.
Mount a USB drive on Retropie
OK, so once you get the perfect USB device, plug it into your computer and format it in FAT32.
On Windows, open the file explorer, right-click on the device drive and choose “Format”.
Make sure you select “FAT32” for the file format and click “Start”.
Unplug the USB device, and plug it into your Raspberry Pi.
Then follow this procedure to use the drive for ROMs storage:
- Enable SSH:
- Go to Raspi-config in the Retropie configuration menu.
- Then click on “Interfacing options” and finally on “SSH”.
- Answer “Yes” to enable the SSH server.
- You can now connect to your Raspberry Pi using SSH.
- The default login is pi, and the default password is raspberry.
- In the command line, use the df command:
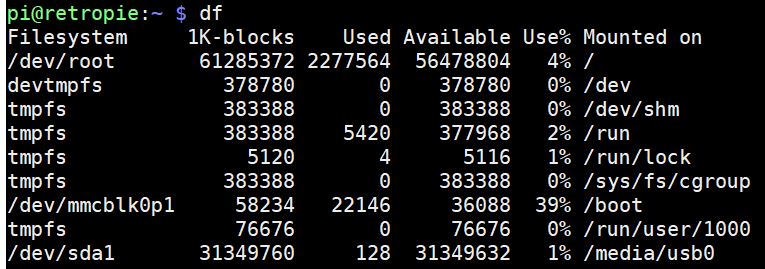
- For me, my USB key was automatically mounted under /media/usb0 (last line).
- Go to this folder:
cd /media/usb0 - Move the SD card folder tree on it (if you already have ROMs on the SD card it’s OK):
sudo mv /home/pi/RetroPie/ ./ - Delete the original folder if needed and replace it with a symbolic link to the USB drive:
cd /home/pi
rm -rf RetroPie
ln -s /media/usb0/RetroPie RetroPie - You can now upload new games as usual (with share, web manager or scp).
That’s it! You now have a lot more space and your games are secured, even if the SD card crashes.
Check out my tutorial on how to format and mount a USB drive if you need further assistance on this.
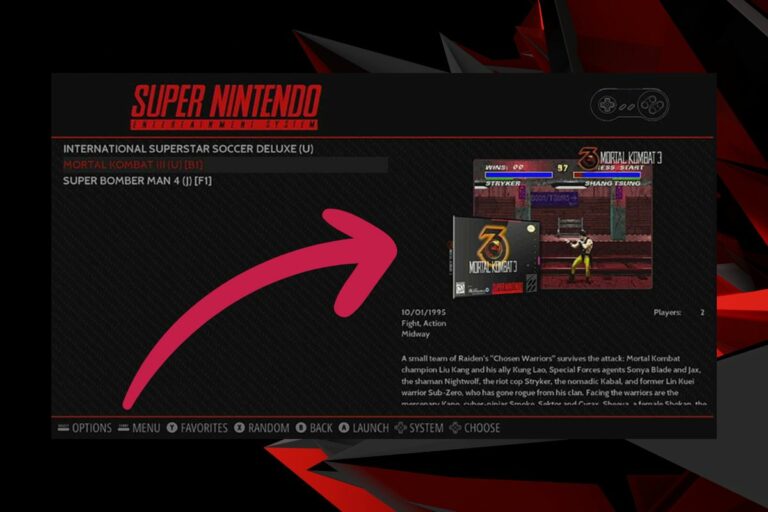
5 – Use a game scraper
You probably already saw this option in the Retropie main menu: “Scraper”.
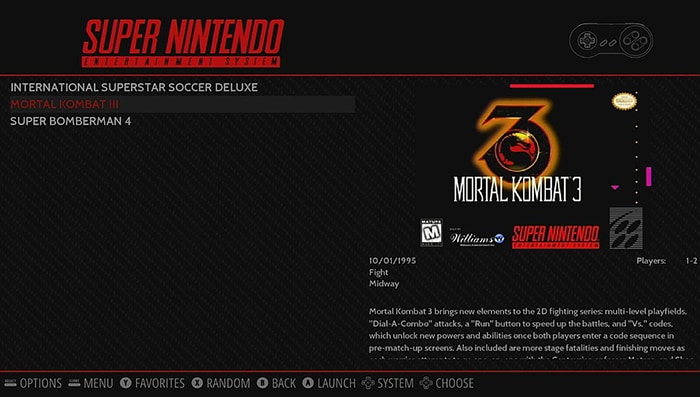
The goal of this tool is to download a thumbnail for each game you have on your system.
But unfortunately, the default one never works, no matter which game (I think the website is down). To fix this, follow the steps below:
- Go to Retropie Configuration > Retropie Setup.
- Click on “Manage optional packages” and scroll to the bottom.
- Click on “scraper” (the last one) to install it from the source.
- Then you’ll have to stop Emulstation to configure it:
- Open the main menu (press Start).
- Choose Quit and Quit Emulstation.
- You are now in a terminal and can follow the next steps.
- Open the setup script from here:
cd Retropie-Setup
sudo ./retropie_setup.sh - Go to Configuration/tools and click on scraper.
- From here you can configure scraper as you want (scrape all now, configure sources, enable videos, configure the image size, etc.):
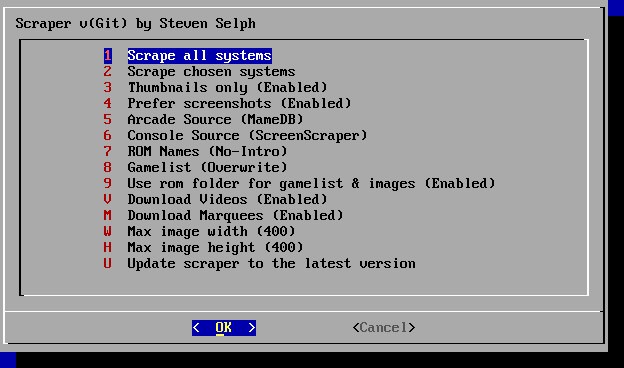
- For now, you can keep the default values, except for the console sources where you need to select something else (ScreenScraper for example).
Just click on “Scrape all systems”. - Finally, start EmulationStation or reboot the Raspberry Pi to return to your games list to see the new thumbnails.
If you have any issues with this, try updating your system and testing other image sources.
More details in this other tutorial.
6 – Create backups
Here is a security tip if you want to keep your Retropie games safe.
If you already followed my advice to use an external hard drive, you’ll be able to avoid most issues.
But that’s not enough.
You don’t have everything on the hard drive, and your system is at risk if you don’t use a hard drive.
My advice is to make an entire image of your system to create backups.
Get a list of my 24 favorites games (with links) to play on Retropie, Recalbox or Lakka
Download now
- Install Win32DiskImager (or a similar tool for non-Windows users).
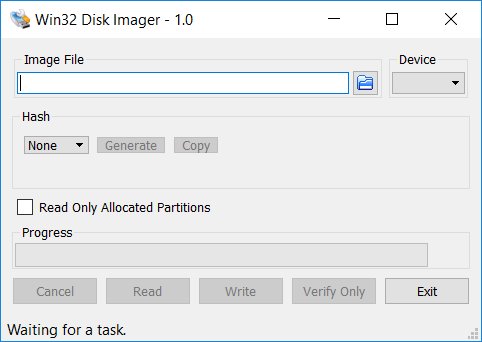
- Insert your SD card into your computer and select the corresponding device in the list.
- Choose a file name and folder to save the image.
- Finally, click on “Read” to start the image creation.
This way you can flash another SD card if needed.
It will have the exact same configuration and data from this image.
This is the only way to be safe with an SD card.
If you use an external hard drive, you can copy files from one disk to another one.
But I highly recommend cloning the whole system like this.
7 – Get a second SD card
This tip is an extension of the previous one.
Once you have created the image of your Retropie SD card, you can flash it onto another SD card.
Why?
Firstly, it’s always a good idea to confirm that your backup really works.
But most of all, it allows you to use the second one for test purposes.
I recommend installing Retropie, configuring it as far as you want and installing some games (less than 10 to start). Then clone the SD card to another and identify one for “production” and the other for tests.
Clone Your Raspberry Pi SD Card: 3 Simple Methods
If you want to try something out, try it on the test SD card first.
If it works correctly and doesn’t break anything, you can do it now on the “production” card.
This will ensure that you won’t break your main SD card and will save a lot of time if you use Retropie in the long term.
Don’t forget to use two SD cards of the same size, you can’t create an image of a 64 GB SD card to a 32 GB one. For example, you can find the best deals currently on my resources page.
8 – Access the Linux command line
You may have already noticed if you followed all the previous tips, but there is a hidden way to access the Retropie command line.
- From the Retropie home menu, press Start to open the Main menu.
- Scroll down to “Quit” and click “Quit Emulstation”.
- The graphical interface will stop and give you access to the command line interface:
From here, you can use most of the Linux/Debian commands.
But RetroPie is not Raspberry Pi OS, so you will notice some small changes or missing commands/dependencies.
9 – Autosave on exit
With old games, it’s not always possible to save when you want.
Back in the day, it was the classic way to manage save games.
You may need to achieve a checkpoint or finish a level before saving.
But RetroPie added a “cheat feature” to save the game automatically on exit.
You just need to enable it in the configuration file.
The easiest way to do this is to use the web manager:
- Go to the Retropie web interface I introduced earlier (http://IP:8000).
- Click on Config > RetroArch:
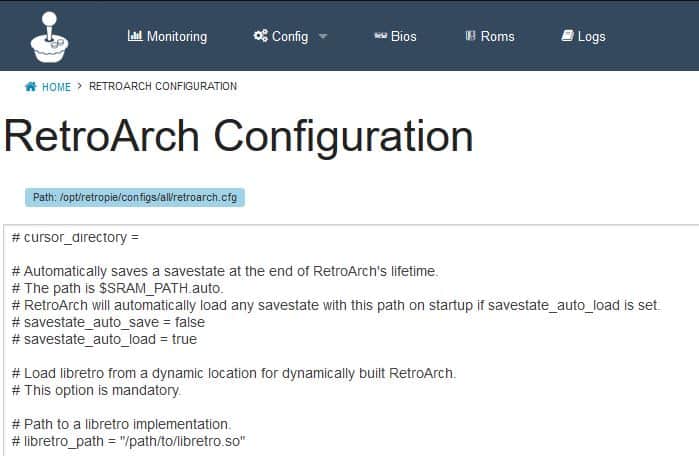
- Find savestate_auto_save and savestate_auto_load.
- Comment out both lines (remove the #).
Reboot your system to apply changes.
If you don’t have the web manager, you can edit this file from the command line:sudo nano /opt/retropie/configs/all/retroarch.cfg
10 – Enable achievements
Another cool thing you can do on RetroPie is enable the achievements from the original games.
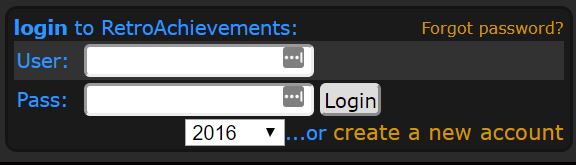
RetroAchievements is a website that centralizes all achievements for a lot of games. You can connect to this database from RetroPie:
- Create an account on RetroAchievements:
- In the same file as in the previous tips (retroarch.cfg), add the following lines:
cheevos_username = USERNAME
cheevos_password = PASSWORD
cheevos_enable = true - This will enable achievements after the next reboot.
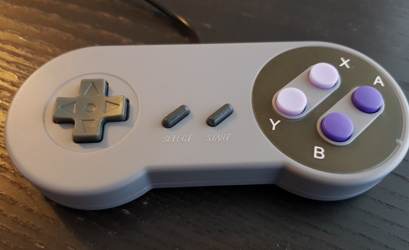
11 – Use the original controllers
Here is another hardware tip to improve your gameplay and impress your friends.
I highly recommend using original controllers when you play retro games.
Playing Mario 64 without an N64 controller is horrible!
Yes, SNES controllers are cool, but not for N64 or PSX games, where you absolutely need to control the camera and direction at the same time for most of the game.
If you have a PS3/PS4 controller, it should be OK if you configure it well.
You can also buy it separately directly on Amazon. A PS4 controller is the ultimate controller for retro gaming, with all the required keys to play on any platform (keys for NES, sticks for N64, etc.).
You can check out my guide on how to configure this PS4 controller for Retropie here.
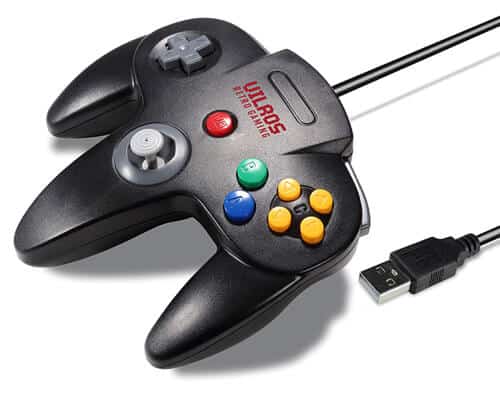
But for a “hardcore retro gamer”, I think the best option is to buy the controller corresponding to the system you play with.
You can find cheap packs on Amazon, like this one, with all the main controllers. There is a variant with 10 controllers if you want to play multiplayer.
12 – Use another splash screen
Another thing you can customize on RetroPie is the splash screen.
What we call the “splash screen” is the first image you can see when you start your Raspberry Pi.
By default, it’s the Retropie logo.
But you can change this:
- Go to Retropie Configuration > Retropie Setup.
- Select Configuration / tools and scroll down to “splashscreen”.
- Click on the line to configure it.
- Here you can select “Choose splashcreen” to change it, or “Preview splashscreens” to view them before making a choice.
- Then in Choose splashcreen, select “RetroPie splashscreens”.
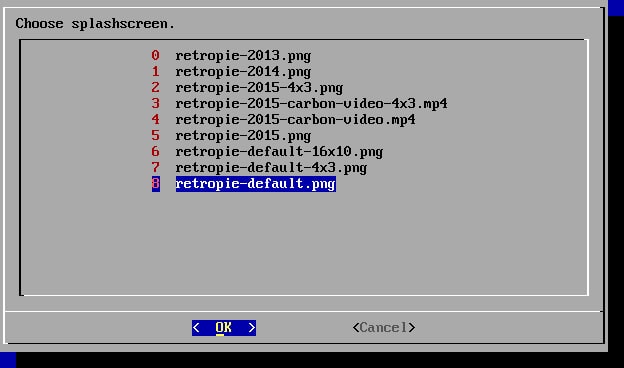
- Select one file and confirm.
- Reboot your system to see the change.
You can find a lot of splash screens on the web, and you can even create your own.
To add new splash screens, upload them to /home/pi/RetroPie/splashscreens.
It's a free PDF guide containing every Raspberry Pi Linux command you should know!
Download now
13 – Build your own arcade cabinet
And my last tip to impress your friends is to build your own arcade cabinet.
You know the ones we can now find in the retro arcade gaming room.
You can build your own, with a Raspberry Pi, RetroPie and some technical skills.
As I’m not an expert about this, I’ll let the pro speak:
You can find arcade buttons and joysticks on Amazon, and all other parts in your favorite DIY store. There is really no comparison between this kind of installation and a simple Raspberry Pi placed on your TV cabinet. I recommend trying it out if you can!
There is a link in the video description, with more details and plans if you want to try it out.
It's a free PDF guide containing every Raspberry Pi Linux command you should know!
Download now
Reminder: Remember that all the members of my community get access to this website without ads, exclusive courses and much more. You can become part of this community for as little as $5 per month & get all the benefits immediately.
Conclusion
That’s it, this is the end of my best tips for RetroPie.
I hope you enjoy this post, feel free to check all my other tutorials on retro-gaming with your Raspberry Pi.
- RecalBox beginner guide
- Retropie installation guide
- Lakka installation guide
- Difference between RecalBox and Retropie
- Use PS4 controller on Retropie
- Downloads ROMs for retro gaming systems
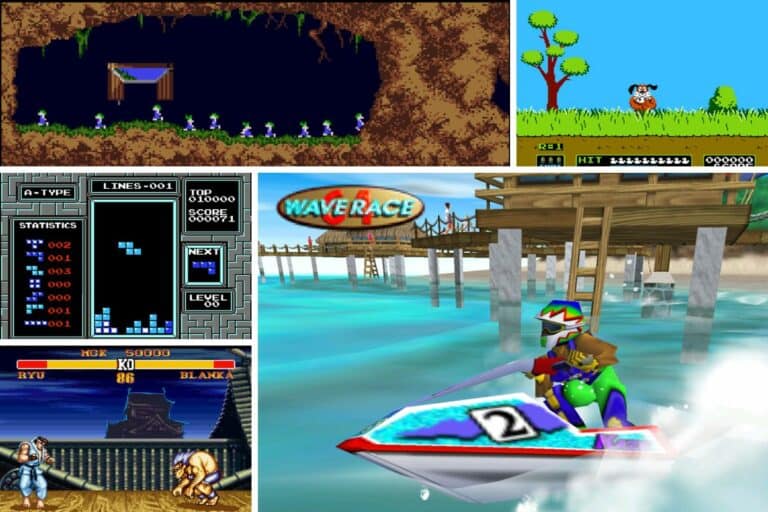
- My 12 favorites games on Retropie
And you, what is the best tip you would like to know earlier about Retropie?
Whenever you’re ready, here are other ways I can help you:
The RaspberryTips Community: If you want to hang out with me and other Raspberry Pi fans, you can join the community. I share exclusive tutorials and behind-the-scenes content there. Premium members can also visit the website without ads.
Master your Raspberry Pi in 30 days: If you are looking for the best tips to become an expert on Raspberry Pi, this book is for you. Learn useful Linux skills and practice multiple projects with step-by-step guides.
The Raspberry Pi Bootcamp: Understand everything about the Raspberry Pi, stop searching for help all the time, and finally enjoy completing your projects.
Master Python on Raspberry Pi: Create, understand, and improve any Python script for your Raspberry Pi. Learn the essentials step-by-step without losing time understanding useless concepts.
You can also find all my recommendations for tools and hardware on this page.
im really not interested in 100000 roms but there are about maybe 20 or 40 games i wouldloveto be able to play and only 1 or 2 emulators everytime i try and build a caed i get 1 or 2 games then tryagain get afewmore andlosethe ones i had before its driving me nuts can someone help
Hi William,
Maybe if you tell us what you’re looking to do exactly, someone can help you