How to Connect the Raspberry Pi’s Ethernet Port (2 ways)
Have you ever needed to connect your Raspberry Pi, but there wasn’t a Wi-Fi signal nearby? Or maybe you didn’t know you could connect your Pi directly to your computer for a more stable connection? Read on because this article summarizes the steps necessary to connect to your Raspberry Pi’s ethernet port.
An Ethernet cable can be plugged into the Raspberry Pi’s Ethernet port and connected to a laptop or router. The connected device usually assigns an IP address automatically to the Raspberry Pi. If not, a fixed IP address may be set manually on the Raspberry Pi.
Depending on which device you want to connect your Raspberry Pi’s Ethernet port to, you can follow the process below that applies best to your situation.
If you need help getting started on Raspberry Pi, I have an entire course to guide you through your first steps. I’ll help you use the perfect hardware, plug everything in and install your first system. You’ll also do your first projects with me, just to make sure you are ready for the next level. Get all the information on this page if you are interested.
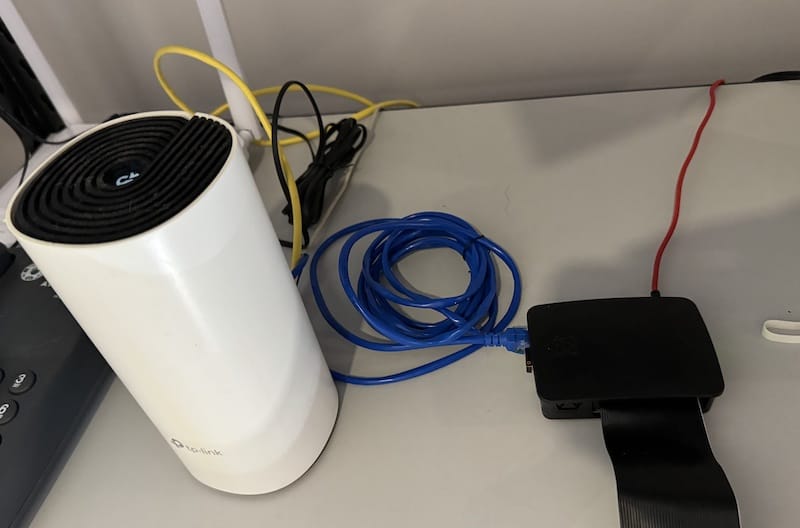
Connecting your Raspberry Pi to your network router
If you are using an Ethernet cable, the most common way to connect Raspberry Pi is directly to a network router or switch. Here are the steps to do this easily.
Prerequisites
This is a fairly straightforward solution, with very few prerequisites, but here is what you need:
- Ethernet cable: This cable is used to connect the Raspberry Pi to your network router. Pick the right size for your setup, but the model doesn’t matter much (so I linked to the cheapest option).
- Network Router: Most Internet service providers include a network router for you to connect your devices to their internet services. You can also have a switch plugged into the Raspberry Pi and the ISP router, or even a different router if you plan to create a new subnetwork.
- Any Raspberry Pi model: You can use any Raspberry Pi model aside from the Raspberry Pi Zero models, as they don’t have an onboard Ethernet port.
Steps
In most cases, connecting a Raspberry Pi to a router is straightforward:
It's a free PDF guide containing every Raspberry Pi Linux command you should know!
Download now
- Go to your network router and look for a vacant Ethernet port. This is usually at the back of the router.
- Connect one end of the Ethernet port to the vacant port and the other to your Raspberry Pi’s Ethernet port.
- Turn ON your Raspberry Pi.
- Once booted up, your Raspberry Pi should automatically be connected to the network router and will be assigned an IP Address.
You can test this by opening a browser on your Raspberry Pi and entering the RaspberryTips URL to see if it loads. If it does, congratulations, you have successfully connected your Raspberry Pi to your network router.
If it doesn’t work, it’s probably because your router doesn’t have DHCP enabled, or has some kind of MAC address filtering in place. You may need to configure the router for the Raspberry Pi, or even set a static IP address on the Raspberry Pi.
It's a free PDF guide containing every Raspberry Pi Linux command you should know!
Download now
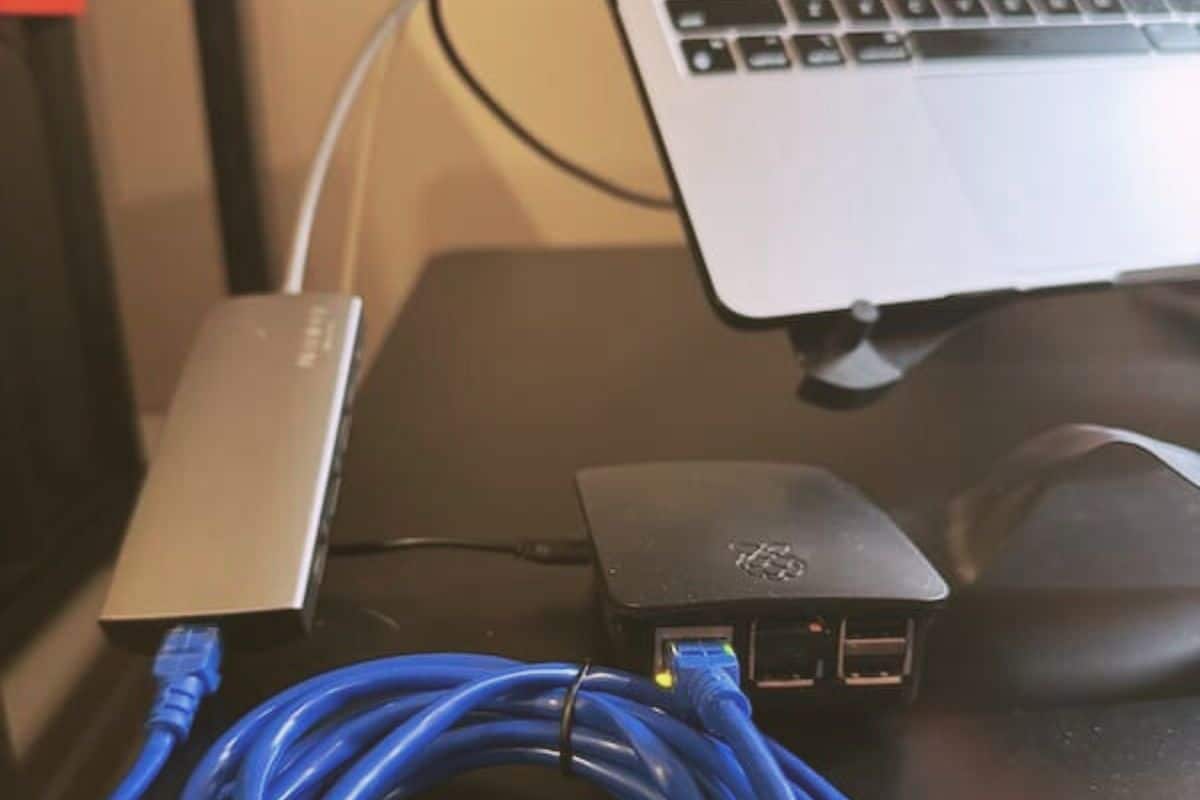
Connecting Raspberry Pi to your laptop
When you don’t have a switch or router at hand, you can also connect the Raspberry Pi directly to another computer (a laptop, for example).

Join Our Community!
Connect, learn, and grow with other Raspberry Pi enthusiasts. Support RaspberryTips and enjoy an ad-free reading experience. Get exclusive monthly video tutorials and many other benefits.
Learn moreThe steps to connect a Raspberry Pi to a laptop are very similar to connecting to a network router, except that you replace the network router with your laptop and probably do a bit more network configuration.
Prerequisites
Here are the requirements for this setup:
- Ethernet cable: This cable is used to connect the Raspberry Pi to your network router.
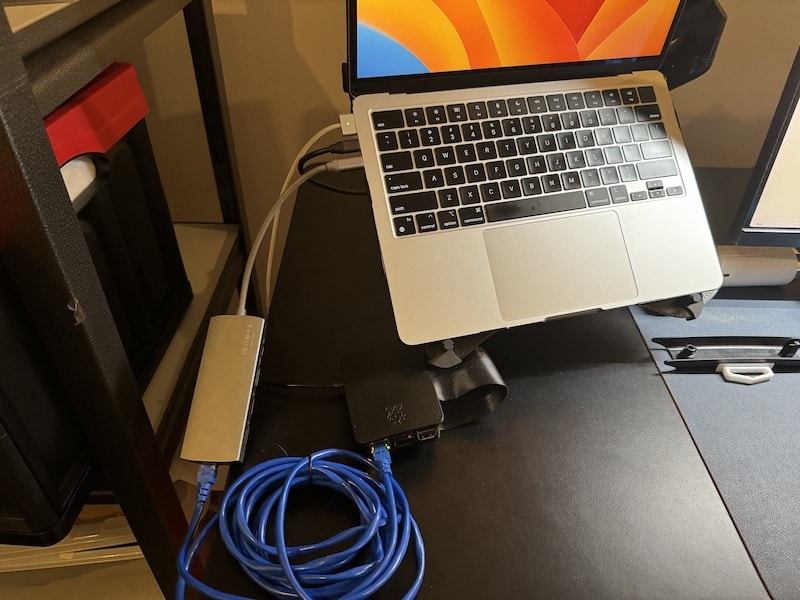
- Laptop with Ethernet port: To use your laptop for this, it should have an Ethernet port. If your laptop does not have an Ethernet port, you can purchase this USB to Ethernet adapter to connect the Ethernet cable.
- Any Raspberry Pi model: You can use any Raspberry Pi model aside from the Raspberry Pi Zero models, as they don’t have an onboard Ethernet port.
Steps
Here are the main physical steps to connect your Raspberry Pi to the laptop:
- Configure the laptop IP address.
- Set the Raspberry Pi IP address on the same network.
- Connect the Ethernet cable between the Raspberry Pi and the laptop.
- Test the connection.
I’ll now explain all these steps in detail.
Configure the laptop connection
On a traditional network, there is a service used to assign IP addresses automatically to all devices (a DHCP server). When you use a direct connection between a laptop and the Raspberry Pi, it’s unlikely that your laptop will play this role.
The workaround (to avoid setting up a full DHCP server on the laptop) is to set an IP address on both devices manually. Here are the steps to set up the laptop IP address on Windows:
It's a free PDF guide containing every Raspberry Pi Linux command you should know!
Download now
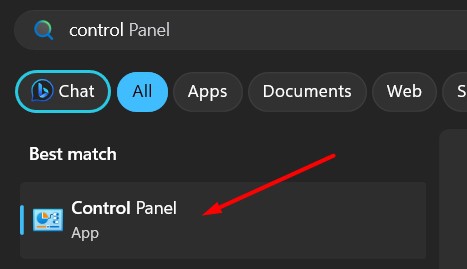
- Open the Control Panel (Start > type “Control Panel”).
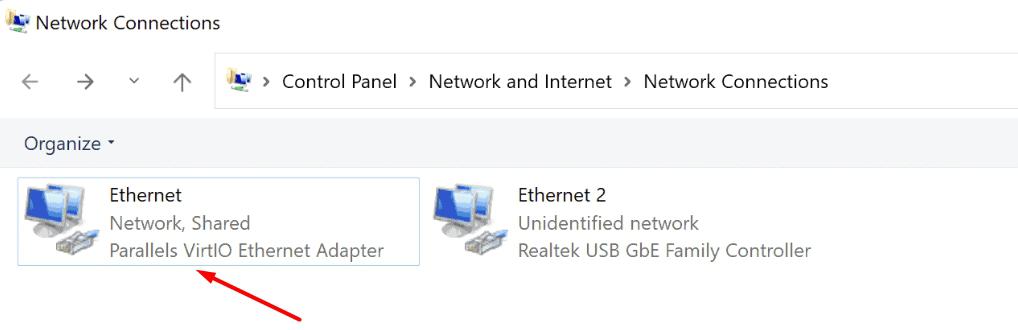
- Go to Network and Internet > Network and Sharing Center and click Change Adapter Settings.
This can be slightly different based on your Windows version, but you should find something that looks like the next screenshot. - Double-click on the Ethernet adapter that starts with “Ethernet”.
- From the Ethernet Status window, select Properties > Internet Protocol Version 4 (TCP/IPv4) > Properties.
- Tick the “Use the following IP Address” option.
- Enter the following network information (for example):
- IP Address: 192.168.137.1
- Subnet Mask: 255.255.255.0
- Default Gateway: (leave it blank)
- Click OK.
- Click Close.
- It usually takes a minute or two before the settings are applied.
Note: If you sometimes use your laptop’s Ethernet connection to access the Internet, you’ll need to remove this configuration and revert to the default options when you aren’t plugging in the Raspberry Pi.
Setting up the Raspberry Pi IP address
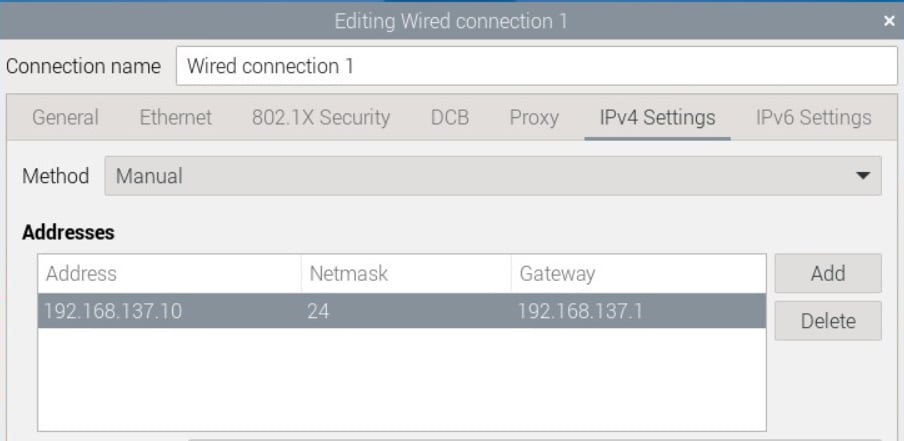
The next step is basically to do something similar on the Raspberry Pi:
- Set up a static IP address on the same subnetwork (for example: 192.168.137.10).
- Set the default gateway as the laptop IP address (so all traffic goes through the laptop).
There are a few ways to do this on the Raspberry Pi, depending on your system version. You can check this tutorial where I explain the different methods in detail.
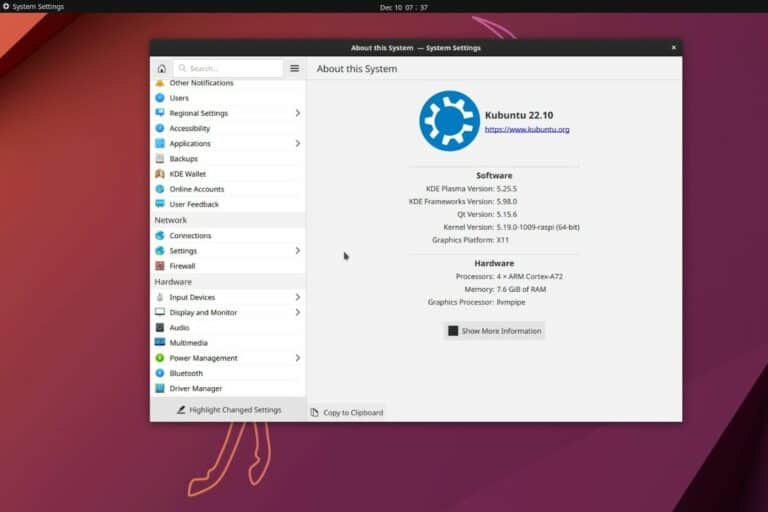
In the end, if you have a GUI installed, you should have something like this:
Connecting and testing
Now that the Raspberry Pi and laptop are configured on the same network, we can simply connect them directly with the Ethernet cable and see how it goes.
- Plug the Ethernet cable on both ends (the Raspberry Pi Ethernet port and the laptop port or adapter).
- You can use the ping command from one side or the other to check if it’s working.
For example, from the Raspberry Pi terminal:ping 192.168.137.1
If you get an answer when the cable is connected, it means your setup is complete. Congratulations, you have now successfully connected your Raspberry Pi to your laptop using the Ethernet cable.
From there, you can use VNC or SSH to control the Raspberry Pi from your laptop. Or share resources from the local network with the Raspberry Pi.
Are you a bit lost in the Linux command line? Check this article first for the most important commands to remember and a free downloadable cheat sheet so you can have the commands at your fingertips.
Share Internet access from your laptop
You can even go a bit further and share the Internet access from the laptop to the Raspberry Pi.
By default, your laptop will not share internet access to connected devices through the Ethernet port. We can enable this as long as you have either another Ethernet port on your laptop connected with internet access, or you are connected to a Wi-Fi access point that has internet access.
Here are the additional steps to do this:
- Get back to the control panel where you can change the adapter settings.
- Select the adapter that has internet access (probably the Wi-Fi if your Ethernet port is used by the Raspberry Pi connection).
- Right-click on the correct adapter. Select Properties and Click on the Sharing Tab.
- Tick the “Allow other network users to connect through this computer’s Internet connection.” Option.
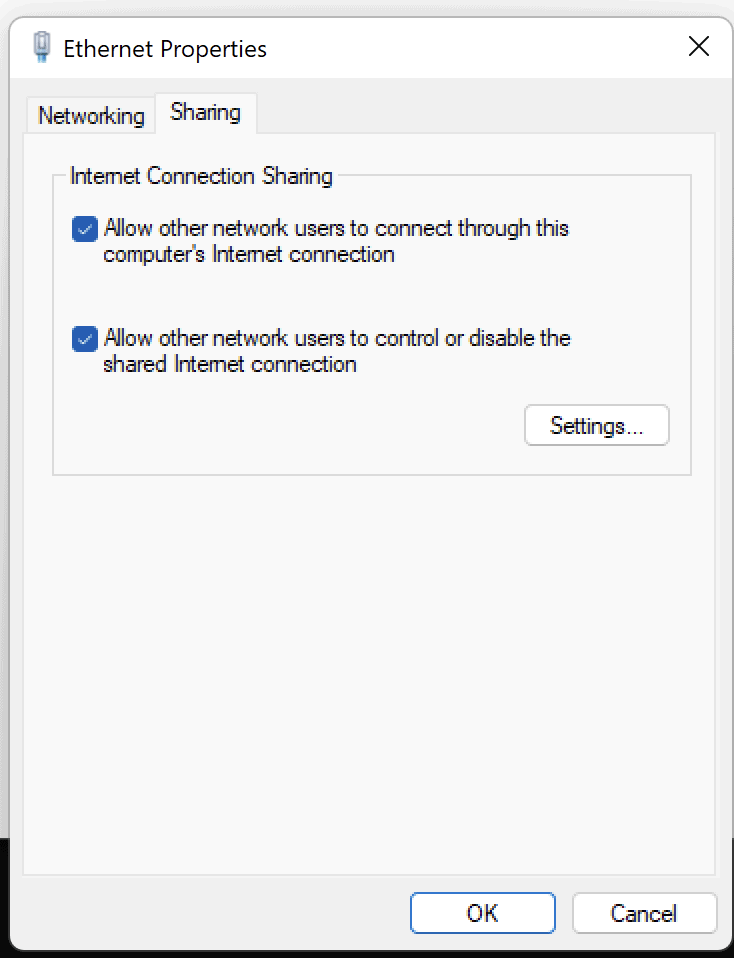
That’s it! You should have internet access already for your Raspberry Pi that is connected to your Ethernet port.
It's a free PDF guide containing every Raspberry Pi Linux command you should know!
Download now
If you are looking for exclusive tutorials, I post a new course each month, available for premium members only. Join the community to get access to all of them right now!
Going further
That’s it, now that you can connect your Raspberry Pi’s Ethernet port to either a network router or a laptop, you should be able to connect to your Raspberry Pi without the need for Wi-Fi.
Connecting directly to your Raspberry Pi using a wired connection creates a more stable connection between you and your Raspberry Pi, you can take a look at some of my articles that can greatly benefit from this:
- Installing an FTP Server on Raspberry Pi
- Assigning a static IP address to your Raspberry Pi
- 15 Raspberry Pi Network Projects for Home and Office Use
Whenever you’re ready, here are other ways I can help you:
The RaspberryTips Community: If you want to hang out with me and other Raspberry Pi fans, you can join the community. I share exclusive tutorials and behind-the-scenes content there. Premium members can also visit the website without ads.
Master your Raspberry Pi in 30 days: If you are looking for the best tips to become an expert on Raspberry Pi, this book is for you. Learn useful Linux skills and practice multiple projects with step-by-step guides.
The Raspberry Pi Bootcamp: Understand everything about the Raspberry Pi, stop searching for help all the time, and finally enjoy completing your projects.
Master Python on Raspberry Pi: Create, understand, and improve any Python script for your Raspberry Pi. Learn the essentials step-by-step without losing time understanding useless concepts.
You can also find all my recommendations for tools and hardware on this page.