Get Started with Wine on Raspberry Pi (Beginner’s guide)
Wine is an interesting tool, allowing you to run Windows applications on Linux systems, even on Raspberry Pi. It’s not perfect, and not all applications work with it, but it might help if you’re switching from Windows to Linux. Here is how to set it up on your Raspberry Pi.
The easiest way to install Wine on Raspberry Pi OS is to use Pi-Apps, a tool that helps you install applications that are not available with the default package manager. Once Pi-apps is installed, Wine (and dozens of other apps) can be installed in one click.
If all of this is new to you, don’t worry, I’ll explain everything step-by-step as usual.
If you’re looking to quickly progress on Raspberry Pi, you can check out my e-book here. It’s a 30-day challenge where you learn one new thing every day until you become a Raspberry Pi expert. The first third of the book teaches you the basics, but the following chapters include projects you can try on your own.
Prerequisites to run Wine on Raspberry Pi
Before installing anything else on your Raspberry Pi, make sure to follow these guidelines, especially the software part.
Hardware
There are no limitations to the kind of hardware you can use to set up Wine on a Raspberry Pi.
Anything works and here is what I used to test and write this tutorial:
- Raspberry Pi 4 (4 GB): I use it for everything, the best choice for most projects currently.
- Raspberry Pi OS with Desktop (the default one: Bullseye, 32-bit) installed on this USB stick, my favorite. You can also use this fast SD card if you prefer.
- My usual monitor (review here) and my favorite Raspberry Pi keyboard (here is the link with my comparison of all Raspberry Pi keyboards).
Obviously, the recommendations won’t be the same if your goal is to run Notepad or Photoshop, but basically, any model can run Wine with light Windows applications.
Side note: the installation already takes a long time with a Raspberry Pi 4 and fast storage, so even if you can get it running on a Pi Zero with a slow SD card, keep in mind that it might take way longer to install.
Operating system
A 32-bit operating system, like Raspberry Pi OS, is mandatory to follow this tutorial.
If you use a 64-bit version, you won’t have the option in Pi-Apps (at the time of writing), and as far as I understand, it’s a bit tricky to get it working manually. You can try Box64 instead but I didn’t have much success with it, and that would be a full tutorial for another day anyway :-).
It's a free PDF guide containing every Raspberry Pi Linux command you should know!
Download now
So, try to get a Raspberry Pi with RPI OS 32-bit installed and it will be much easier. That’s why I installed the default choice with Raspberry Pi Imager instead of the 64-bit edition I generally use when writing tutorials (because I know there are often differences with it).
If you need some guidance to install or reinstall your system on Raspberry Pi, click on this link to read my tutorial.
Then, make sure your system is connected to the Internet and up-to-date:sudo apt update
sudo apt upgrade -y
You can obviously use the graphic tools to do the same thing if you don’t like command lines :-).
I generally recommend configuring SSH, or VNC, so you can follow the next steps from your computer if you don’t have a comfortable setup with your Raspberry Pi. Click on the links for more details on how to use this to be more efficient.
Are you a bit lost in the Linux command line? Check this article first for the most important commands to remember and a free downloadable cheat sheet so you can have the commands at your fingertips.

Join Our Community!
Connect, learn, and grow with other Raspberry Pi enthusiasts. Support RaspberryTips and enjoy an ad-free reading experience. Get exclusive monthly video tutorials and many other benefits.
Learn morePi-Apps
Once the system is ready, Pi-Apps can be installed with one command line.
As mentioned in the introduction, Pi-Apps is a free tool, including a bunch of scripts that will help us to install applications that are not available with APT (or the “Add/Remove Software” tool if you use the GUI).
You can get it from their website, or just copy/paste this line into a terminal:wget -qO- https://raw.githubusercontent.com/Botspot/pi-apps/master/install | bash
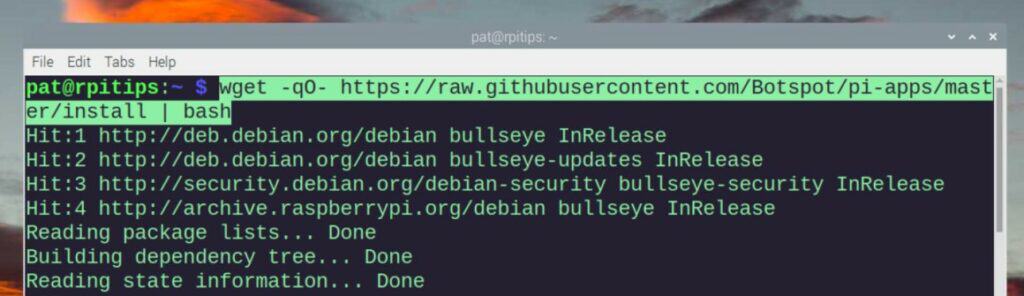
It will download a script that will do everything for you. Just wait a few seconds for the installation to complete.
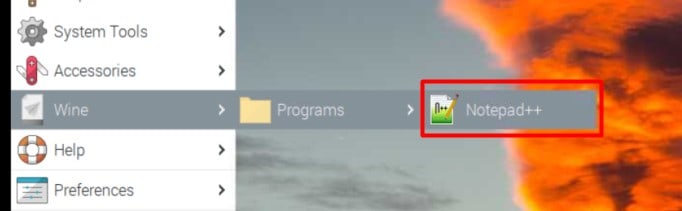
Once installed, a shortcut is added to your Desktop, and you can also find Pi-Apps in the main menu under Accessories.
Install Wine on Raspberry Pi
Once Pi-Apps is installed on a 32-bit version of Raspberry Pi OS, Wine is available in Pi-Apps, under Tools and Emulation. It can be installed in one click from there.
- Double-click on the shortcut on your Desktop to run Pi-Apps.
- Browse to Tools > Emulation, or use the search engine to find Wine in the apps list.

Once you have the same screen as on my screenshot, you can simply click on “Install” at the bottom right of the window to start the installation. Pi-Apps will open a terminal and run all the commands for you.
The installation will take a while to complete (it took me at least 20 minutes on a Pi 4), it’s a bit like installing Windows, so it’s normal. Don’t worry about all the various messages showing up in the terminal, just be patient.
During the installation, the Wine configuration window will open. You need to close it manually or the installation won’t continue. We’ll get back to this tool in the next section.
It's a free PDF guide containing every Raspberry Pi Linux command you should know!
Download now
Wait a few more minutes, have a coffee, and you should have the installation completed soon. Once done, the line with “Wine (x86)” in Pi-Apps is colored in green. You can now close Pi-Apps, we don’t need it anymore.
Wine configuration on Raspberry Pi
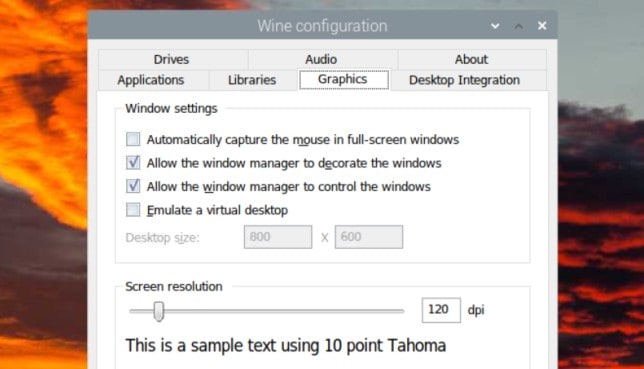
Now that Wine is installed, let’s take a quick look at the Wine configuration tool.
Launch the Wine configuration tool by either selecting it from the main menu of your Raspberry Pi (System Tools > Wine Configuration) or by running the following command in a terminal:winecfg
The Wine Configuration Tool will open with several tabs and options for customizing your installation according to your requirements. Here is a short summary of each tab available:
- Applications: The “Application” tab allows you to create settings that are specific to individual applications running through Wine. You may have to come back there later if you try to install an app that doesn’t work with the default settings.
- Libraries: This tab provides the ability to override the default loading behavior of DLLs (Dynamic Link Libraries) in Wine. DLLs are essential components of Windows applications that provide various functionalities and can be shared among multiple applications.
- Graphics: This tab allows you to configure various settings related to the graphical display of Windows applications running through Wine.
- Desktop integration: This provides options to customize the appearance and behavior of Windows applications, allowing you to integrate them more seamlessly with your Linux desktop environment.
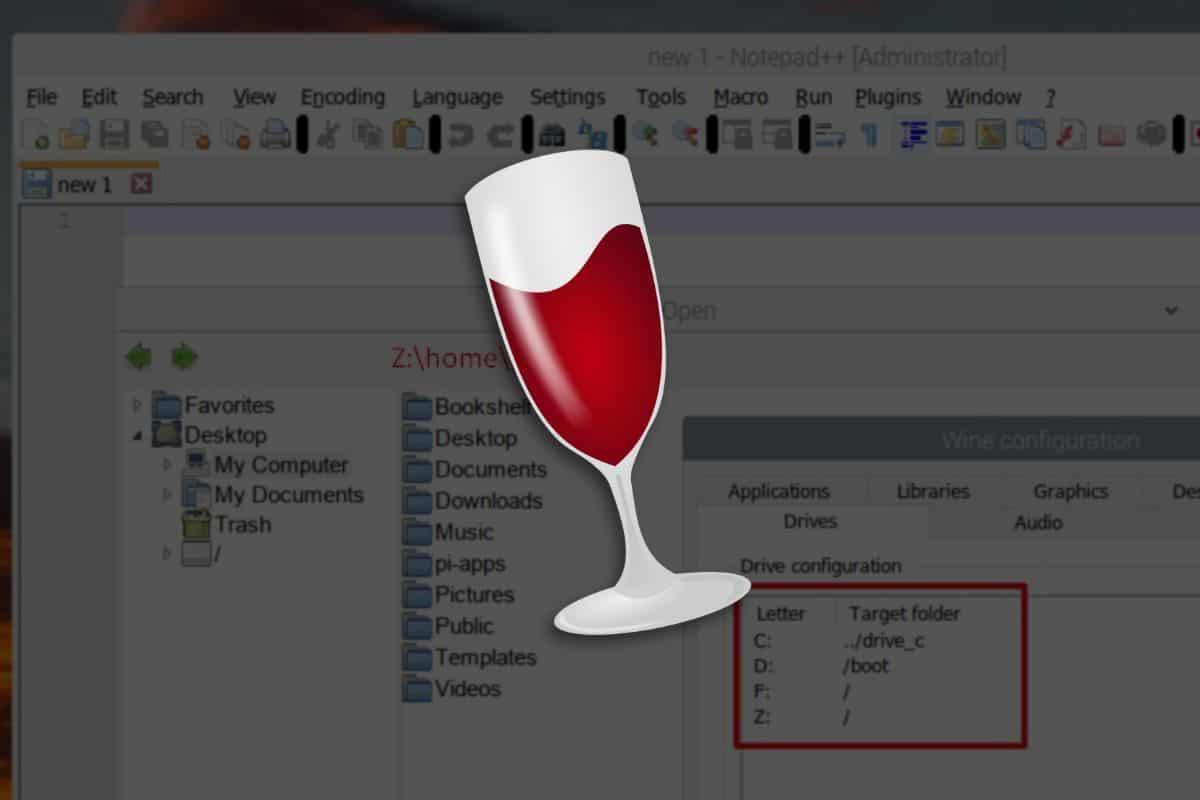
- Drives: This tab lets you control how Windows drive letters are mapped to Unix paths within the Wine environment. You can specify the mapping between Windows drive letters (such as C:, D:, etc.) and the corresponding directories or partitions in your Unix file system.
- Audio: If needed, you can use this tab to change the audio devices used with wine.
- About: A simple screen giving you the Wine version and allowing you to change the Windows system owner and organization names.
In most cases, the default settings will be fine, so you don’t have to worry much about this. I can’t cover everything that’s there, I just want to give you an overview of the thing. Check the online documentation for more details on a specific feature.
Note: Remember that Wine has been around forever on Linux systems (first version in 1993). The installation on a Raspberry Pi might be a bit trickier, but once done, using Wine on a Raspberry Pi is not that different from using it on any Linux computer. So, you’ll easily find help online.
It's a free PDF guide containing every Raspberry Pi Linux command you should know!
Download now
Example: Run Notepad++ on Raspberry Pi
Now that Wine is installed and configured, let’s proceed with an example. We’ll try this with Notepad++, a popular text editor only available for Windows.
Keep in mind that not all Windows applications may work flawlessly, so it’s recommended to check Wine’s compatibility database. That’s where you’ll also find specific instructions to change your configuration to make an app work if needed.
Here are the steps to install Notepad++ using Wine:
- Start by downloading the Windows version of Notepad++ from the official website.
Open your web browser and navigate to the Notepad++ download page.
Click on the latest version available, and download the one for a 32-bit system.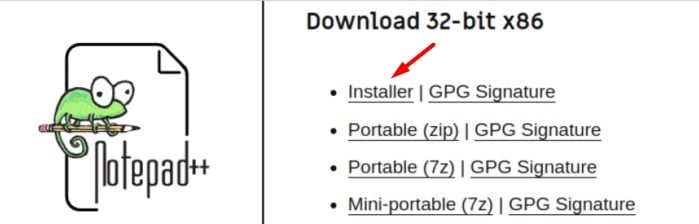
- Once the download completes, navigate to the directory where the Notepad++ installer file is saved on your Raspberry Pi (by default it’s in the Downloads folder, under /home/$USER).
cd Downloads - Execute the Notepad++ installer using Wine by running the following command in your terminal. It should be something like:
wine npp-<version>.Installer.exe - The Notepad++ installer should now launch.

Follow the on-screen instructions provided by the Notepad++ installer to complete the installation process, just as you would do on a normal Windows machine. - Once Notepad++ is successfully installed, you should now see an entry for it in Wine’s application menu.
Launch Notepad++ using that entry and enjoy editing text using the popular Windows-based editor on your Raspberry Pi.
Remember that all Wine applications run thinking they are on a Windows system, it’s not natively running on Raspberry Pi OS, which means there are a few things to keep in mind.
For example, if you try to open a file with Notepad++, you can’t go directly to /home/$USER, it doesn’t exist. But when we configured Wine, we saw the links existing between Windows drive letters and Linux folders. With the default settings, opening Z:\ on Notepad++ will give you access to the Raspberry Pi OS files:
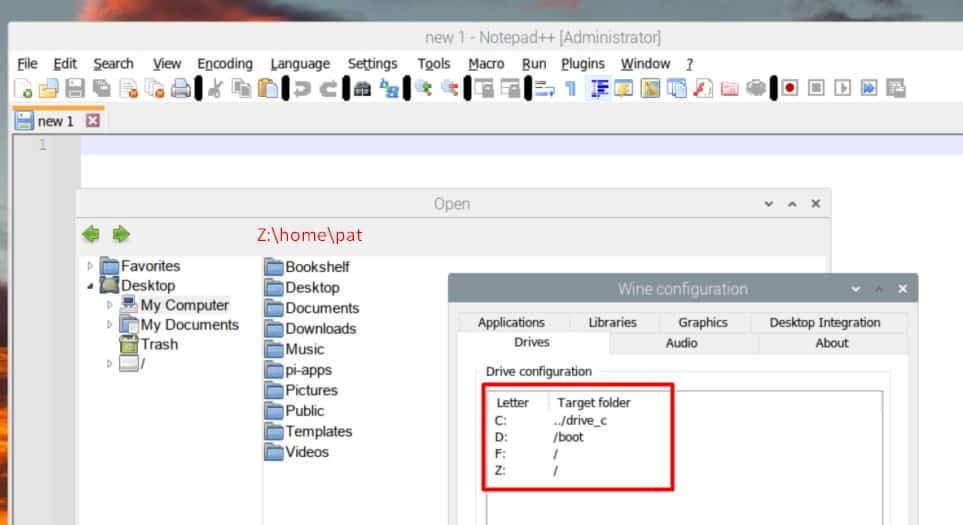
At this point, it might be a good idea to add a new drive (H:\ for example), pointing to your home directory, or your project folder, to save time within Notepad++.
Anyway, we have successfully installed Wine on Raspberry Pi OS and validated that a Windows app can run with it. Now, it’s time to test your favorite applications and see which one you can use on Raspberry Pi OS.
But remember, native applications always work better, and excellent alternatives are available, as you can see in these articles:
- 17 Best Apps to Use a Raspberry Pi as a Desktop PC
- Can a Raspberry Pi 4 really Replace your Desktop PC? (I Tried)
It's a free PDF guide containing every Raspberry Pi Linux command you should know!
Download now
Want to chat with other Raspberry Pi enthusiasts? Join the community, share your current projects and ask for help directly in the forums.
Related questions
Is Wine an emulator?
Wine is not an emulator. Wine stands for “Wine Is Not an Emulator.” It is a compatibility layer or compatibility framework that allows you to run Windows applications on Unix-like operating systems such as Linux, macOS, and Pi.
Emulators, on the other hand, simulate an entire hardware environment, including the CPU, memory, and other system components, to enable the execution of software designed for a different platform. They aim to replicate the behavior of a specific hardware architecture.
Wine, however, does not emulate the entire Windows operating system or hardware environment. Instead, it provides a set of libraries and APIs that reimplement the Windows API (Application Programming Interface) on Unix-like systems.
What are the kinds of Windows applications that can run well with Wine?
Wine has made significant progress in compatibility with a wide range of Windows applications, but the level of compatibility can vary depending on the complexity and age of the application.
As a general rule, simpler or older applications tend to have better compatibility with Wine. These applications often rely on simpler API calls and have fewer dependencies, making them more likely to work well with Wine.
I have many applications already installed on Windows, can I copy them to the Raspberry Pi?
Copying Windows applications directly from a Windows installation to a Raspberry Pi running Wine is not recommended.
Wine is not designed to work directly with Windows installations or copy Windows applications in that manner. Wine requires specific configurations and compatibility layers to run Windows applications on a Unix-like system.
It’s recommended that you download and install the Windows applications on your Raspberry Pi using Wine from scratch, rather than attempting to copy them from a Windows installation. This may require additional setup steps, but it will ensure that your applications are correctly configured and run properly on the Raspberry Pi.
Whenever you’re ready, here are other ways I can help you:
The RaspberryTips Community: If you want to hang out with me and other Raspberry Pi fans, you can join the community. I share exclusive tutorials and behind-the-scenes content there. Premium members can also visit the website without ads.
Master your Raspberry Pi in 30 days: If you are looking for the best tips to become an expert on Raspberry Pi, this book is for you. Learn useful Linux skills and practice multiple projects with step-by-step guides.
The Raspberry Pi Bootcamp: Understand everything about the Raspberry Pi, stop searching for help all the time, and finally enjoy completing your projects.
Master Python on Raspberry Pi: Create, understand, and improve any Python script for your Raspberry Pi. Learn the essentials step-by-step without losing time understanding useless concepts.
You can also find all my recommendations for tools and hardware on this page.