
How to Install Etcher on Raspberry Pi OS (SD Card Creation)
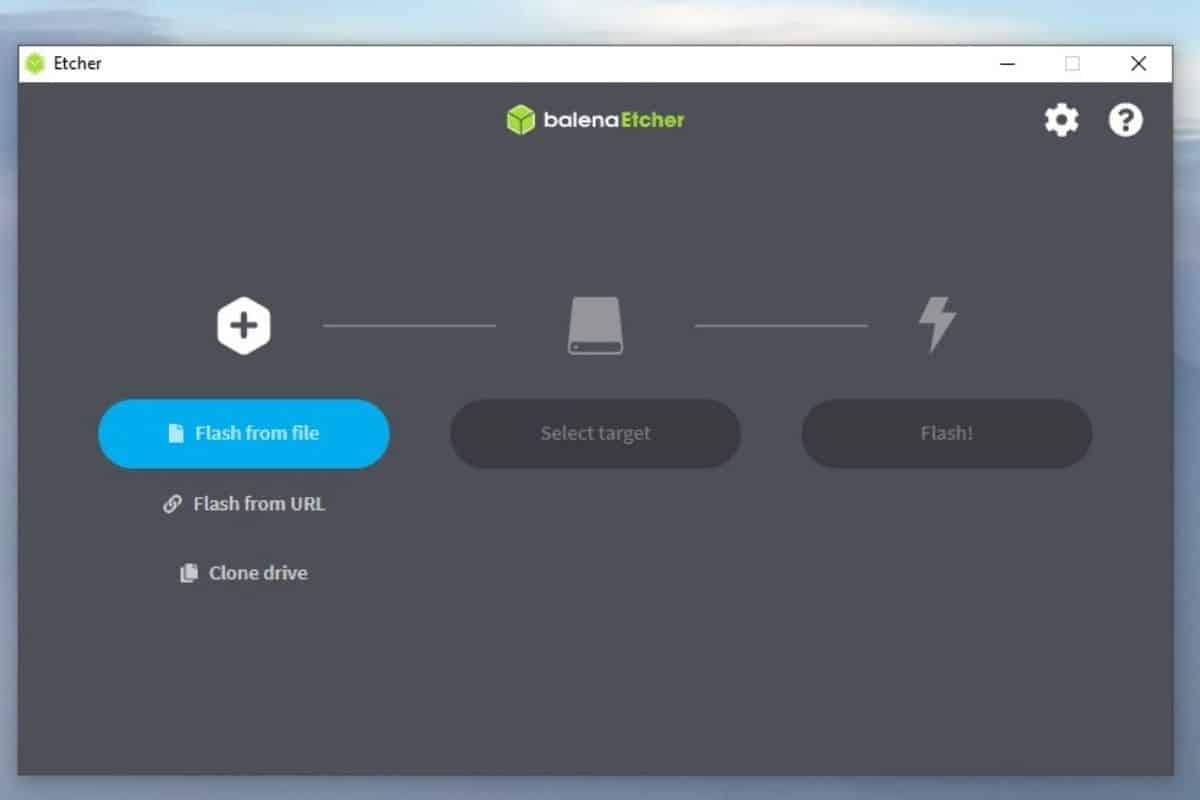
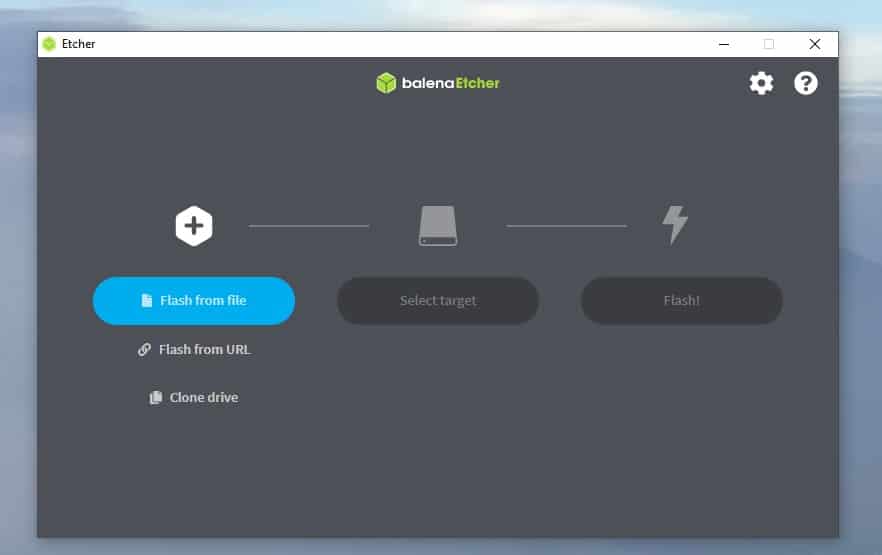
Balena Etcher is one of my favorite tools to create new SD cards for Raspberry Pi. It works wonders on Windows, macOS, and Linux. They claim it works on all platforms, so I tried on Raspberry Pi OS. In this article, I will share my experience and the solutions I have found.
Balena Etcher is available on all operating systems, but only for x64 architectures. So, there is no way to install it on a Raspberry Pi. Hopefully, other alternatives like Raspberry Pi Imager can be used to do the same thing.
Don’t worry, you can absolutely create a bootable SD card without a regular desktop or laptop – using only a Raspberry Pi 4. I will show you how to do this in this article, but first, let’s see why Etcher doesn’t work.
If you need help getting started on Raspberry Pi, I have an entire course to guide you through your first steps. I’ll help you use the perfect hardware, plug everything in and install your first system. You’ll also do your first projects with me, just to make sure you are ready for the next level. Get all the information on this page if you are interested.
Can you run Etcher on Raspberry Pi OS?
There is no official installer available for Balena Etcher on Raspberry Pi. The only files available are for the x64 architecture on Windows, macOS, and Linux.
Is there an official version of Etcher for the Raspberry Pi?
As illustrated by the screenshot below, Balena does not have Raspberry Pi OS or the installer on its list.
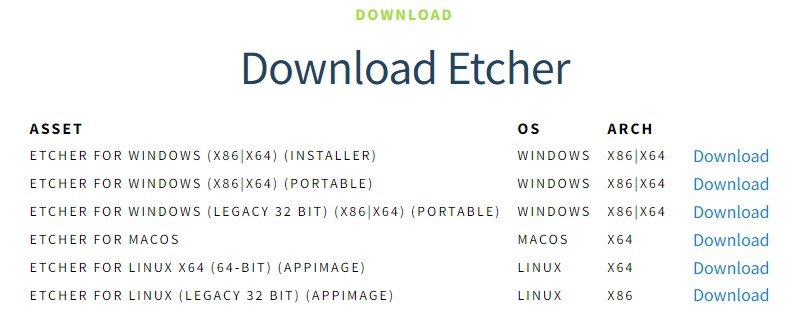
All installers are for x86 and x64 architectures, while the Raspberry Pi is running on ARM. The architecture of a computer tells how computer hardware and software interact together. It’s always better to find software that has been developed especially for the Raspberry Pi architecture.
If you are lost in all these new words and abbreviations, request my free Raspberry Pi glossary here (PDF format)!
Download now
As Balena Etcher is an open-source project, you may find some old archives from the guys who compiled it for the Raspberry Pi. But they are obsolete versions from unofficial locations. Most of them lead to non-existent sites, and the last one was even flagged by my antivirus as a dangerous site.
How to install Etcher on Raspberry Pi OS?
If you really want to use Balena Etcher on Raspberry Pi, you can install Raspberry Pi OS Bullseye 64-bits and use Pi-Apps to install it.
1/ Install Pi-Apps with this command:wget -qO- https://raw.githubusercontent.com/Botspot/pi-apps/master/install | bash
2/ Open Pi-Apps, and then go to the “Tools” category. Find and install Balena Etcher: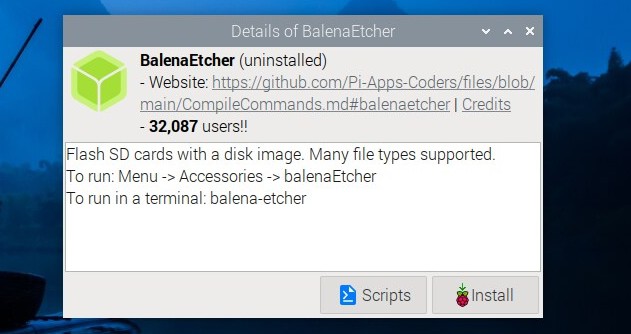
3/ Once installed, you can start Etcher from the main menu (under Accessories):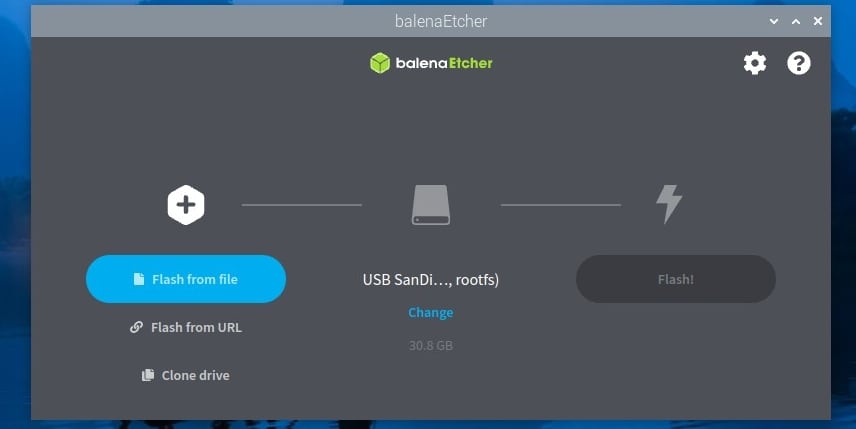
It's a free PDF guide containing every Raspberry Pi Linux command you should know!
Download now
Is there an alternative to Balena Etcher on Raspberry Pi OS?
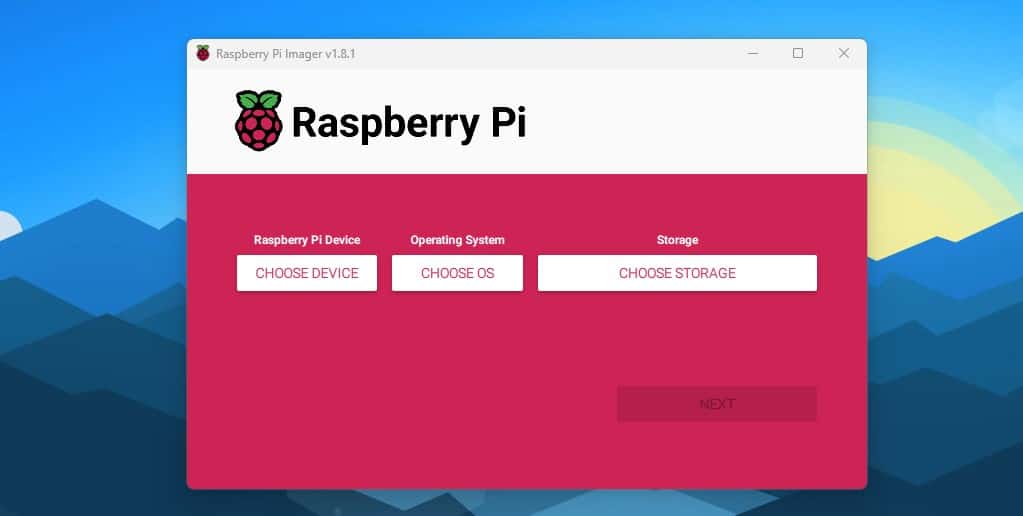
The best alternative to Balena Etcher on Raspberry Pi is Raspberry Pi Imager. It is developed by the Raspberry Pi Foundation, the company behind the Raspberry Pi, and so it works perfectly on Raspberry Pi OS.

Join Our Community!
Connect, learn, and grow with other Raspberry Pi enthusiasts. Support RaspberryTips and enjoy an ad-free reading experience. Get exclusive monthly video tutorials and many other benefits.
Learn moreWhat is the difference between Balena Etcher and Raspberry Pi Imager?
There is almost no difference between Balena Etcher and Raspberry Pi Imager. Both are used to install operating systems on an SD card or USB flash drive. It writes an image file into a storage device that you use to boot computers like the Raspberry Pi.
On Balena Etcher, you need to download the system image first, and then flash it on an SD card (or USB drive). Raspberry Pi Imager even makes your life easier by giving you a list of systems that work on Raspberry Pi. The download will be done in the background, and the file flashed directly.
On the latest versions, Raspberry Pi Imager even filters the OS list, by showing only images compatible with your device (as explained here).
So in some aspects, it may even be easier to use Raspberry Pi Imager instead of Balena Etcher. Let’s see how to do this.
Prerequisites
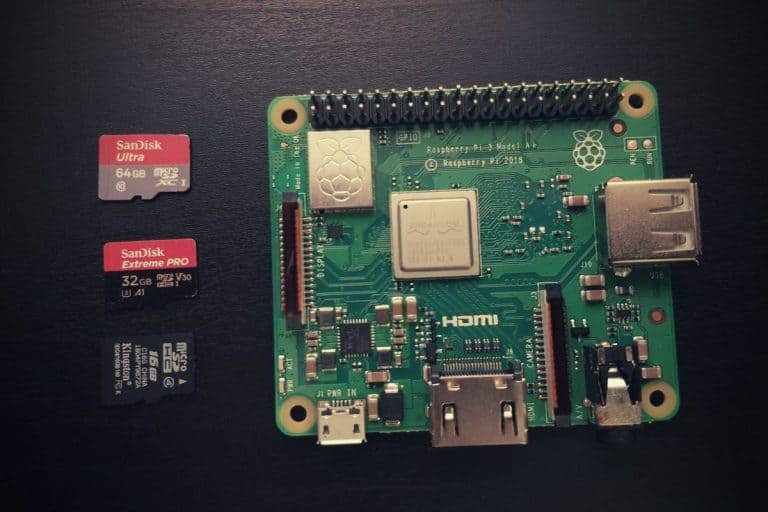
Whatever the tool you use to flash an SD card on Raspberry Pi OS, you’ll need a USB adapter to connect a second SD card. You can’t remove the SD card from your operating system while doing this.
If you are lost in all these new words and abbreviations, request my free Raspberry Pi glossary here (PDF format)!
Download now
A USB adapter is a cheap accessory you can get anywhere (I like this one on Amazon, for example because there is a USB cable, and it’s a brand that sells great products). It’s plug & play, so it’s easy to use. Just make sure to choose the correct storage location in Raspberry Pi Imager, which I’ll explain in the next section).
Obviously, if you are flashing a system on a USB disk or already running Raspberry Pi OS via USB (as I explain in my course), it’s not required.
It's a free PDF guide containing every Raspberry Pi Linux command you should know!
Download now
If you are looking for exclusive tutorials, I post a new course each month, available for premium members only. Join the community to get access to all of them right now!
How to use Raspberry Pi Imager on Raspberry Pi
Install Raspberry Pi Imager
You can install Raspberry Pi Imager with the graphical tool or in the command line. I will explain with the graphical tool, but if you are confident with the command line, you can skip this part and copy/paste the command I give later on.
Note: In some recent releases, Raspberry Pi Imager is pre-installed by default. So you may already have it on your system. Check the “Accessories” category in the main menu to see if you already have it or not.
With the Add/Remove software app
- In the main menu, go to Preferences and start “Add / Remove Software”.
- As always, start by updating the available packages:
Options > Refresh package list. - Then type “rpi-imager” in the search engine, and install the corresponding package:
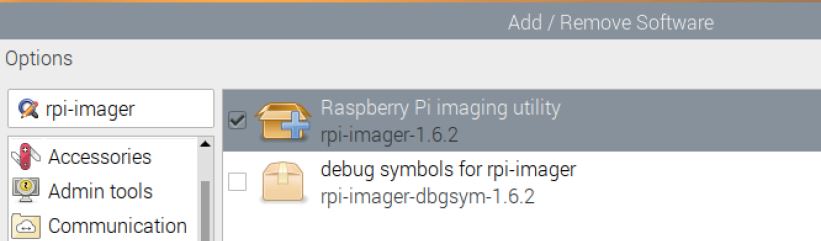
- Click on Apply, enter your password, and it’s done!
In a terminal
As always, the fastest way is often to use a terminal or install it via SSH:
- Start by updating the packages list:
sudo apt update - Then install the corresponding package for Raspberry Pi Imager:
sudo apt install rpi-imagerHit Enter and confirm download by choosing “Yes.” - Wait until the download and installation is done.
Are you a bit lost in the Linux command line? Check this article first for the most important commands to remember and a free downloadable cheat sheet so you can have the commands at your fingertips.
Use Raspberry Pi Imager on Raspberry Pi
I have a complete guide about Raspberry Pi Imager here, not specific to the Raspberry Pi, but that can be useful if you want to discover more advanced tips. But anyway, here is the short version on how to use this tool.
Once the download and installation are complete, check your Raspberry Pi menu.
Scroll down to Accessories, and voilà!
There you should see the RPI Imager icon.

Click the Imager icon to launch it.
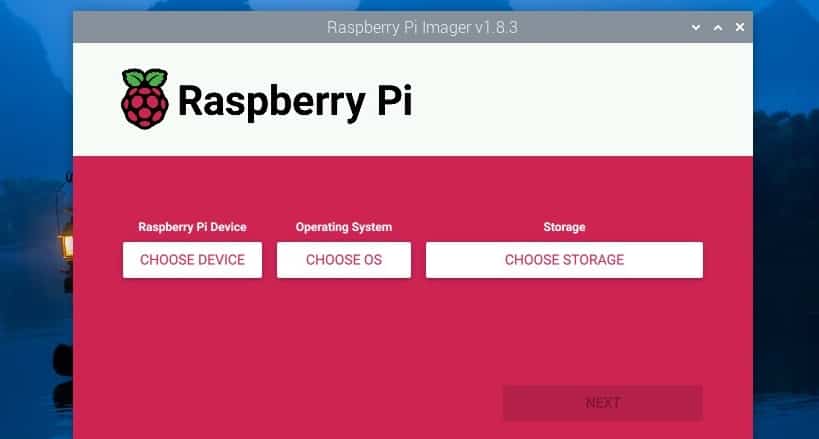
And you will be ready to write your bootable SD card.
One cool thing about the RPI Imager is that they have a host of recommended operating systems that are either what you are looking for or the equivalent of what you are looking for. You no longer have to go digging around looking for links to the software that you want. They probably already have it on their list.
And if they are, then you can be certain they work on Raspberry Pi.
But you can customize as well if you need to.
Flash your SD Card with Raspberry Pi Imager
Here’s how you do it:
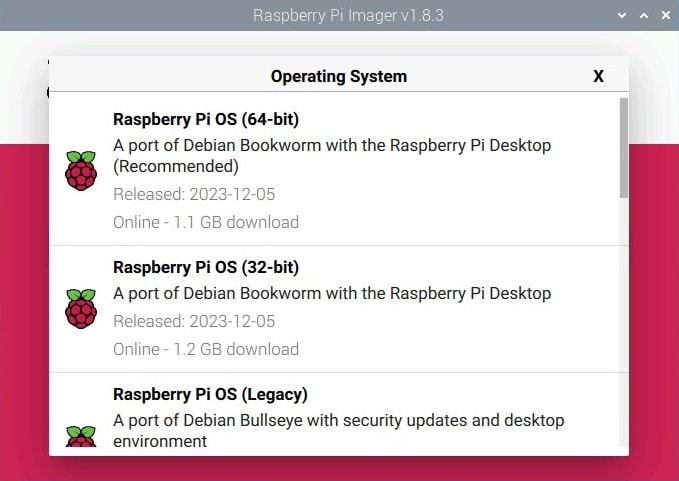
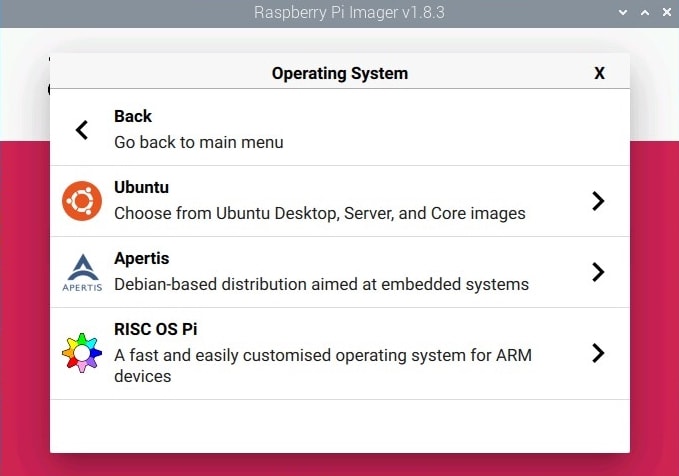
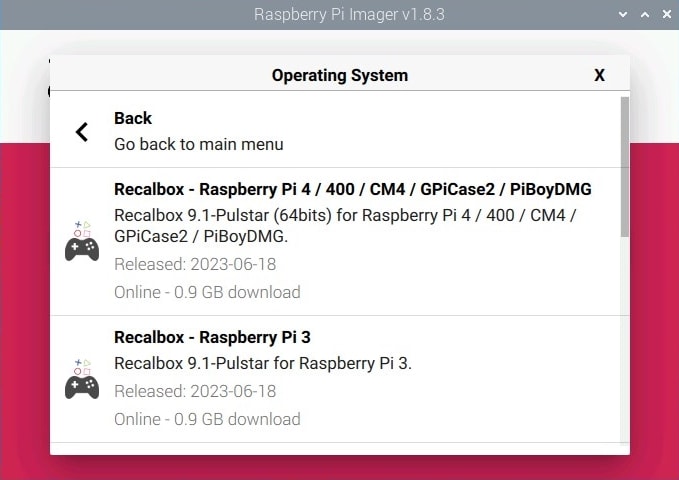
- Choose OS – once you click the Left Button “Choose OS” a dialogue box will open several operating systems that you can use. If you pick one of those that has this “ > ” signs on the right, it will open a sub-menu that offers several other choices.
The items that will appear in the list are all recommended for Raspberry Pi, so you won’t have a problem with compatibility issues. - Once you click to choose one of the options, your screen will look like this.
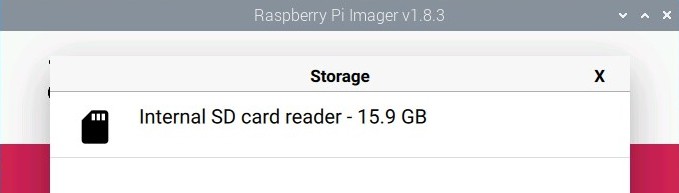
Well, it will present other choices of storage devices if more than one is attached to your Raspberry Pi when do this. - You select the storage device where you want your chosen operating system to be created.
- Then you click “Write”.
It will be the last button to the right after you have chosen the SD card or USB storage device that you want to make bootable. - And that’s it, you are done!
Not sure which operating system to try first, I got you covered! You can find my top 15 list for the Raspberry Pi here.
I also have many detailed tutorials for most of the operating systems, if you are a bit lost when trying something special, you can probably find help on this website:
- How to Install Manjaro on Raspberry Pi?
- RetroPie step-by-step beginners guide (with pictures)
- Raspberry Pi OS vs Ubuntu: What’s the Best for Desktop Usage?
Whenever you’re ready, here are other ways I can help you:
The RaspberryTips Community: If you want to hang out with me and other Raspberry Pi fans, you can join the community. I share exclusive tutorials and behind-the-scenes content there. Premium members can also visit the website without ads.
Master your Raspberry Pi in 30 days: If you are looking for the best tips to become an expert on Raspberry Pi, this book is for you. Learn useful Linux skills and practice multiple projects with step-by-step guides.
The Raspberry Pi Bootcamp: Understand everything about the Raspberry Pi, stop searching for help all the time, and finally enjoy completing your projects.
Master Python on Raspberry Pi: Create, understand, and improve any Python script for your Raspberry Pi. Learn the essentials step-by-step without losing time understanding useless concepts.
You can also find all my recommendations for tools and hardware on this page.

It’s telling unable to locate pakage