How to Install Jellyfin on the Raspberry Pi
Raspberry Pi offers excellent cost-to-performance value, especially for applications when the device has to be running 24/7, like a media server. When it comes to software options, Jellyfin, an open-source media server developed by volunteers, stands out as the ideal choice!
Jellyfin can be installed via the APT package manager by adding HTTPS support and then the Jellyfin repository. After that, the Jellyfin media server can be configured from the web interface.
The tutorial will discuss the installation process, setup instructions, and configuration tips for Jellyfin on a Raspberry Pi in detail. Before starting with the tutorial, let’s begin with a brief introduction to Jellyfin.
If you’re looking to quickly progress on Raspberry Pi, you can check out my e-book here. It’s a 30-day challenge where you learn one new thing every day until you become a Raspberry Pi expert. The first third of the book teaches you the basics, but the following chapters include projects you can try on your own.
What is Jellyfin?
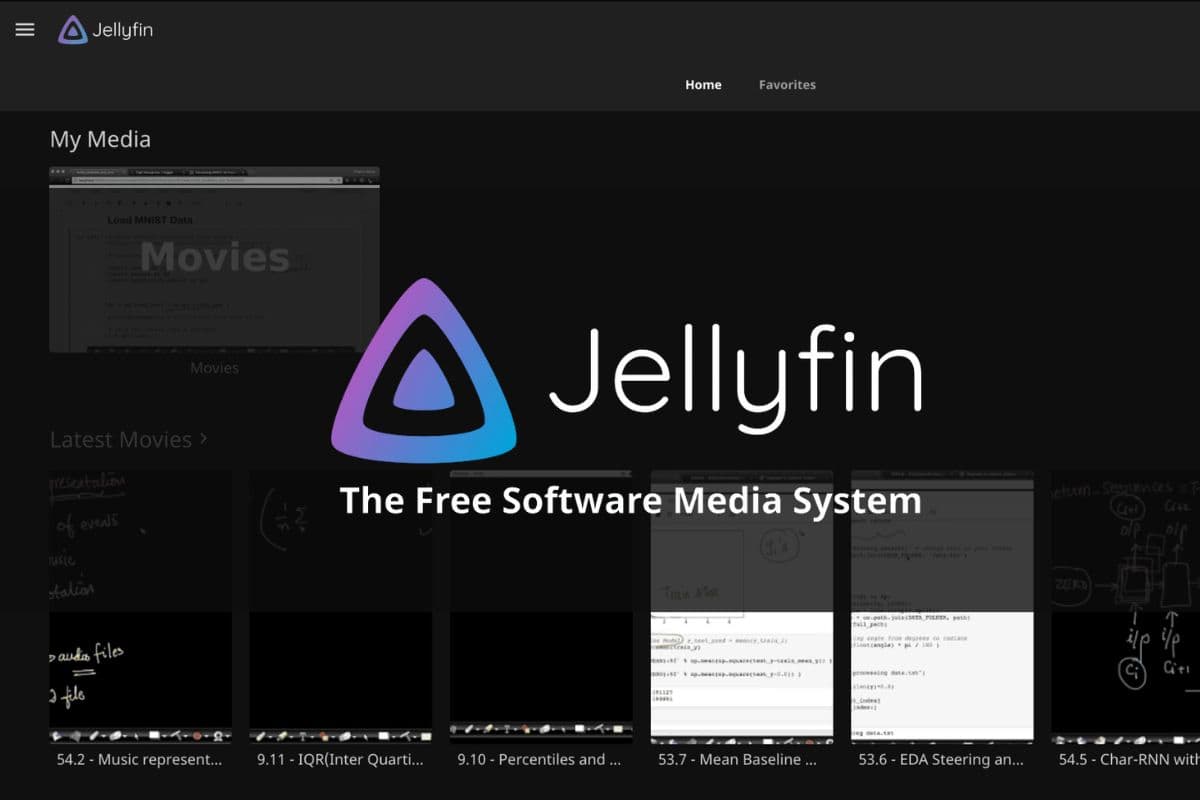
Jellyfin is a powerful media server software that empowers users to create a personalized streaming platform, allowing them to binge-watch their favorite content across multiple devices over a local network.
What sets Jellyfin apart is that there are no paid versions or subscription-based models, which makes it a great alternative to other options like Plex and Emby.
Let’s set up our Raspberry Pi as a Jellyfin media server. We will take a look at the hardware and software requirements for this tutorial before starting the actual tutorial.
Hardware and Software Requirements
Below is a list of things required to follow this tutorial:
- Raspberry Pi: I would recommend using a Raspberry Pi 4 as a media server requires a considerably powerful CPU and more memory.
- SD Card: To flash the latest version of the Raspberry Pi OS for our Pi. You’ll need at least 8 GB, and you can find my SD card benchmark here (or get the best one on Amazon).
- External Drive: It can be an SSD (Solid State Drive), HDD (Hard Disk Drive), or a USB stick with considerable storage. It will be where all the media will be stored.
Apart from this, a local network (Wi-Fi or Ethernet-based) would be required to access Jellyfin remotely through different devices.
Note that you will need a Raspberry Pi with a fresh installation of the latest version of Raspberry Pi OS. Here is a great article that will help you with this: Install Raspberry Pi OS on Raspberry Pi (Illustrated guide).
By the way, if you’re using Ubuntu on your Pi, you can check this other article for Ubuntu users: Installing and Configuring Jellyfin on Ubuntu Server.
It's a free PDF guide containing every Raspberry Pi Linux command you should know!
Download now
Now that we are squared away with the requirements, let’s get started with the tutorial.
Jellyfin Installation and Setup
Below, you’ll find the detailed process for installing Jellyfin on your Raspberry Pi:
- Setting up the Raspberry Pi for Jellyfin Installation.
- Jellyfin Installation on the Raspberry Pi.
- First access and initial setup of the Jellyfin web interface.
Now, let’s delve deeply into each step.
Setting up the Raspberry Pi for Jellyfin
In this section, we will prepare our Raspberry Pi for Jellyfin by doing the following:
- Adding the Jellyfin repository for the apt package.
- Mounting an external storage device.
Let’s cover each option in detail now.

Join Our Community!
Connect, learn, and grow with other Raspberry Pi enthusiasts. Support RaspberryTips and enjoy an ad-free reading experience. Get exclusive monthly video tutorials and many other benefits.
Learn moreAdding the Jellyfin Repository
In this section, we’ll discuss how to add the Jellyfin repository, which allows us to install the Jellyfin software package on our Raspberry Pi. We will need to execute some commands in the terminal to complete this.
- The first step is to always update the built-in packages on our Pi to the latest version. For that, we just execute the following commands in the Pi’s terminal and reboot your Pi for the changes to take effect.
sudo apt update
sudo apt upgrade
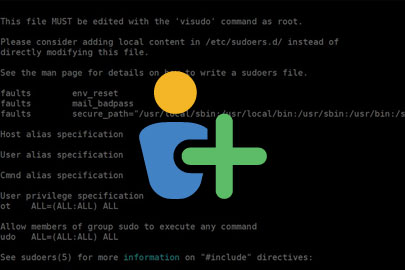
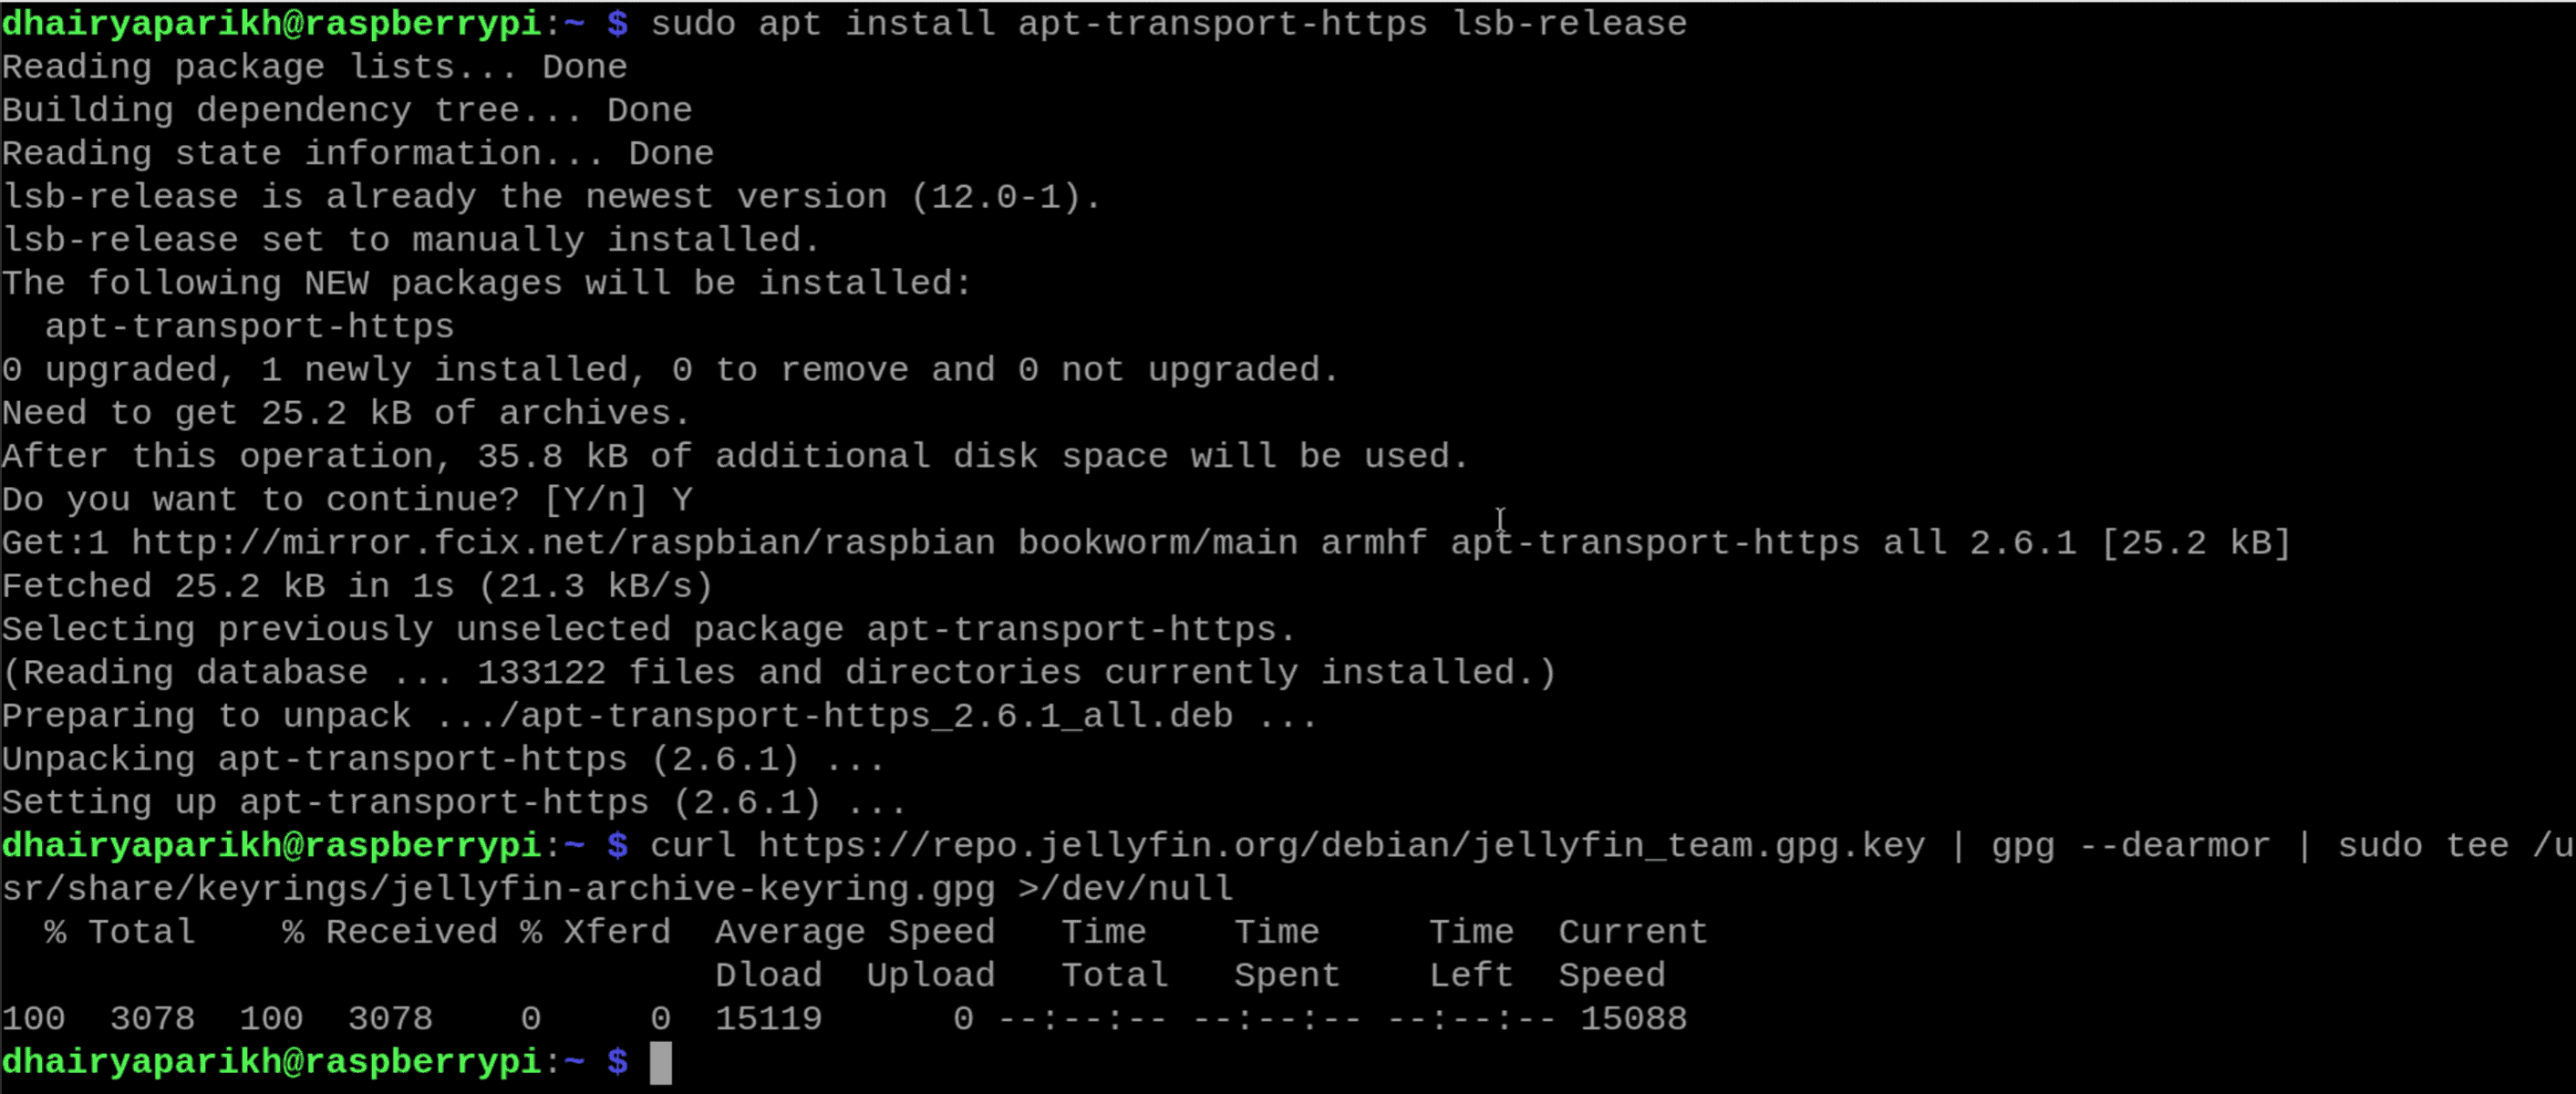
- Next, we will add the Jellyfin repository to the list of repositories that the apt (Pi’s package manager) command searches the packages in. However, the issue is that the Jellyfin repository has an HTTPS (secure HTTP) endpoint, which apt does not support out of the box.
- We use a package called apt-transport-https, which allows apt to access HTTPS repositories. Hence, we will run the following two commands in the terminal: the first one to install the support packages and the next one to add the actual repository to apt’s repository list.
sudo apt install apt-transport-https lsb-releasecurl https://repo.jellyfin.org/debian/jellyfin_team.gpg.key | gpg --dearmor | sudo tee /usr/share/keyrings/jellyfin-archive-keyring.gpg >/dev/null
- The gpg –dearmor is essential to how package repositories remain secure. The gpg keys help ensure that only software signed by the repository will be installed.
- Now, we need to check and install the Jellyfin package compatible with our current hardware and software architecture. Fortunately, we have one command that can help us achieve this:
echo "deb [signed-by=/usr/share/keyrings/jellyfin-archive-keyring.gpg arch=$( dpkg --print-architecture )] https://repo.jellyfin.org/debian $( lsb_release -c -s ) main" | sudo tee /etc/apt/sources.list.d/jellyfin.list
- As shown in the output, it will automatically get the current system architecture and the software release it is running on and show them in the command. For instance, you can see that I am running the latest Raspberry Pi OS Bookworm.

- Finally, we need to update the apt packages list to add our newly added Jellyfin repository. You can do this using this command.
sudo apt update
Are you a bit lost in the Linux command line? Check this article first for the most important commands to remember and a free downloadable cheat sheet so you can have the commands at your fingertips.
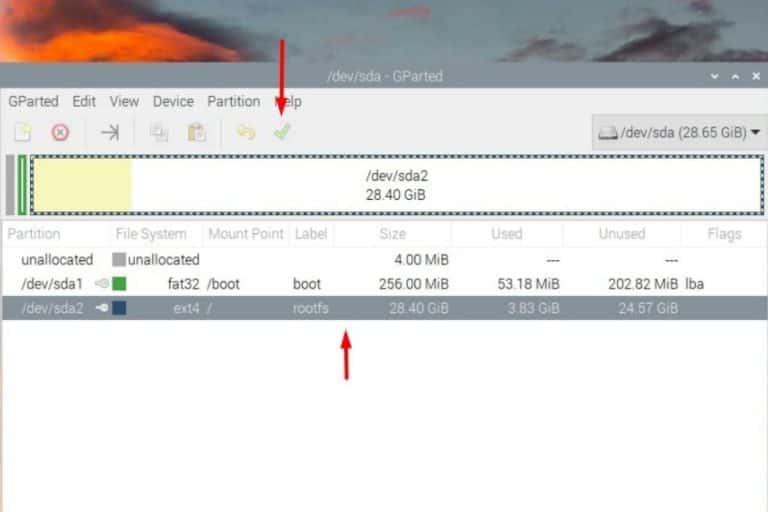
Automatically Mounting an External Drive on Boot
This completes the Jellyfin repo setup on our Raspberry Pi. In addition to this, we will briefly cover how to set up a static mount location for our external storage device so we can set up Jellyfin to use that location as the primary media directory.
We will set up a static mount path “/mnt/jellyfin” for our external device for the purpose of this tutorial.
Just follow this tutorial to set up an external storage device on your Raspberry Pi: How to Format and Mount a USB drive on Raspberry Pi.
This completes the required setup to make our Pi ready for Jellyfin. Now, we can proceed with the actual Jellyfin installation process.
Jellyfin Installation
Now that we’ve set up our Raspberry Pi for Jellyfin, let’s install it. This section will show you how to install Jellyfin using just a single command.
Execute the following command on a fresh terminal window:sudo apt install jellyfin
This command installs the Jellyfin version specific to our Raspberry Pi’s hardware and software architecture. It will take some time to complete this process as Jellyfin is a pretty hefty package (around 100 megabytes).
If everything was set up correctly, you should be able to install Jellyfin without any issues.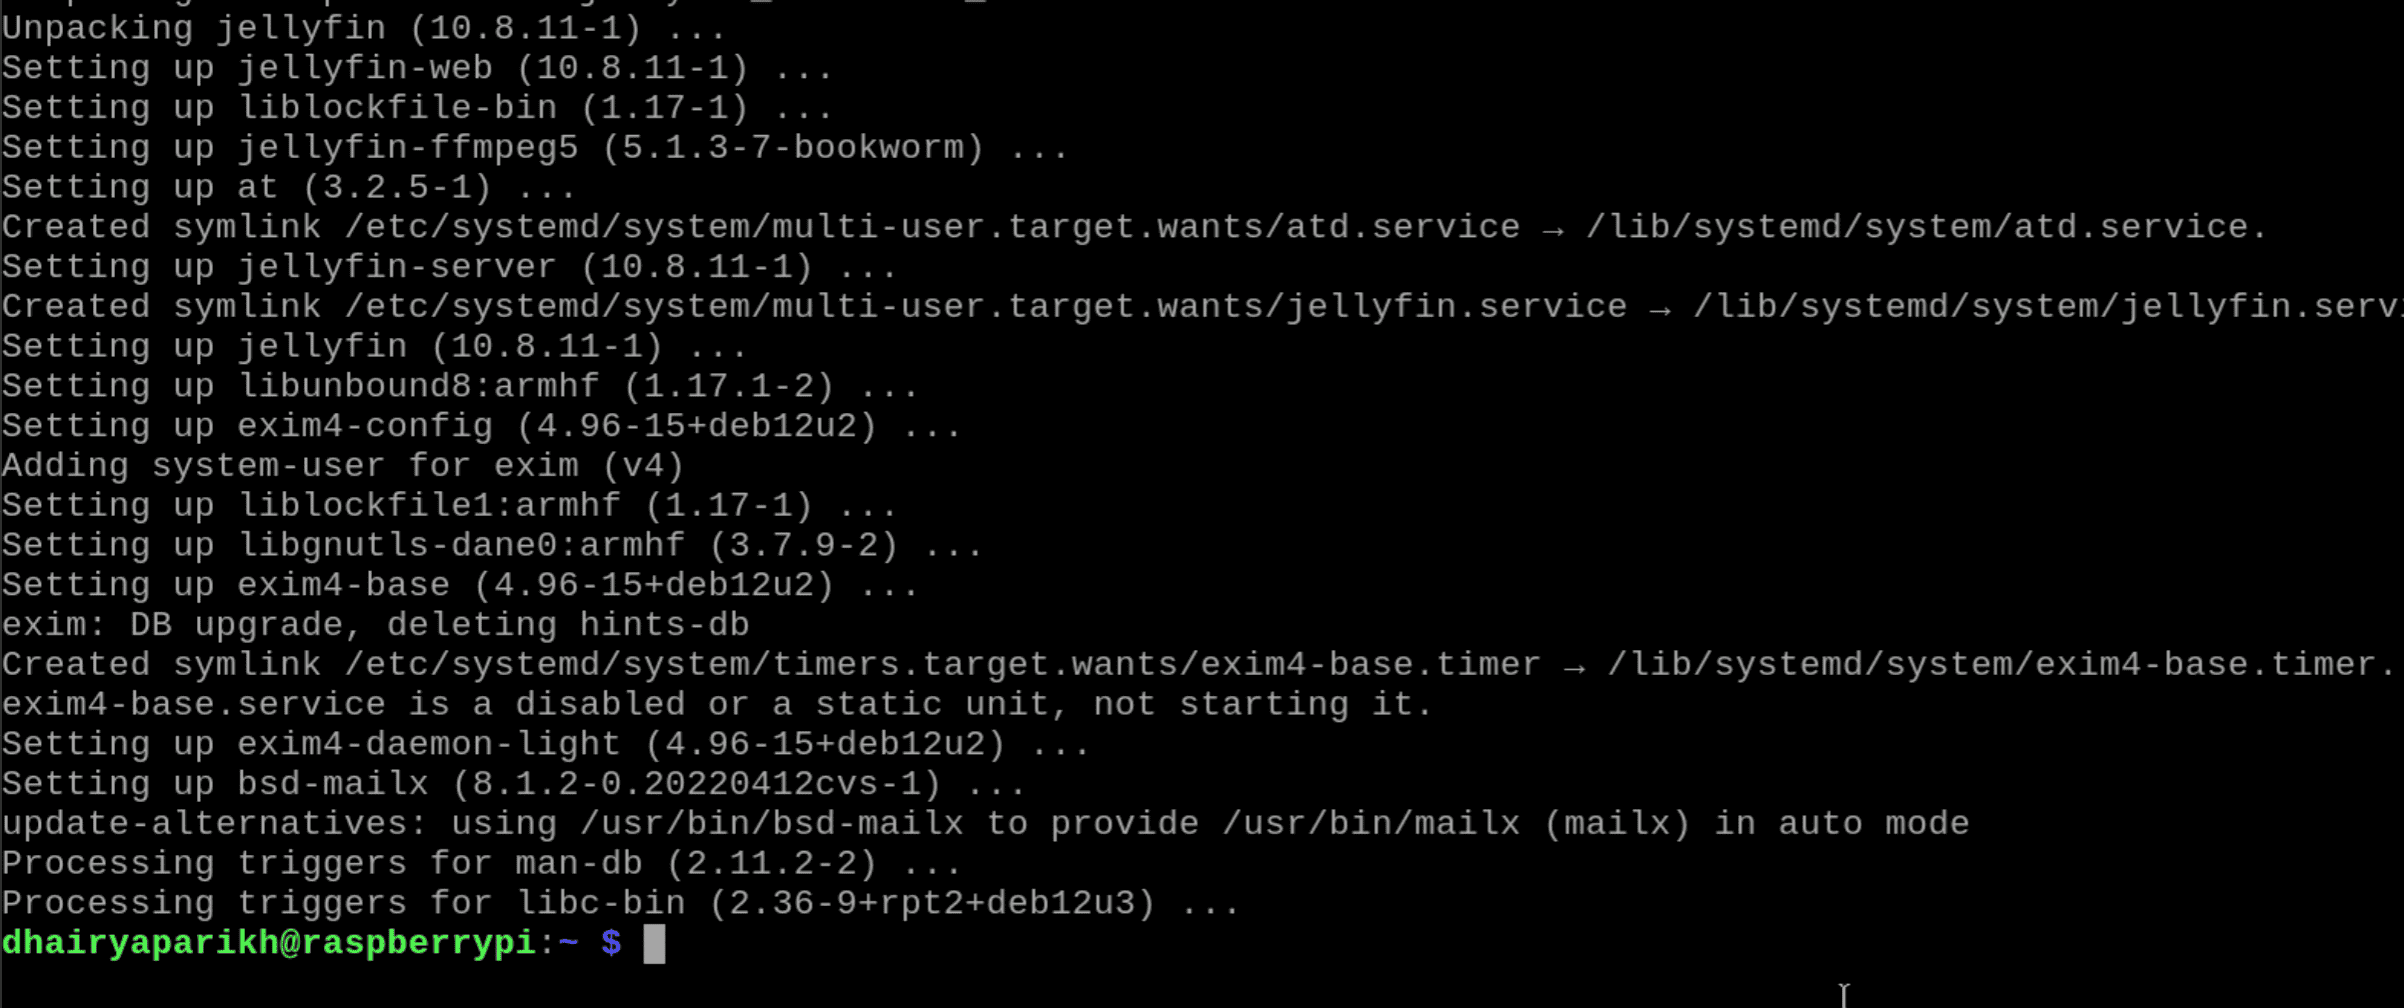
It's a free PDF guide containing every Raspberry Pi Linux command you should know!
Download now
This is it! You have successfully installed Jellyfin on your Raspberry Pi.
Next, we will take a look at how to access the Jellyfin web interface for the first time and complete the first-time setup.
Jellyfin’s First Access and Initial Setup
Jellyfin will run by default once it has been installed. To access the web interface, which is used to complete the initial setup, open the following URL from a device connected to the same network as your Raspberry Pi: http://<Raspberry Pi's IP Address>:8096
You can check the linked tutorial to find the current IP address of your Raspberry Pi.
Once the interface is open, follow these steps to complete the initial configuration:
- On the Jellyfin Welcome Page, you can press the Quick Start Guide button to get some more information about the setup process.

- Now, we will just go through the setup process together. Pressing the Next button will take you to the User Setup page. Here you will set up a new user profile, which will have full control of the media server. It is equivalent to creating an admin user.
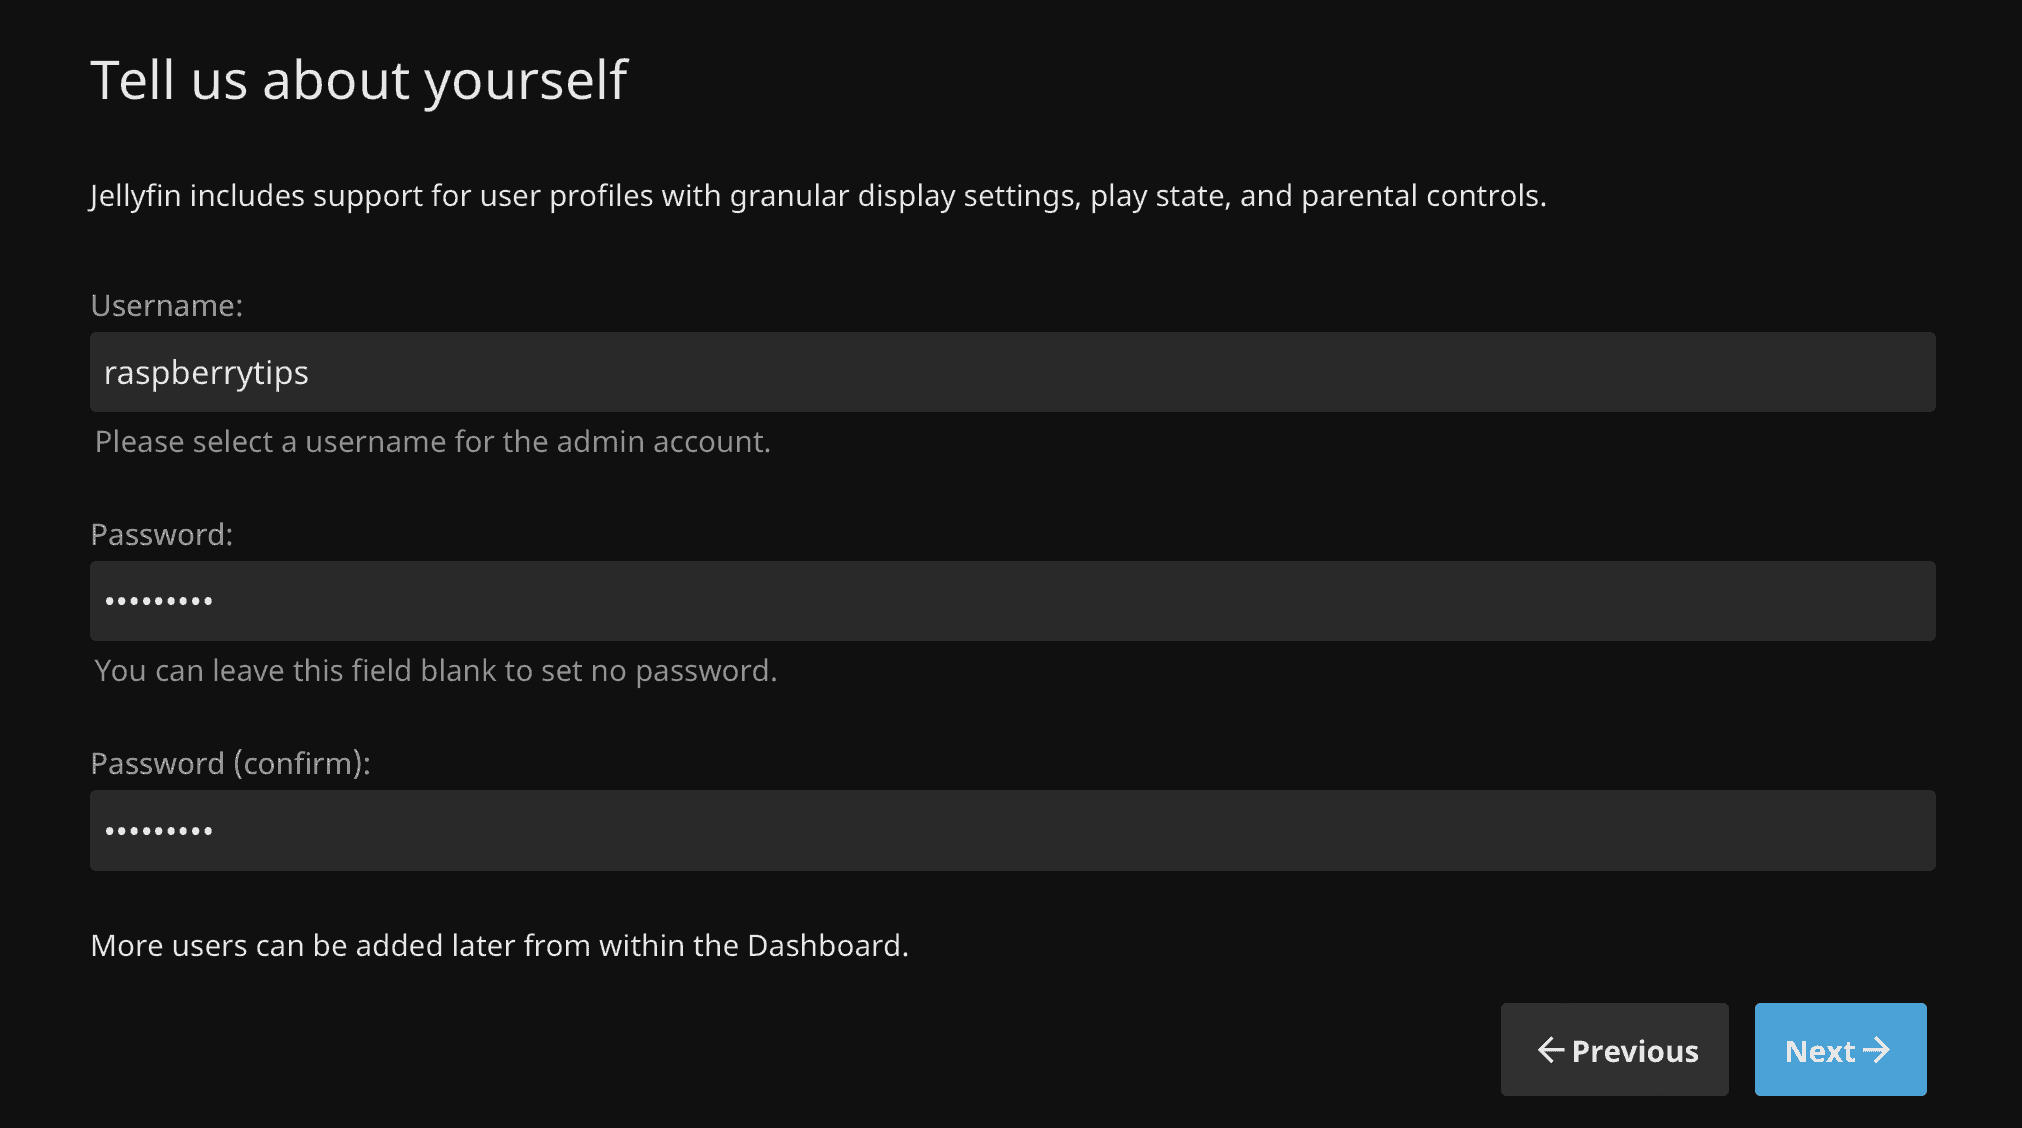
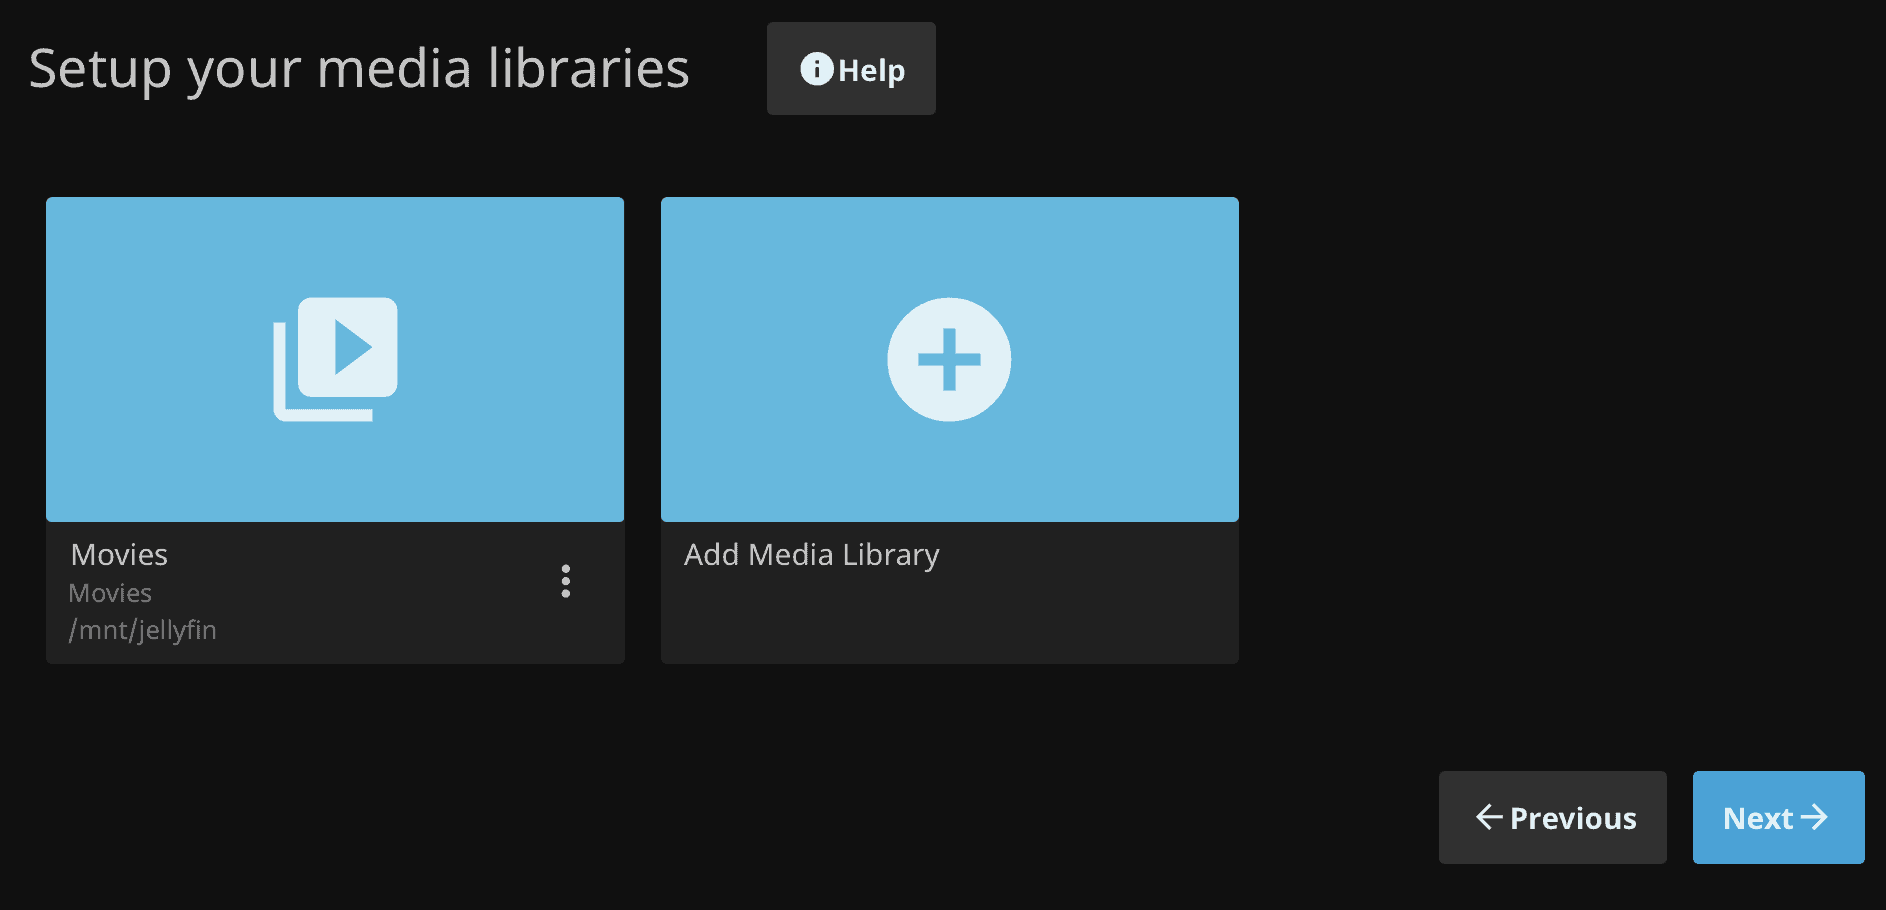
- I suggest setting up a basic password for added security. Once all required fields are filled, click Next. It will then prompt you to select a media library, which will be the primary directory where all your media will be stored.
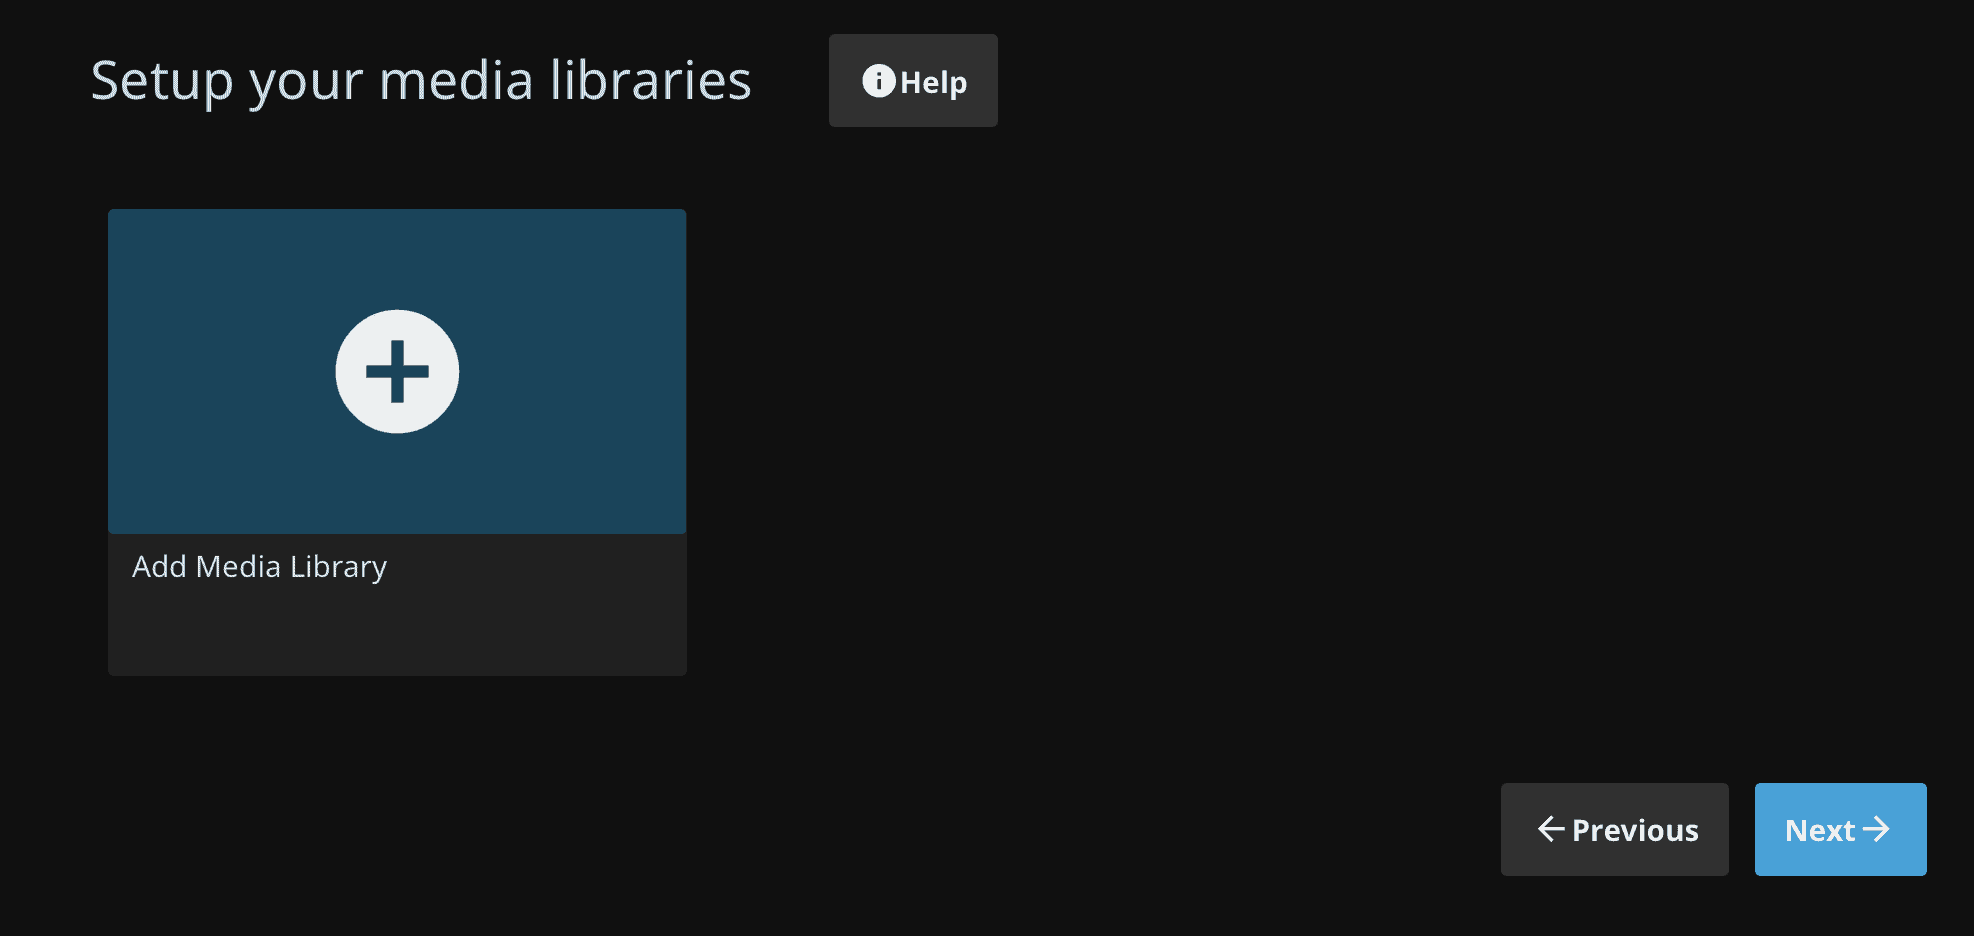
- We have already set up a static mount path for our external storage device while setting up the Raspberry Pi for Jellyfin. This will be our Media Library. Just press the Add Media Library button and select the desired Content type and Display name.

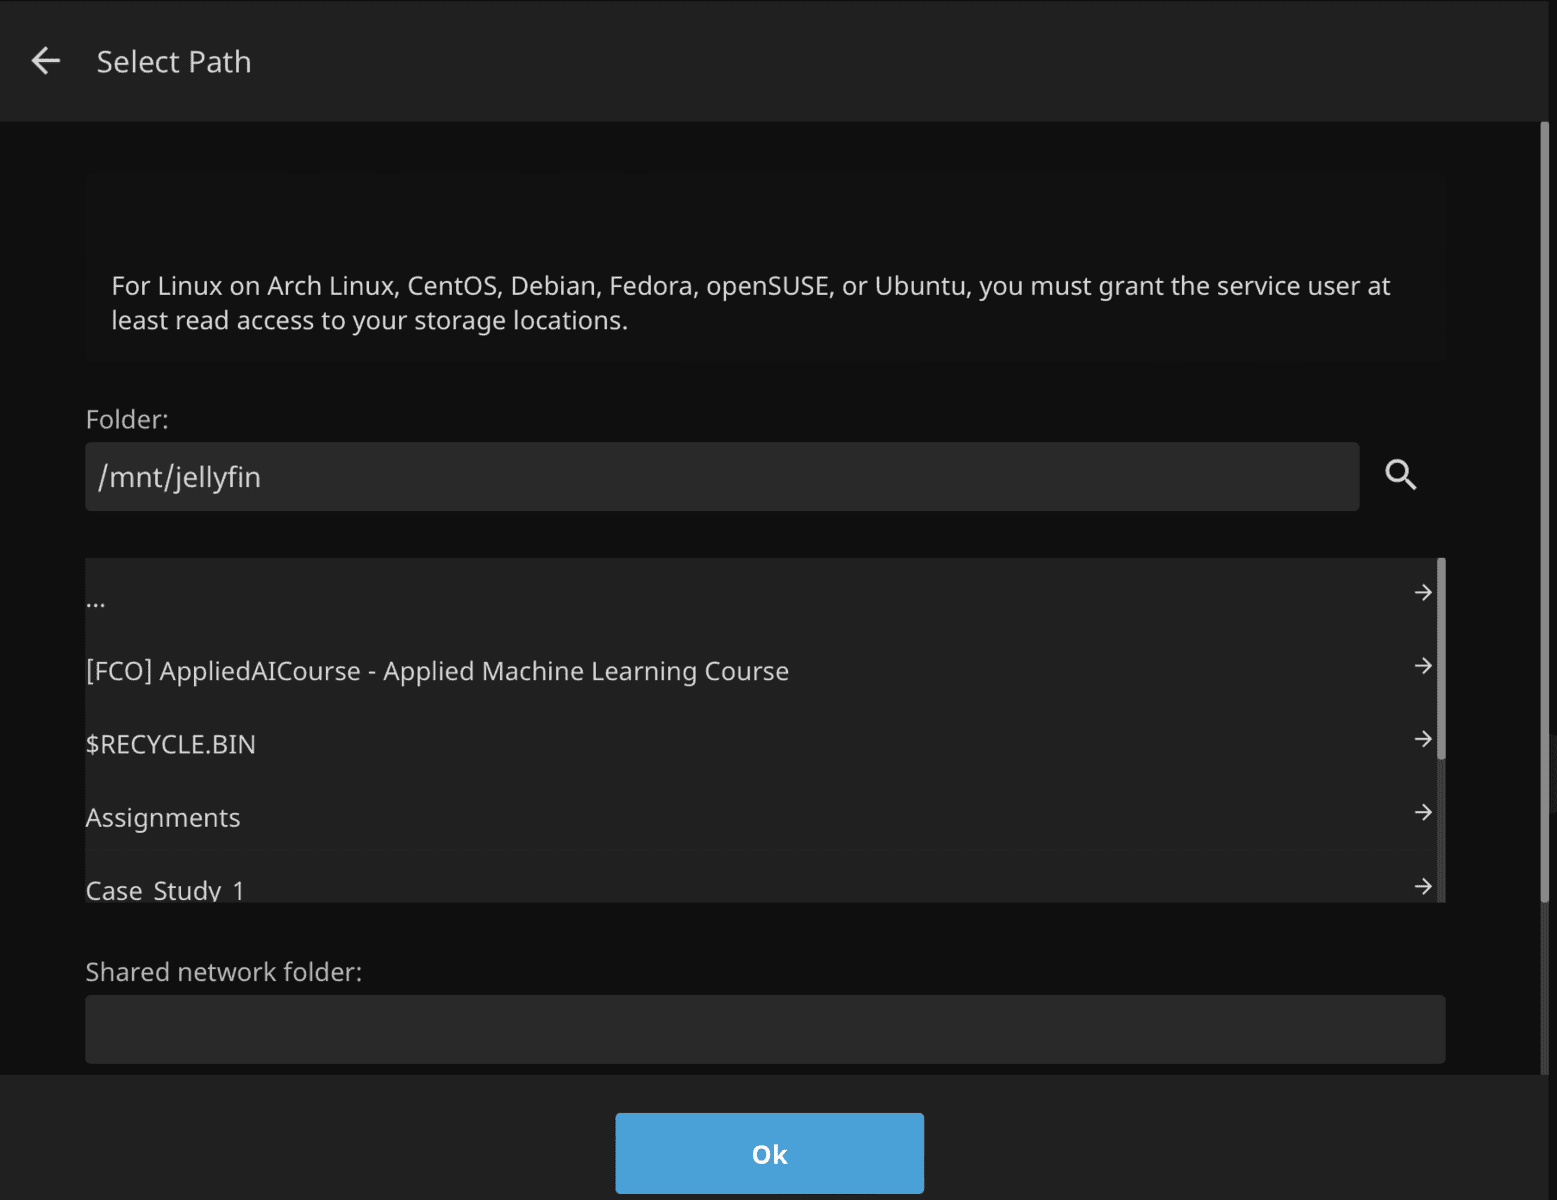
- Next, we will configure this library to point to our Jellyfin directory. For that, press the + button beside Folders and then select the “/mnt/jellyfin” directory from the list of available directories and press OK.
- Keep the rest of the options for Add Media Library as default and press the OK button. Now, you should see your newly added Library in the libraries directory. Press the Next button to continue with the setup process.
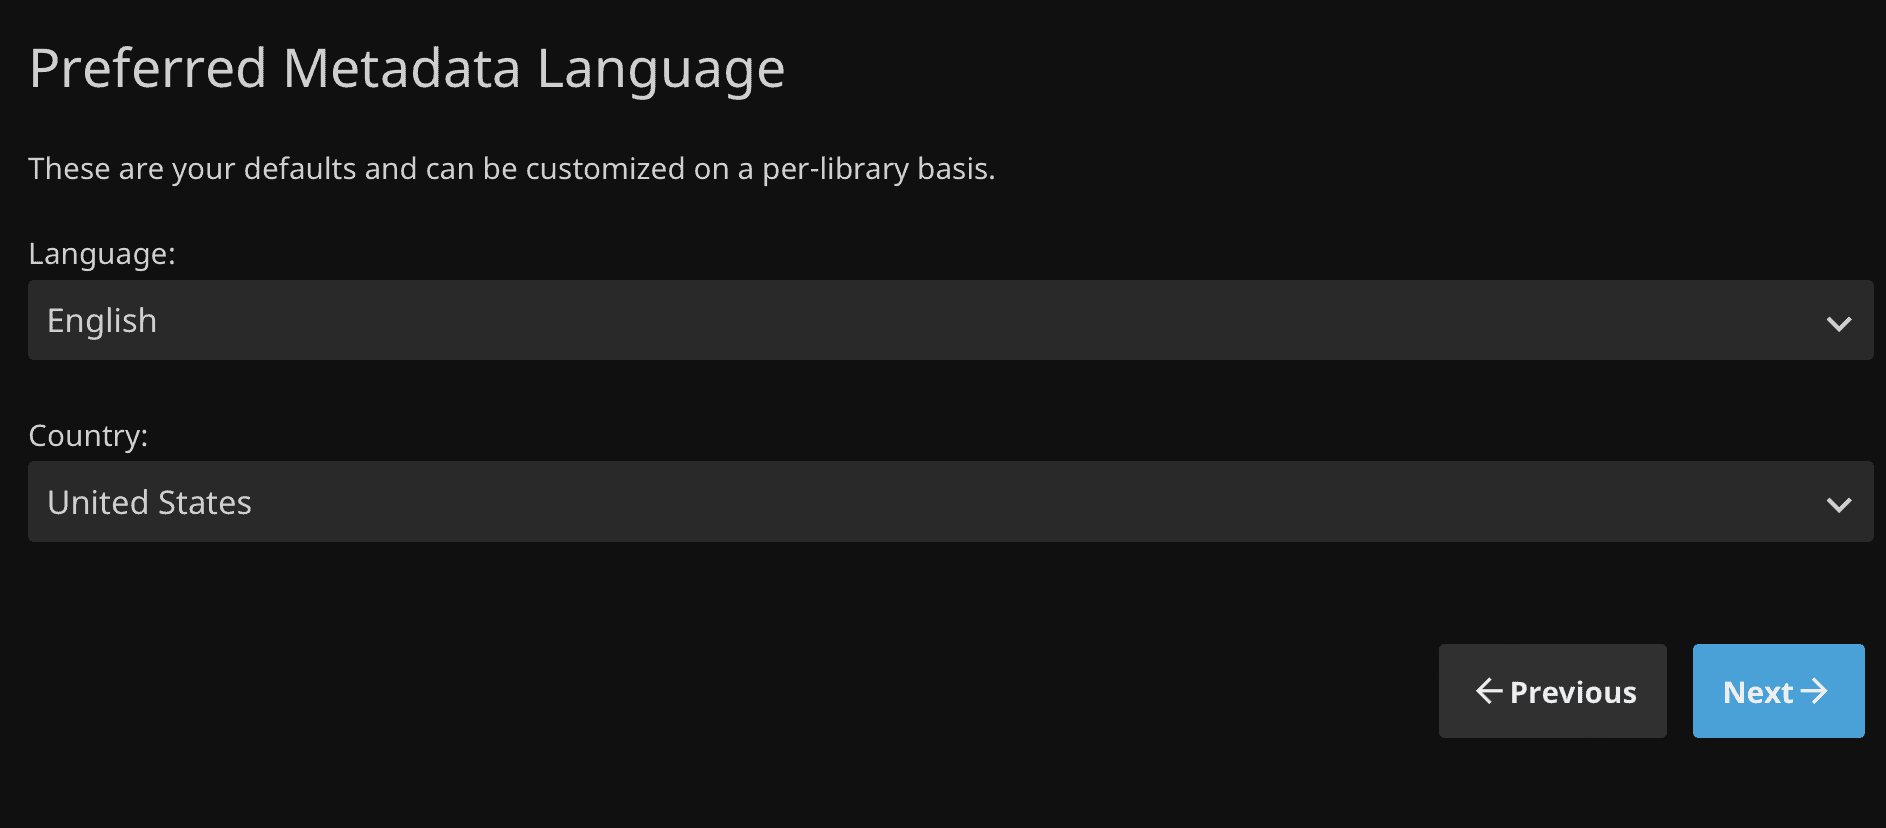
- Jellyfin maintains the metadata of all the media content in our local library from various online repositories, providing an enriched user experience. So, it asks us to set up the preferred language in which this metadata will be displayed. Set it up and click Next.
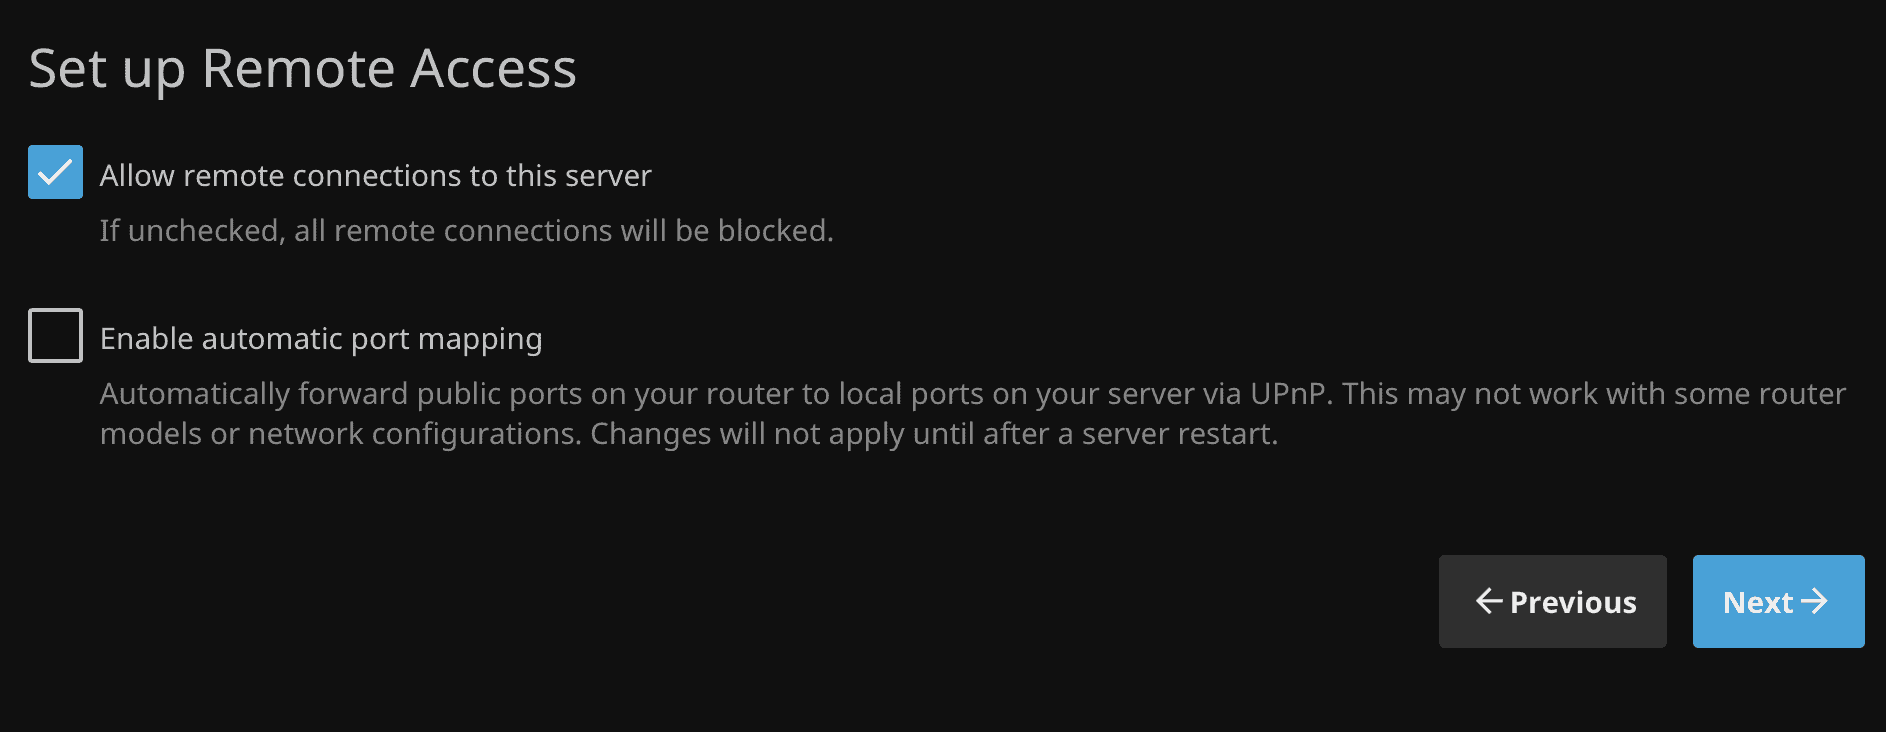
- Next, we will set up Remote Access (accessibility of the web interface from different devices on the same network). By default, remote connections are allowed (of course, as we are setting up Jellyfin remotely!). Keep the configurations as is and press Next.
- This completes the initial setup! You are now ready to use Jellyfin to binge-watch your favorite media content!
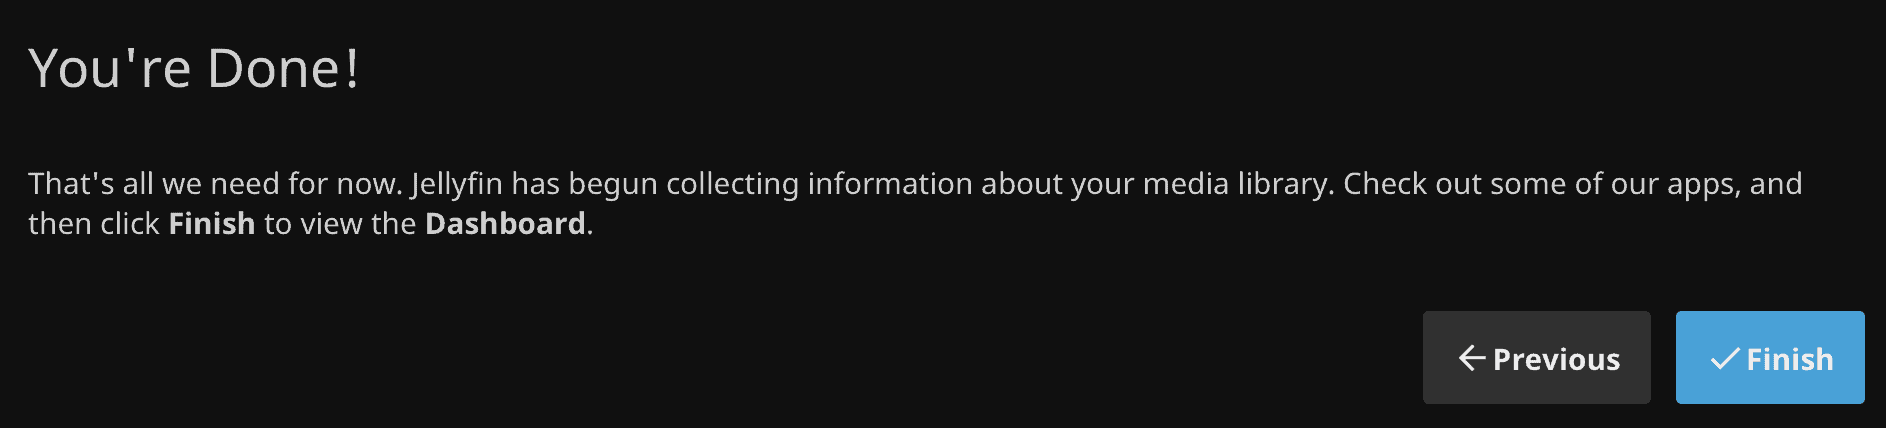
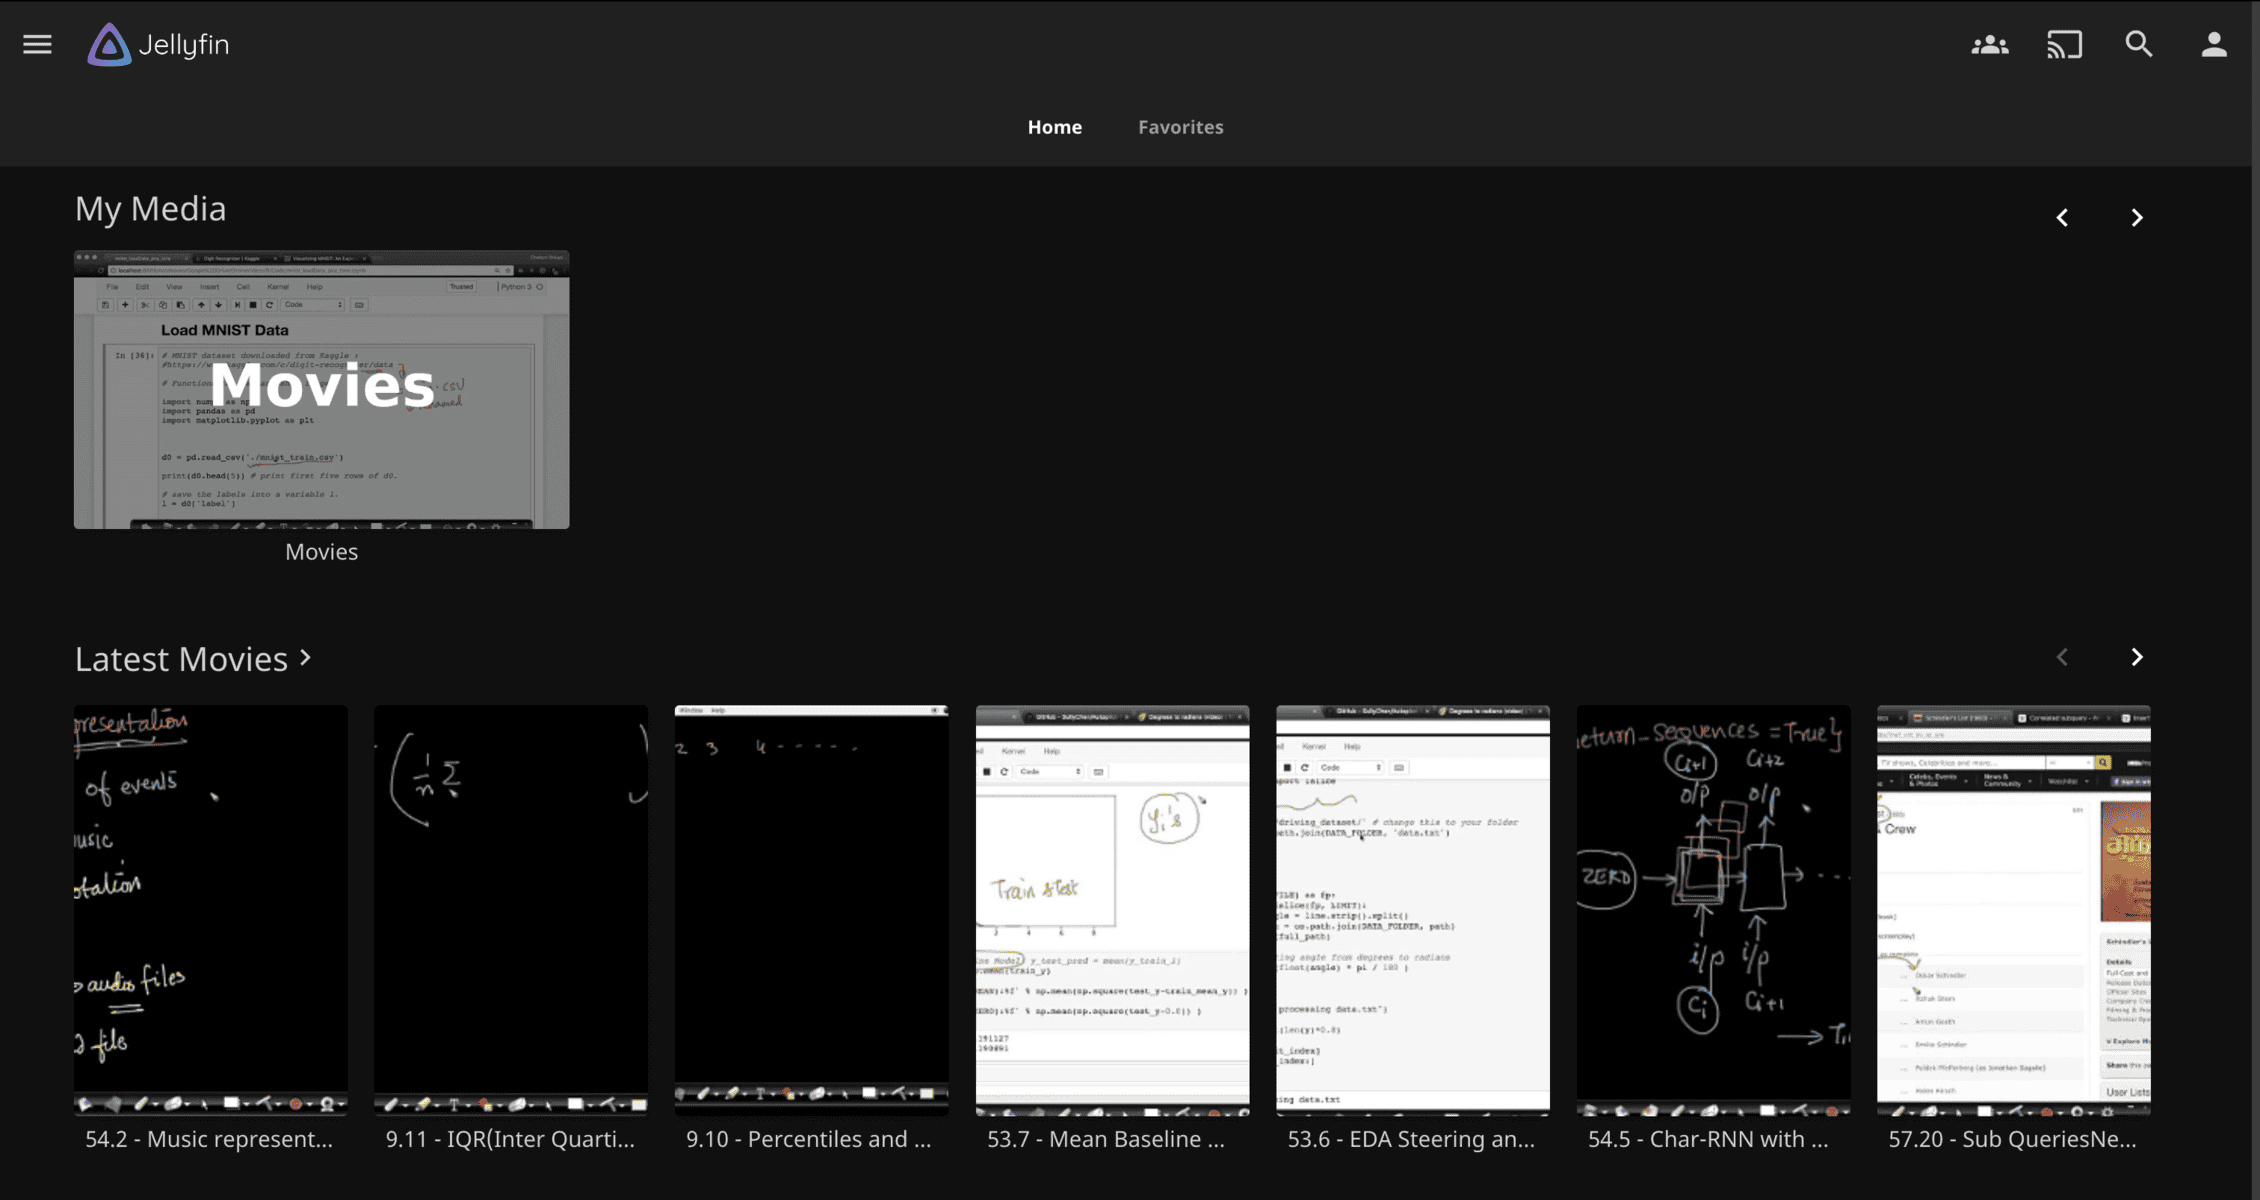
You should now be able to access the Jellyfin web interface through the same URL after signing in with the created user. In the next section, we will go through some possible configurations to get the most out of our media server.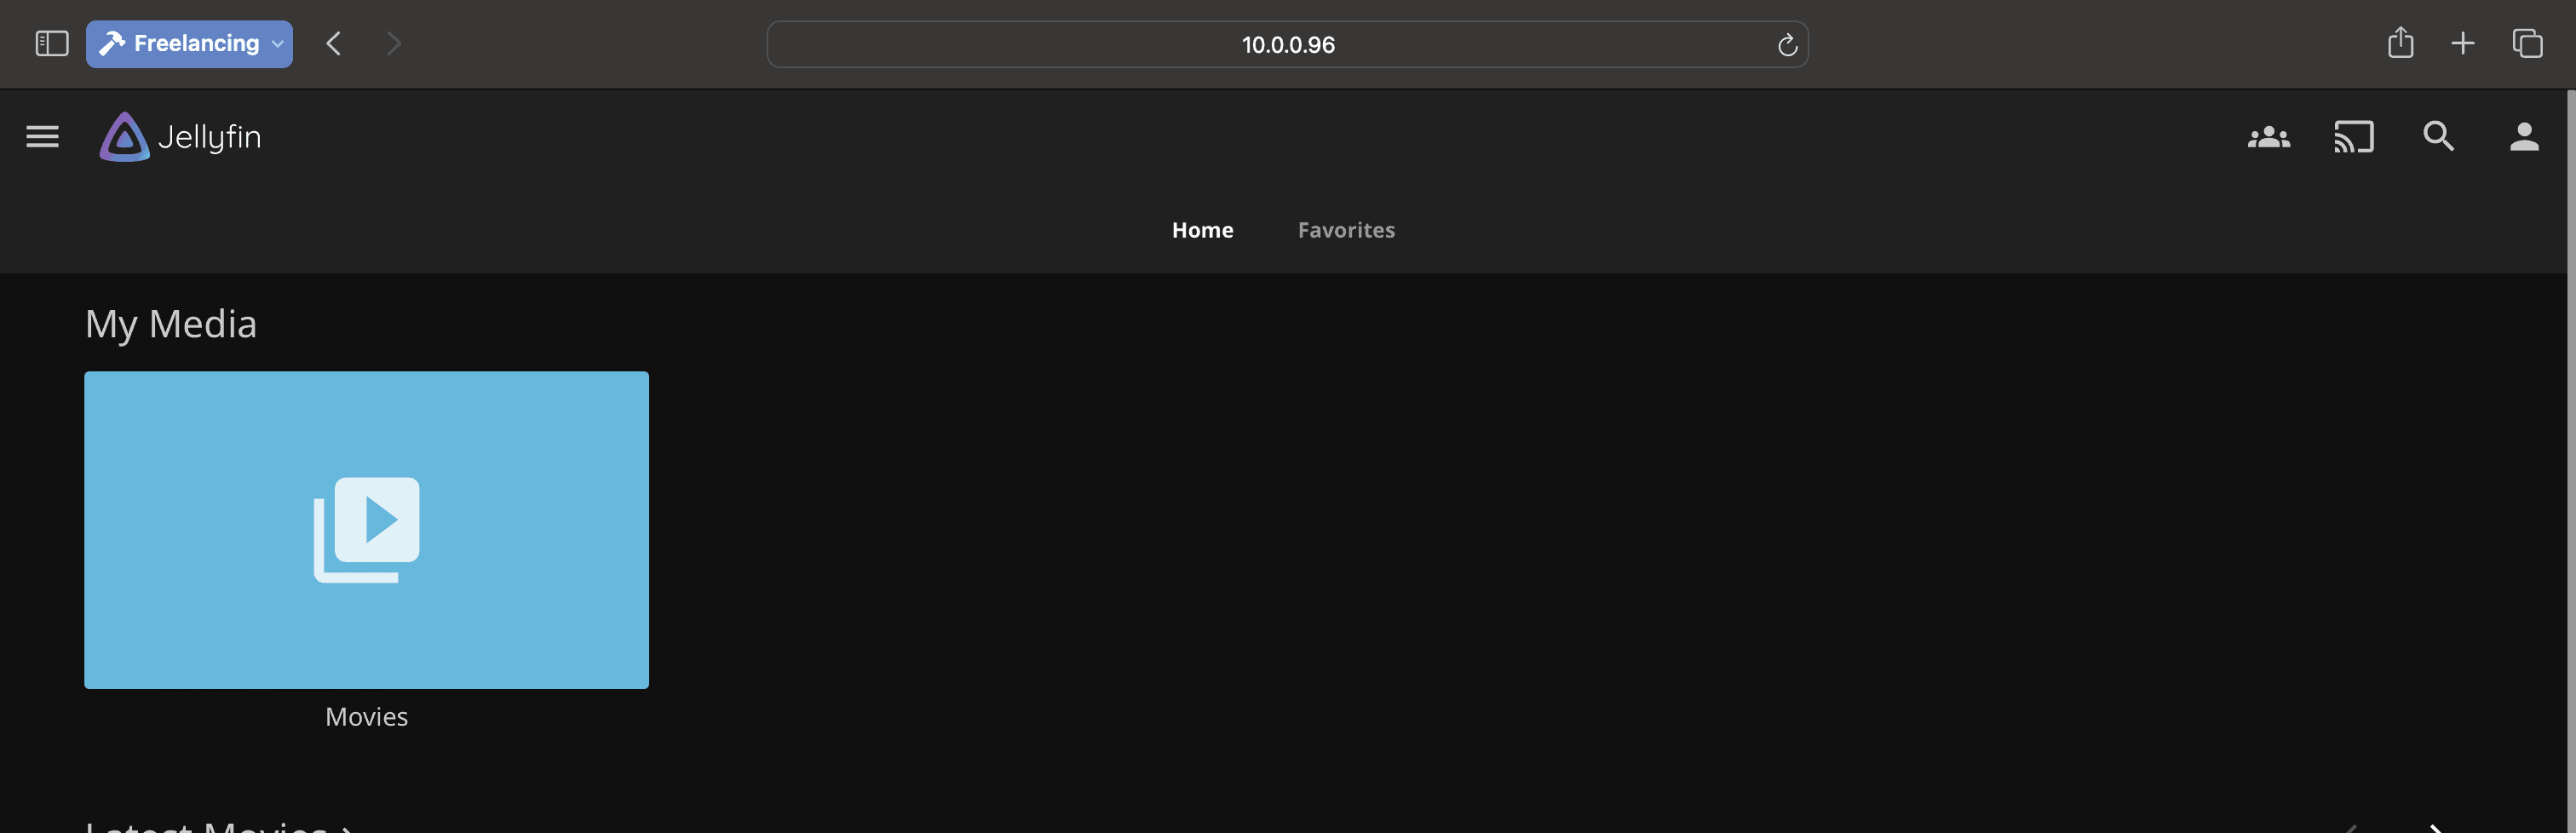
This marks the end of this section. In the next section, we will discuss some additional configurations that you can make to get the most out of Jellyfin.
Jellyfin Advanced Configuration Options
This section will discuss the additional configuration options available for a user to get the most out of their personal media server. We will discuss three main configurations:
- Enabling Hardware Acceleration for maximum performance.
- Enhanced Security for Jellyfin (Enabling HTTPS).
- Understanding User Management in Jellyfin.
Let’s discuss each option in detail now.
Enabling Hardware Acceleration in Jellyfin
We can enable hardware acceleration in Jellyfin so that the media server uses the Pi’s GPU for a superior viewing experience. To enable this option, some additional setup is required. We will cover the end-to-end process in this section.
- The first step is to tell Raspberry Pi to allow the Jellyfin application to use the GPU. For that, we need to add it to the video user group. We can do this by executing the following command in the terminal of our Raspberry Pi:
sudo usermod -aG video jellyfin - Next, we need to allocate more memory to our GPU as the default allocation of 76 MB is usually not enough for heavier workloads like video decoding. For that, we need to make changes in the boot config file as follows:
sudo nano /boot/config.txt - Add the following line at the end of the file and save the file:
gpu_mem=320
The amount of memory to set depends on the Raspberry Pi model you are using. I keep it 320 MB for a Raspberry Pi 4 as it has a much more powerful GPU and 160 MB for the OG Raspberry Pi 3. - Finally, for the changes to take effect, reboot your Raspberry Pi. Once that is done, you can verify the allocated GPU memory using the following command:
vcgencmd get_mem gpu
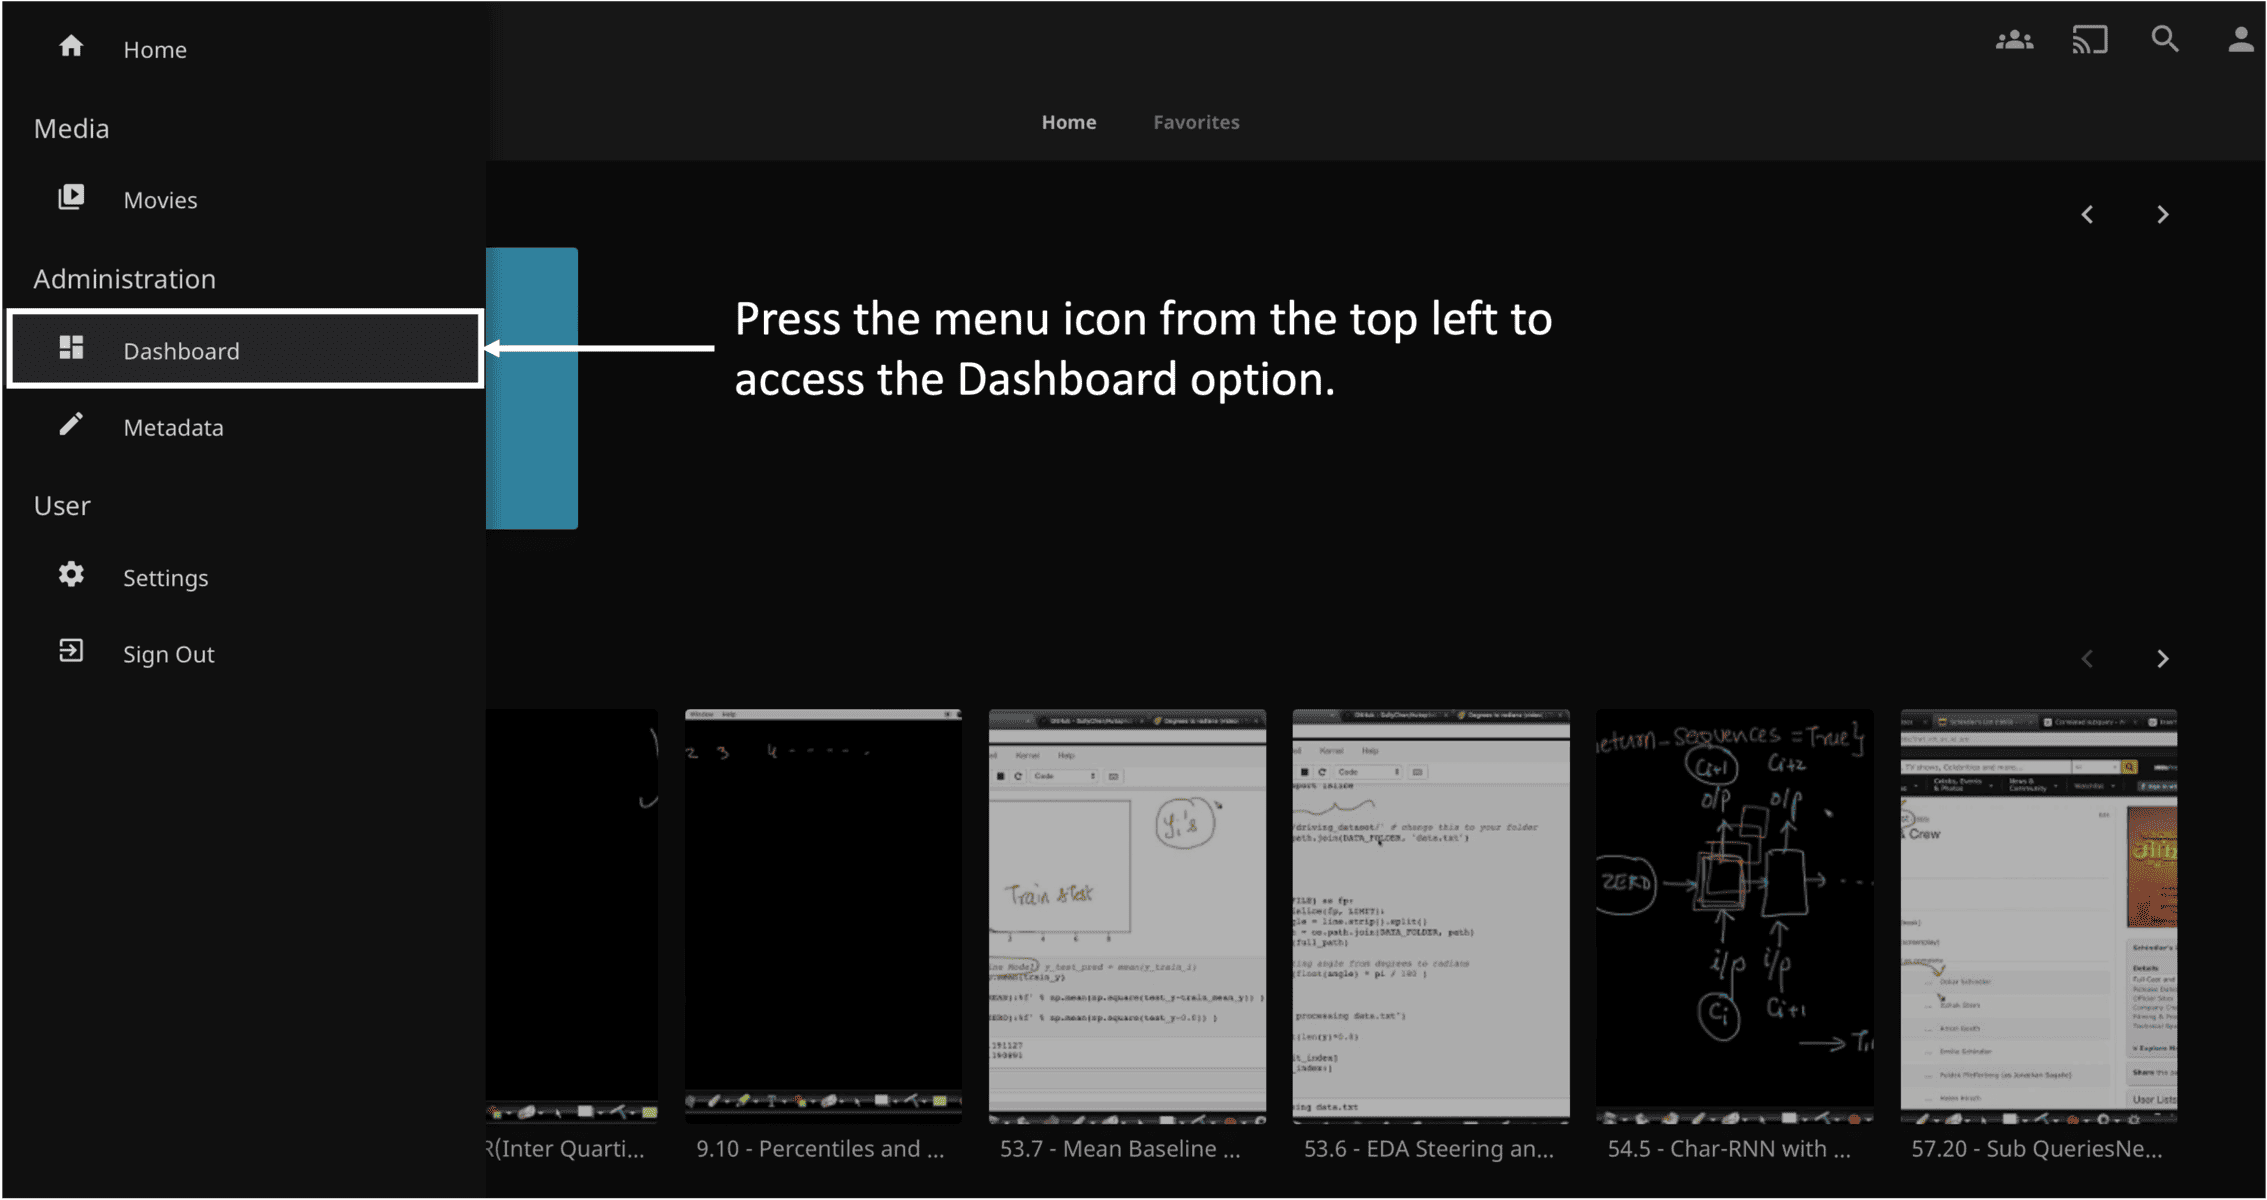
- Now that the GPU setup for Raspberry Pi is complete, we can enable Hardware Acceleration in Jellyfin. For that, just go to the web interface, press the menu icon situated on the top left side of the screen, and then press the Dashboard option from the menu.
- Next, go to the Playback section from the menu on the left, and under Transcoding, set the Hardware acceleration value to Video4Linux2 (V4L2), which is the only supported mode for the Raspberry Pi.
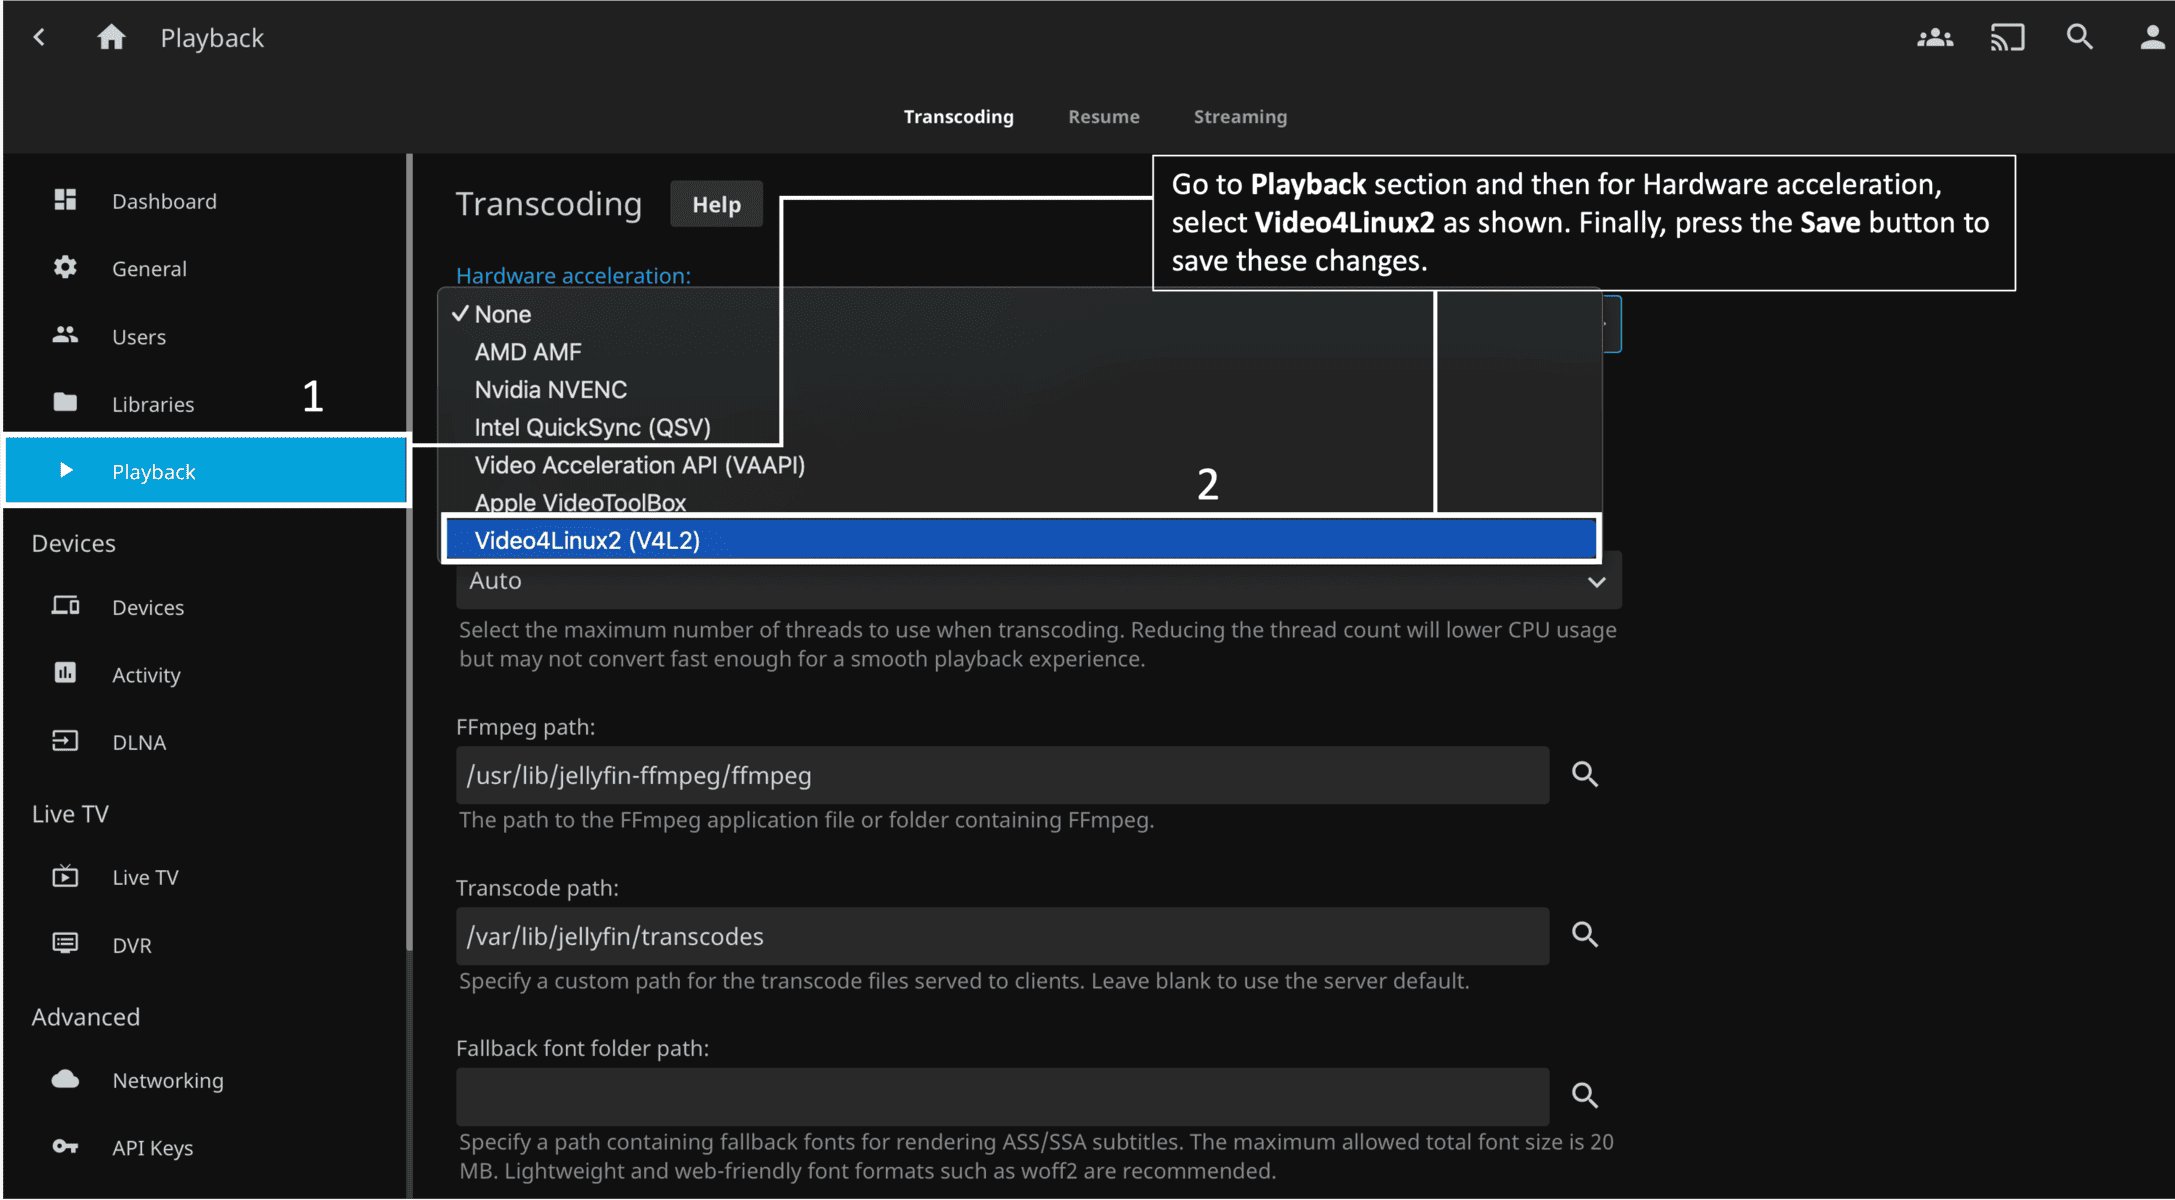
You have successfully enabled Hardware Acceleration in Jellyfin!
Enhanced Security in Jellyfin (Enabling HTTPS)
Security is an important factor for your media server, especially if you plan to access it over the internet. It can be prone to cyber-attacks if kept unsecured.
Fortunately, Jellyfin has the option to enable HTTPS traffic. For this, you will need an SSL certificate which will be used to authenticate all the incoming remote connections. The process is a bit complex and requires some basic knowledge about networking and bash commands.
Jellyfin has a dedicated page which will walk you through the entire process. It shows you how to create an SSL certificate through Let’s Encrypt and then it is easy to add this certificate through the Jellyfin UI to enable HTTPS.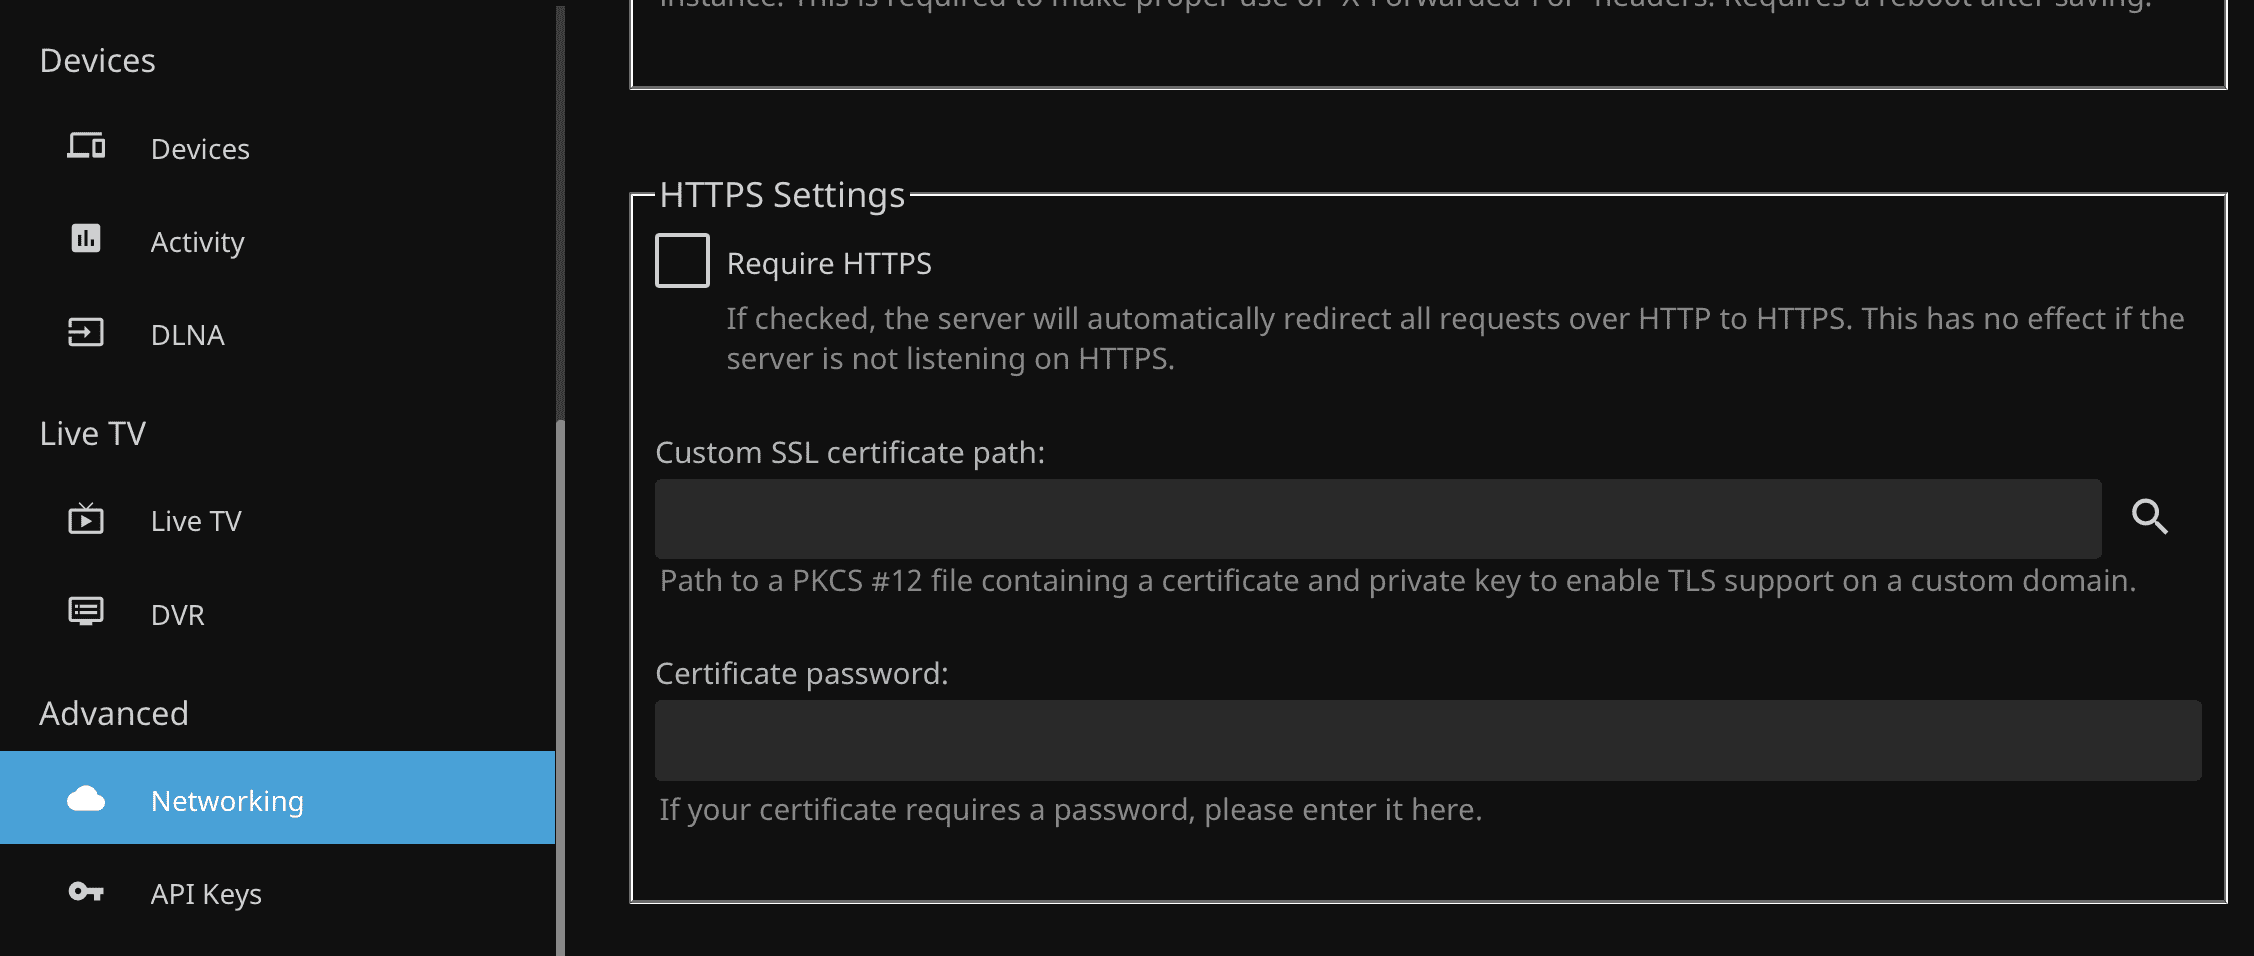
User Management in Jellyfin
Jellyfin allows administrators to set up granular access for different users for the media server. This gives you features like restricting certain content for your kids or making some videos private for a particular user.
There is a detailed post in the Jellyfin documentation that explains how user management works in Jellyfin. There is a dedicated Users section in Jellyfin’s web interface to manage these things easily.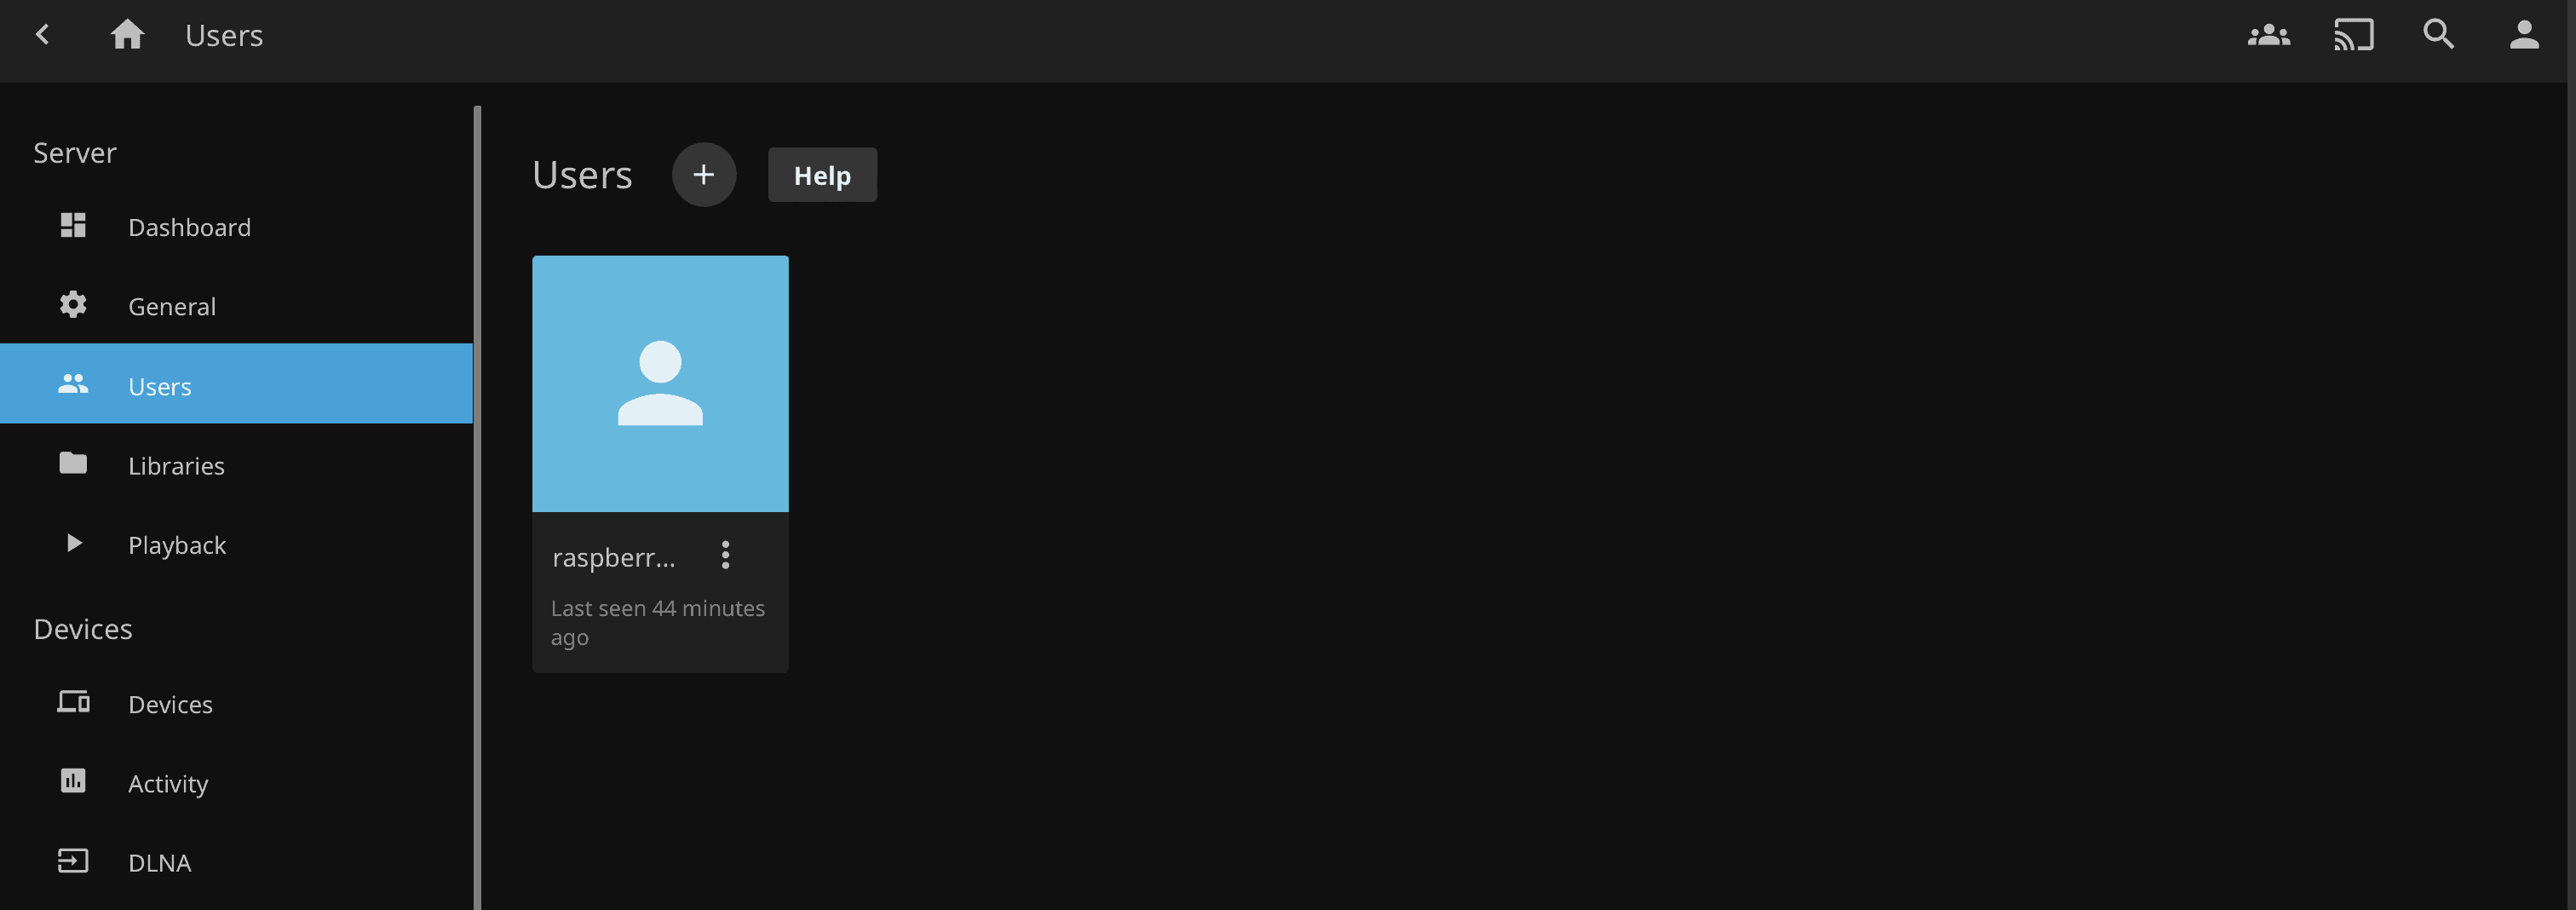
It's a free PDF guide containing every Raspberry Pi Linux command you should know!
Download now
Related Questions
This section will cover the most common questions about the Jellyfin installation and configuration.
Is it possible to access the Jellyfin media server over the internet?
Yes, you can configure your Raspberry Pi to be accessible over the Internet. Once that is done, you’ll be able to access the Jellyfin server through the public IP address of your Pi. Here are the steps required to set this up:
- First, you need to set up port forwarding on your router so that all incoming traffic on a specific port is forwarded to the Raspberry Pi. The exact process for setting up port forwarding will depend on your router’s model and firmware.
- Once you have set up port forwarding, you will need to know the public IP address you will use to access the Jellyfin user interface over the Internet. You can easily get your network’s public IP address by visiting this website.
You should be able to access your media server on http://<public-ip-address>:8096. Additionally, you can set up HTTPS for a more secure setup.
What to do if I am facing access issues over the local network?
In case you are not able to access the Jellyfin web interface on any of your devices over your local network, it’s likely due to firewall settings, IP address issues, or problems with the Jellyfin server itself.
The first thing to check is that the Raspberry Pi’s IP address you are using is correct. Next, check that the firewall settings allow traffic for the port 8096 on which Jellyfin operates. If the issue still persists, there is some issue with the Jellyfin installation and it needs further investigation.
The most common solution for the last solution is the update Jellyfin to the latest version or uninstall and reinstall a fresh instance of Jellyfin.
What if my media files aren’t showing up on Jellyfin’s Web Interface?
The possible scenarios for this issue along with their solutions are listed below:
- Media Library isn’t set up correctly: One possibility is that the Media Library has not been set up correctly. Ensure that you have the correct paths configured. In case an external storage device is connected, make sure you have created a static mount path for it.
- User Permission Issues: If there aren’t any issues with the path, the most likely problem is with the permissions for that user. Contact or use the administrator user to figure out and resolve these permission issues.
It's a free PDF guide containing every Raspberry Pi Linux command you should know!
Download now
Want to chat with other Raspberry Pi enthusiasts? Join the community, share your current projects and ask for help directly in the forums.
Conclusion
This marks the end of this tutorial. Now, you will be able to:
- Install and set up the Jellyfin media server on your Raspberry Pi.
- Know the advanced configuration options available for Jellyfin.
- Know how to resolve the most common issues faced while using Jellyfin.
If you would like to know more about some popular alternatives to Jellyfin, I would suggest you have a look at this post on Getting Started With Plex Media Server On Raspberry Pi.
Whenever you’re ready, here are other ways I can help you:
The RaspberryTips Community: If you want to hang out with me and other Raspberry Pi fans, you can join the community. I share exclusive tutorials and behind-the-scenes content there. Premium members can also visit the website without ads.
Master your Raspberry Pi in 30 days: If you are looking for the best tips to become an expert on Raspberry Pi, this book is for you. Learn useful Linux skills and practice multiple projects with step-by-step guides.
The Raspberry Pi Bootcamp: Understand everything about the Raspberry Pi, stop searching for help all the time, and finally enjoy completing your projects.
Master Python on Raspberry Pi: Create, understand, and improve any Python script for your Raspberry Pi. Learn the essentials step-by-step without losing time understanding useless concepts.
You can also find all my recommendations for tools and hardware on this page.