Setting Up TigerVNC Server on Ubuntu: A Beginner’s Tutorial
VNC (Virtual Network Computing) is a popular solution for accessing a remote computer with a full graphical interface. But setting it up on Ubuntu isn’t the most straightforward process (unlike Raspberry Pi OS). In this tutorial, I’ll show you how to install and use TigerVNC server on Ubuntu.
TigerVNC Server is available in the default repository and can be easily installed using APT (the package manager). Some additional configuration is then required to make it accessible from any computer on the network.
In this article, we’ll review the three main steps to get TigerVNC working on Ubuntu: installing the server, configuring it and finally connecting from another computer.
How to install TigerVNC server on Ubuntu
Let’s start with the server installation, which is a service that runs on Ubuntu to make the system accessible from another computer.
Prerequisites
As for any new installation, it’s good practice to make sure your system is up-to-date before going any further. You’ll need sudo privileges for the whole process and access to the Internet.
Open a terminal and run the following commands to update all your applications:sudo apt update
sudo apt upgrade
You can do this directly via the Ubuntu interface (find the terminal in the main menu), or by using SSH if you already have remote access to this computer. It doesn’t matter.
If everything is already up-to-date, you should get something like this:
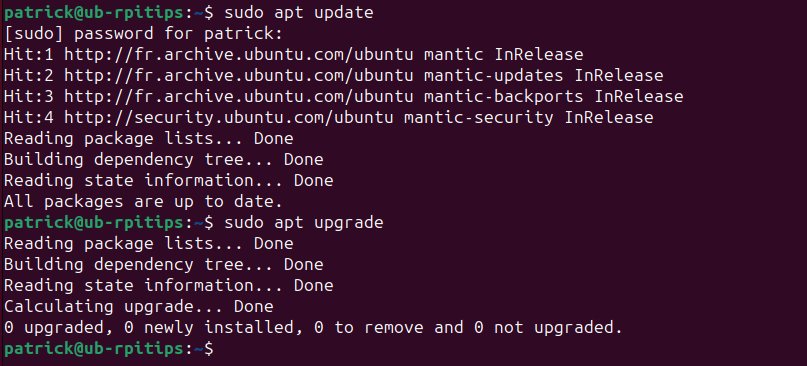
If APT finds new updates, all packages on your system will be updated to the latest version available in the repository. Either way, you’re now ready to start the TigerVNC installation.
Download your exclusive free PDF containing the most useful Linux commands to elevate your skills!
Download now
If you’re new to the Linux command line, this article will give you the most important Linux commands to know, plus a free downloadable cheat sheet to keep handy.
Install TigerVNC server package
TigerVNC is available in the default repository on Ubuntu, so installing it is straightforward.
Here are the steps to install the server package on Ubuntu:

Join Our Community!
Connect, learn, and grow with other Raspberry Pi enthusiasts. Support RaspberryTips and enjoy an ad-free reading experience. Get exclusive monthly video tutorials and many other benefits.
Learn more- Open a terminal.
- Type this APT command to download and install the application:
sudo apt install tigervnc-standalone-server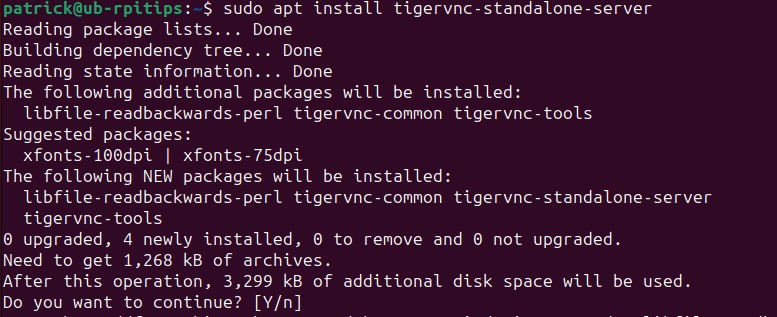
- Press “Enter” to confirm the installation.
It should be pretty quick. A few seconds later, the server is installed and you can move on.
Configuring TigerVNC server on Ubuntu
Once TigerVNC server is installed, there are a few steps to configure it for the first connection:
- Set up a password to access the session.
- Create a configuration file to start the desktop interface when you connect to it.
- Start the service to make it reachable.
That’s where the server installation gets a bit more complicated, but don’t worry, I’ll explain each step in detail.
Initializing the VNC server
First, we need to create a password to access the desktop environment. It doesn’t have to be the same as any user on the computer, it can be anything.
Every time you try to access the Ubuntu system remotely via VNC, you’ll have to enter the password. Make sure you use a strong enough password for this, as it’s the only barrier to your data.
To set the VNC password, enter this command:vncserver
You’ll need to enter the password twice and decide whether or not you want to create a view-only password.
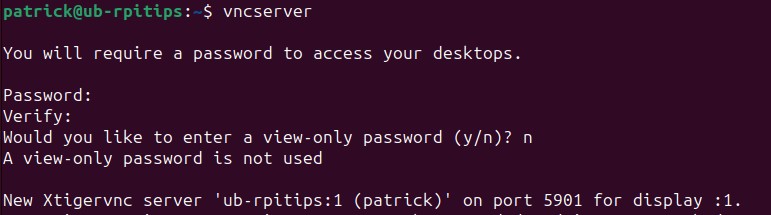
The command will then try to start the service, but it will most likely fail because we haven’t configured anything yet. Don’t worry about it.
Download your exclusive free PDF containing the most useful Linux commands to elevate your skills!
Download now
VNC Server configuration
The non-trivial thing about the VNC server on Ubuntu is that there is no default configuration created during the installation. So the service won’t work unless you create this file yourself, manually.
I don’t know why the process isn’t simplified to make it easier for users, but it’s what you have to do right now:
- Open a terminal.
- Create or edit this file in your home directory, under “.vnc”:
nano ~/.vnc/xstartup - Paste these lines in it:
#!/bin/sh
unset SESSION_MANAGER
unset DBUS_SESSION_BUS_ADDRESS

/usr/bin/gnome-session

[ -x /etc/vnc/xstartup ] && exec /etc/vnc/xstartup
[ -r $HOME/.Xresources ] && xrdb $HOME/.Xresources
x-window-manager & - Save and exit (CTRL+X).
Note: This is the configuration file you need if you are using the default desktop environment on Ubuntu. For example, if you are using KDE or XFCE instead, you will need to replace the gnome-session command according to your desktop manager.
Starting VNC server
Once that configuration part is done, we can now retry starting the VNC server.
The typical command to start the VNC server is:vncserver --localhost no

It should tell you the computer hostname, port and display used by TigerVNC server. You’ll need this to access Ubuntu from another computer.
Download your exclusive free PDF containing the most useful Linux commands to elevate your skills!
Download now
Connecting to the VNC server
The last step is to test the remote access from another computer on the network.
While VNC is an open protocol, not all clients are compatible with all servers, so using the same client on the server is recommended (TigerVNC in this case).
Download and install TigerVNC viewer
TigerVNC is available for free from SourceForge.
Open the folder for the latest version available and find the binary for your system.
For example, if you are on Windows, get the file named “tigervnc64-a.b.c.exe” and install it on your computer (it’s the default file when you click on the “Download Latest Version” button).
Get the server IP address
You’ll most likely need the Ubuntu server IP address to access it remotely. You can click the link to see how to do this on Linux if you don’t know.
But the easiest way on Ubuntu is to open Settings, go to Network, and you’ll find it in the first tab. It looks like this:

Most of the time, it’s also possible to use the hostname instead.
Connect for the first time
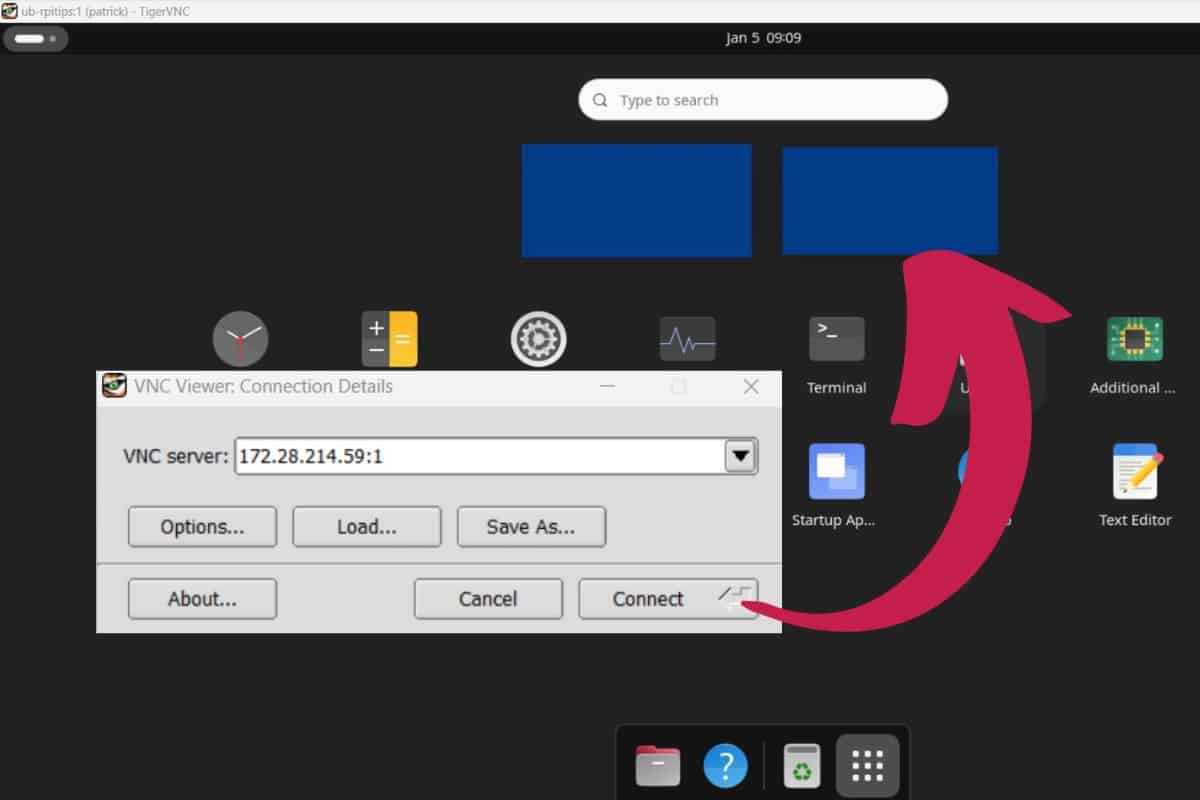
You can now start the VNC viewer (client) on your computer, and enter the IP address of the Ubuntu machine. Don’t forget to add the display number we got in the previous step (probably :1).
In my example, it looks like that from a Windows computer:

Enter the password when asked, and you’ll get connected to the Gnome interface:

By following my instructions, you get access to everything, with a slightly different interface than when you connect directly to Ubuntu. You might need to tweak the configuration file (xstartup) a bit if it’s important to get exactly the same interface.
Ready to learn more about Ubuntu? Here are a few additional tutorials I recommend reading after this one:
- Top 5 Ubuntu Browsers (Speed, features & more)
- Ubuntu Backup Essentials: Tips and Tricks from a sysadmin
- How To Easily Map A Network Drive On Ubuntu (GUI & commands)
Download your exclusive free PDF containing the most useful Linux commands to elevate your skills!
Download now
Want to chat with other Raspberry Pi enthusiasts? Join the community, share your current projects and ask for help directly in the forums.
Additional Resources
Overwhelmed with Linux commands?
My e-book, “Master Linux Commands”, is your essential guide to mastering the terminal. Get practical tips, real-world examples, and a bonus cheat sheet to keep by your side.
Grab your copy now.
VIP Community
If you just want to hang out with me and other Linux fans, you can also join the community. I share exclusive tutorials and behind-the-scenes content there. Premium members can also visit the website without ads.
More details here.
Need help building something with Python?
Python is a great language to get started with programming on any Linux computer.
Learn the essentials, step-by-step, without losing time understanding useless concepts.
Get the e-book now.